|
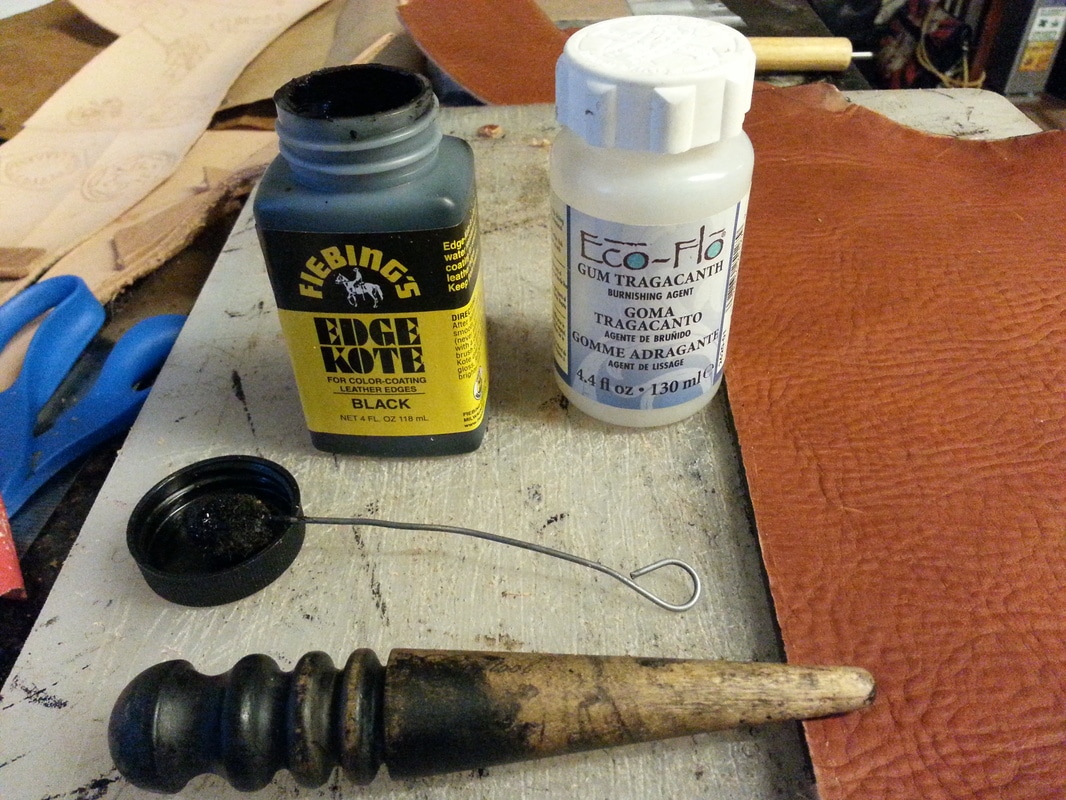
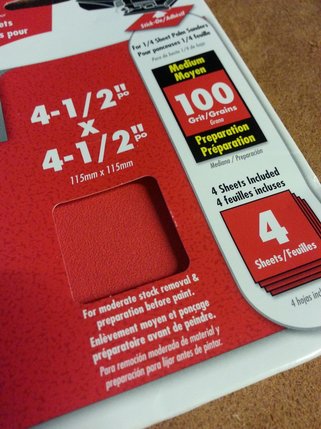
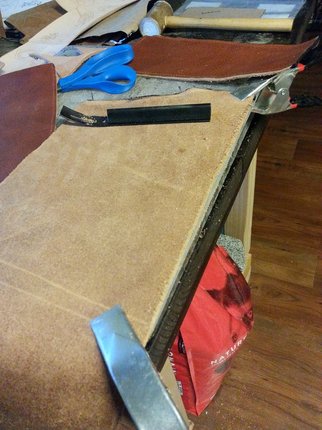
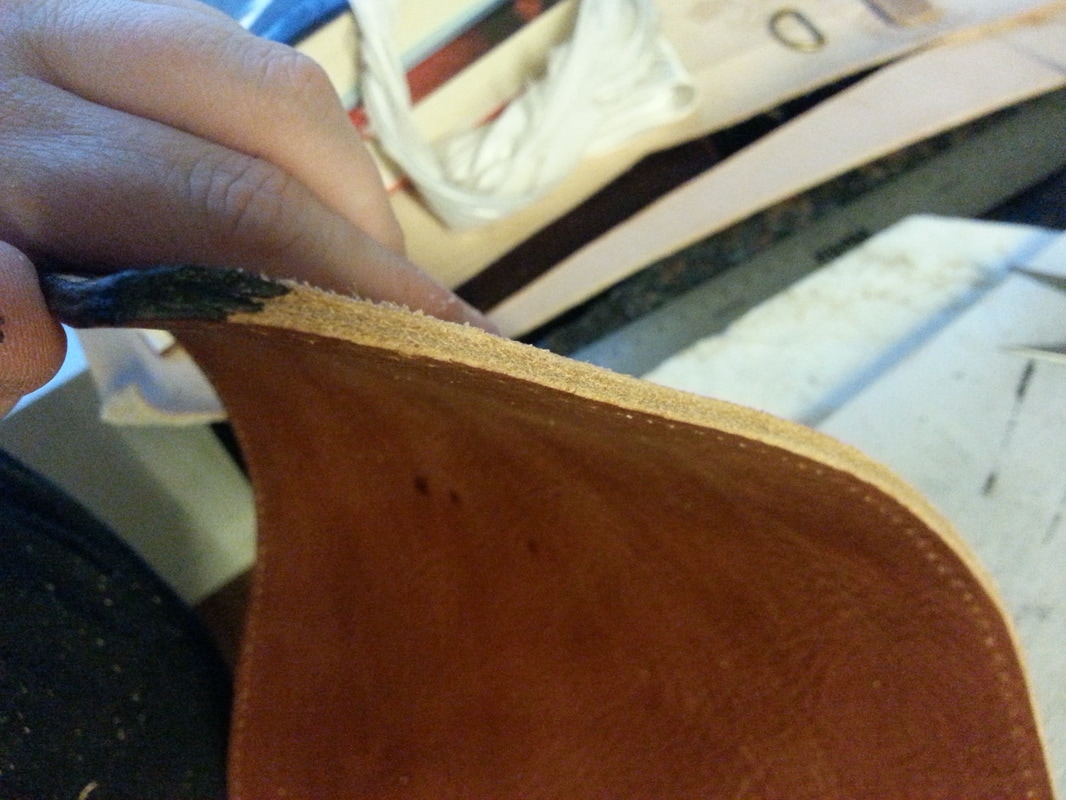
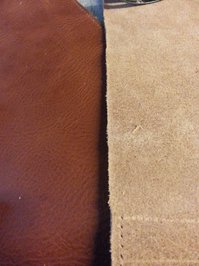
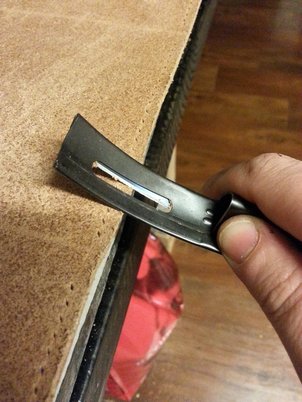
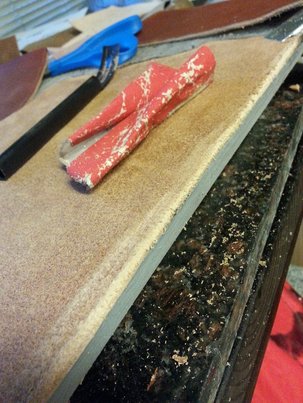
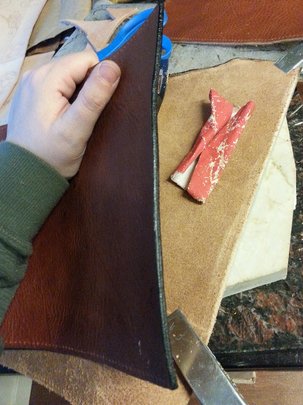
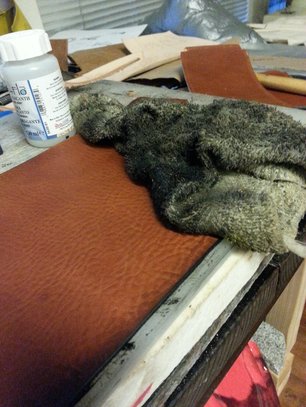
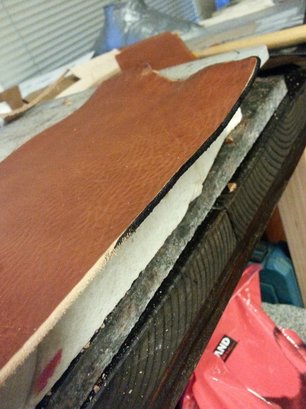
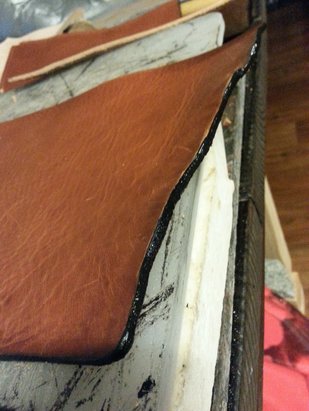
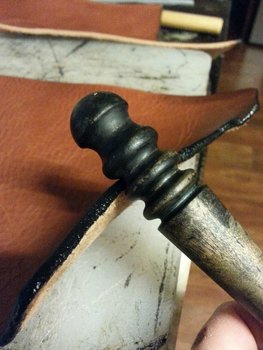
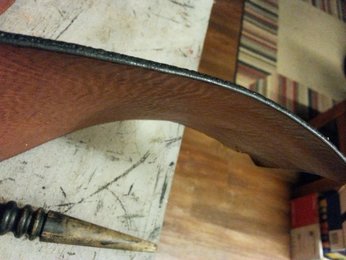
by Willow Enright Working with leather edges can be a challenge, and when you first start off it may not be as important to you that they look great. However, as you continue to leather work you will eventually want your edges to look as smart as the rest of your leather creations. There are multiple steps to getting just one edge looking fabulous. We'll cover the basics of beveling, sanding, edge coating, and burnishing to take your leather edge work to the next level of amazing. Supplies5-10 oz Leather Swivel Knife/Head Knife/Scissors Safety Beveler Sand Paper 100 grit Wood Burnisher Edge Coat Gum Tragacanto Wool Dauber or Paint Brush Wash Cloth/Paper Towel Clamps Cutting Board Cut your leather with your swivel knife/head knife/scissors, and then clamp it at either end to your cutting board. Leave the edge just barely hanging over the side of the cutting board, about 3-4mm. This is to give you just enough room to bevel without compromising your supporting surface, or damaging your safety beveler. Use your Safety Beveler at about a 45 degree angle to trim the leather in order to round out your straight cut edge. Do this to all under sides of your exposed edges, but don't use the beveler on the front of the leather or you may remove too much by accident. This process takes some time, and you need to be extremely careful so as to avoid cutting yourself with the beveler. Follow up the beveling with 100 grit sand paper to the edges for a smoother finish. Sometimes you will need to repeat the beveling and sanding if your edges don't end up being smooth enough. If they are smooth enough you can begin with the edge coating. This comes in clear, black and brown. Apply the edge coat with a wool dauber or medium paint brush. Use a damp work cloth or some paper towel to wipe away any excess edge coat that you may get on the front of the leather as you work. Let the edge coat dry before continuing. Use the Gum Tragacanth, applying it with either a wool dauber or paint brush. Leave it for a few moments to get tacky before using the wood burnisher, moving it along the edge between the appropriate sized groves. Do this until your leather edge appears nice and smooth. Repeat the Gum Tragacanth until you are satisfied with the smoothness of your edges. Finishing your raw edges with this lengthy process will be well worth the effort. Your edges will look amazing, and wear better over time!
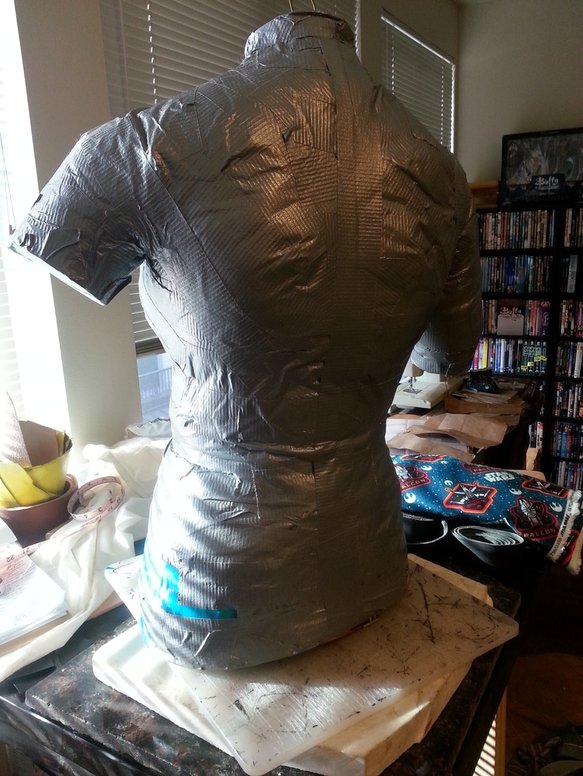
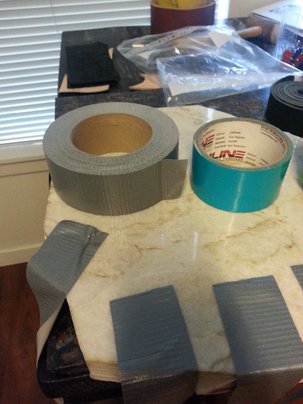
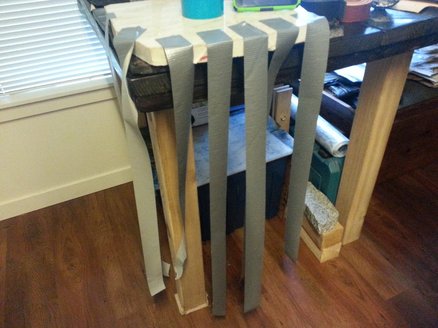
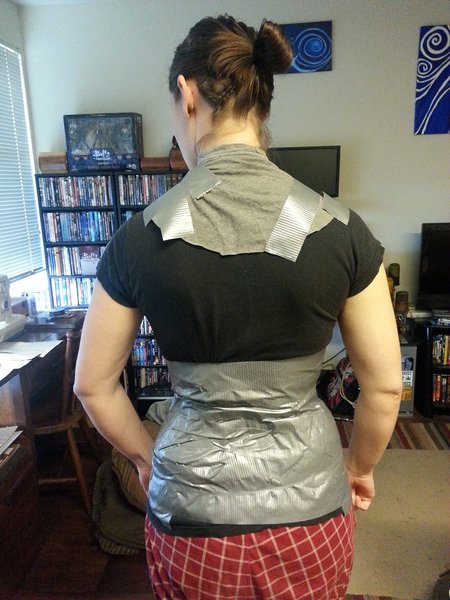
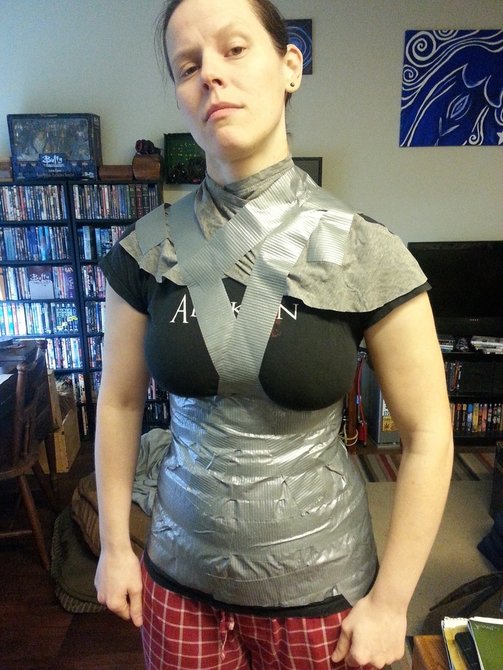
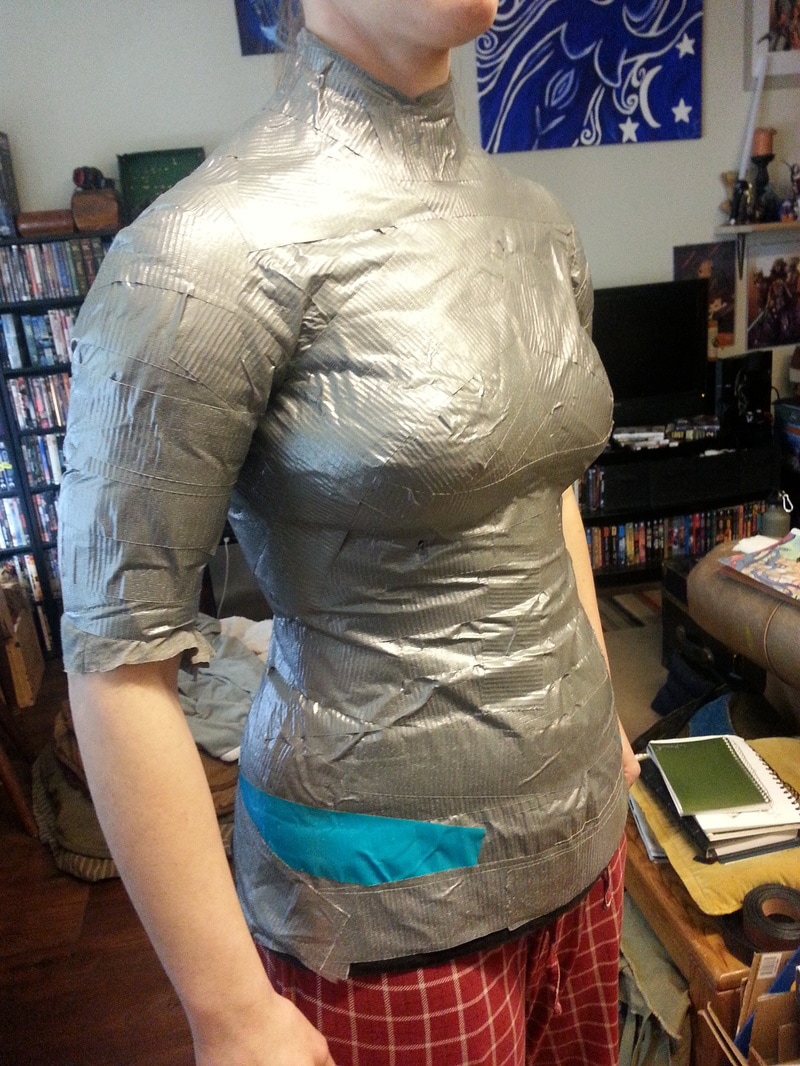
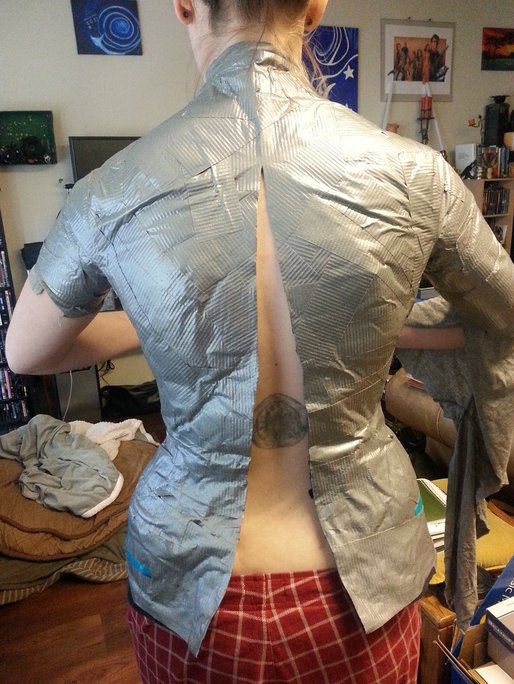
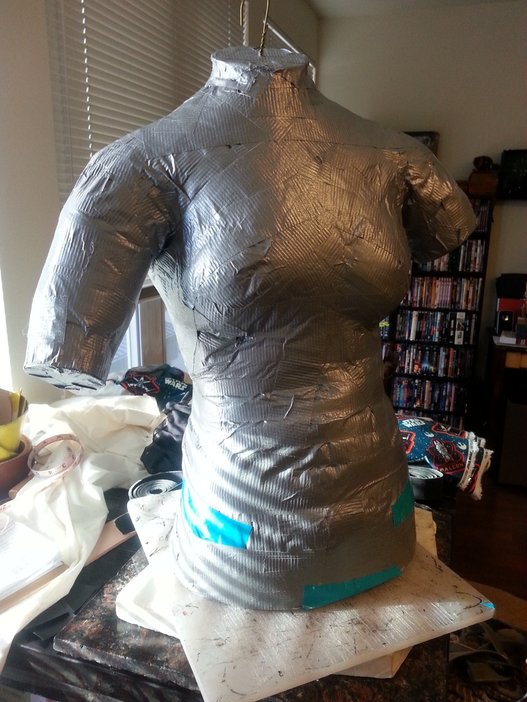
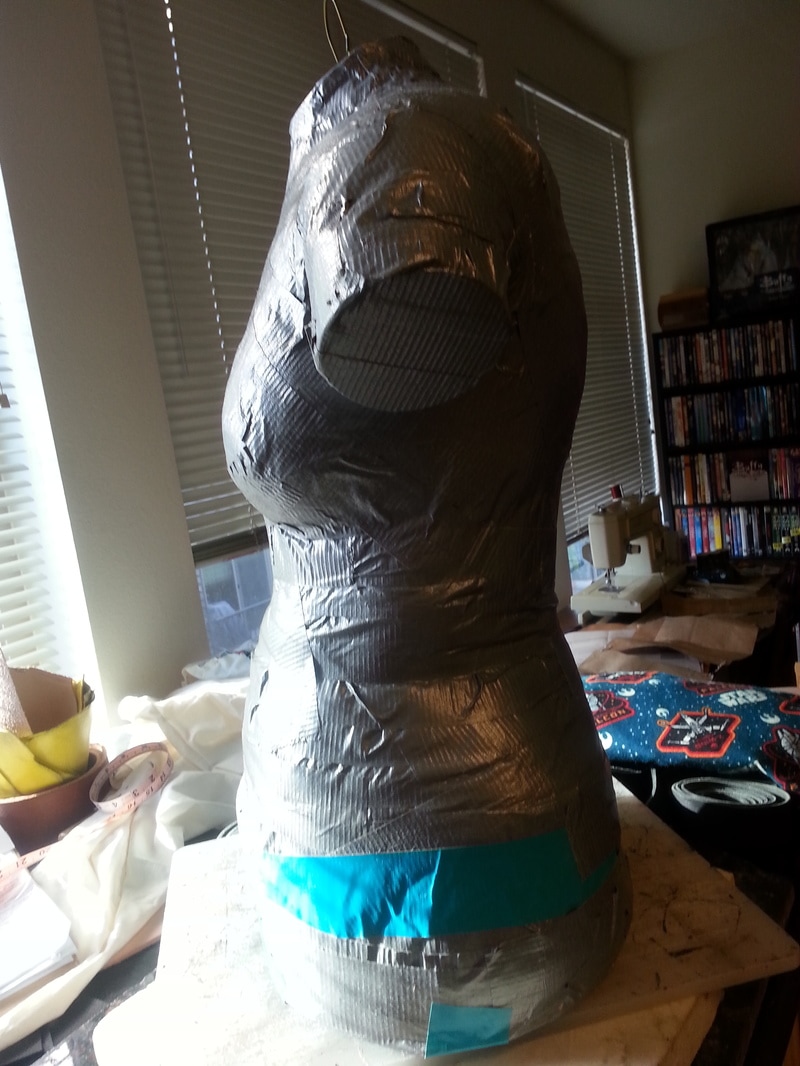
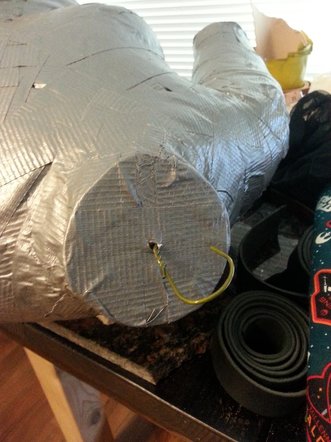
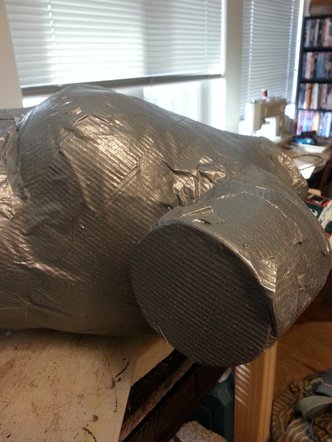
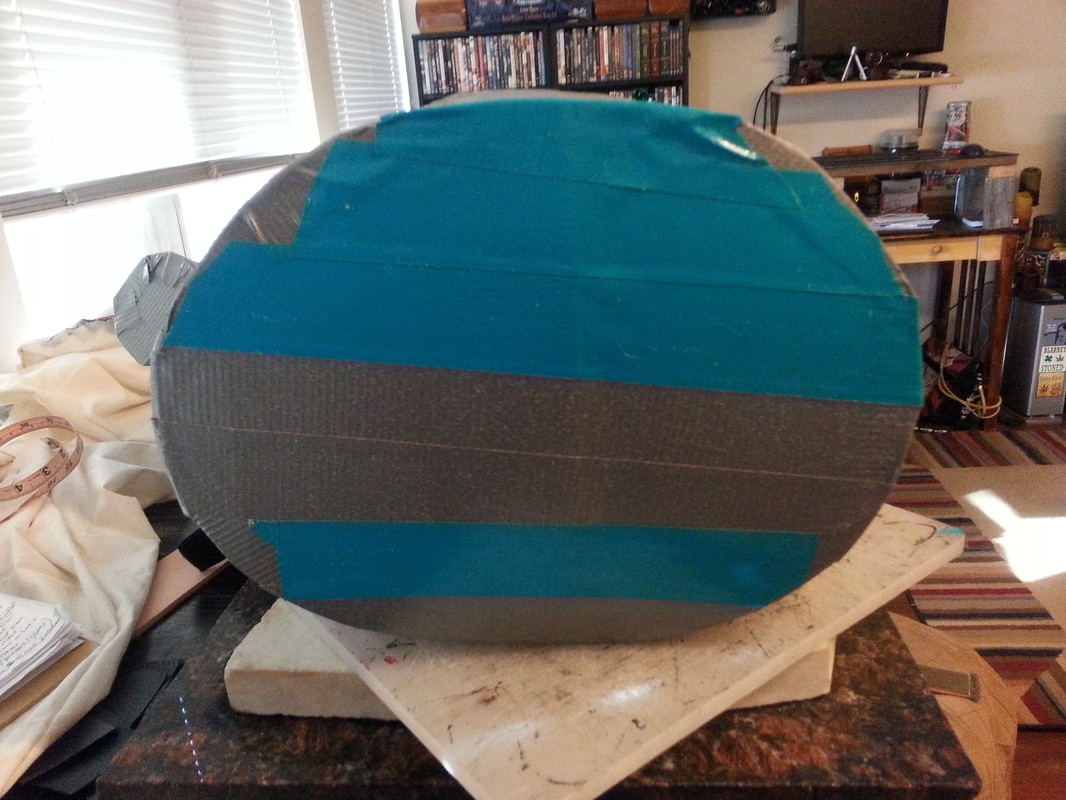
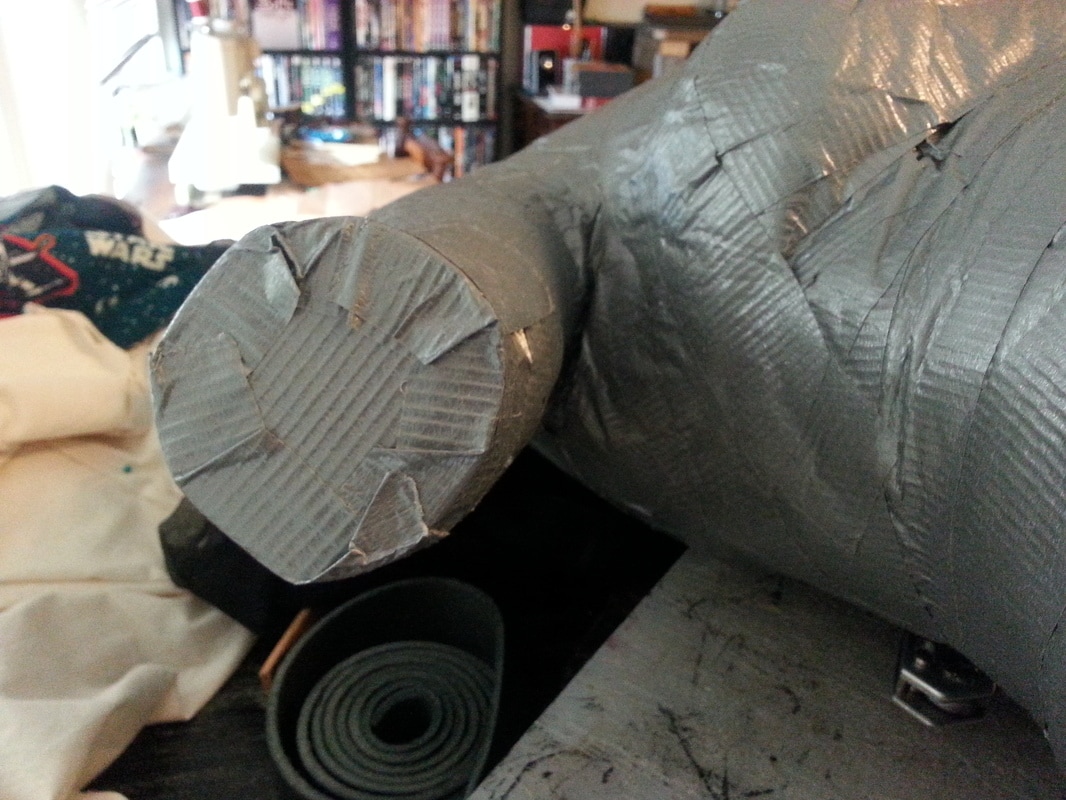
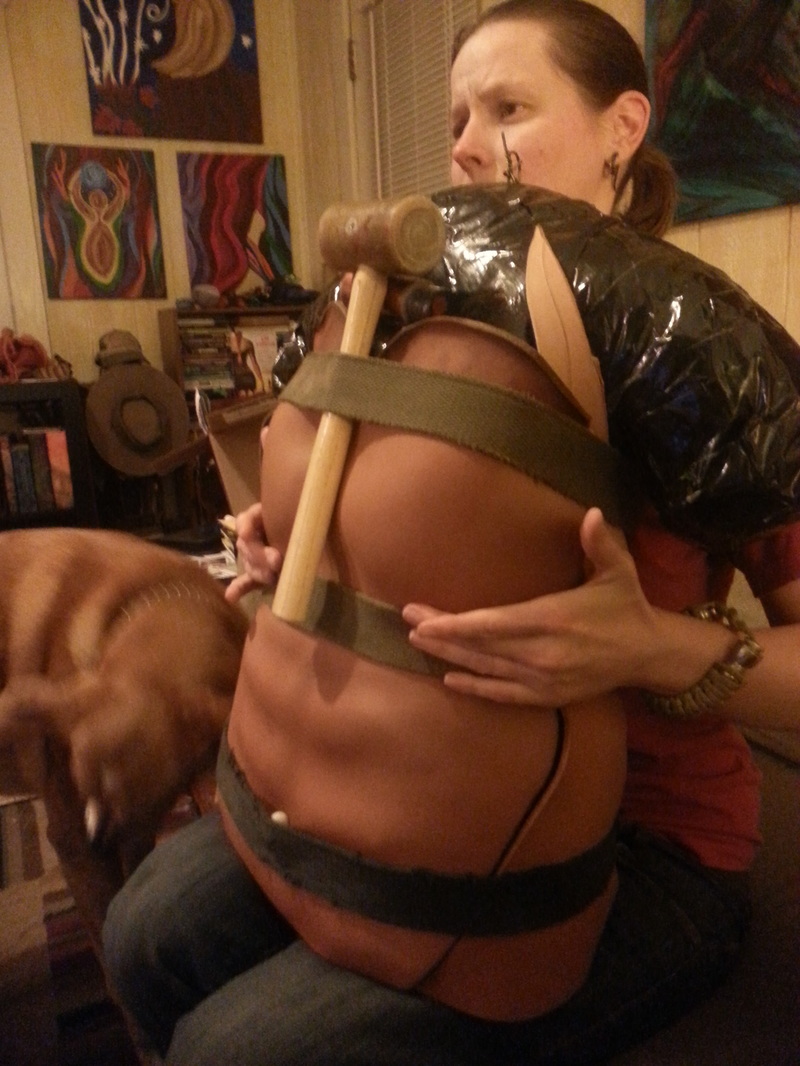
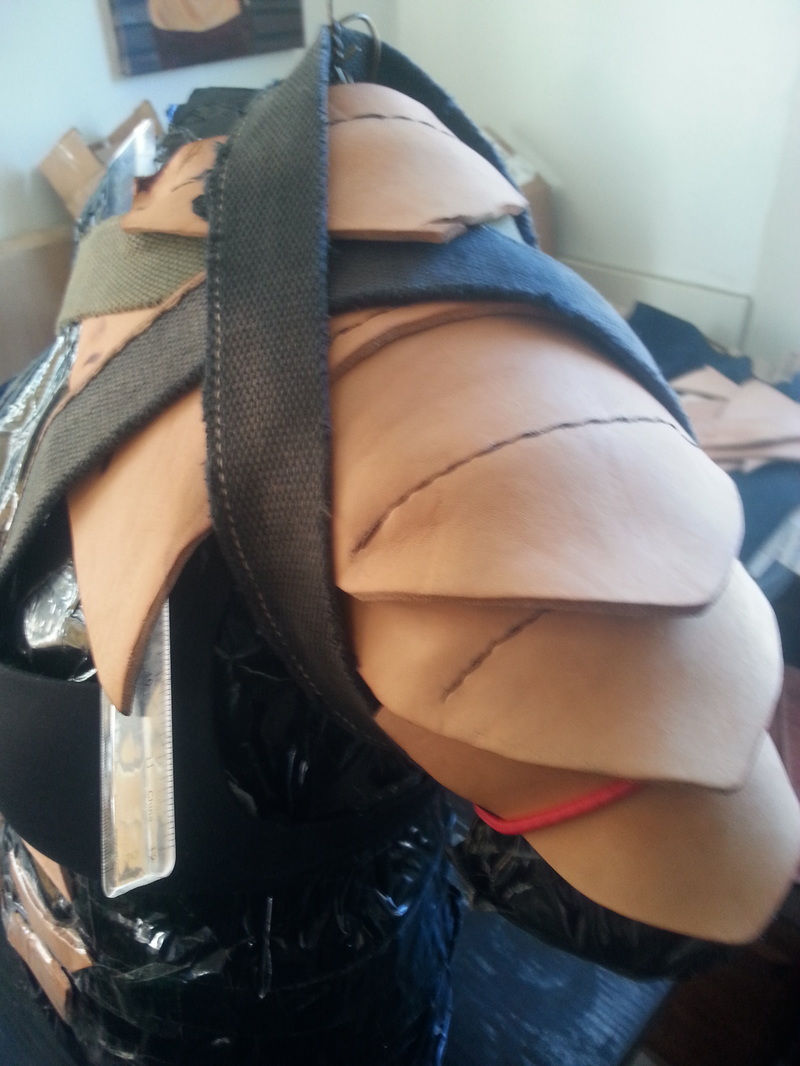
by Willow Enright SuppliesHaving a Duct Tape Body Double is extremely helpful when building Cosplay armor. You can also use it as a dress form for sewing purposes. It's actually quite simple and quick to make as well. You can use as many recycled products as possible with this one, only I do recommend actual Duct Tape as opposed to any other sub-par tape. When you are all done you'll be able to create your Cosplay costumes with relative ease since you will have a body double to work with. Start your Duct Tape Body Double with several long lengths of duct tape, drapped from a tall table or countertop. This allows you to make nice, even applications of the duct tape so that you don't end up pulling too tight as you wrap it around the individual. Pulling the tape from the roll as you wrap tends to pull too tight and can really restrict the person's breathing. Being tightly taped in duct tape requires a lot of trust since the material is extremely binding and can cause one to panic if not properly done or monitored. If your voluteer does panic, you can cut off the t-shirt in the back and once they have recovered you can simply tape them back into it. When you are using a t-shirt start taping at the bottom to anchor your t-shirt. If you are using saran wrap instead of a t-shirt you can start with the crisscross motion over the breasts for a woman and the hip for men. Make sure to cover evenly and don't get too close to the edges, you can tape those after you remove your voluteer. When you work over shorter, smaller areas such as the breasts cut your long tape strips into six inch sections or so to avoid having to crease the tape too much. If you plan to do any collor work be sure to create a section up the neck so you'll have a neck line in the end. I wanted to have one of the arms just a bit longer than the other so I used a scrap piece of a left over t-shirt to extend the one sleeve slightly. This is helpful for builiding shoulder pauldrons. I also wanted to specifically mark her hip line with a different colored tape so that when I'm making her chest armor I don't end up building it too long so that she cannot sit down. This is a good technique for keeping track of important measurements. If you have enough tape, and the person has enough patience, go over the person twice to ensure that your body double won't come apart at the seams. Once you have successfully wrapped your voluteer completely you will want to remove them from the shell you have made. Start cutting at the bottom, using your hand to guide the scissors but being careful not to cut your own fingers. Make a straight cut line all the way up to the neck, and then you can gently pull off the duct tape form. Retape your body double back together and create the cardboard ends for the neck, arms and torso. Use duct tape to secure the cardboard ends over the body double. Make a small hole in the neck cardboard area for your wire hanger to thread through from inside your duct tape body double. Put the wire hanger inside your body double before you begin to stuff the inside with the poly fill. Tape up your arm holes next, continuing to stuff the poly-fill inside. Every once in a while you should check the measurements of the body double to make sure that you don't over or under stuff it. When you are done stuffing, tape on the bottom piece of cardboard so that your torso will sit flat. I like to add the hanger so that it's easier to pick up or hang while storing it. Keep in mind you will want to create a loop with the hanger handle if you will be adding lots of weight to your duct tape body double, so that you can add a carabiner clip instead. That will hold up better for long term hanging purposes with added weight. Creating a duct tape body double will prove to be extremely useful for pretty much all Cosplay creating purposes. You can also make a full body duct tape replica if your costume is more extensive. May the crafting Force be with you!
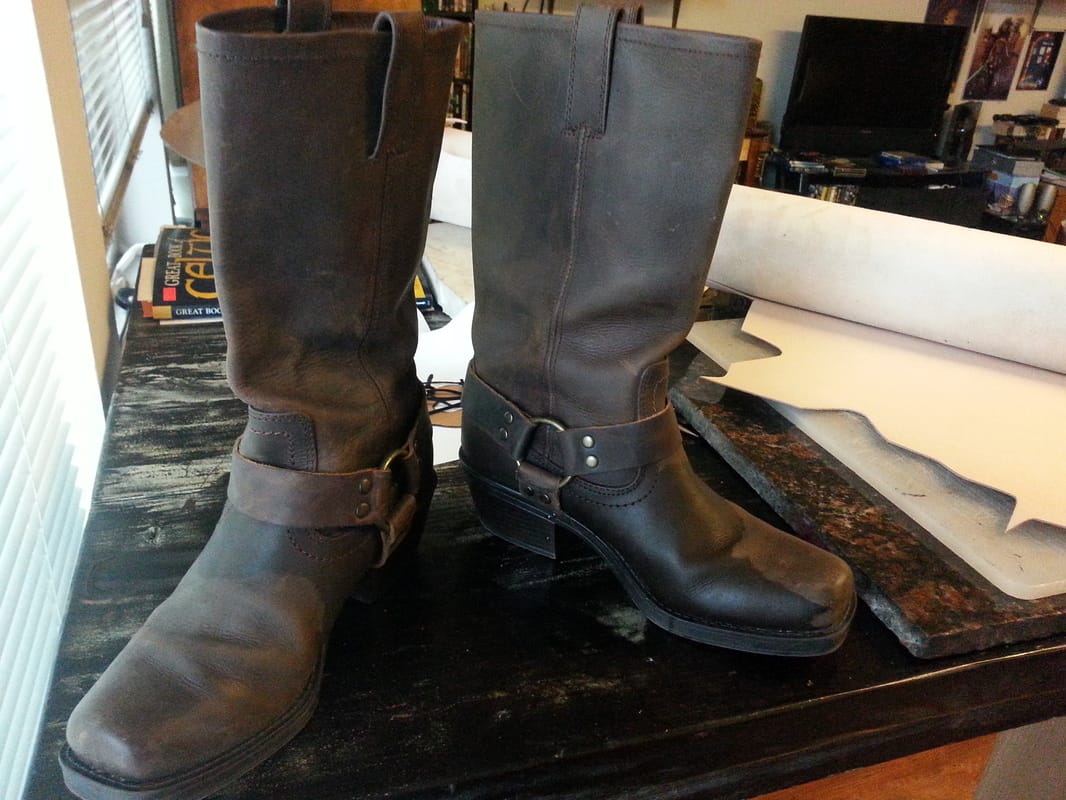
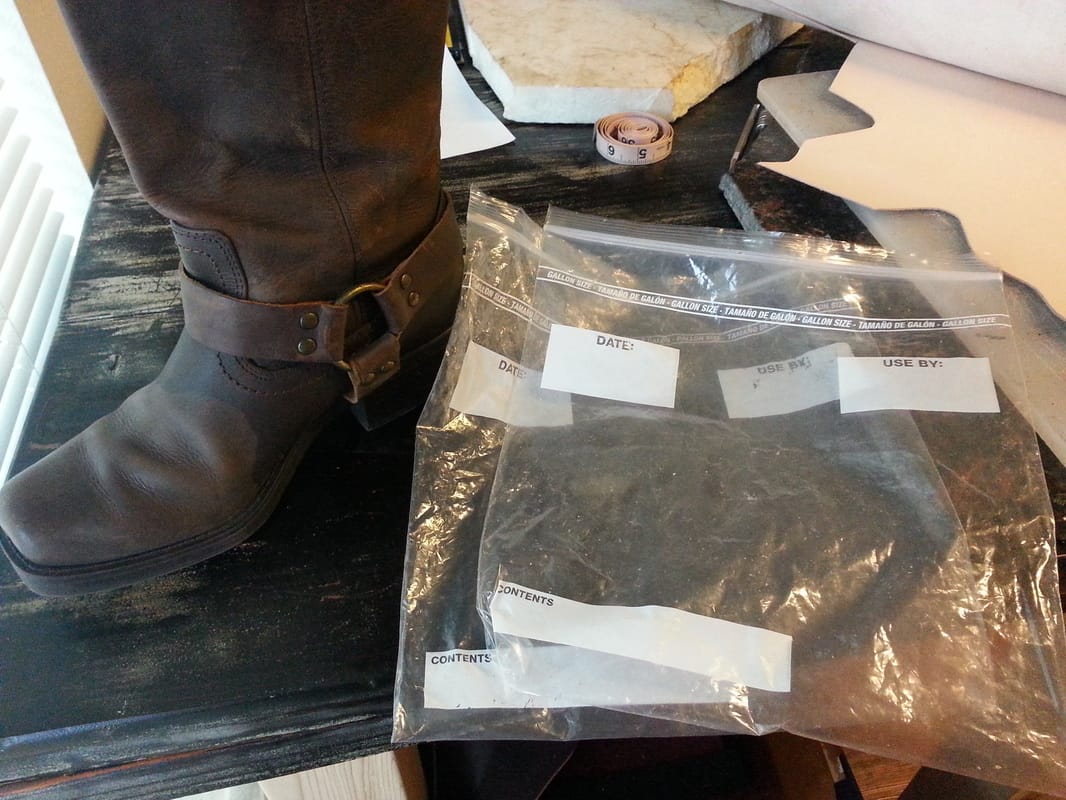
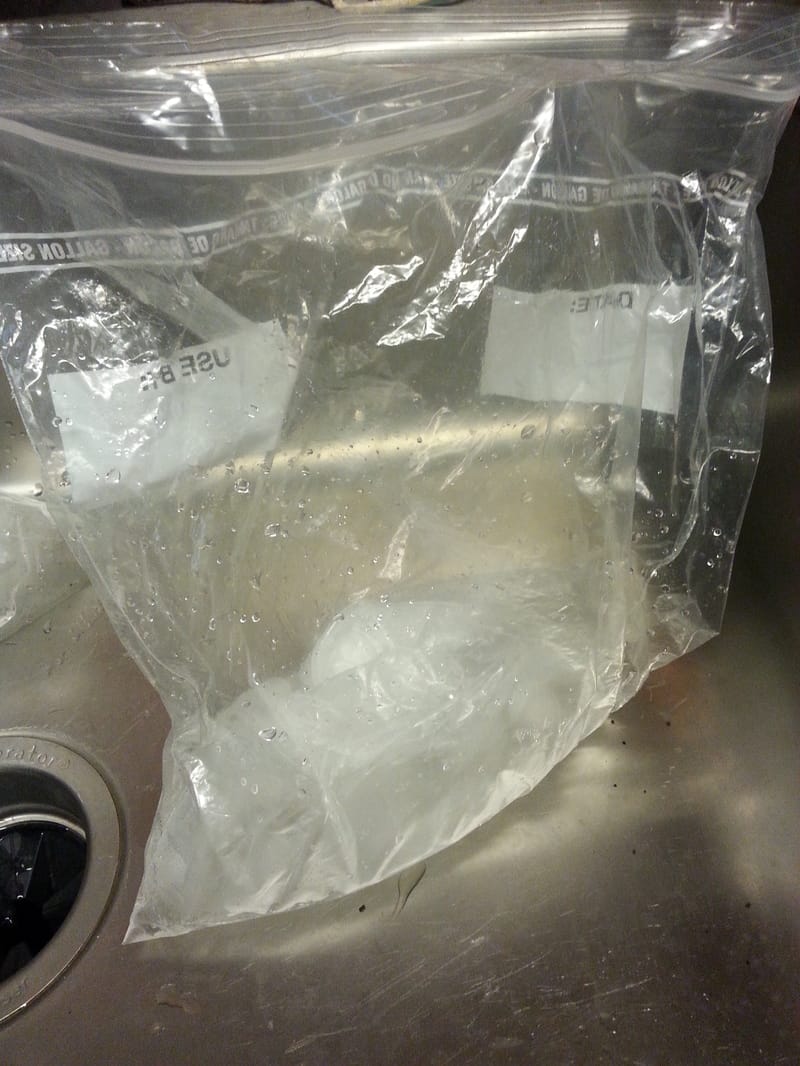
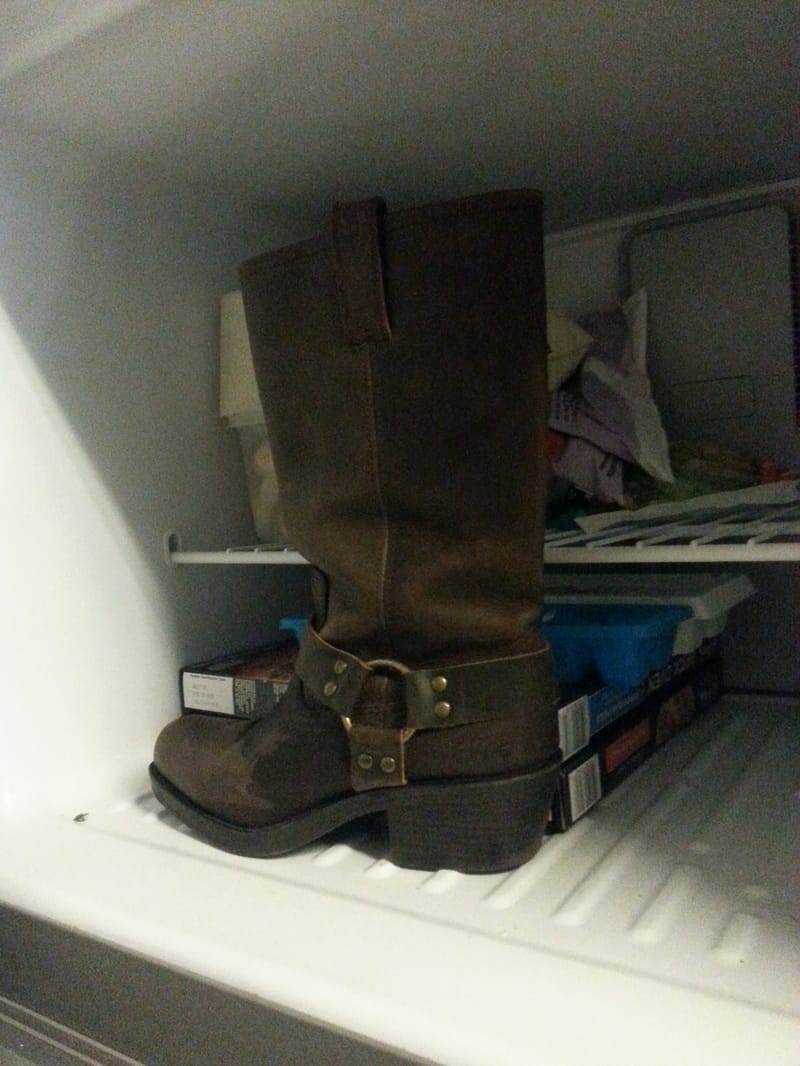
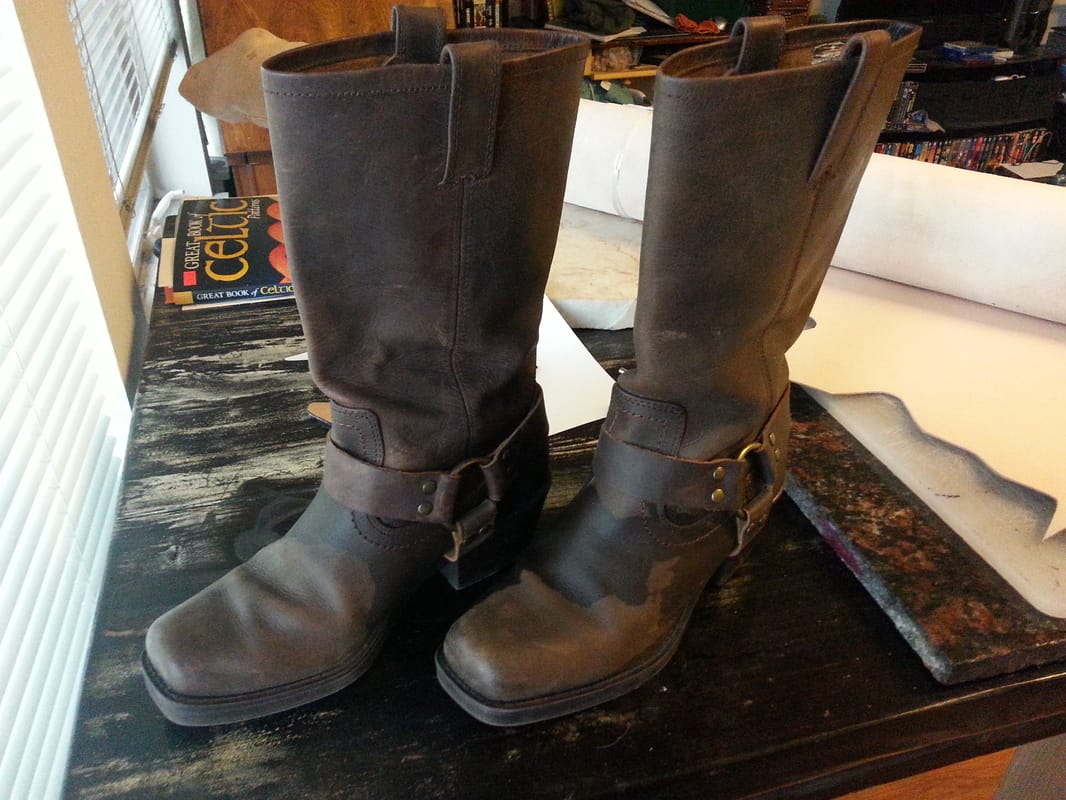
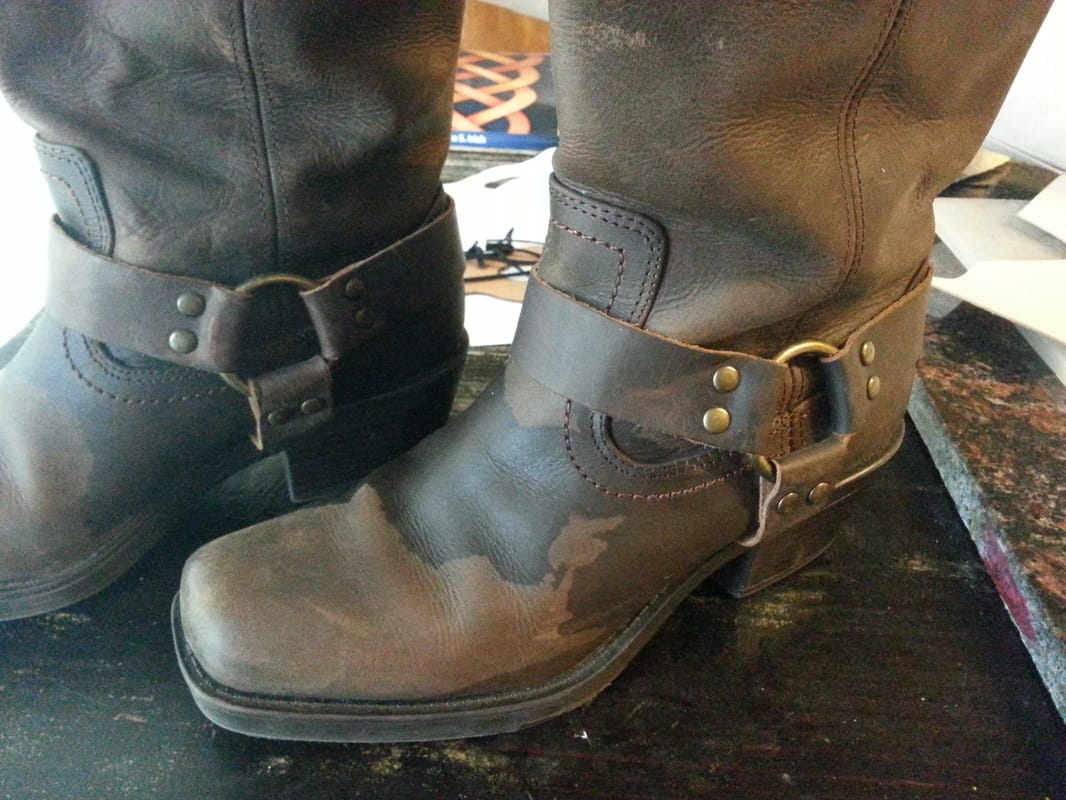
by Willow Enright You got a new pair of leather boots for Christmas or Hanukkah, but they are just a wee bit too tight. Now what? Spend hours in line trying to return them since you can't exchange them because they have sold out? Nope. Don't do that, instead try this simple boot hack to make those new boots more comfortable. Supplies:Boots 2 extra large freezer ziplock bags Water Freezer 1.) Get your leather boots, and head over to the sink. You want to fill two of the ziplock bags about 1/4 of the way full, making sure to squeeze out the air as you close the ziplock bag. Then place your water filled bag inside the second ziplock bag, seal this bag the same way ensuring air is not in the bag. 2.) Stuff the ziplock bags deep into your leather boots so that the water essentially fills the toe and heel of the boots. Be sure that the bag gets into the boot far enough so that the next step will work better. 3.) Put your boots into the freezer overnight. 4.) Take your boots out of the freezer and leave them to thaw in the sink for a few hours before trying to work the frozen ziplock bags back out. If you still can't get them out, no worries, leave them a bit longer. Leather boots will not be ruined by getting wet. 5.) Leave them to dry naturally, but go ahead and try them on and see if they are more comfortable. If they are still too tight, wait for them to fully dry and then repeat steps 1-4.
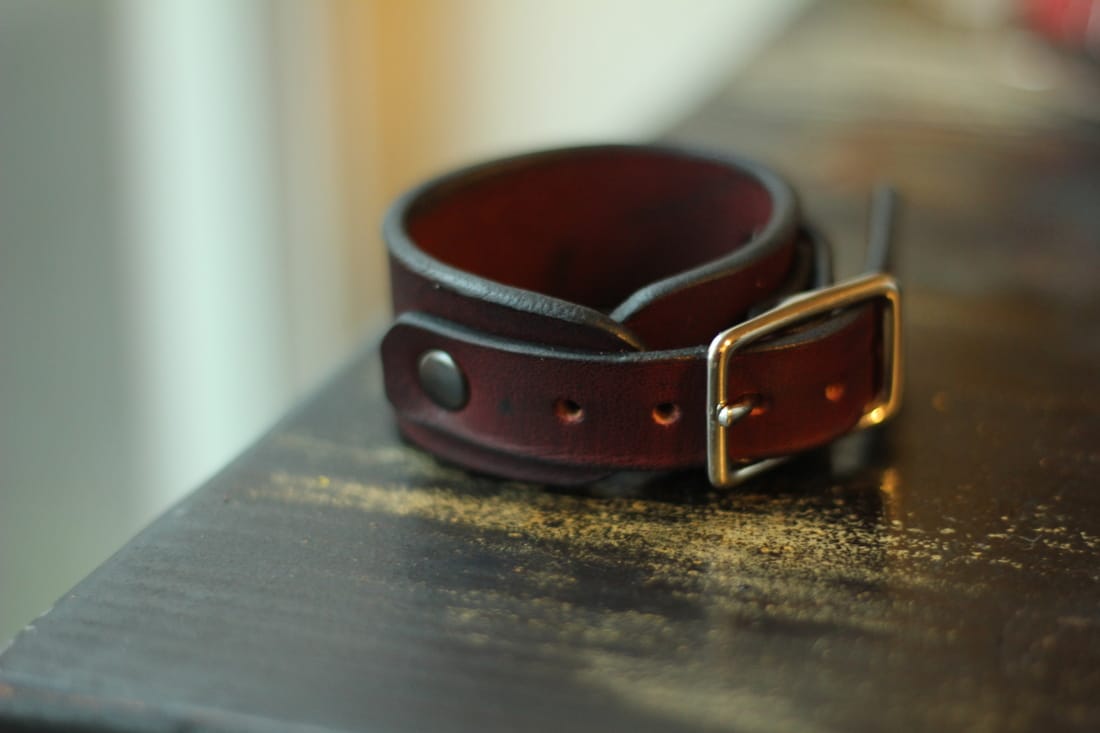
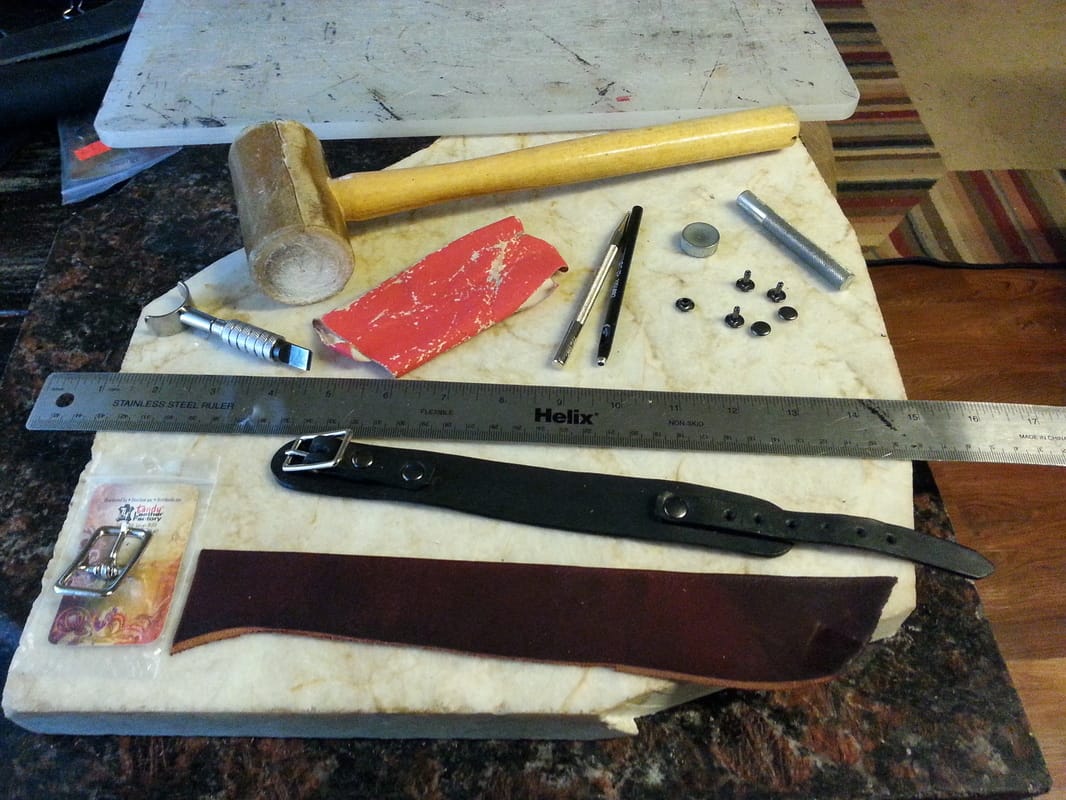
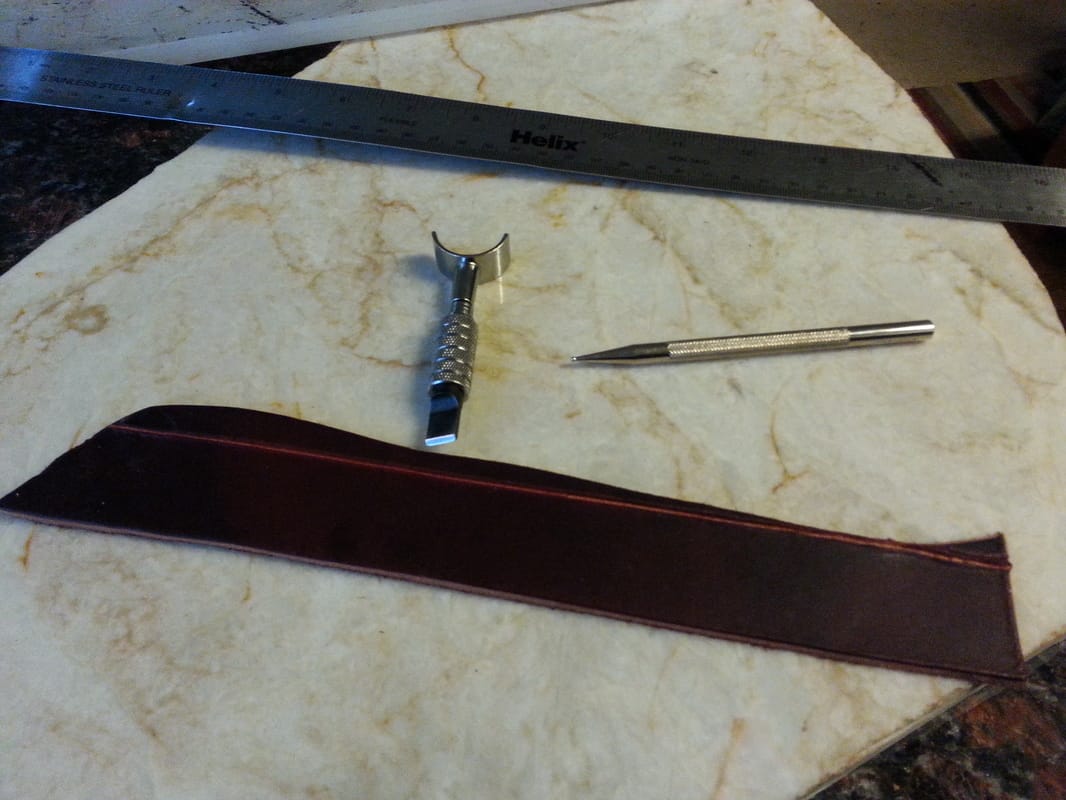
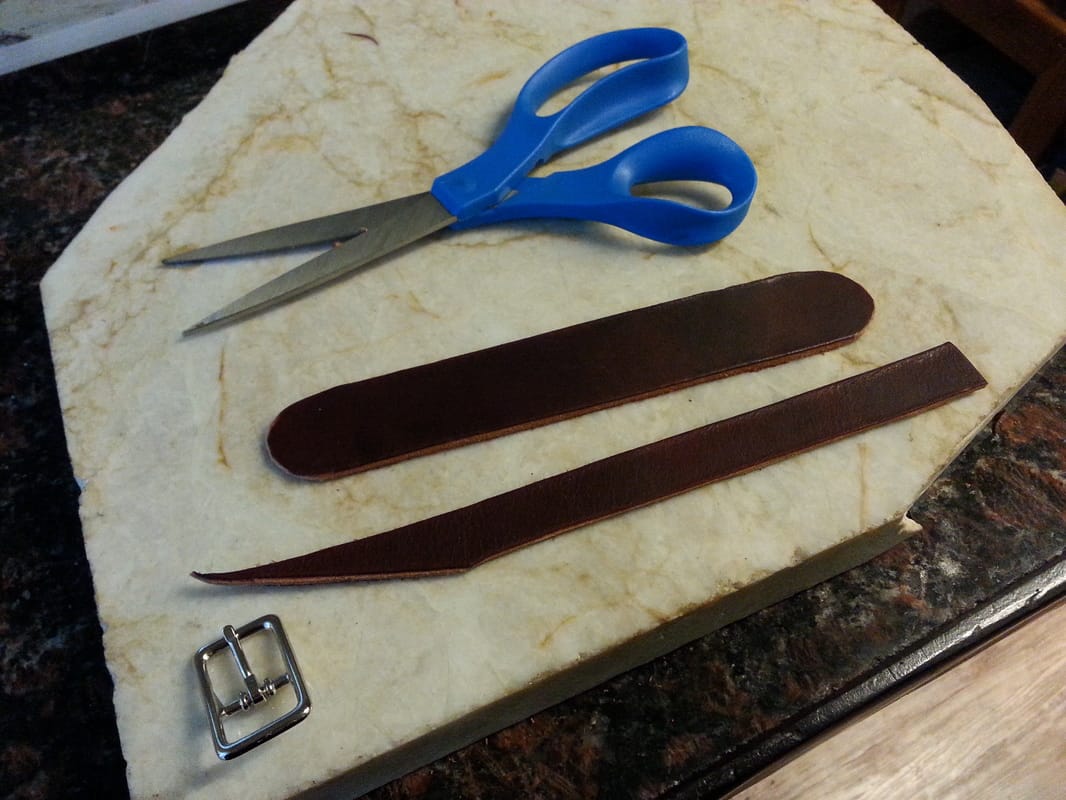
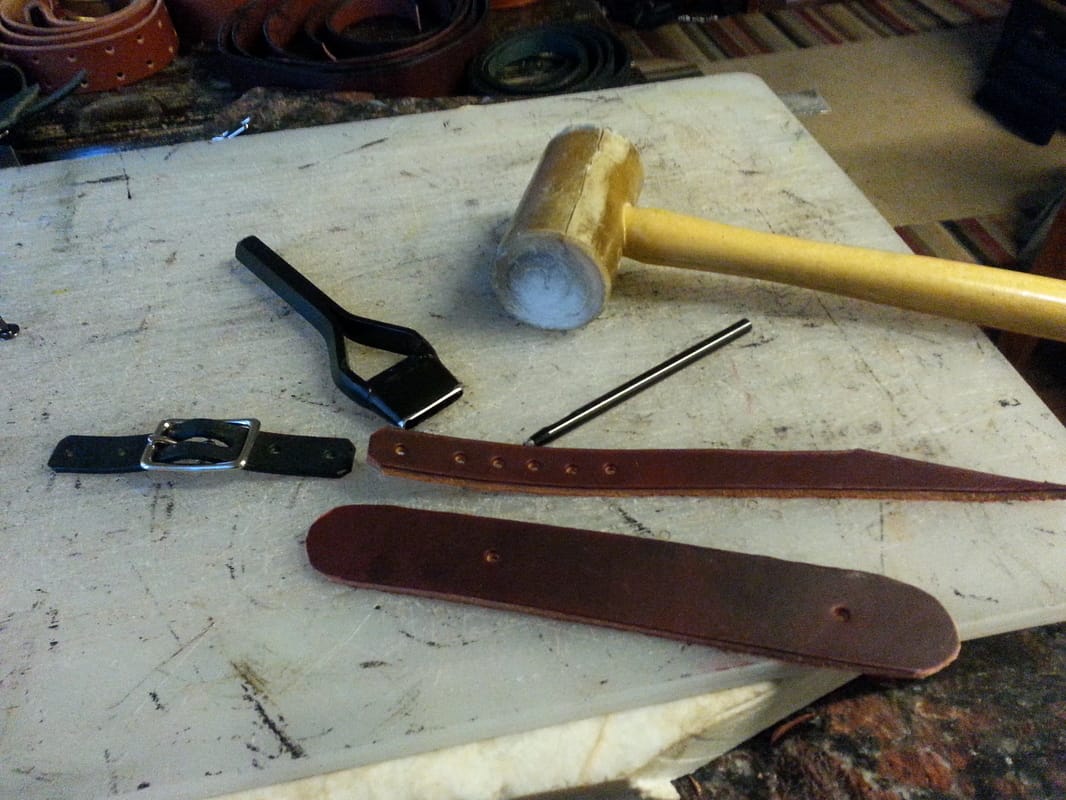
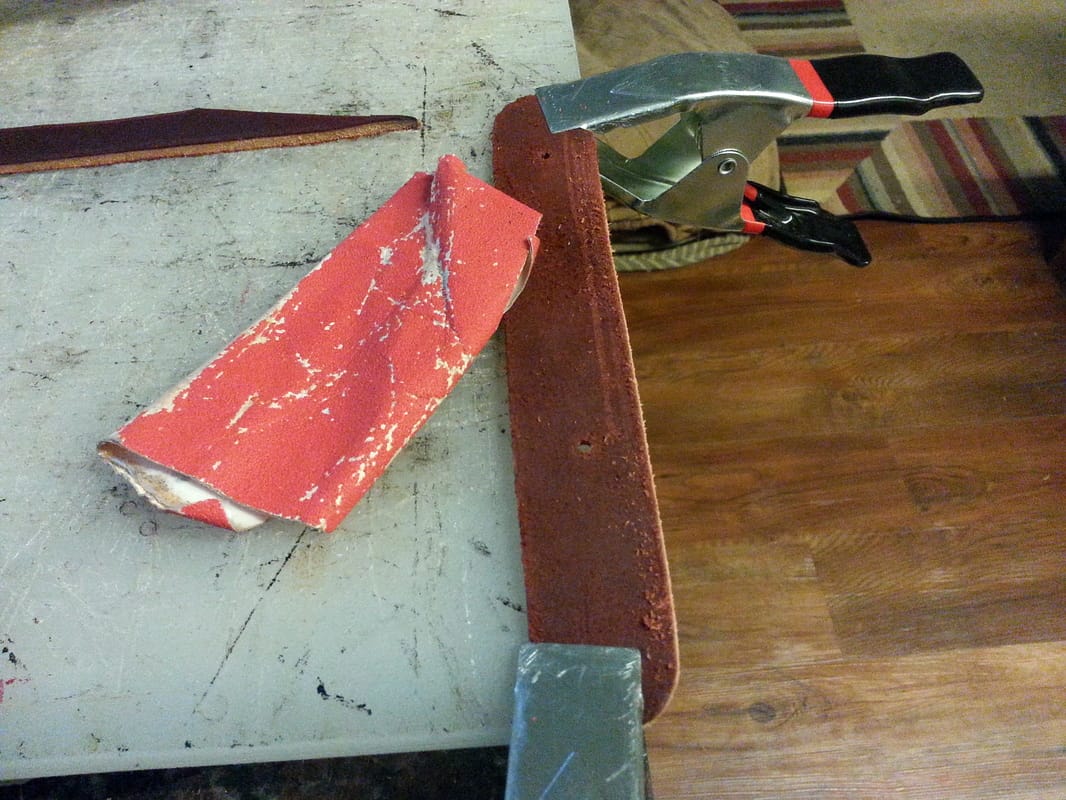
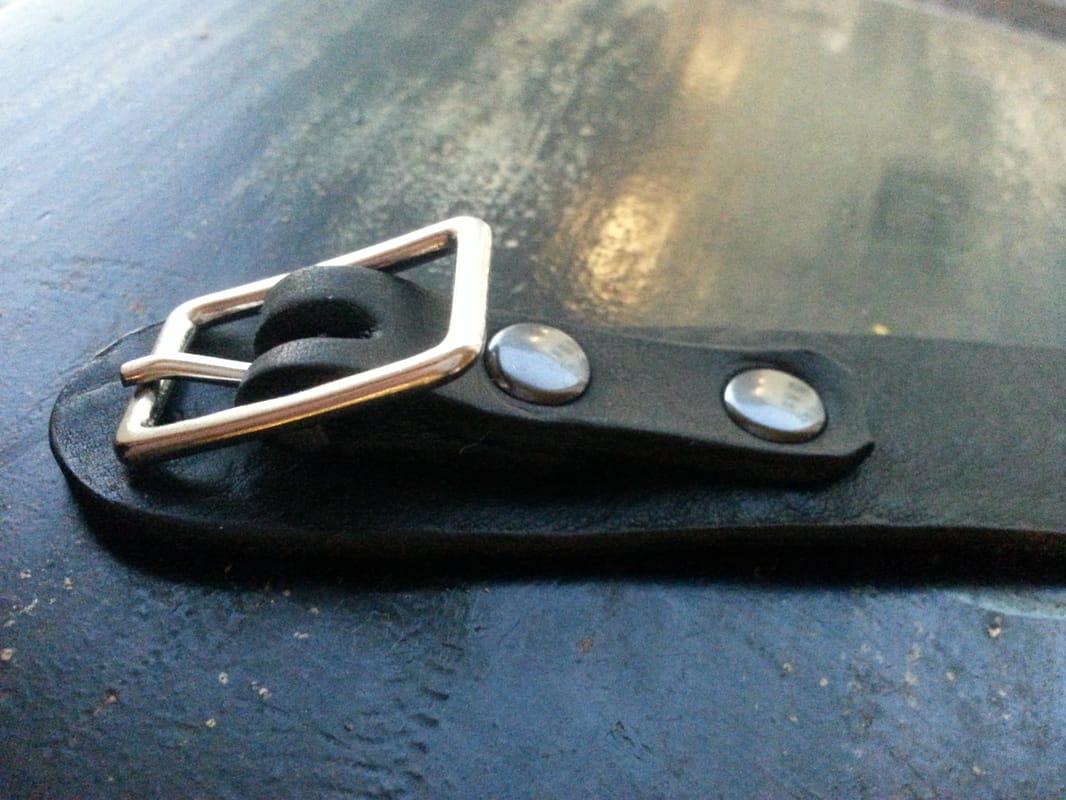
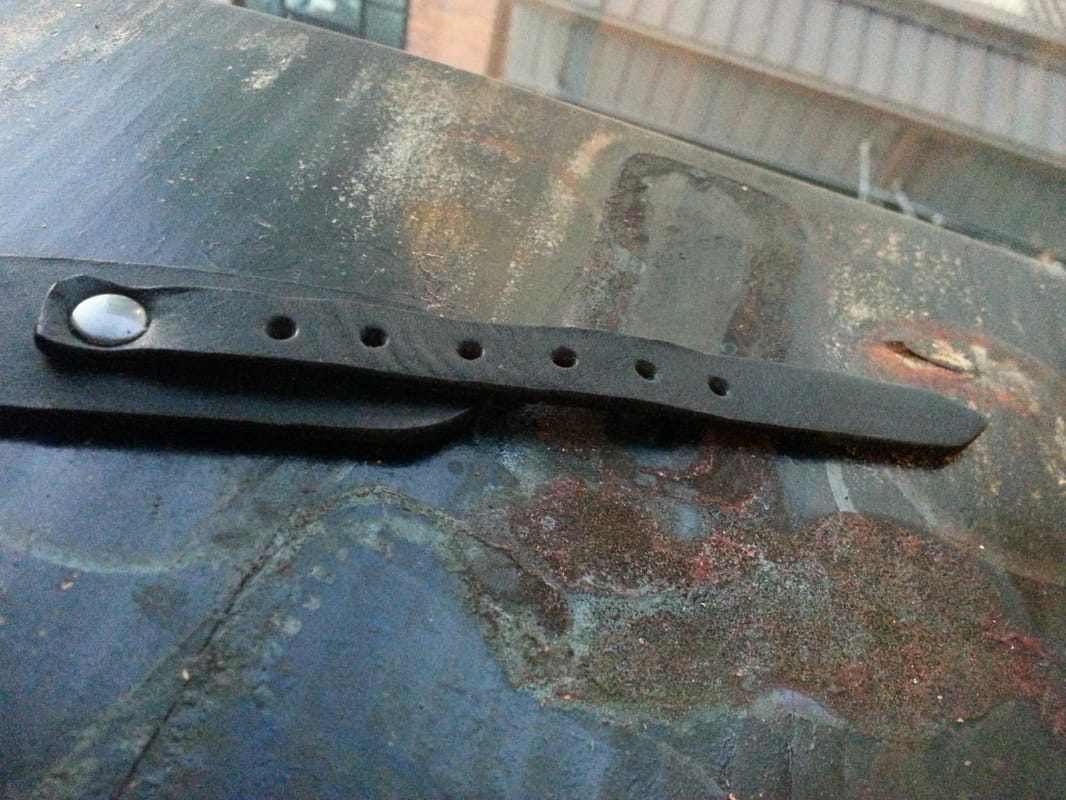
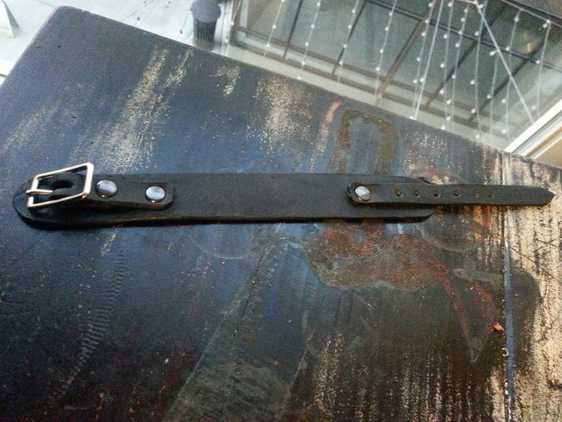
Leather is naturally flexible to a certain degree, so filling the boot with water via a bag that you then freeze allows the slow stretching out of the leather boot as it expands during the freezing process. Since the freezing takes place slowly it allows the leather time to stretch without too much strain. In the end your boots won't be so darn snug, and you can simply enjoy your gift! by Willow Enright It seems that most leather lovers are rather fond of the classic leather bracelet. There's much to be said for the simple elegance of a nicely crafted bracelet. It goes with practically everything, and it's not too terribly difficult to make one yourself. So, if you've been wanting to craft homemade gifts for those you love, you should try out this classic beauty! SuppliesCutting Board Hole Punch Rivets/Rivet Setter & Anvil Mallet Swivel Knife or Scissors Buckle 1/2" or 1" Straight Edge Ruler Leather Sandpaper Oval Belt Punch (or just cut groove for belt tongue) I usually choose a piece of scrap leather that will be long enough, and usually of a thicker ounce like 5-9 oz. You can use vegetable tanned if you want to dye it a specific color, or get fancy with design. Today however, we are staying simple and classic with a pre-dyed leather. I made two bracelets, the finished product you'll see is a 8-9 oz Double Austin Shoulder black leather and the build example is a 5-7 oz burgundy Latigo. Measure your bracelet length, making it at least 1" wide, and 6"-7" long for ladies, and 7.5"-8.5" in length for men's. Also, cut your strap at least 1/2" wide, if your bracelet is thicker than 1" then just make sure that your strap is at least 1/2" less in width than your bracelet. This way your buckle won't hang off the sides when you are done. You will want to cut the strap about an inch and a half longer than you cut your bracelet; this will let you cut that same strap into the two parts for the buckle and its counter strap. You can also round off the edges for a more comfortable fit. I like to use a buckle that already has a built in keeper to hold down any excess strap. Line up your buckle so that it sits close to the edge but not off the edge, and fold your strap over to create the buckle loop you will need to hold your buckle and fix it to your bracelet (left picture below). Measure and punch all your holes. I like to set my strap holes about 1/2" apart and do at least 5-6 holes for a comfortable but adjustable fit. I like to set my buckle strap about 2-2.5" from the edge, and afix it with one rivet to the bracelet and one rivet to secure the buckle to the buckle strap itself. Once everything is cut, sand the edges of the leather until smooth. If you like the rougher look to your end product then leave the edges raw after sanding, otherwise you can be fancy and use an edge kote and burnish them nice and smooth. To make the oblong hole for your buckle tongue you can use an oblong hole punch or just use your regular one to punch most of the leather out of the way, and then use sissors or an exacto knife to clean up the edges. Use your rivet setter and anvil to set your strap rivet, fix your buckle to the strap and then the strap to the bracelet. The end result will be a classic leather bracelet that will be loved and cherished for years to come!
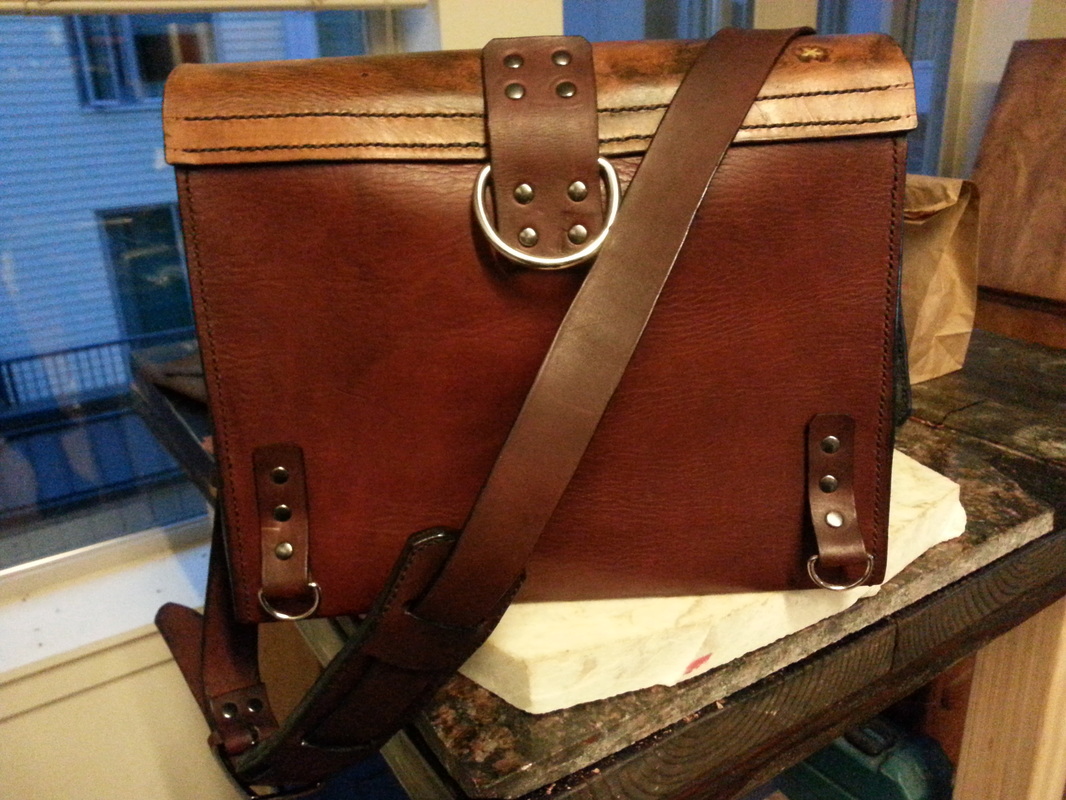
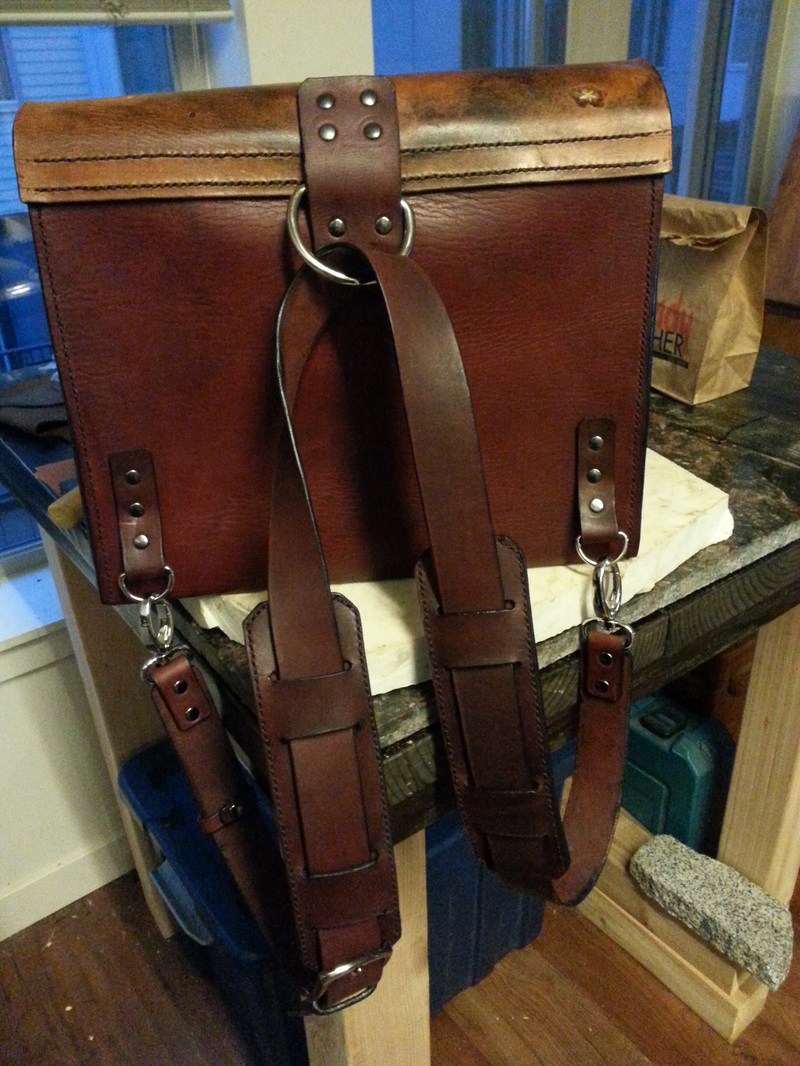
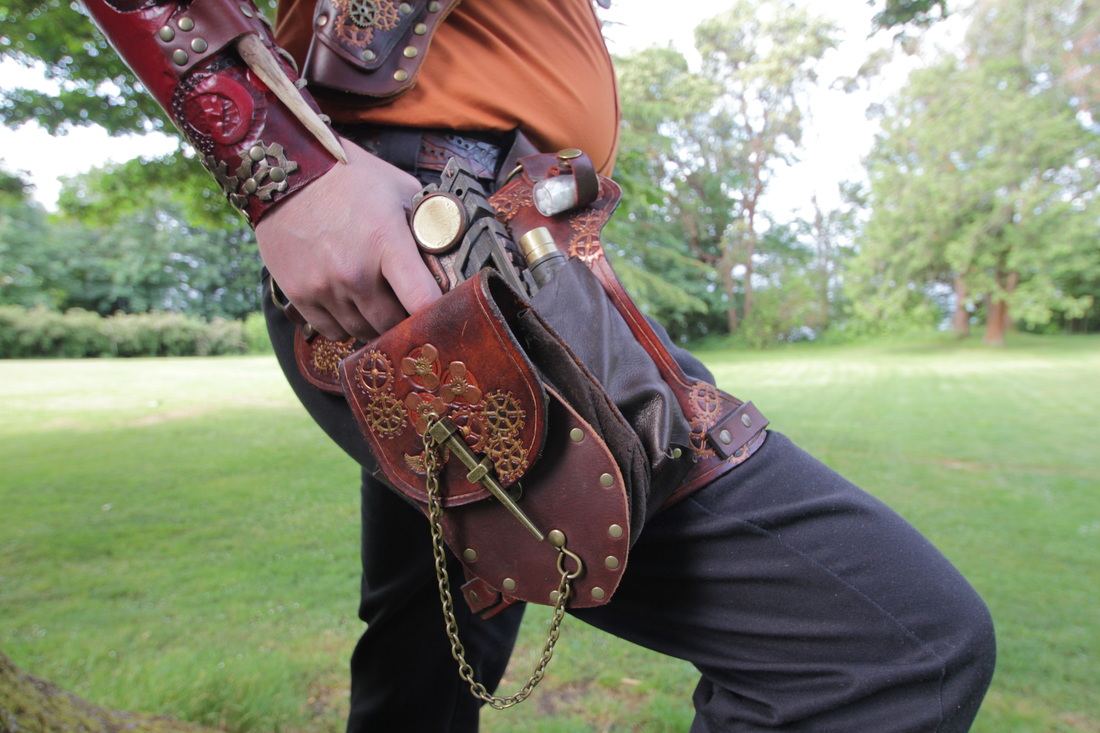
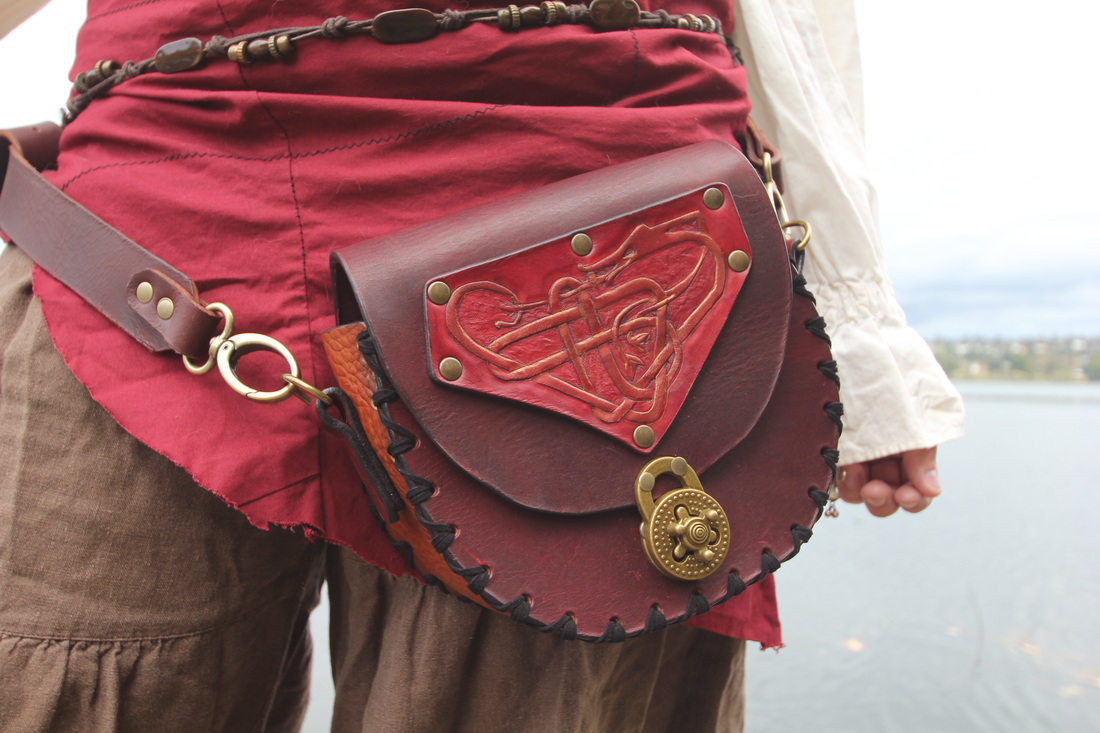
by Willow Enright I’ve never met a leather satchel that I couldn’t see having in my life for years to come. In fact, one of the most cherished heirloom items are leather bags. Messenger bags, backpacks, satchels, hip bags, duffle bags, suitcases, trunks, and purses have all been passed through the ages as family treasures. Leather has that ageless quality which speaks of a style beyond measure, and the holidays are the perfect time to give priceless gifts that will continue to give for years to come. The classic messenger bag comes in many forms and sizes, varying in the amount of compartments and pockets available. Some are quite large and others reasonably smaller, but regardless of their size these types of bags are one of the most prized totes to own. They usually have a long strap which is slung over one shoulder and across the body, leaving the messenger tote bag to rest on your opposite hip. You can use varying thicknesses of leather to create different looks for a messenger bag. There are even types that have the ability to be used as backpacks as well. Backpacks are basically a rucksack, usually worn on your back, and slung from either one or two shoulders depending on the design. Leather versions of the backpack have been carried for centuries, often with one strap securing the bundle in the middle of your back. It can be quite a crude bag barely more than a swaddled bundle, unsecured but capable of carrying out its intended purpose of hauling goods. Nowadays, backpacks have more happening than that. They are found with multiple pockets and pouches of varying size, and buckles for securing it steadfast. The leather satchel bag has had many forms and uses over the last several hundred years. It was often used in tandem with farm animals, such as horses or mules. Leather satchels are rugged and durable, holding up with hard use outdoors. One could sling a shot gun, supplies, or tools easily over a trusted steed in a leather satchel and never think twice on it, but when the automoble rolled off the assembly line and into your drive way people didn't think to keep around such a handy shoulder bag. Especially since we now have to be our own pack mules and end up carrying laptops, cellphones, tablets, and various other devices. Hip bags have deftly replaced the satchel bags we used to know and love. Few folks still have horses and the like, so now we haul stuff around on our own hips. Which is really a good way to carry things around if you think about it; your hips bare the majority of your center of gravity weight. So creating leather hip bags similar to satchels is actually a good alternate way of toting your daily items about. Some hang from your belt, others have their own belt attached, and sometimes there is a leg strap involved. Hip bags are definitely much more complicated than the simple duffle bag, for instance. The duffle bag usually has one very large compartment for carrying more than your daily gear, and a long strap for over the shoulder slinging. These are designed for the weekend getaway or the minimalist’s ideal for traveling. There aren’t many pockets for your stuff to get misplaced in, and you can easily open them up wide for getting to your things. Plus, if you happen to be in a Zombie Apocalypse you can also shove guns into a duffle bag fairly well. Unlike the traditional suitcases which are impossible to run with. Although they are not great in the Apocalypse, suitcases are extremely helpful for traveling on the leisure. Being rather hardy and compact they truly stand up to the rigger of journeying about endlessly. Usually suitcases are made with a flip lid, buckles or locks for enclosure, and a sturdy handle for toting them about. They can be made of several materials, and leather is one. They were originally designed as the mini trunk on the go, and for the most part retain that reputation today. The traveling trunk may be one of the oldest forms of a closet that we know. There was a time when huge, heavy, overladen trunks stowed away ones beloved possessions and clothes in carefully designed drawers or pull out flats. It made rotating seasonal clothes more convenient, while at the same time making it impossible to easily haul around. Lavish leather trunks have been seen throughout the ages, some in combination with wood, others simply made of leather. However, the ingeniousness of such trunks is scarcely found today unless you take into consideration the basic modern purse. The common place bag for trekking your daily goods about these days for ladies is the purse. It is preferred with a strap to go over the shoulder, but sometimes women like to carry them clutch style. Lately, wearing them slung around your hips is great, too. Leather purses are lovely, especially when they have a nice patina (where the leather is slightly lighter from being bent.) You can have slouchy leather purses, or more ridged thicker leather purses to maintain the shape. Regardless what type of leather bag is your favorite, if you take good care of it, then it will last you for ages.
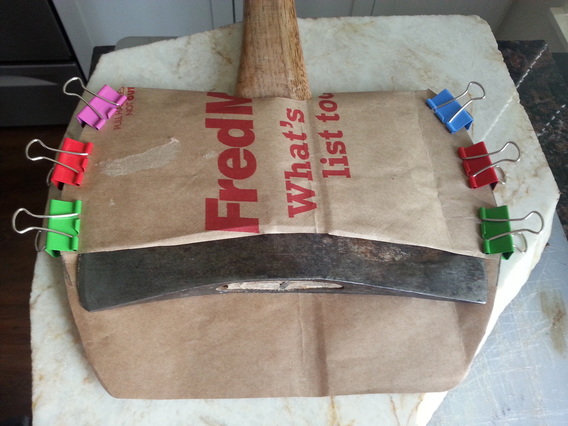
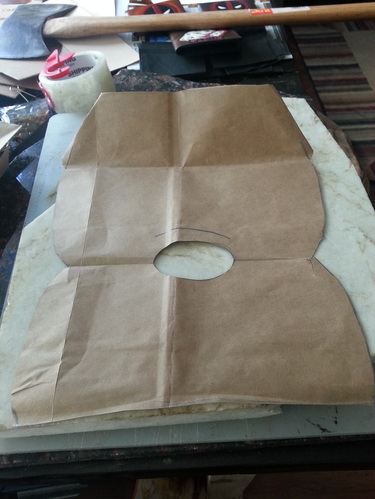
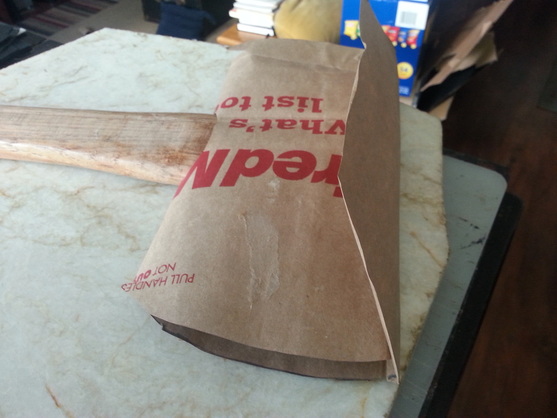
by Willow Enright People have been copying others for centuries. They copy hairstyles, clothes, weapons, mannerisms, shoes, and even vocabularies. Sometimes you fall in love with something that you see and you just have to recreate it. This is the essence of cosplay, in pretty much a nut shell. Reverse Engineering is the process of figuring out what steps to take to create a garment or item that copies an already existing item that you have seen without a pattern. Outright copying a pattern that has a copyright is against the law, but you can state that you were using such and such’s pattern to create your final product. With reverse engineering you’re going to use all of your know-how to create an item that looks like the one you see. The first step is to choose what you want to recreate. You will need either the physical object to recreate, or some pictures of the item you are trying to copy. If you are using photos try to get pictures of the front, back, and side along with any close ups of the details. The next step happens to be my favorite way to reverse engineer something, whether it is a bag or clothes, and that’s to build it with paper bags and tape first. Cut open and lay out your paper bag, then trace the basic shape of the item onto the bag. This is a great way to make changes to the shape and structure quickly. You can pinch, fold, cut, tuck, and tape until you get the shape you want. When it looks like the shape that you’re aiming for, you can cut out the pattern into pieces. This will let you see if the pattern will need darts or strategic cuts in places to be able to put it all back together. Your next step is to build it out of fabric or cardboard. If you are using a garment leather to recreate a fabric item such as a skirt, or gloves then use fabric to create your pattern. If you are using a thicker leather to create a pouch or bag you can stick with the paper bag or transfer your pattern to cardboard. I find both are useful for different patterns. Cardboard is great for wallets, straps, and body armor pieces because it’s thicker and will hold up for multiple uses. If you are making sheaths or other specialty item cases, then paper bags will suit your need better since you are able to bend the pattern over an actual item to see how it will fit. One of my favorite reverse engineering of patterns is using small boxes as guidelines for making pouches. This one is pretty simple in that it skips the having to figure out your pattern for the most part. The two adjustments that you need to figure out are another way to make the flap that will cover the basic box shape, and how you want to do your belt strap.
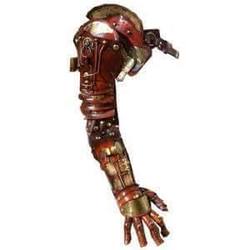
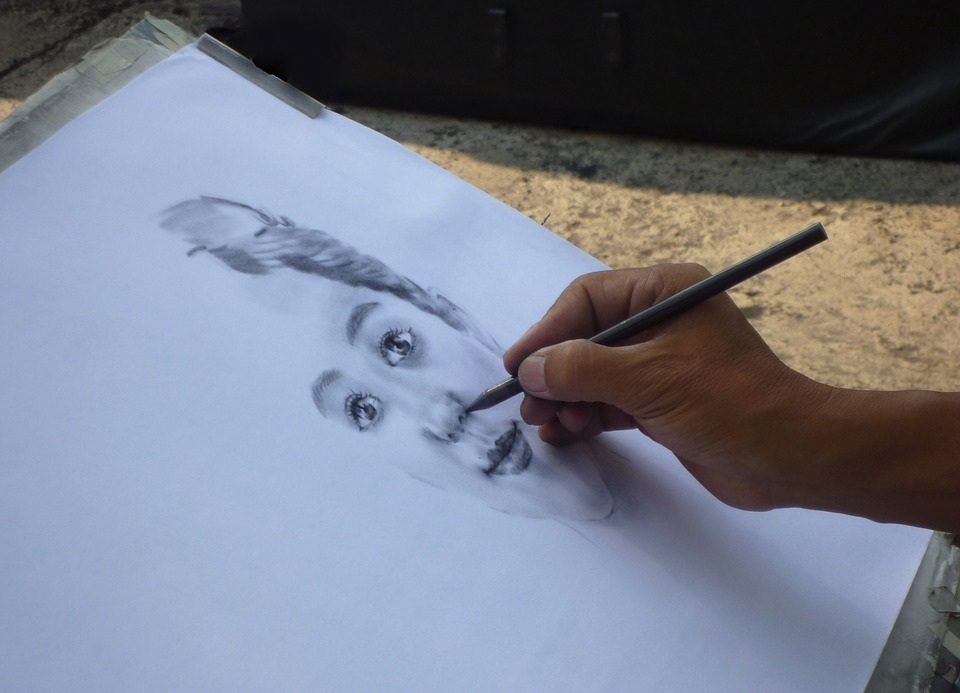
Once you have your pattern, you can begin the real project! For continued use I recommend that you label the pattern and store it in a zip-lock bag or a filing cabinet. Let me know if you try doing reverse engineering, I’d love to see what you come up with! It can be daunting working with an artist that you've never met before. I can recall some interesting conversations with folks seeking commissioned works of art from me. One in particular was a request from an aspiring film maker, where I was asked to provide a "bid" for creating an elaborate Steampunk armored arm from shoulder to finger tip. When I inquired further about the financial expectations for the piece, the individual did not provide me with a proposed budget even when I specifically asked for the budget available to them for the project. They vaguely suggested that others were contributing their time, money and goods to the project simply to be supportive of the possible film endeavor. When I mentioned that I have a contract for commissioned pieces, especially for such an elaborate end product, and that I require half upfront for materials they agreed this seemed fair and still requested that I give them a "bid" for the work. The piece was supposed to be incorporated into an already made elaborate period piece costume. I spent time researching materials, including leather hides and Steampunk hardware, and I also drew up several sketches to incorporate the original costume into the piece. When I was done with my several hours of research I submitted the requested "bid" to the individual for the project, they read the proposal and then never responded back. If they had provided me with a proposed budget I may have been able to accommodate their need by using different materials, however not having this information I gave them what I thought would work best and of course, charge accordingly for the project. Sometimes, you want awesome things for various reasons and you have a specific budget. There's nothing wrong with that. In fact, it happens often where people want something but don't have any clue how much time, energy or money goes into making that happen. However, knowing your own expectations and presenting them to the artist aren't negative things, they actually help an artist gauge what sort of creations can be done for the money the individual has available to spend. It won't always work out that the artist can create such an amazing piece on the budget that you have available, and most artists who sell their work have a certain standard of what their time and art will cost to create, and almost all of them can give you an honest response about what they can and cannot do for you. None of this should be seen as negative simply because it is about art. After all, you wouldn't ask your local furniture store to give you one of their high end refrigerators for $20 would you? Here are a few helpful hints to remember when working with an artist. They are dreamers and use a lot of their brain power towards using their imagination. They want to create something that they will enjoy making and you will enjoy forever. And most importantly this is their job. Artist use their imagination as much as they can. This can be both a plus and a negative, plus side they will be able to dream bigger than you ever thought, the drawback is they may not be able to keep themselves grounded in reality or budget. This is where a contract helps the artist stay on track. Good contracts will have promises that the artist will communicate with you multiple times about what you want, each step is to be looked over before moving on to the next. This helps keep the project on target. Artist don't want to sell you something that you aren't going to love. One, you might talk bad about them, two, you won't showcase them and three, artist also don't want to make something that's boring to them. They have to work with this art form for however long it takes to get it right. So it isn't helpful to shut down all their ideas, especially when you don't have specifics about what is desired. Remember they are using their imagination frequently, which is taxing to their energy. You wouldn't offer to lift a heavy bag for your personal trainer, so why ask an artist to keep their opinion to themselves?
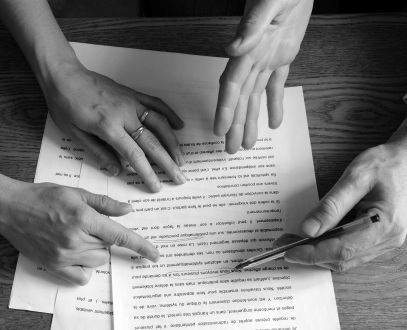
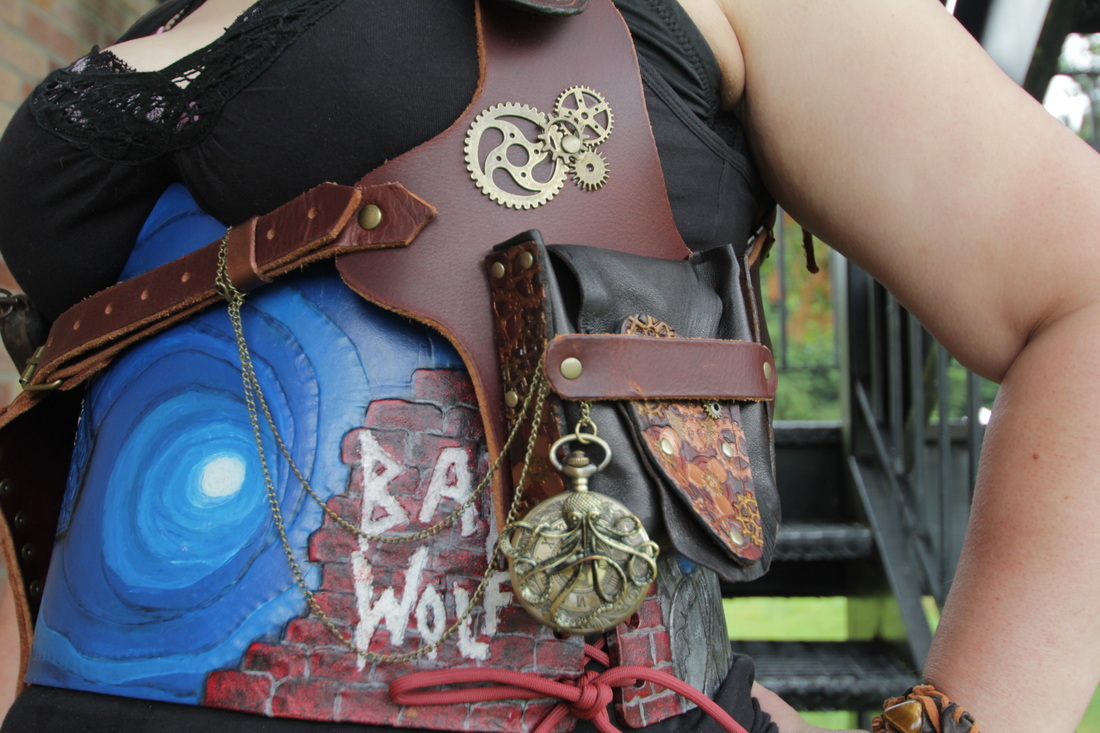
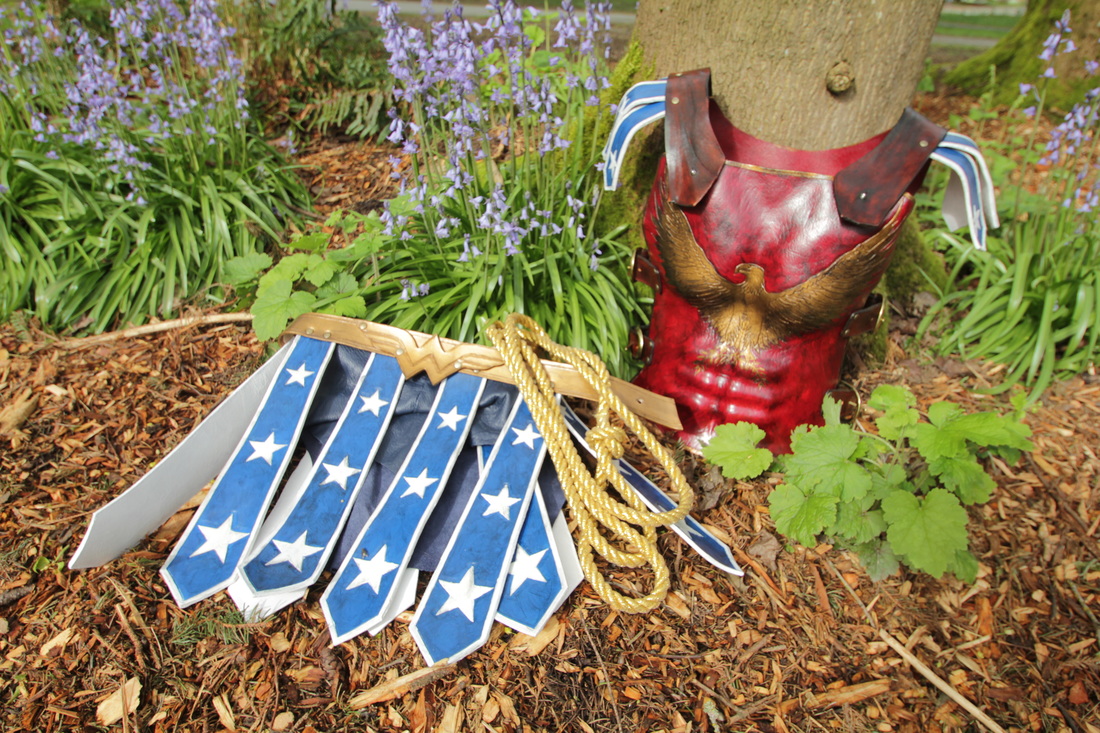
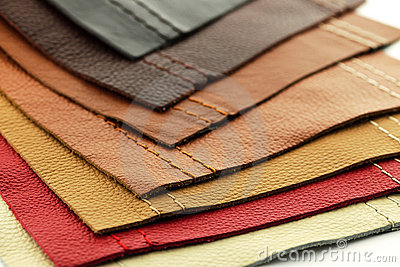
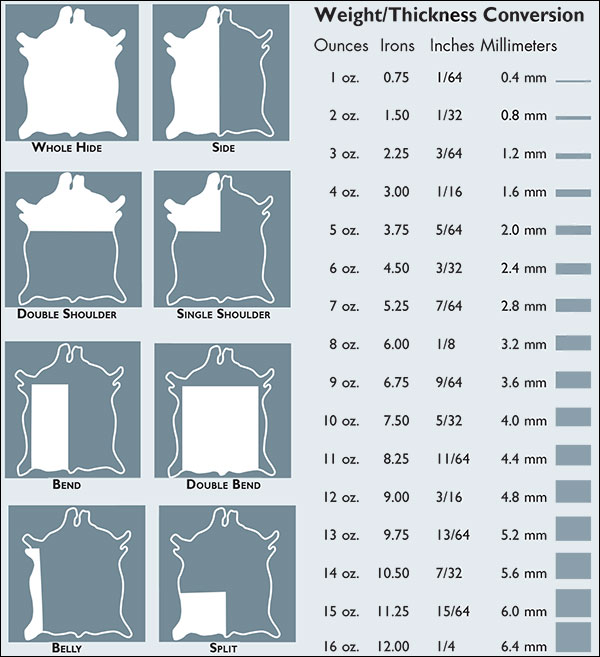
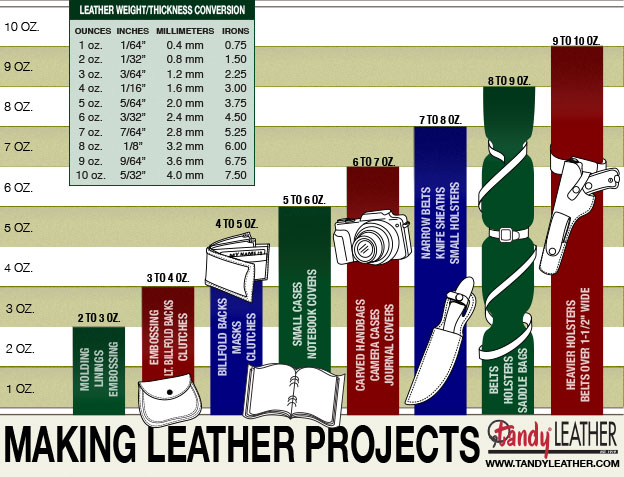
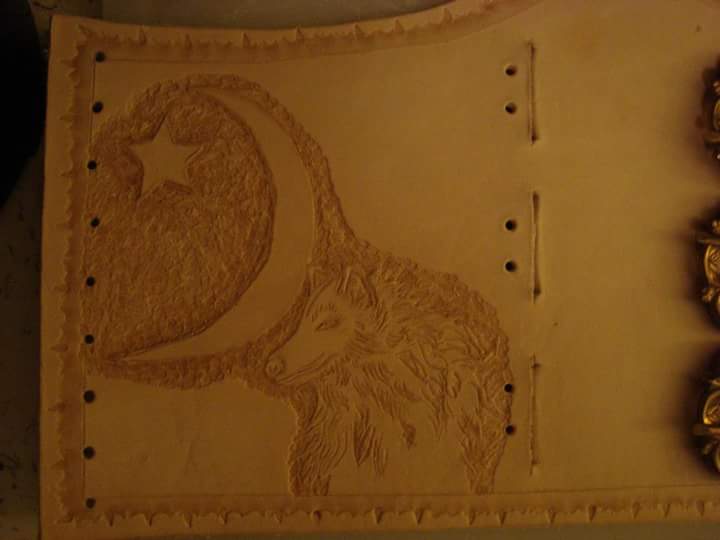
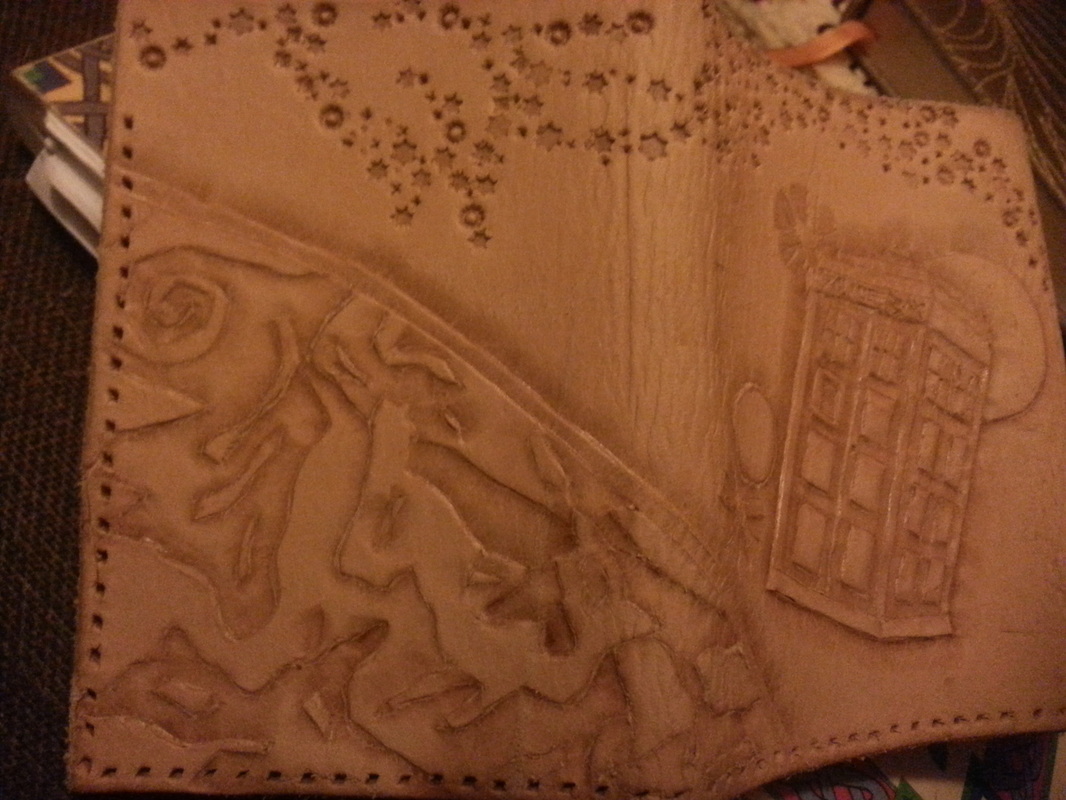
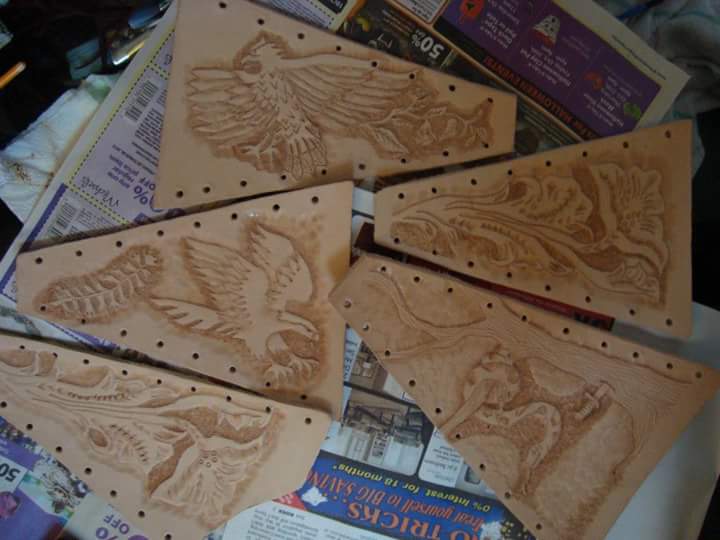
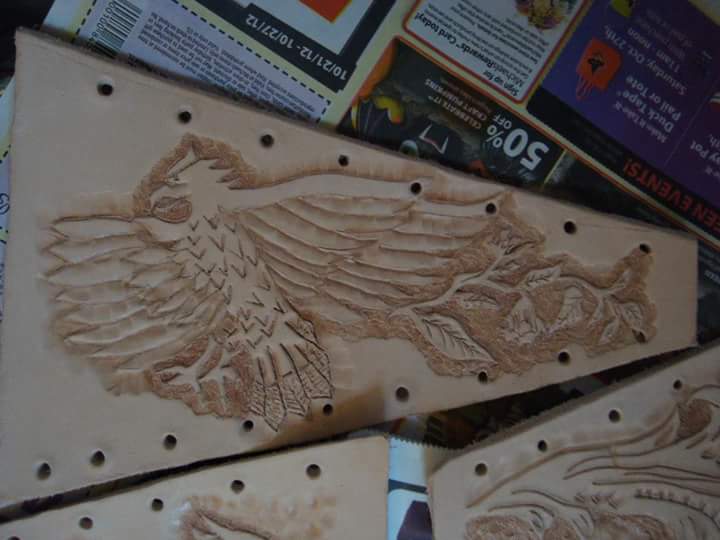
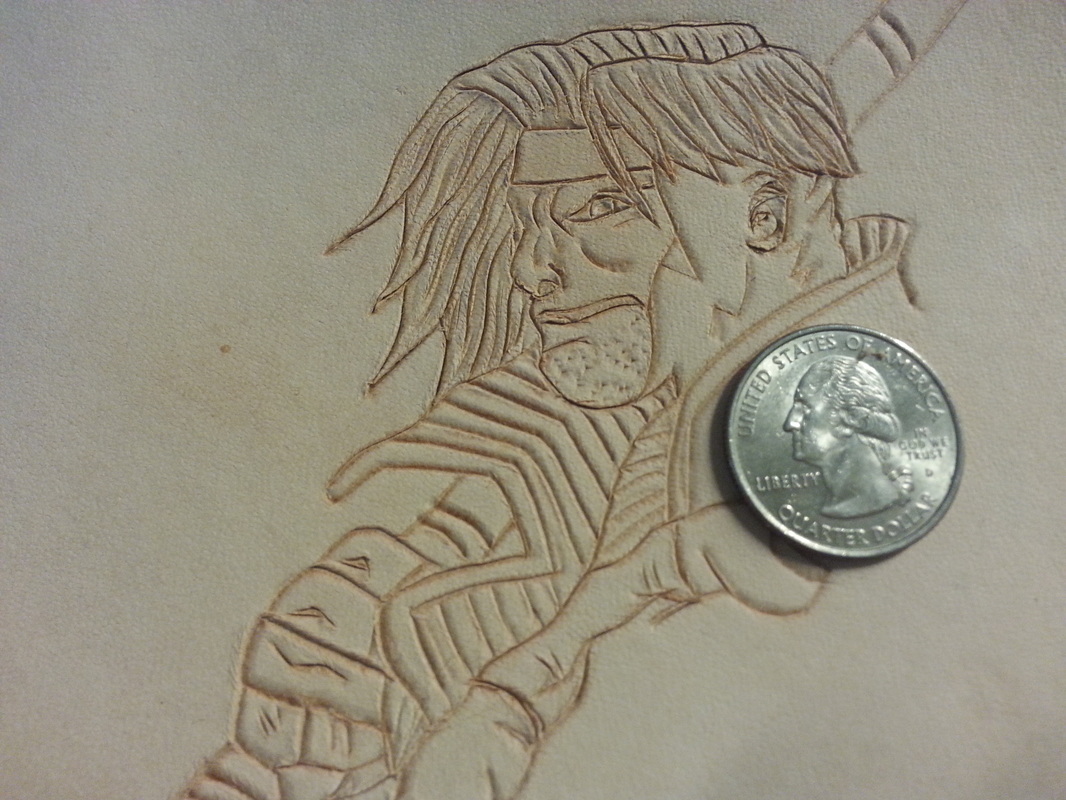
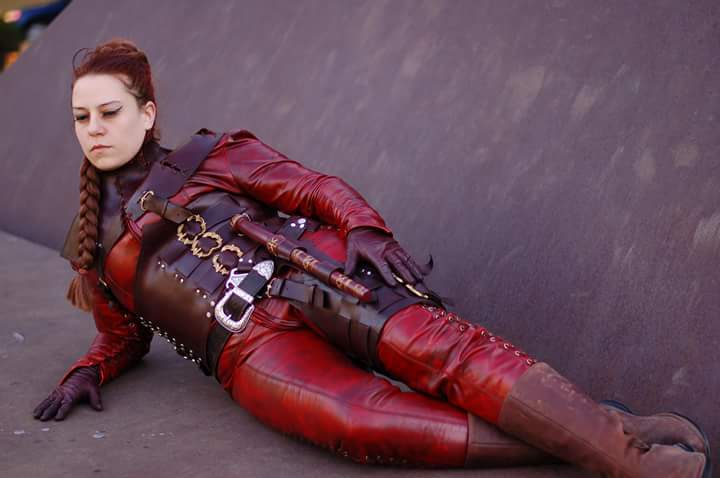
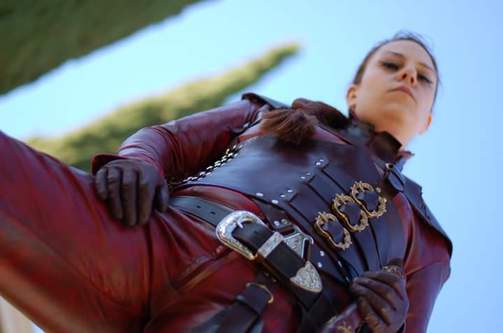
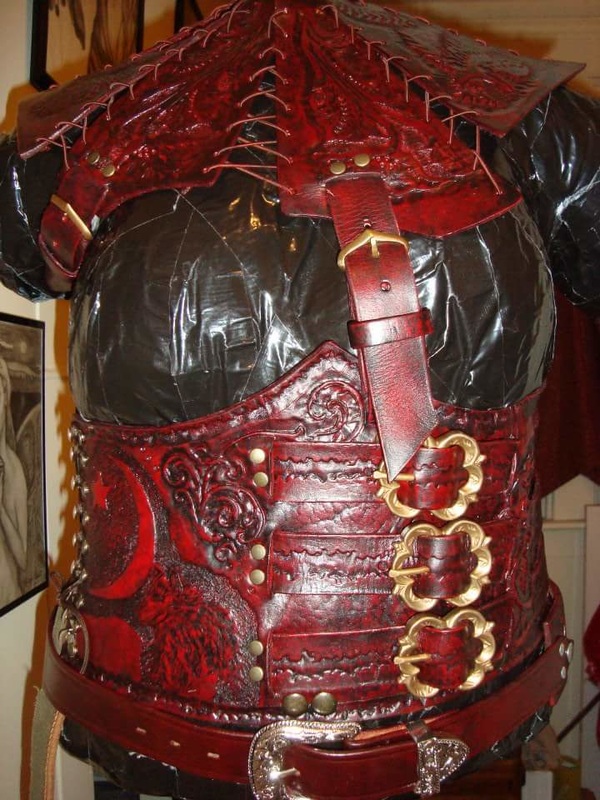
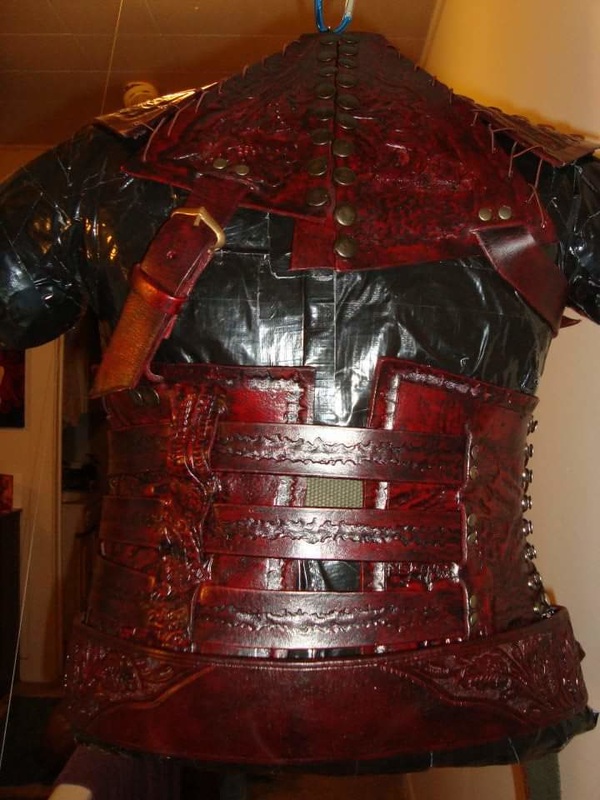
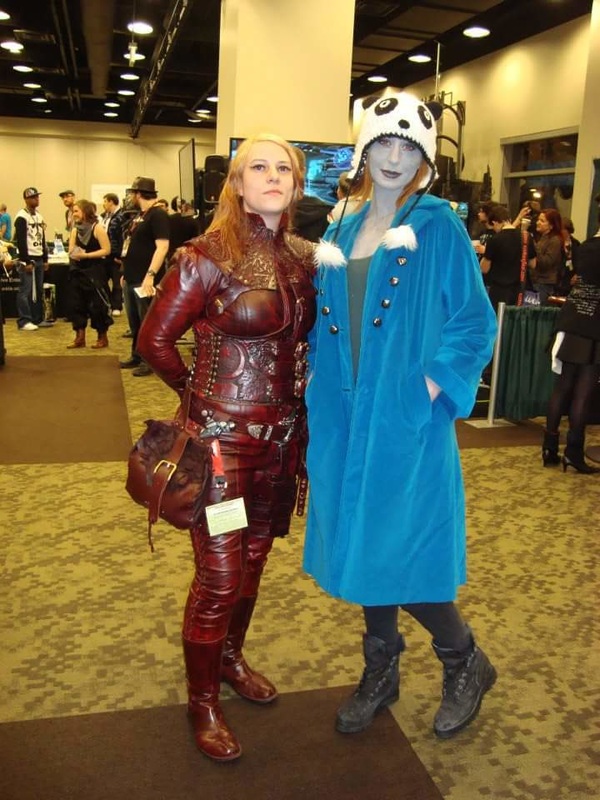
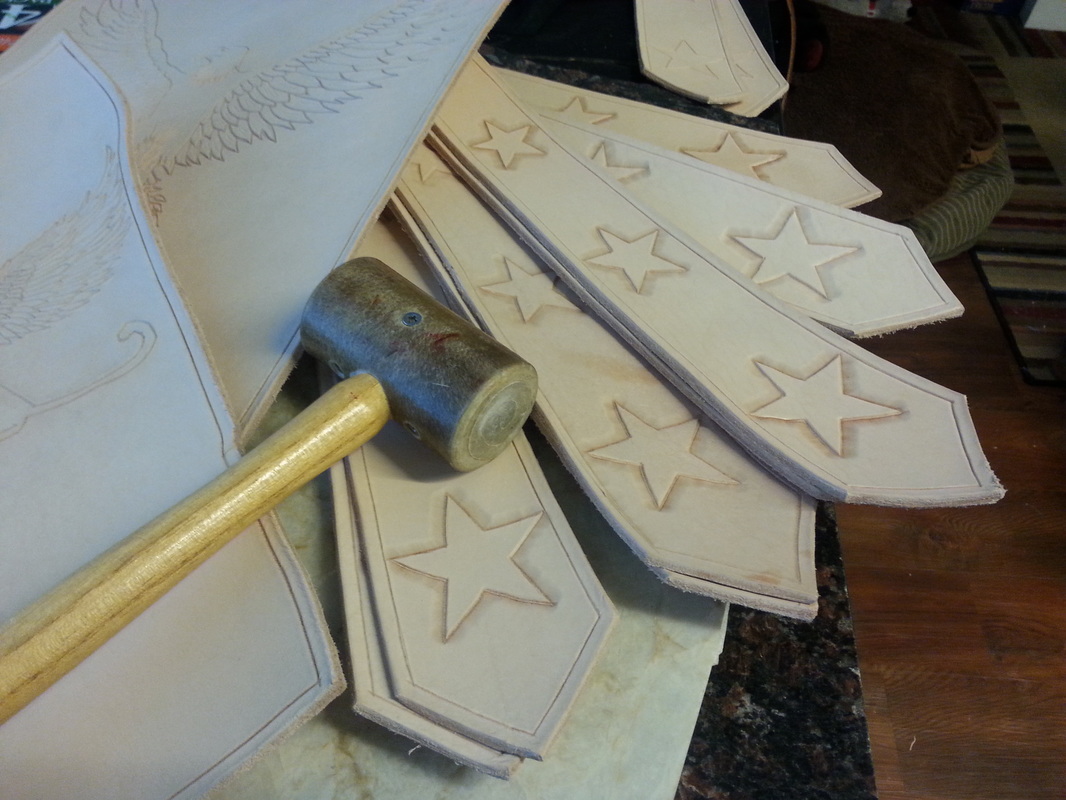
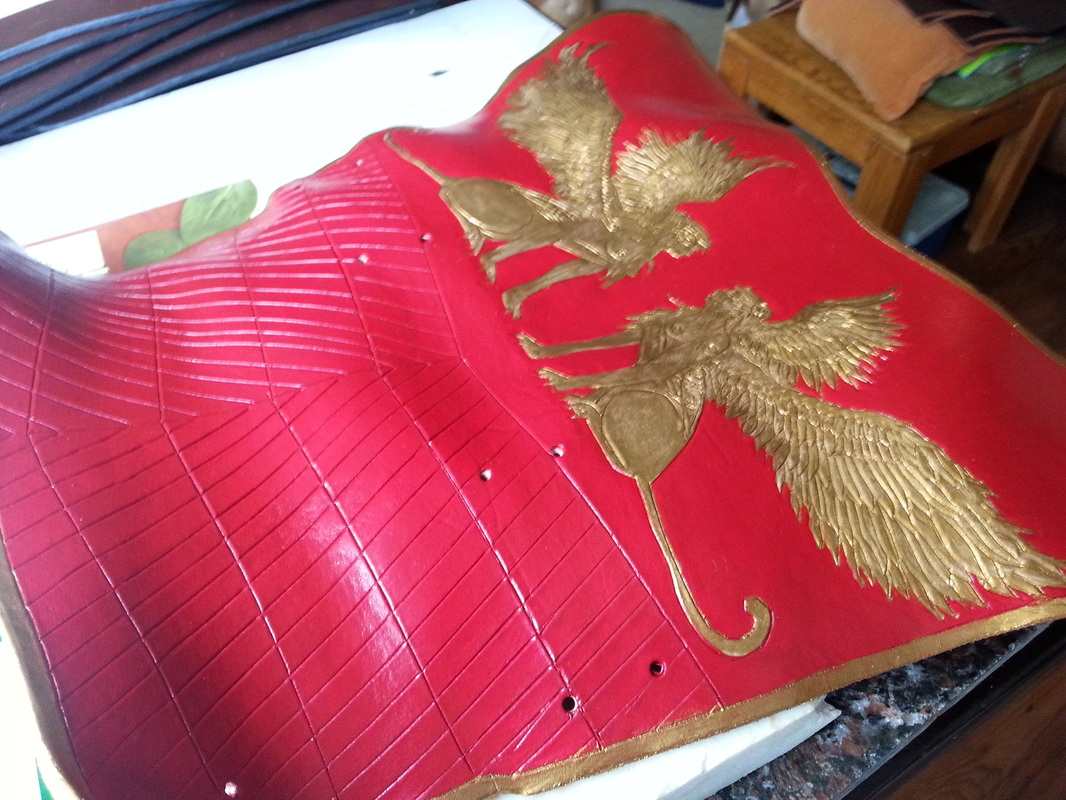
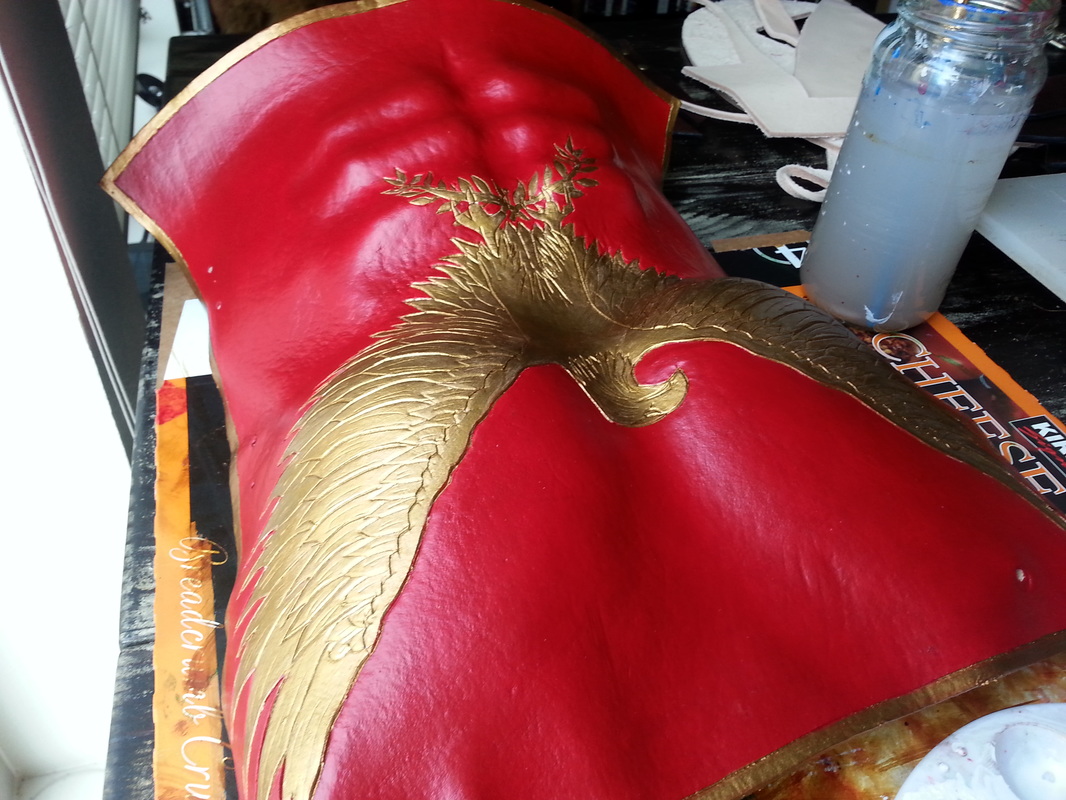
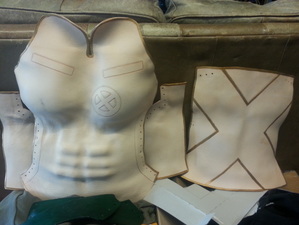
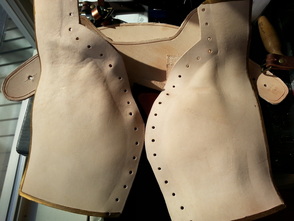
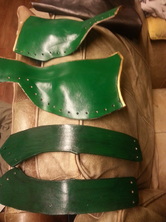
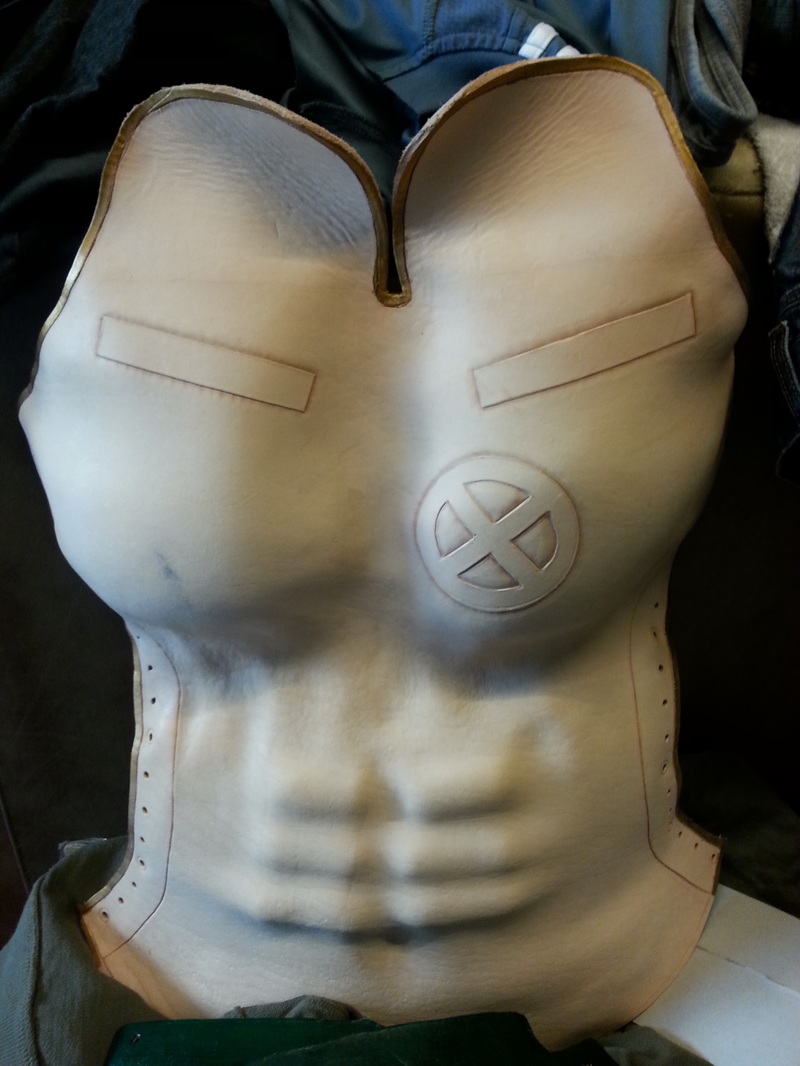
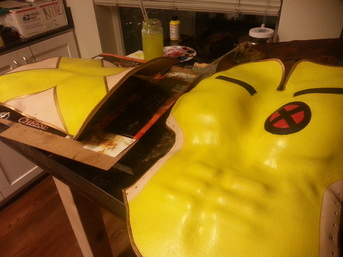
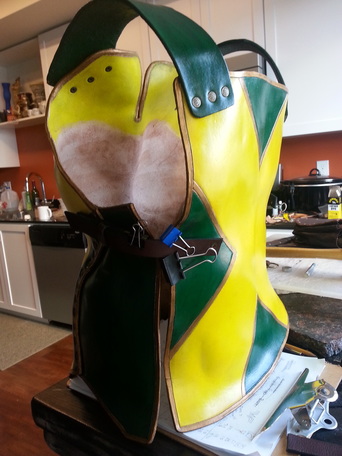
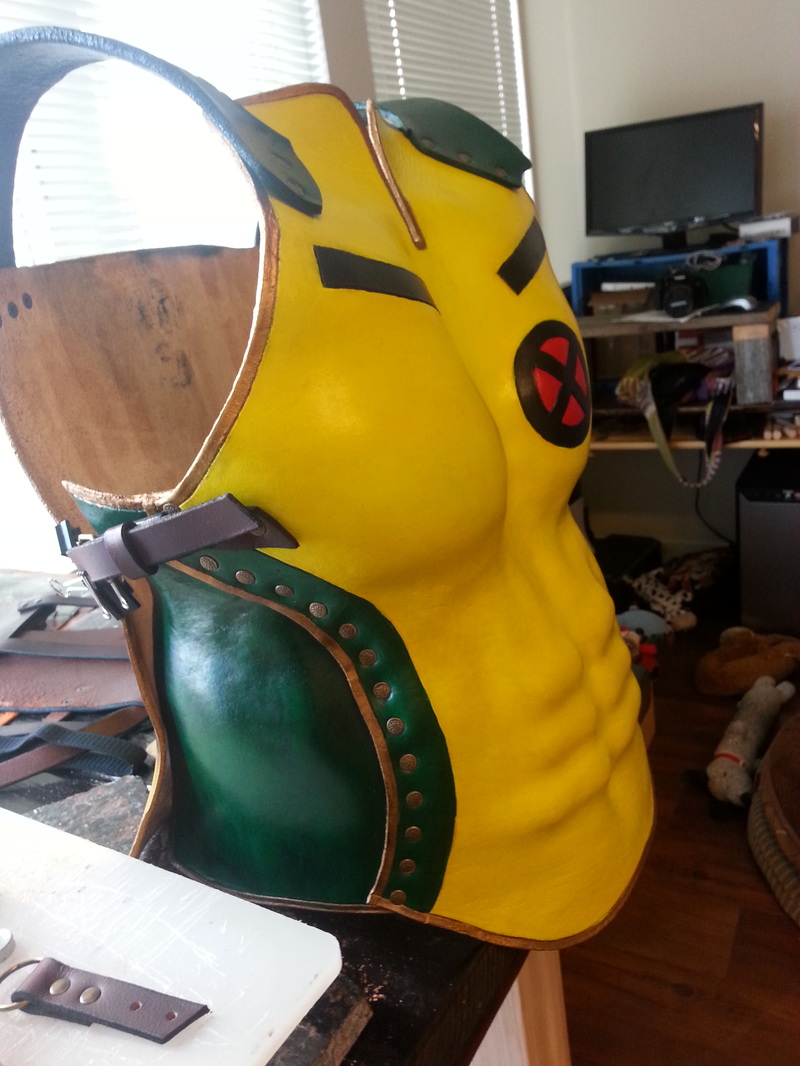
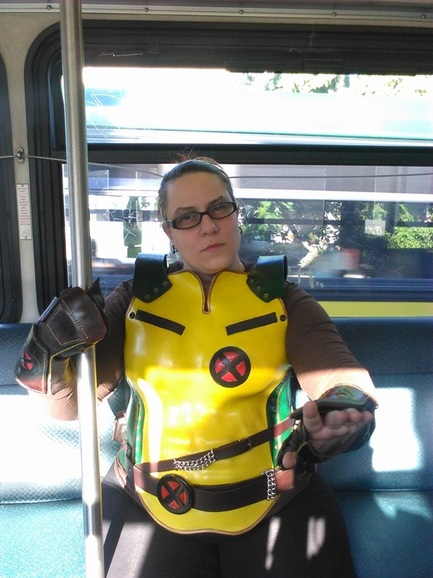
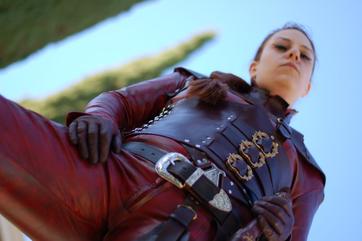
Don't forget that being an artist is a profession, not just a hobby. This is their job, and contracts are a professional way to help them stay on track towards creating the best outcome. When you hire a contractor, go to a mechanic, or call your plumber they all offer you a contract to sign before they begin working, and it should be the same when requesting the same service from an artist. If you have a budget, be upfront, that can only work in your favor. Artists do what they do because they love it, but they can't read your mind or do it for free. Don't be afraid to ask for some assurance, aka a contract; this will help the artist and insure that you are both on the same page. Be professional. I know that I wrote this blog from the perspective of working with someone new, but even your artist friend is due the same courtesy. by Willow Enright Welcome to the second installment of Building an Epic Leather Cosplay! We're going to cover some more of the basics for understanding and working with leather. There are many different types of leather for various projects, each having their own thickness, durability, and usefulness. Let's see if we can summerize a few of the leathers that you might want to work with as a beginner leather worker. Types of Leather Leather Hide Weight and ThicknessThe chart below shows the different parts of leather hide that are available, along with the ounces and thickness. The chart below is Tandy’s recommendation for what thickness of leather to use for what project, but you can change this up somewhat. You can make journals out of a thinner leather than a 5-6 oz, you can use a 3-4 oz instead. And holsters can be made from 6-8 oz leather and not just 8-10 oz. It depends on what you are trying to achieve. Larping armor should be between 7-9 oz, and armor for the SCA should be more like 10-16 oz. Otherwise, you can use whatever you think is best to achieve your cosplay. Devil is in the DetailsYou can really get a lot of details into your leather project when you use a Vegetable Tanned leather. You use tracing film and a stylus to transfer your desired design to the leather, and then use a swivel knife to carve the details. Case your leather by wetting it and leaving it to almost dry again, and then use the Craftsman Tool Set and Rawhide mallet to pound the design into the leather. This process is often called Hand Tooling. Below and to the left is an example of the design carved into the leather, and below and to the right is the finished tooled and painted design. The shots below are of my first Mord-Sith armor. I used a 5-6 oz mahogany leather for everything except the belt, that was made with a much thicker vegetable tanned leather of 8-9 oz. For the first version of this armor I concentrated on the pattern and the hardware to give it the design and feel that I wanted to match the T.V. show, Legend of the Seeker. The second set of Mord-Sith armor was done with a 7-9 oz vegetable tanned cowhide leather so that I could really tool the design I wanted in order to show others the character’s story on the leather. Some of the raw detailed shots are above, but the finished shots are below. If you want to see how this costume has transformed over time please check out my blog all about the Mord-Sith. Wet Forming (Shaping)The process of wet forming (shaping) is extremely useful for creating cosplay pieces, especially armor. It isn’t quite as difficult as it seems either. You can check out that process more in depth through my Wet Forming blog. Margery Tyrell Armor Wet FormWonder Woman Wet FormX-Men Rogue Chest Armor Wet FormThere are a ton of amazing things that can be done with leather. Getting yourself some specific tools, and learning the basics of attaching bits and pieces is a huge chunk of it. Trying out some useful techniques such as Wet Forming or Wax Hardening can also take your cosplay to the next level. The tooling can be a challenge, but it’s very rewarding when you get that perfect design onto the leather. However you choose to incorporate leather into your cosplay, have fun with it!
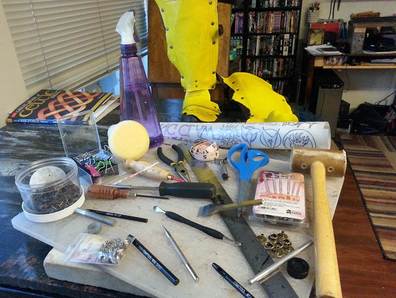
by Willow Enright When I first started doing leather work I didn’t know anything about leather, leatherworking, or the tools needed to actually work with leather. I simply had a desire to create an amazingly epic cosplay. That desire lead me to many hours of researching screen shots that I could use for referencing the costume I wanted to imitate. Trying to figure out which leather to use or what tools would get the job done was even more hard work, and led to many failed attempts. I would like to help you avoid the same pit-falls that I came across by covering a few of the basics for working with leather. The tools you will need can greatly depend on the cosplay you are creating. My first leatherworking project didn’t involve any fancy tooling design, but focused on the shape of the pattern to match the T.V. screen shots and the hardware needed to really bring the details to the piece. I used a ruler, wooden mallet, double capped rivets with rivet setter, a cutting board, both flat and Philips head screwdrivers and scissors. My rivets looked like junk and wouldn’t stay together that well, my design around the boarder made with the screw driver didn’t really stand out much, and the leather I chose was a bit too thin for armor and wasn’t going to hold up to the strain being put on it for long. However, the cosplay turned out well enough that people were wowed despite my disappointments, and through their reactions I was convinced to try again which led to one of the greatest pieces I’ve made to date. (link to Mord-Sith Blog) Leather Cosplay Tool KitI’ve put together a list of tools that I think would be helpful for the cosplayer or beginner leather worker.
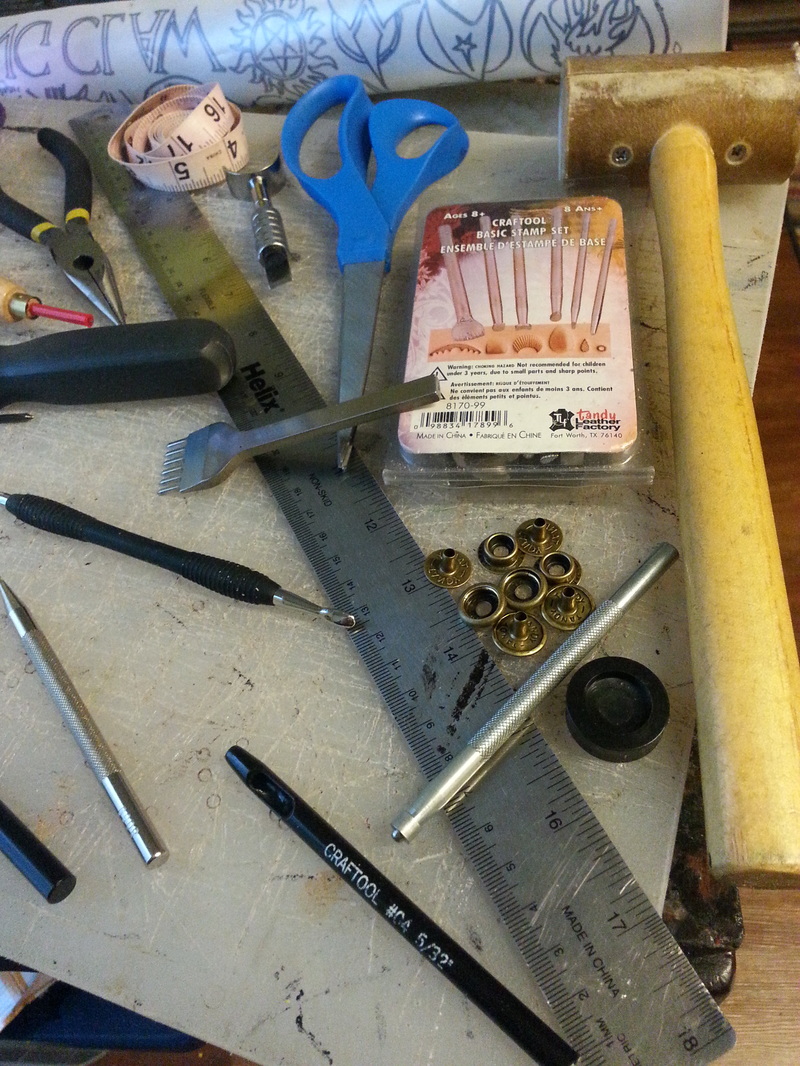
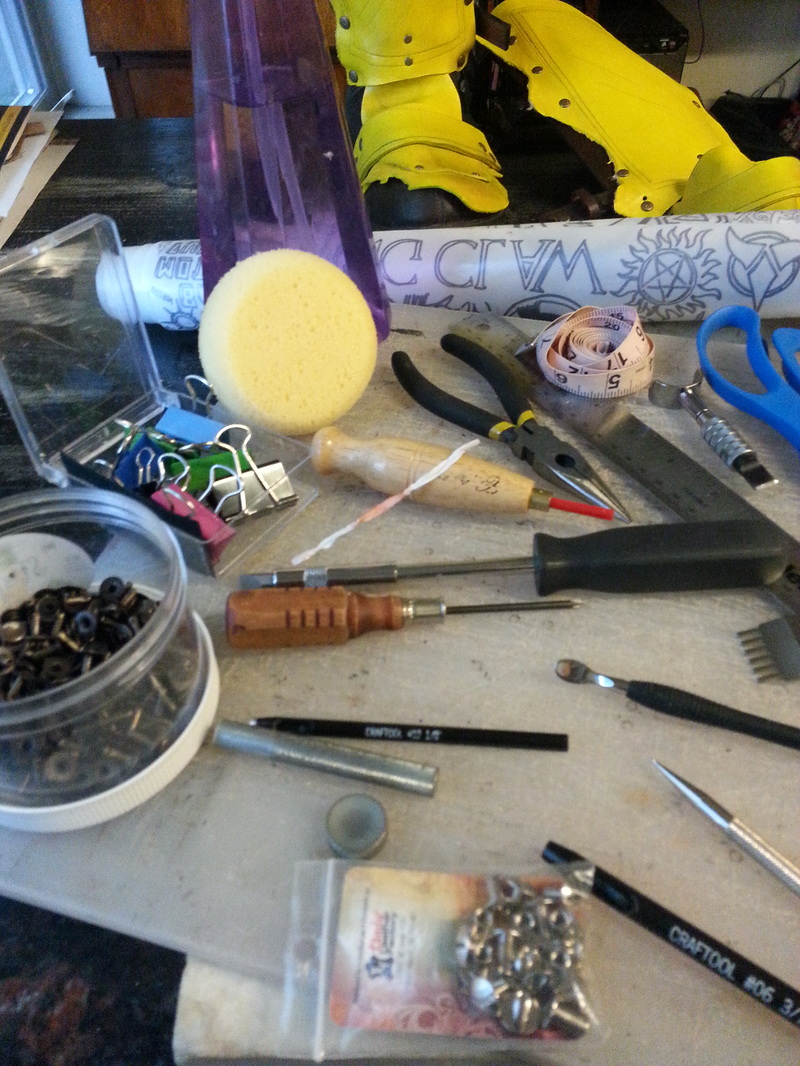
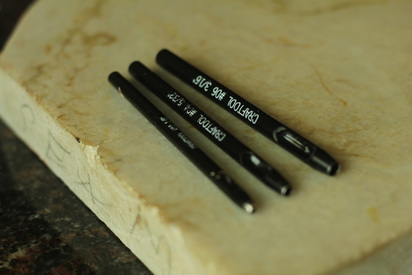
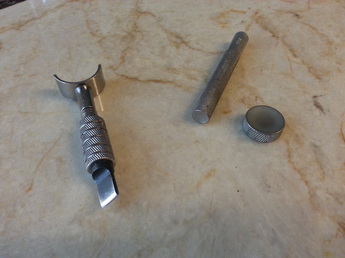
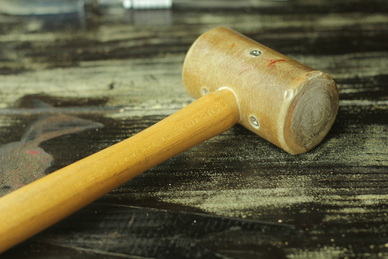
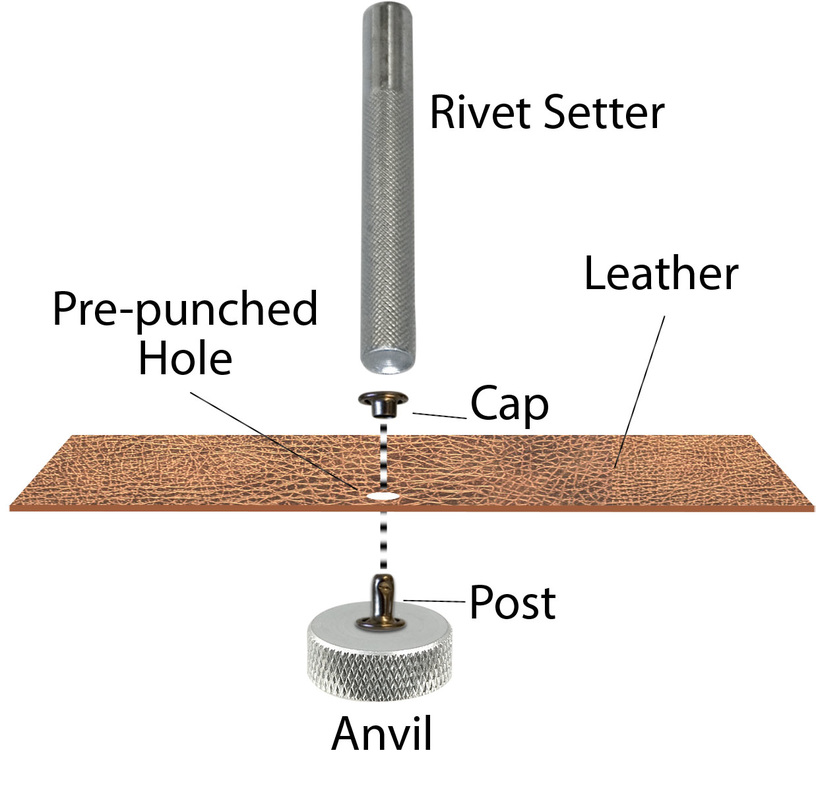
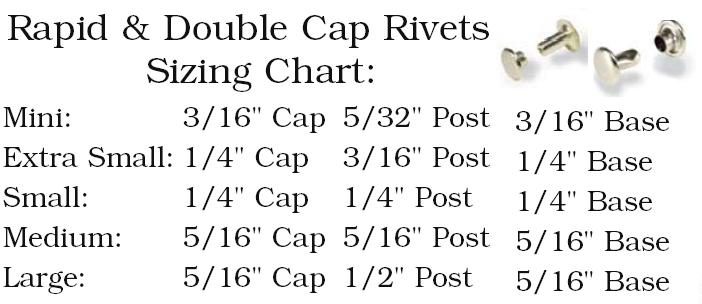
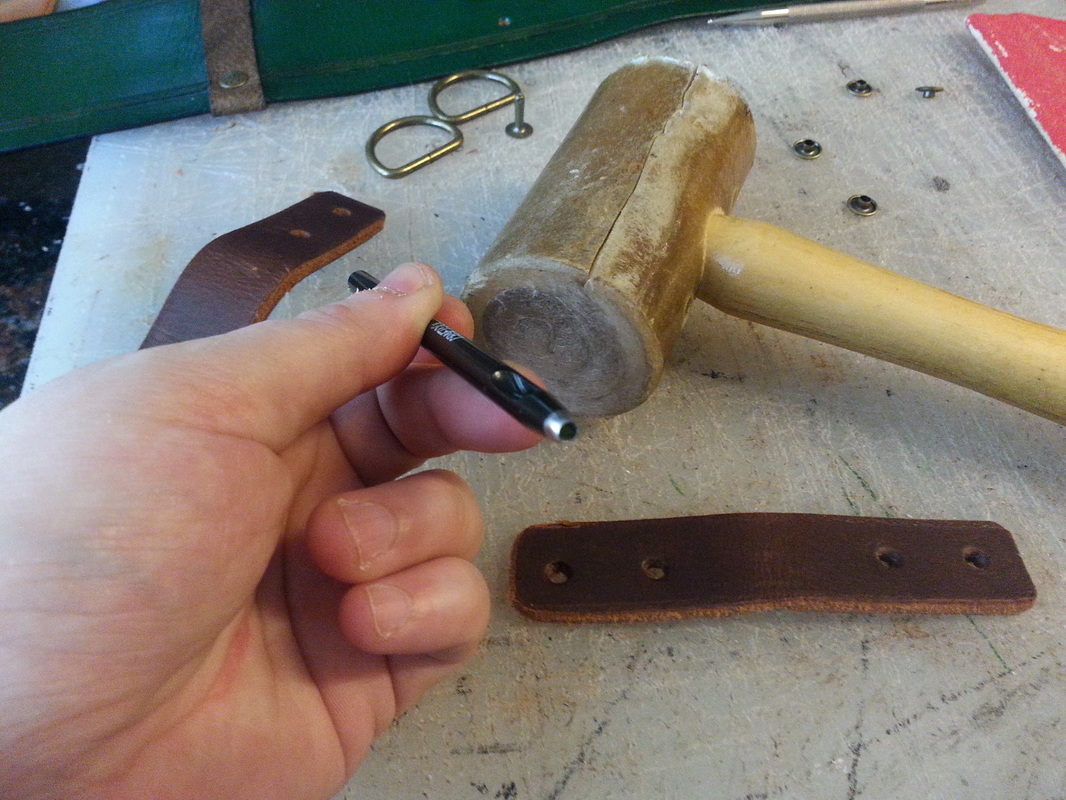
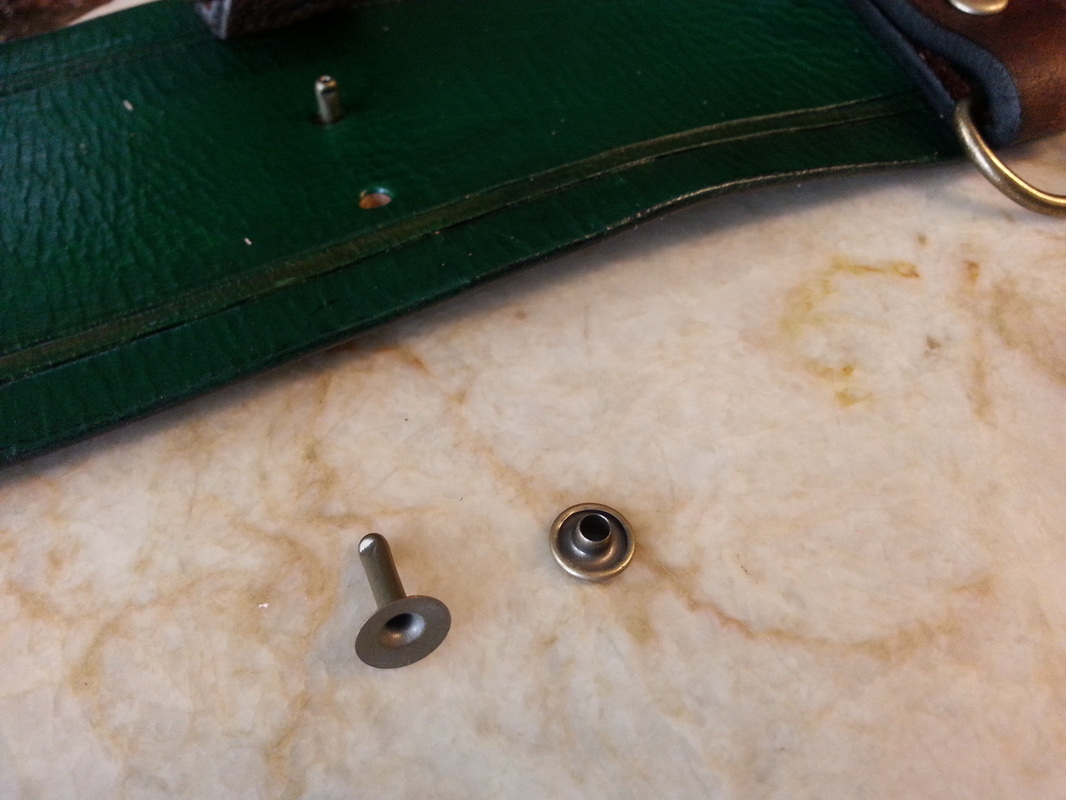
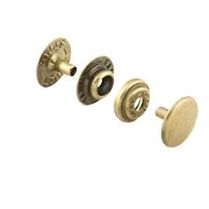
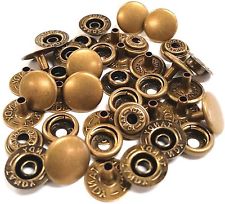
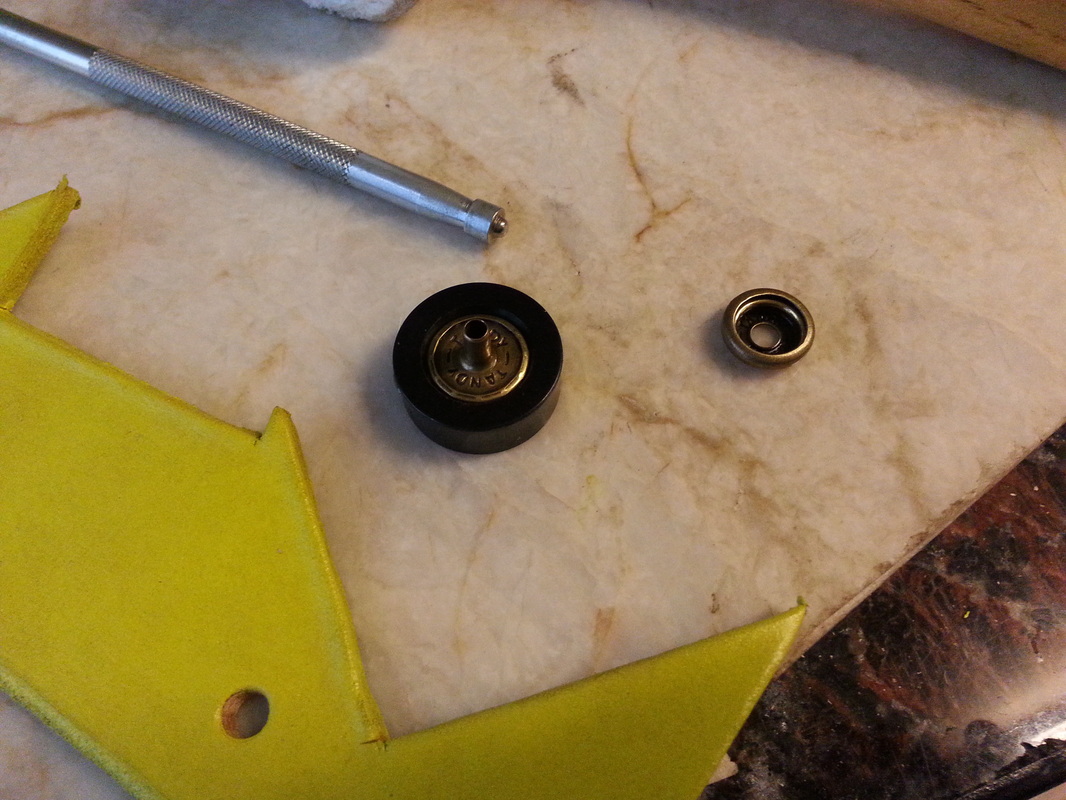
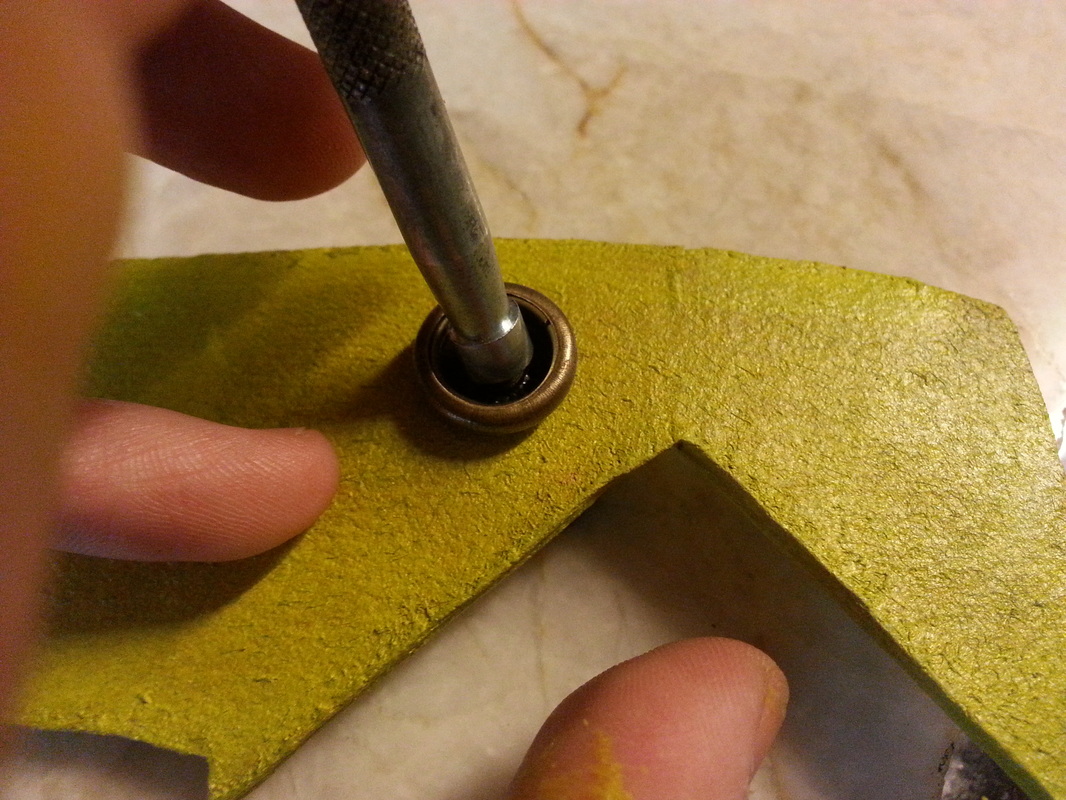
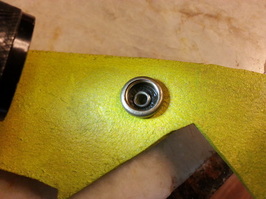
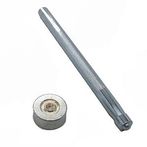
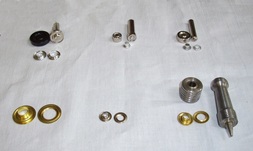
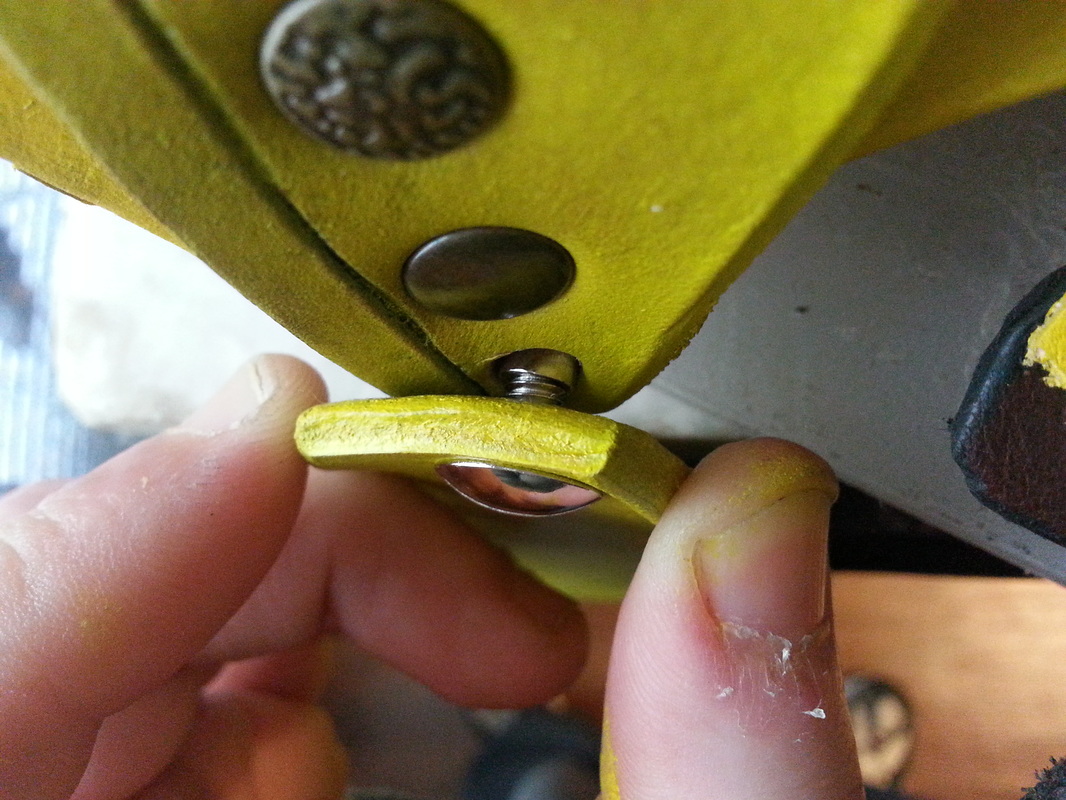
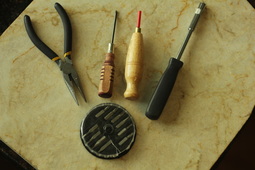
Having many tools for various purposes will be the most helpful for leather working, but you can really do quite a lot with the list of tools I’ve put together. I recommend that you first figure out what costume you want to incorporate leather into. Then you can decide on the tools that will work for that project, and the ones you won’t need can wait until you do need them. This way you can build your tools up slowly and don’t kill your pocketbook. There are several different sizes of hollow hole punches and you will need at least three for the basic fasteners. Hole Punch #2 (Rivets) #4 (Snaps) #6 (Grommets) You can buy a set of six of these punches at Home Depot for $28, or even less if you shop around online. The Swivel Knife is great for cutting round or curved edges, or for making detailed cuts into the leather, and can be purchased for $18. You can also use it to cut thick leather. Scissors can be used on leathers 6oz and less, or for trimming edges on thicker leather. I recommend the Rawhide Mallet over the wood because it will give you cleaner rivets, but some people prefer the poly head mallets. You basically want something heavier like a hammer, but not a hammer because that will damage your tools, this will run you around $15. When you want to fasten something permanently then riveting is the way to go. Having a rivet setter will make sure you don’t squish down the dome cap of your rivet. You need an anvil for the base of the rivet and the setter for the cap on top. Using them together helps to shape the rivet so that the two pieces will meld together to hold fast. You’ll want to choose your rivet sizes based on the thickness of the leathers you will be working with. You can choose to use multiple different thicknesses which will require a variety of sizes, or you can stick to one thickness and one rivet or two rivet sizes. Again, this will depend greatly on your project. A rivet setter can cost $10. If you want to be able to interchange an aspect or fasten or remove something quickly then snaps are super helpful. Setting them requires a snap setter and the same anvil for the rivets. Plus, you want to use a circular pounding technique when you are putting snaps together. That creates the lip on the stem which will be curled over the bed of the snap, and locking the two pieces together. Similar to the rivet and grommet setters, snaps have their own setters and anvil for holding the cap based on the size. There are grommet setter sets if you prefer to have multiple sizes available, but choosing one to start with is workable. Remember to implore the circular pounding technique for setting snaps. Snap setters cost anywhere from $12-15. Grommets are very similar to rivets and come in different sizes and metals. Setting these requires the proper sized grommet setter to the grommet you are using, and the grommet anvil which is shaped different that the rivet anvil. It sort of resembles a donut. Variety can be the spice of life, and snaps can definitely add spice as well as practicality. There are different sizes but I prefer the line 24 or line 20 snaps. Having a metal straight edge ruler is helpful for all straight edges you might need to make, and an absolute must have. Also, being able to utilize a soft sewing measuring tape will make fitting patterns to yourself easier, and allows you to take measurements of yourself or round surfaces. 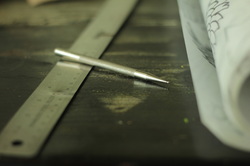 If you want to do any designs on your leather you will want a stylus and tracing film to make transferring your designs in detail to your leather easier as well. Plus, it allows you to keep that same design for quick future use. When googling stylus, make sure you type in "leather crafting stylus," otherwise you'll end up with a new stylus pen for your tablet. Leather stylus will cost somewhere near $10.  A sponge is useful for casing your leather or applying stains and paints. Having a spray bottle will let you soak your leather rather easily while you are working without having to move your leather around a lot. Rivets, buckles, and Chicago Screws are the staples of leather hardware. If you need leather pieces to come together these are the classic ways to make that magic happen.
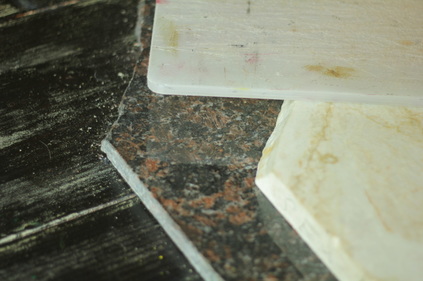
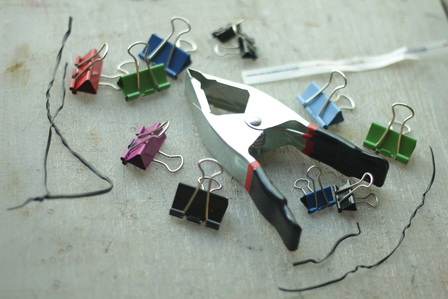
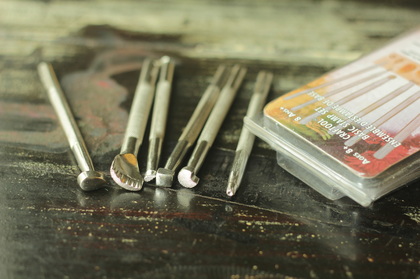
Having a cutting board or poundo board for whatever surface you work on will not only keep you from putting holes into it, but it will also give you a better work surface and likely make the noise of your pounding less annoying to everyone else. If you can find a place that has chunks of left over granite marble from cutting counter tops you can find a piece for a good discount, or even for free. I have three of different sizes that I got for free. Having granite is best for setting rivets, snaps and grommets, but don’t do any of your hole punching on it or you will dull your tools fast. You can set your cutting board on it to punch the holes and then just remove the cutting board when setting things. I find having some decent office clips or twist ties can really help me bring together my patterns to make sure that they come together right. You can also use paper brads if you have them and your leather isn’t too thick. Having heavier duty clamps is good for heavier armor making or anything super thick. The Tandy 6 Piece Craftsman Tool Set were the only tools I had for doing detailed tooling for three years, and I put it to good use. You can do all sorts of basic designs with these, and if you have a swivel knife too, then you can do just about anything design wise. The one I use most is the square beveller. Stay tuned for part 2 of Building an Epic Leather Cosplay coming next week. I'll be covering the different kinds of leather, and the various uses for the different thicknesses of leather, plus a few useful techniques. Please feel free to contact me with any questions you may have.
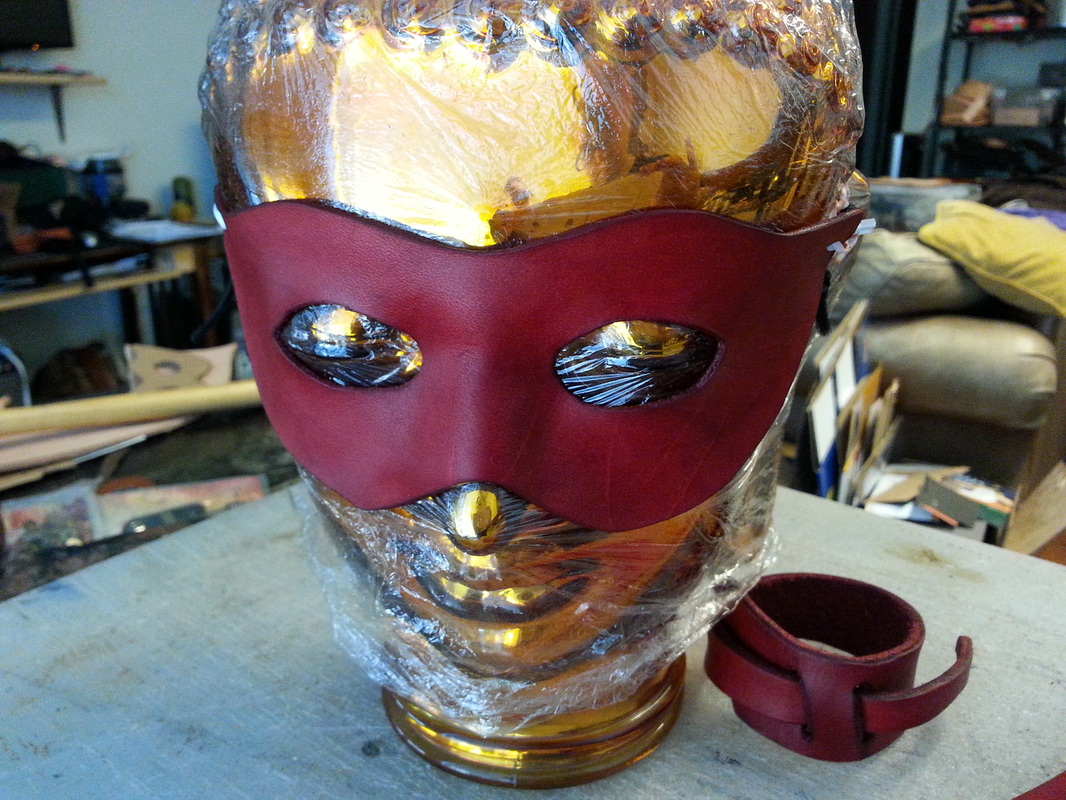
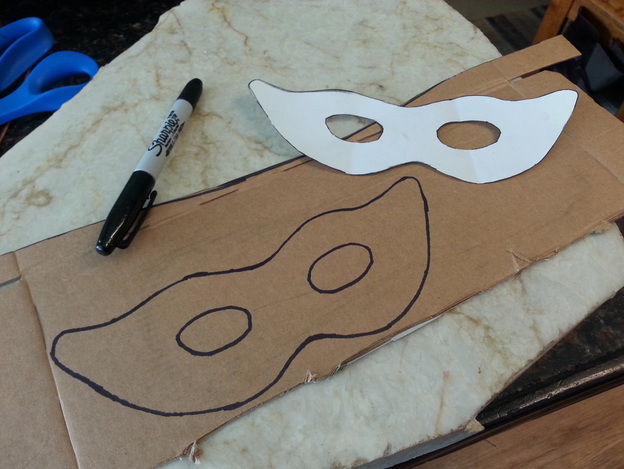
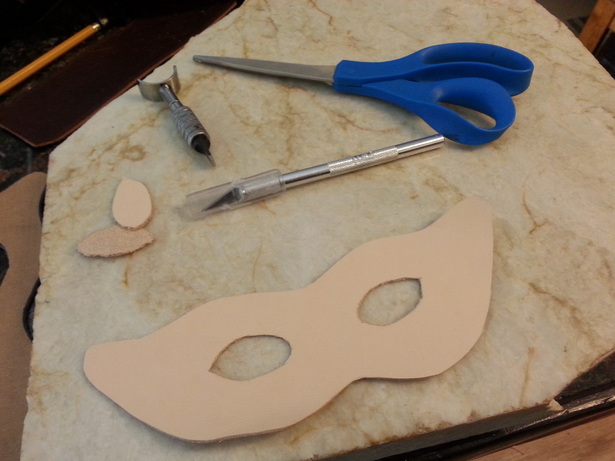
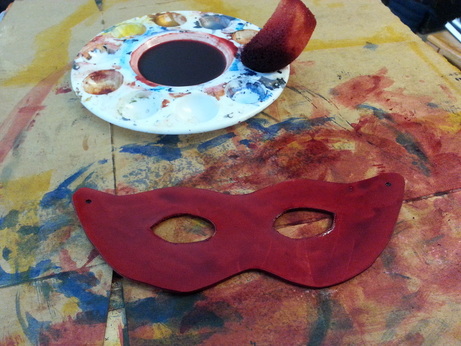
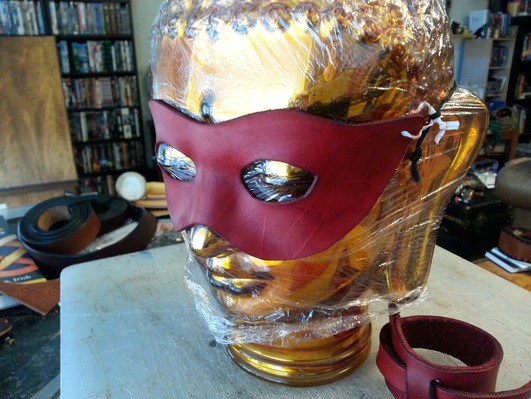
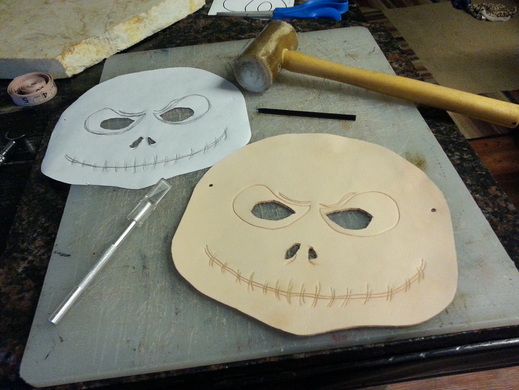
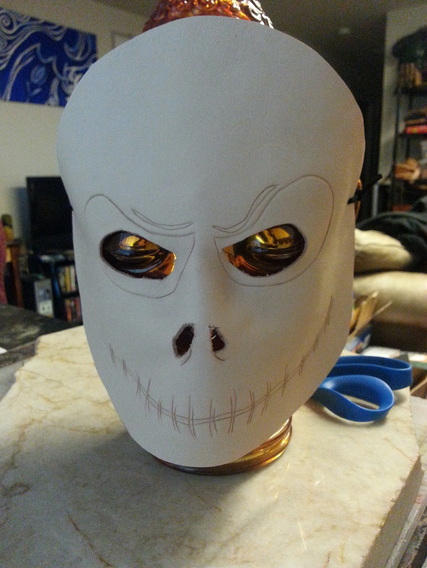
by Willow Enright Supplies: Vegetable tanned leather (2-3 oz, or 4-5 oz are best, but any weight will work.) Scissors/Craft knife Ballpoint Stylus or Pencil Tracing Film or pencil rub transfer technique Optional Supplies: Styrofoam Head, Feathers, Pine cones, Markers, Stains, Paints, Beads, Glitter, and pretty much anything else you might want to craft into your mask. Instructions: Step 1: Trace a mask pattern onto paper using pencil or onto tracing film using a permanent marker. You want to ensure that the mask will fit over the area on your face that you are attempting to cover. Step 2: Wet leather lightly with a spray bottle or sponge, and let the leather dry slightly. Once it has lightened again in color transfer the pattern from the tracing film to the leather using the ballpoint stylus, or you can use the pencil drawing technique to rub the design onto the dried leather. Just remember that your design will be like a mirror image and it will be the opposite of what you drew, so you’ll need to pay attention with this method. Cut out the mask pattern, and put holes in the temple area for your tie to be attached. Step 3: Wet the mask again with the spray bottle or sponge, and carefully shape the mask by hand to fit the contour of the face. If you choose to use a Waterstain, you can substitute it as your wetting method instead of using the sponge or spray bottle of water. Continue to check on it to ensure shaping is done well. Allow the mask to dry completely. You can also take the time to cut a design into the leather before shaping it. This is best done after the leather has almost dried again after being slightly moistened. If you can acquire a Styrofoam or glass head to use for the shaping and drying process it will be very helpful. This way you can stain or dye the mask prior to shaping it, thus skipping a step. Otherwise, you can use your own face to shape the mask, but keep in mind that if you do use a Waterstain or dye beforehand it will dye your skin, too. I recommend you wait until after the mask is dry to stain or dye it if you are using your own face to mold the mask. Step 4: Add any additional items for details such as feathers, beads, cogs, or glitter. You can also do fine detail painting once the mask is all dry. Other Options:
Cut an oversized mask and cut the edges to make fringes for different effects of hair, flames, or ears. Try adding faux fur or a mustache and eyebrows. Add beads and feathers to make an elaborate headdress. Use the suede side of the mask on the outside for a different texture, or try gluing sand or glitter to the outside. |
Willow EnrightI started crafting out of leather in 2011, and now I am making it my life's work. I am writing this blog to help myself remember some of the small steps in past projects, sharing my triumphs and failures, as well as my love of leather. Archives
November 2017
Categories
All
|



 RSS Feed
