|
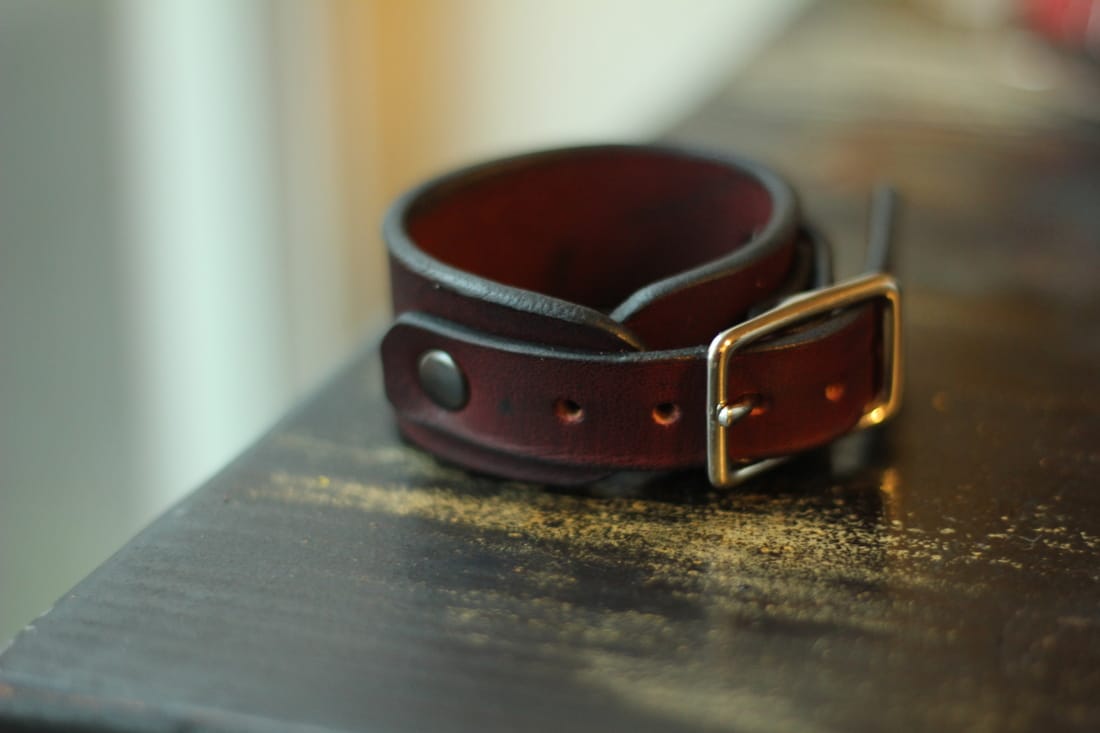
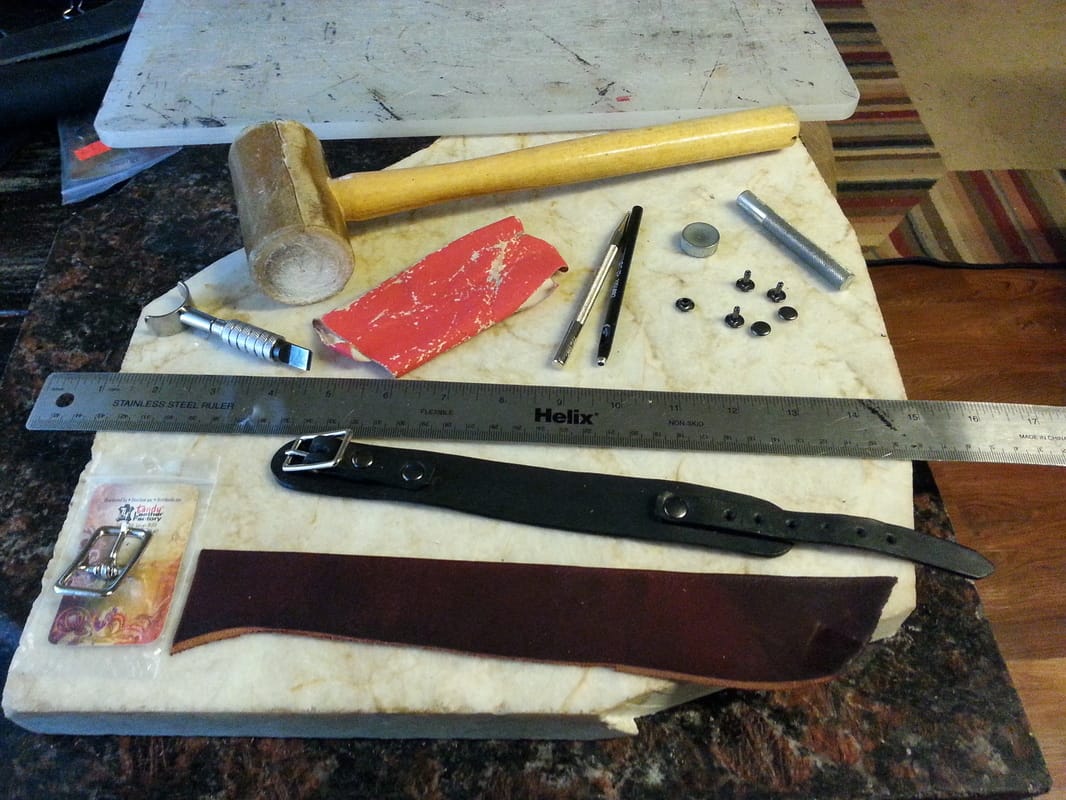
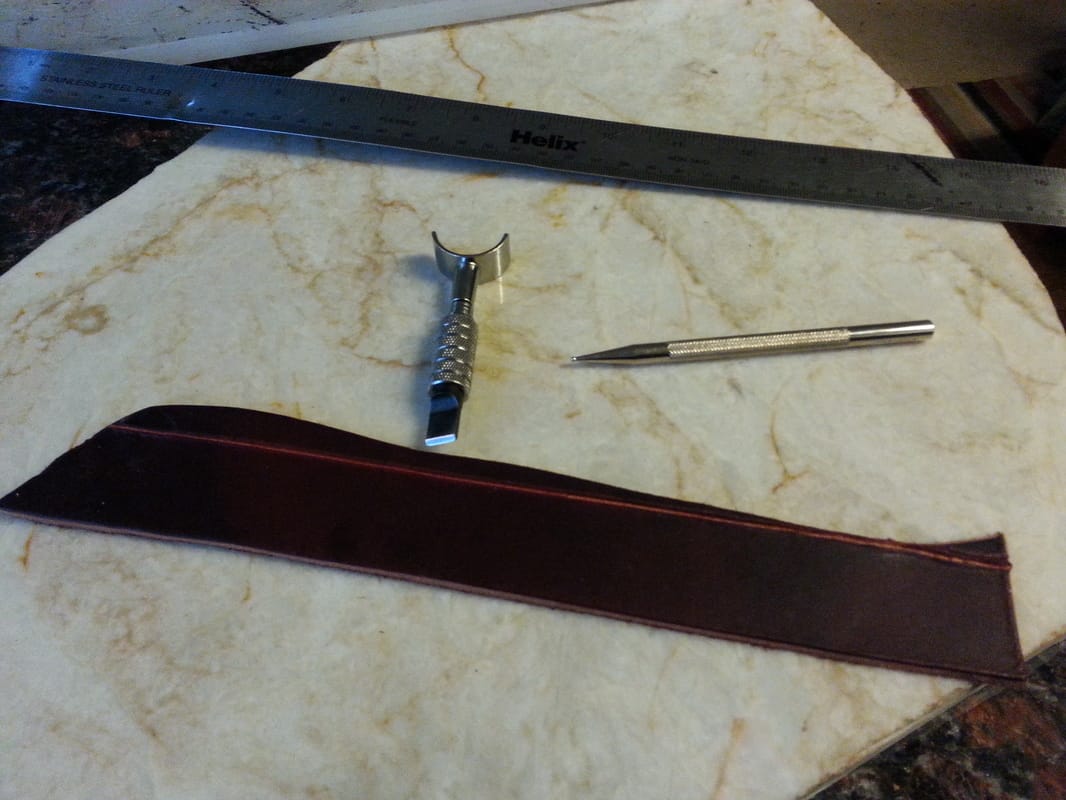
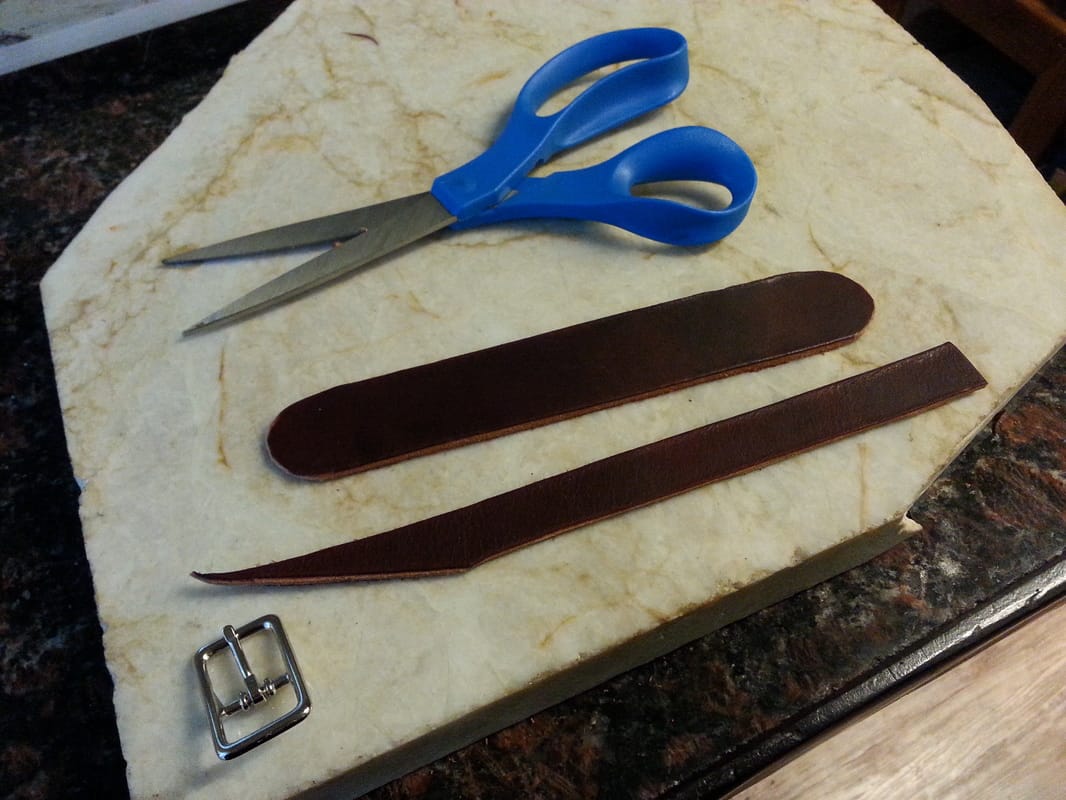
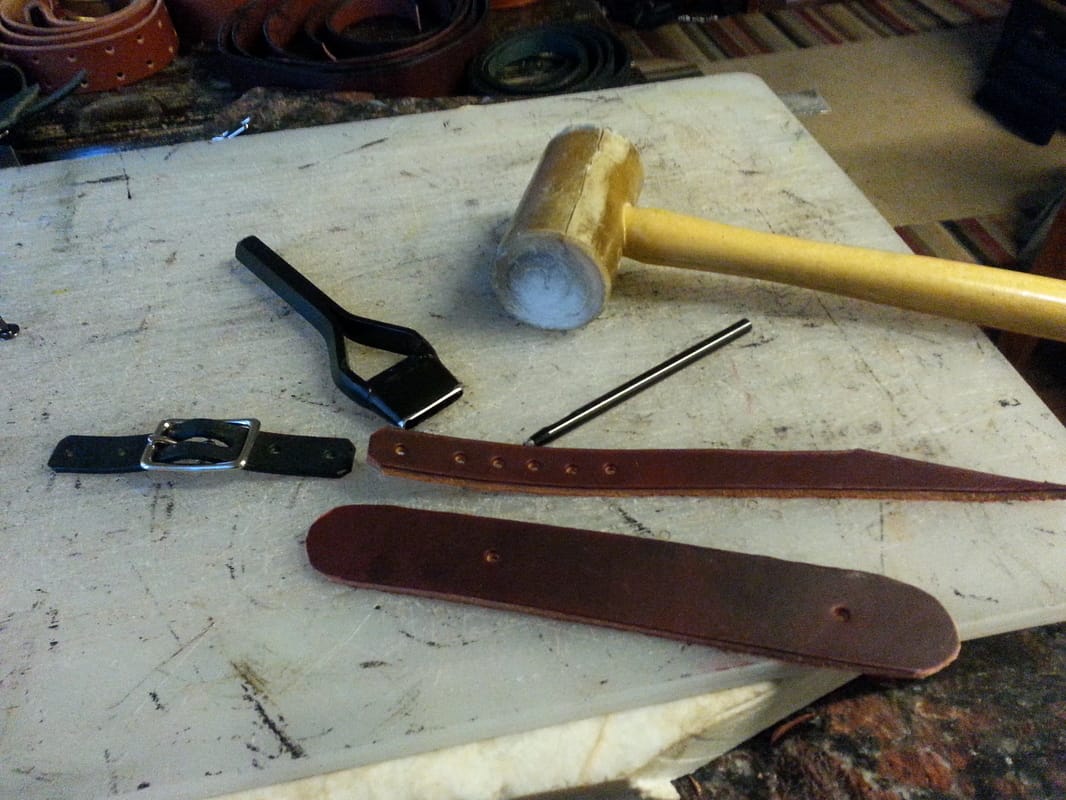
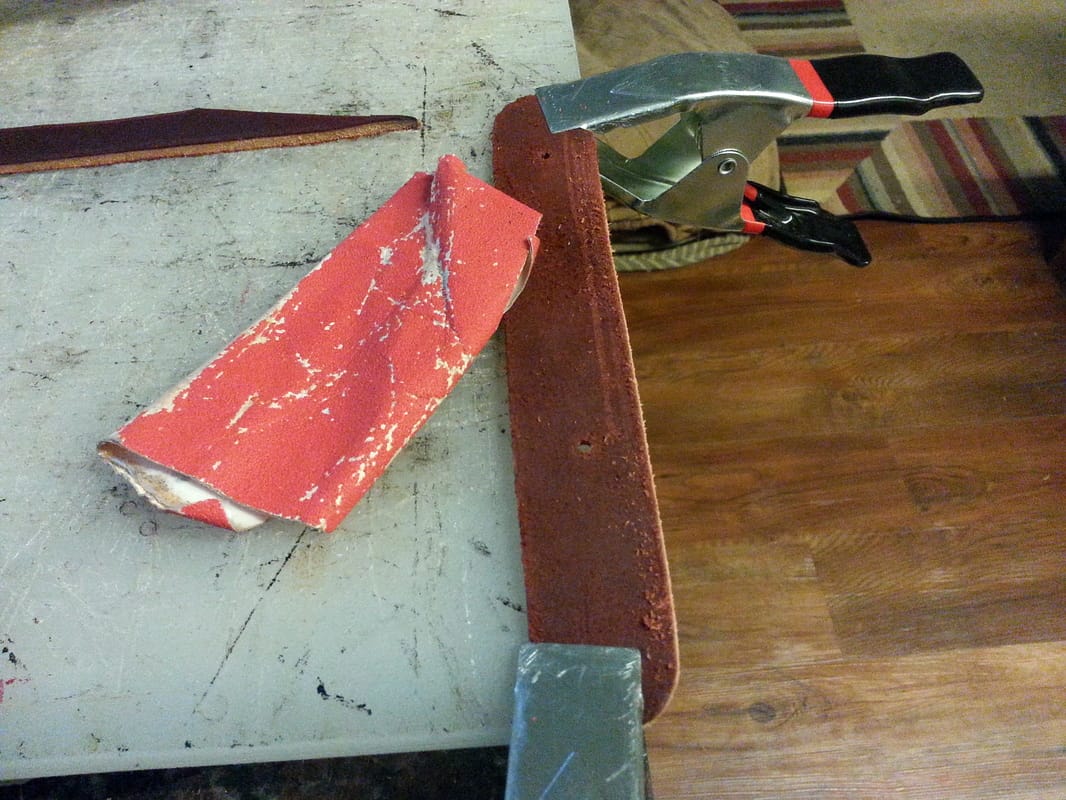
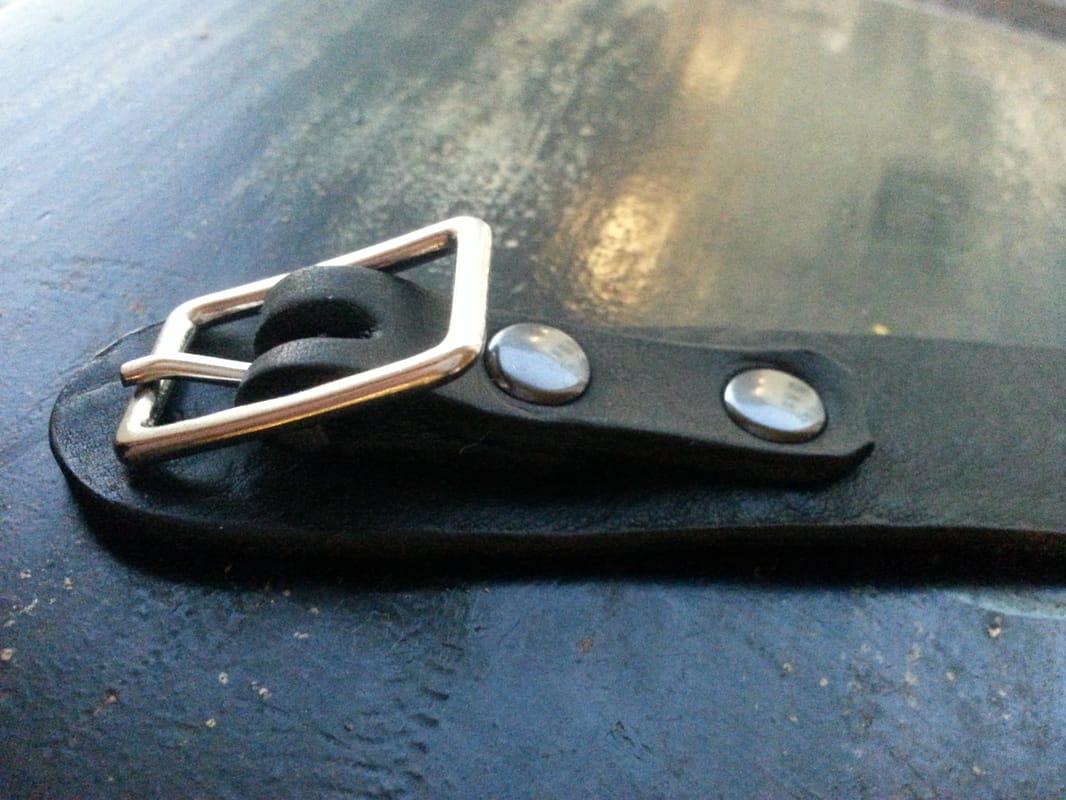
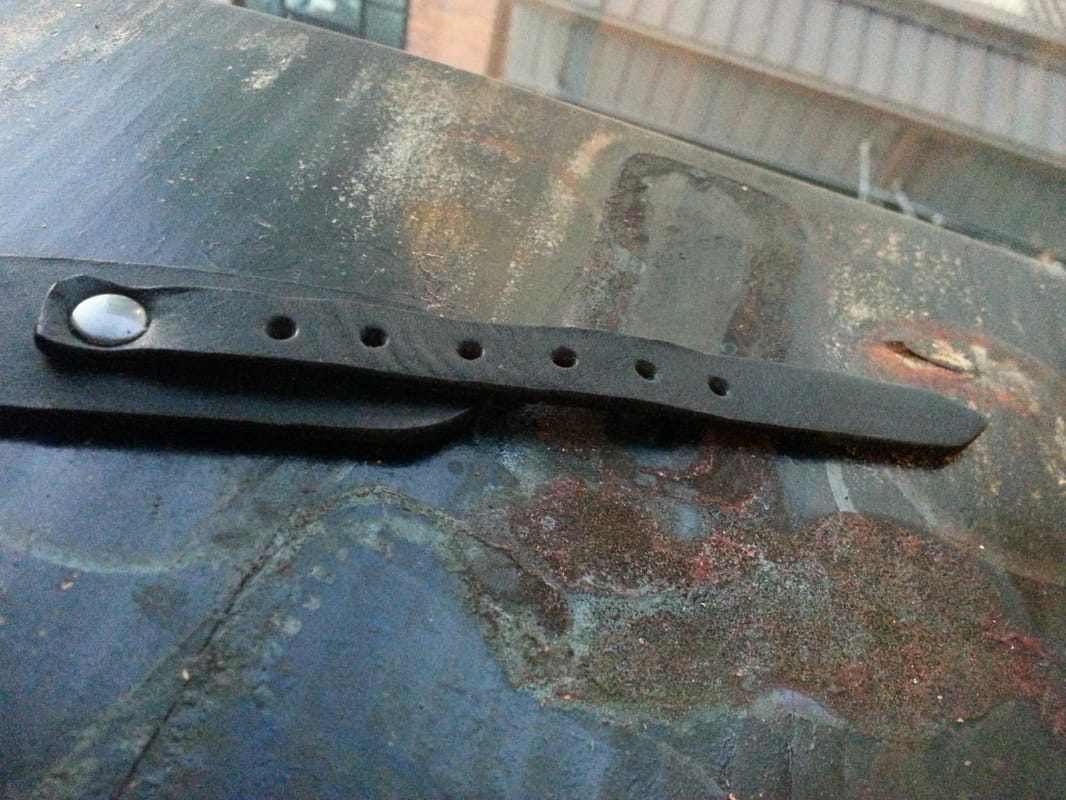
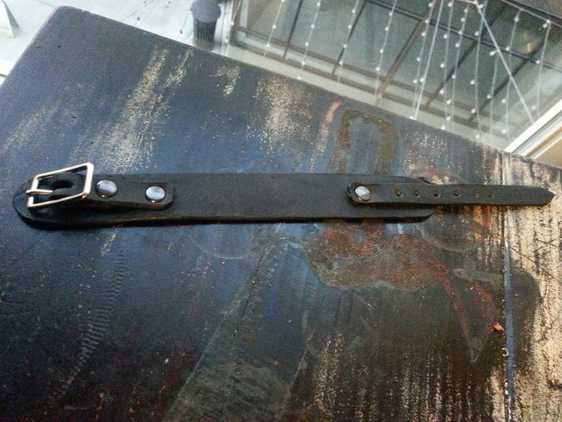
by Willow Enright It seems that most leather lovers are rather fond of the classic leather bracelet. There's much to be said for the simple elegance of a nicely crafted bracelet. It goes with practically everything, and it's not too terribly difficult to make one yourself. So, if you've been wanting to craft homemade gifts for those you love, you should try out this classic beauty! SuppliesCutting Board Hole Punch Rivets/Rivet Setter & Anvil Mallet Swivel Knife or Scissors Buckle 1/2" or 1" Straight Edge Ruler Leather Sandpaper Oval Belt Punch (or just cut groove for belt tongue) I usually choose a piece of scrap leather that will be long enough, and usually of a thicker ounce like 5-9 oz. You can use vegetable tanned if you want to dye it a specific color, or get fancy with design. Today however, we are staying simple and classic with a pre-dyed leather. I made two bracelets, the finished product you'll see is a 8-9 oz Double Austin Shoulder black leather and the build example is a 5-7 oz burgundy Latigo. Measure your bracelet length, making it at least 1" wide, and 6"-7" long for ladies, and 7.5"-8.5" in length for men's. Also, cut your strap at least 1/2" wide, if your bracelet is thicker than 1" then just make sure that your strap is at least 1/2" less in width than your bracelet. This way your buckle won't hang off the sides when you are done. You will want to cut the strap about an inch and a half longer than you cut your bracelet; this will let you cut that same strap into the two parts for the buckle and its counter strap. You can also round off the edges for a more comfortable fit. I like to use a buckle that already has a built in keeper to hold down any excess strap. Line up your buckle so that it sits close to the edge but not off the edge, and fold your strap over to create the buckle loop you will need to hold your buckle and fix it to your bracelet (left picture below). Measure and punch all your holes. I like to set my strap holes about 1/2" apart and do at least 5-6 holes for a comfortable but adjustable fit. I like to set my buckle strap about 2-2.5" from the edge, and afix it with one rivet to the bracelet and one rivet to secure the buckle to the buckle strap itself. Once everything is cut, sand the edges of the leather until smooth. If you like the rougher look to your end product then leave the edges raw after sanding, otherwise you can be fancy and use an edge kote and burnish them nice and smooth. To make the oblong hole for your buckle tongue you can use an oblong hole punch or just use your regular one to punch most of the leather out of the way, and then use sissors or an exacto knife to clean up the edges. Use your rivet setter and anvil to set your strap rivet, fix your buckle to the strap and then the strap to the bracelet. The end result will be a classic leather bracelet that will be loved and cherished for years to come!
0 Comments
Leave a Reply. |
Willow EnrightI started crafting out of leather in 2011, and now I am making it my life's work. I am writing this blog to help myself remember some of the small steps in past projects, sharing my triumphs and failures, as well as my love of leather. Archives
November 2017
Categories
All
|
 RSS Feed
