|
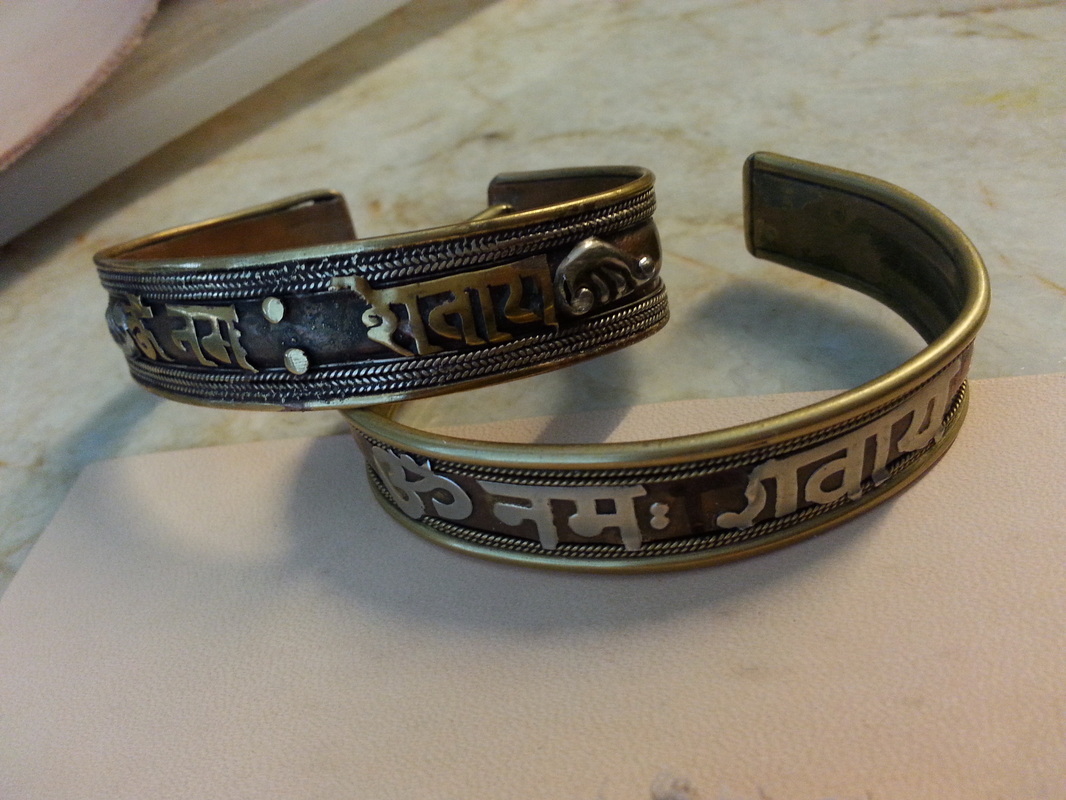
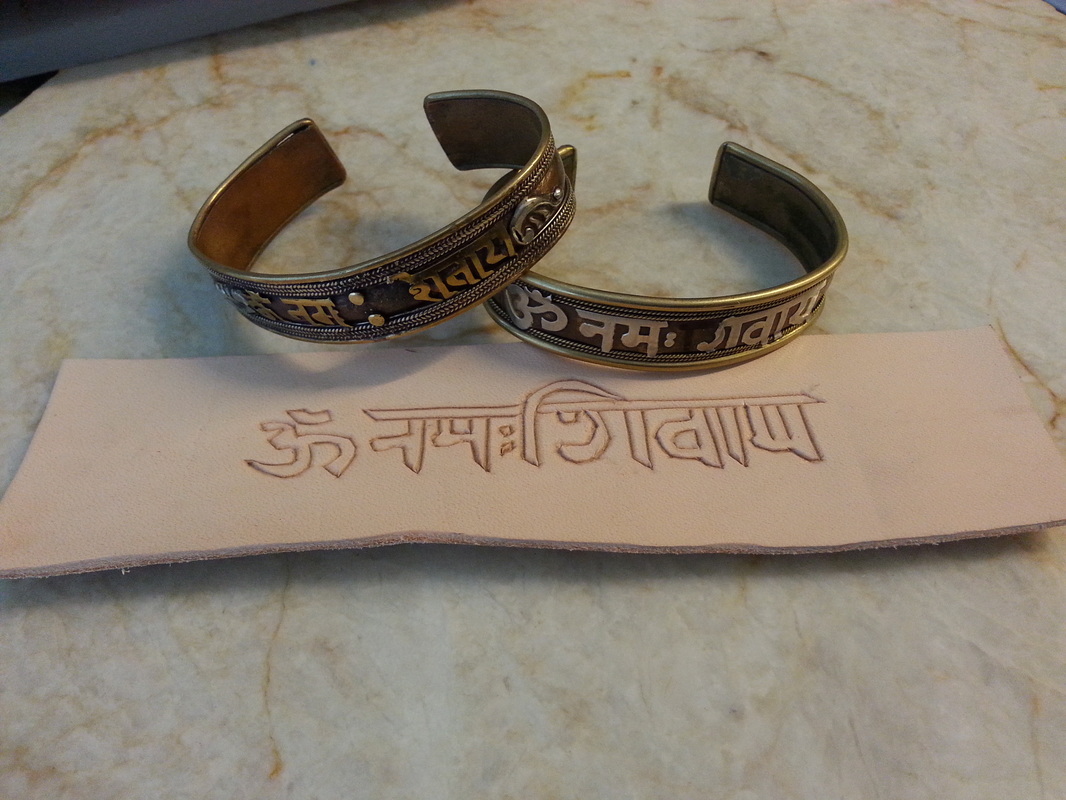
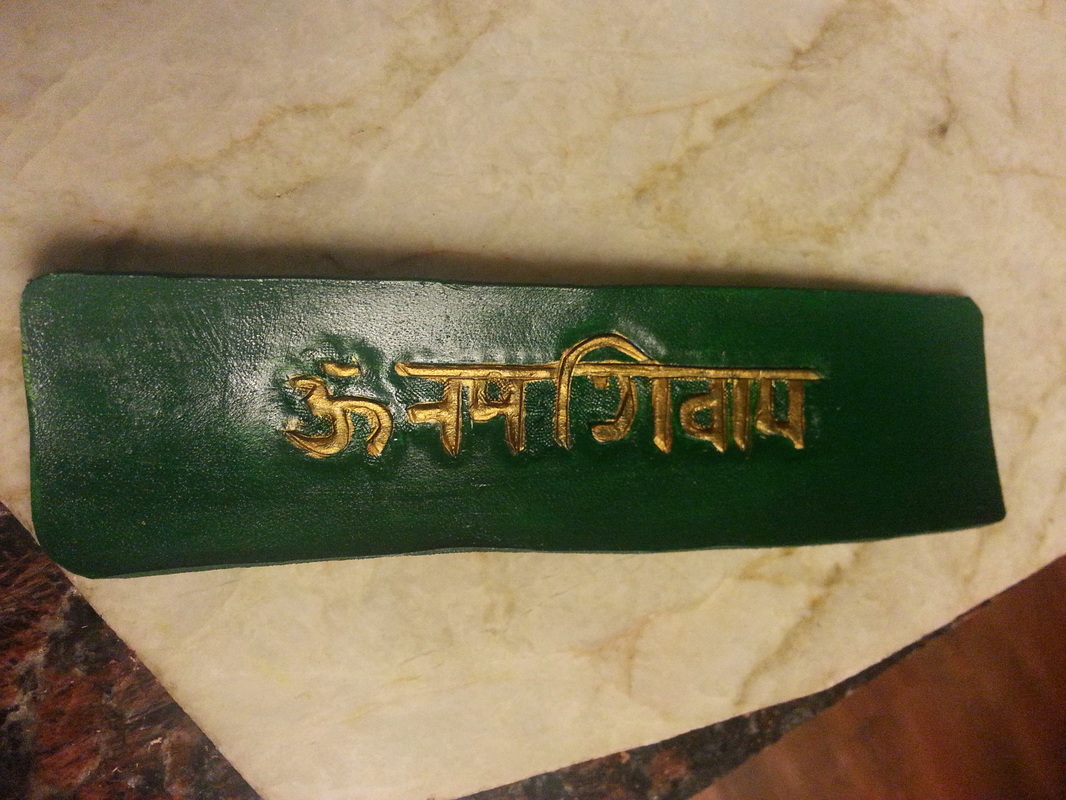
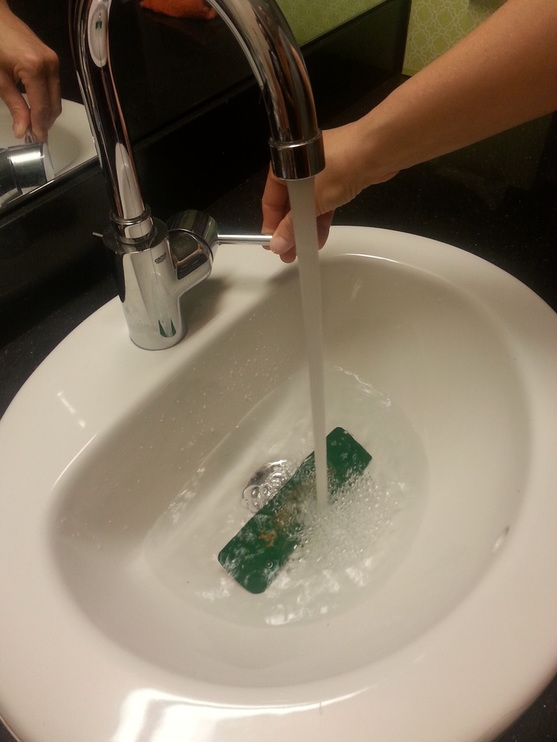
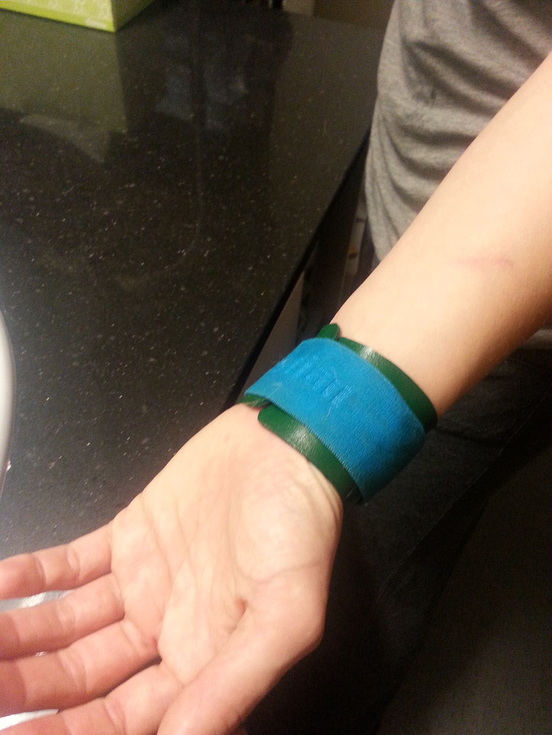
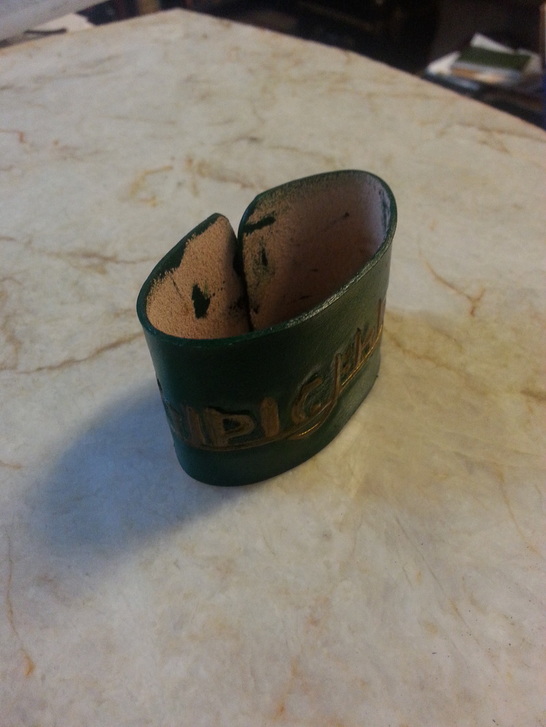
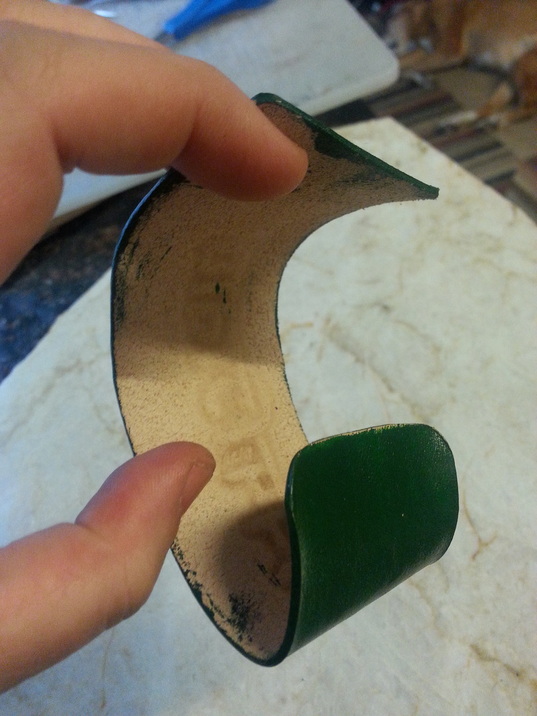
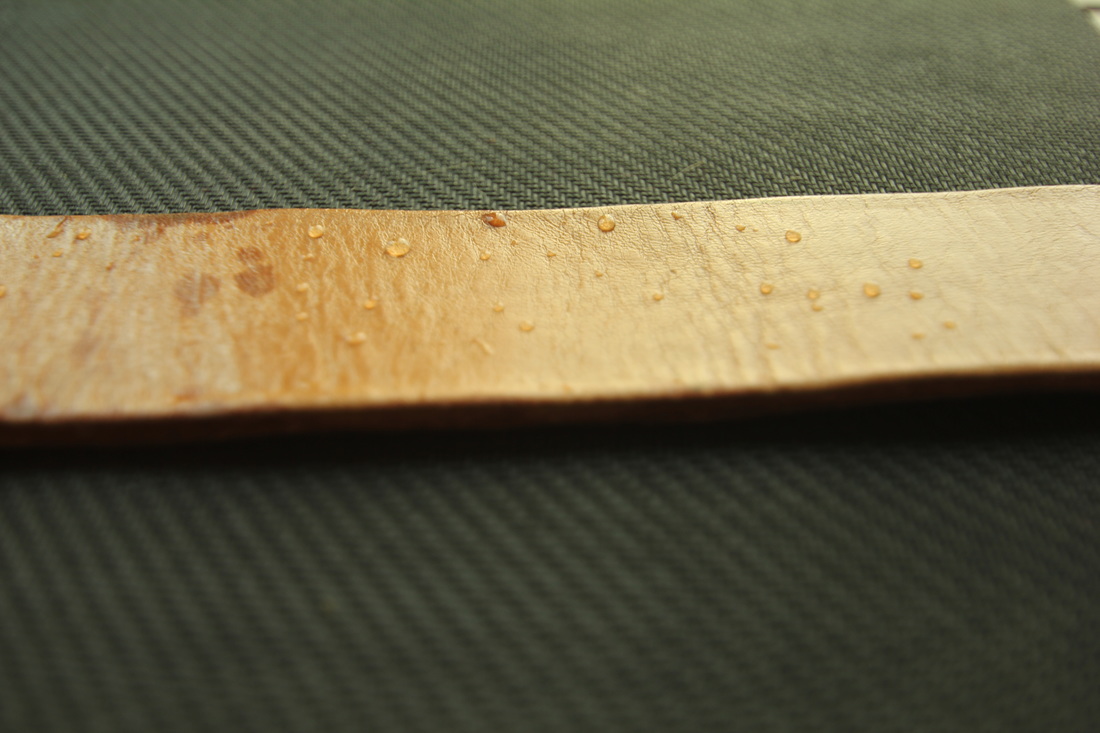
by Willow Enright Sometimes trying to get your bracelets to fit just right is tough. Not every wrist is made the same, even your right is different from the left, and what feels comfortable for one just isn’t for the other. In an effort to find an easy solution I decided to run an experiment to take a pre-tooled and painted vegetable tanned leather bracelet and see if I could wet mold it to fit the wrist without any clasp. This is a documentation of my experimentation and my findings. Read the whole article before deciding to follow along, because I have several findings that will help you with own experimentation. I started with a scrap piece of 2-3 oz vegetable tanned leather. I wet the leather with my spray bottle and waited for it to appear dry again. I used my stylus and tracing paper to transfer the Om design to the leather. My swivel knife is what I cut the pattern with, followed by pounding with my rawhide mallet to tool the design. Again, case the leather using the spray bottle, then waiting for it to appear dry again before actually tooling. I used two of the six piece Tandy crafttool set, the background stamp and the square beveler. Angelus green acrylic leather paint is what the bracelet was painted with, and the lettering highlighted with Waterstain gold. The top of the bracelet was then coated in Resolene to help keep it from running. The underside of the bracelet was left the natural raw leather to help absorb the water. I filled the sink with water and set the bracelet on top with the raw leather exposed to the water. I left it in the water for 5-10 minutes. Once it was good and soaked I took it out of the water and molded it around the desired wrist. You can use a sweat band or scarf to secure the leather in place, if you want to follow along. Let the leather dry partially before you remove it. This is the time when you would need to leave the unsealed side of the leather open to air to allow it to dry thoroughly. This can take anywhere from 12-72 hours depending on how thick the leather happens to be. The trick is to figure out how to keep it in the shape you’ve molded until it is done drying. This is the difficult part given the different variations found between individuals. I used the sweat band, once the leather had the general shape. You could use the lid of a jar, the top of a wine bottle, or whatever suits your needs. The 2-3 oz leather I used turned out too flimsy to truly hold shape even after it was completely dry. I have wet formed partially painted 7-9 oz thicker leather and it worked rather well. Perhaps, next time I will attempt to use a 5-6 oz and see if that thickness will hold out. If you try this at home please let me know how it works out for you.
1 Comment
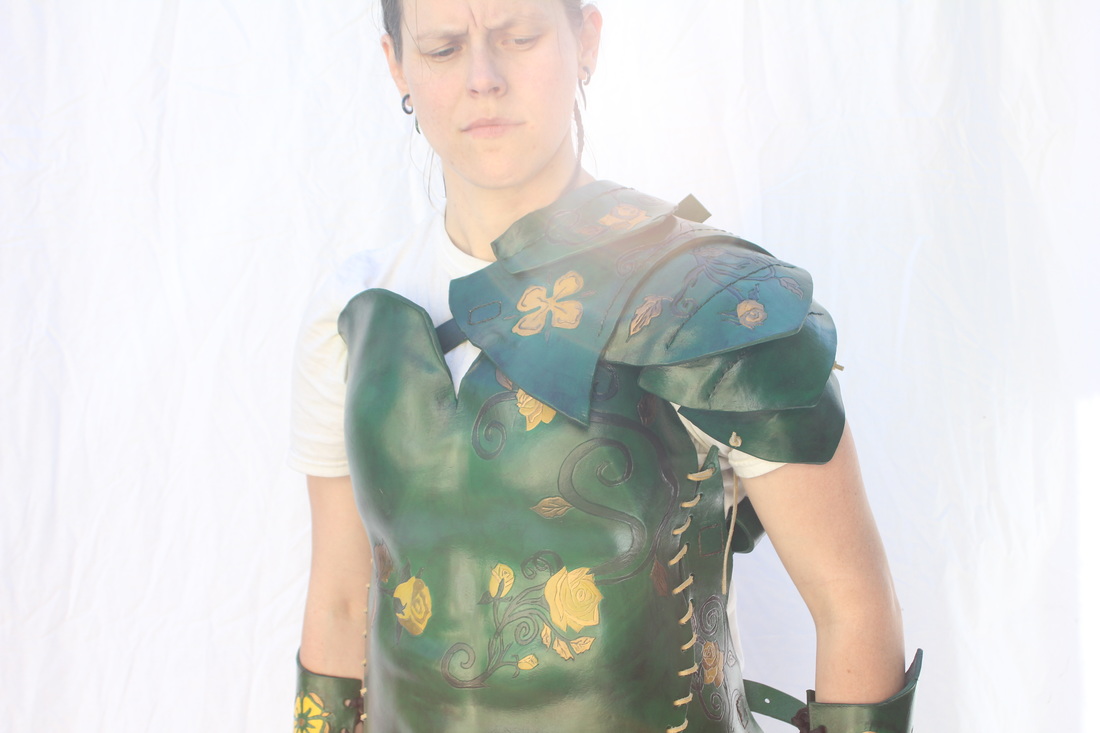
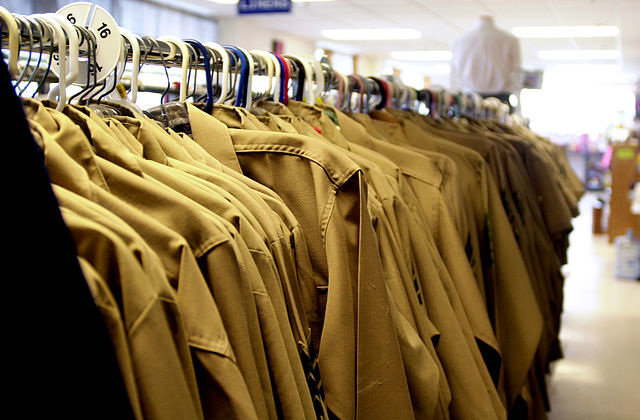
by Willow Enright Starting a new cosplay or Halloween outfit is fun. Drafting ideas, looking at inspirational photos on Etsy and Pintrest, rifling through drawers that you haven’t looked at for months, can breathe life into your everyday and make you feel like you have a purpose. Then the questions and doubt start to set in. What if I can’t pull off the character on time? What if I don’t have enough money? Should I have a realistic looking pulse rifle, or a toy nerf gun? I’d have to have to buy so many items. Creating a great cosplay costume doesn’t have to mean all or nothing. True, if you plan to cosplay as Master Chief, you have to go big or go broke, but not every cosplay has to be that grand. It is possible to create awesome characters piece by piece. The trick is to choose your character with that in mind. A good option is something in the dystopian or post-apocalyptic verse. Often times these characters have multiple versions of their outfits, or have interchangeable bits and pieces to add or subtract easily. Mad Max, Hunger Games, Book of Eli, Terminator (after Judgement Day), The 100, The Walking Dead, Borderlands, and Fallout are a few examples of these types of universes. Once you pick your character, research them and find out what you can about them. What are their outfits usually made with? What type of footwear do they usually sport? Do they have weapons or props that can be used? Do you have some of the items your character might wear or use already? If you do, all the better. If not, that’s okay. You are going to plan this cosplay for the long haul so you’ll have time to find or make what you need, plus some of it will be improvised while you are creating and perfecting the character. You’ll want to decide how much of your cosplay will be found objects, and how much of it you will want to make. Your time table and budget will both influence your choices, so figure out which event will be your first debut, and how much in the way of funds you’ll need to plan to put into your cosplay. Also, look into last year’s rules for the event before you plan any weapons your character might use as regulations can change for entrance into that event. Then choose what items will cost the most verses those you already have or can acquire for relatively cheap at second hand stores. I like to divide my cosplay items between easiest pieces and iconic pieces. Identify the top three iconic items for the character and then the three easiest pieces. Determine whether you already have the iconic item, or if you know where to buy it within budget, or if you can make it yourself? For the first version of your character, focus on one iconic piece accompanied by as many of the easy pieces as possible. Your pocketbook will thank you. Once you have your one iconic item and the many easy pieces, and you’re still within your timeframe and budget. Then you can choose to add another iconic piece to increase your character’s recognition, but pacing is the name of the game. If you’re having a hard time choosing what iconic piece to pick, always go for the weapon. What’s Luke without a lightsaber? Cloud without his gigantic sword? Or Daryl without his crossbow? For an example of how to improvise as you create, let’s talk pants. Say your character wears grey pants but all you have are black pants. You can swap the grey for black until you can find or afford the perfect grey pair. Or you can attempt to alter the black pants to appear more grey with sun weathering, rubbing baby powder into them, or aging the material with excessive wear and tear like rubbing them along rocks or beating them with chains. Make sure to protect any zippers you have on the item with some masking or duct tape. A sticky zipper is better than no zipper. If your character wears metal armor, you don’t want to pick some flimsy material to replace the metal with. Choose an equally sturdy material to emulate metal. Leather, foam, or worbla would work, and there are various tutorials online for how to make these materials look like metal. Unless you’re a professional costumer, don’t use fabrics that look like metal, they never look like metal.
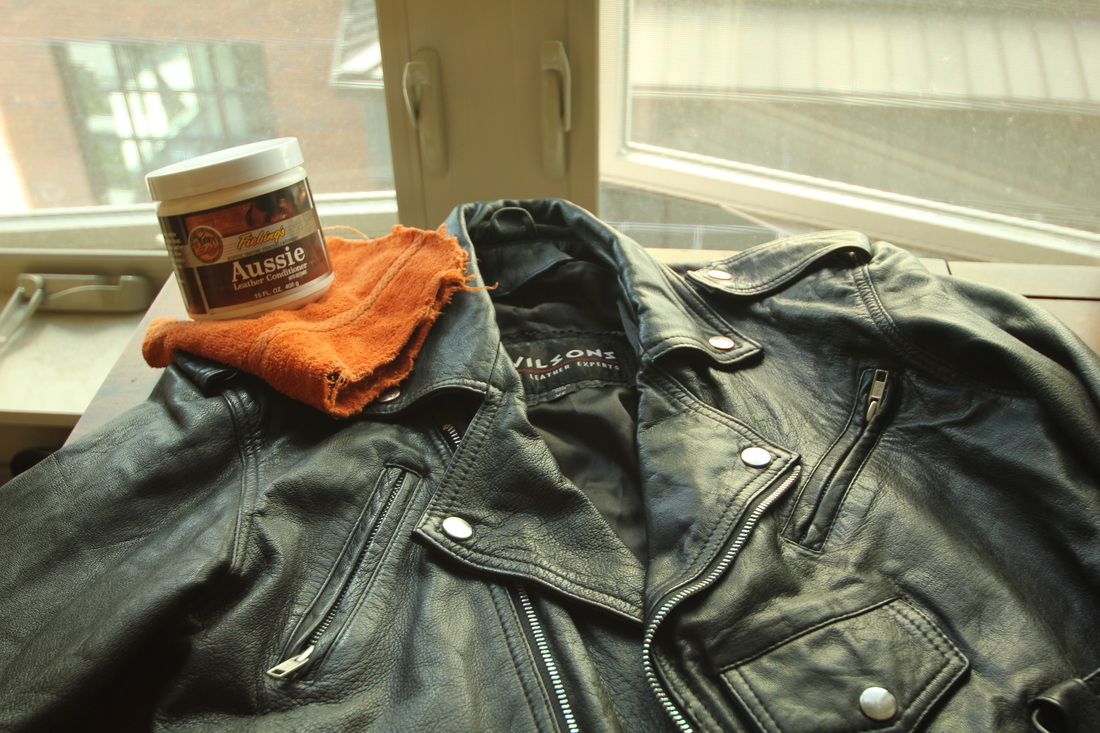
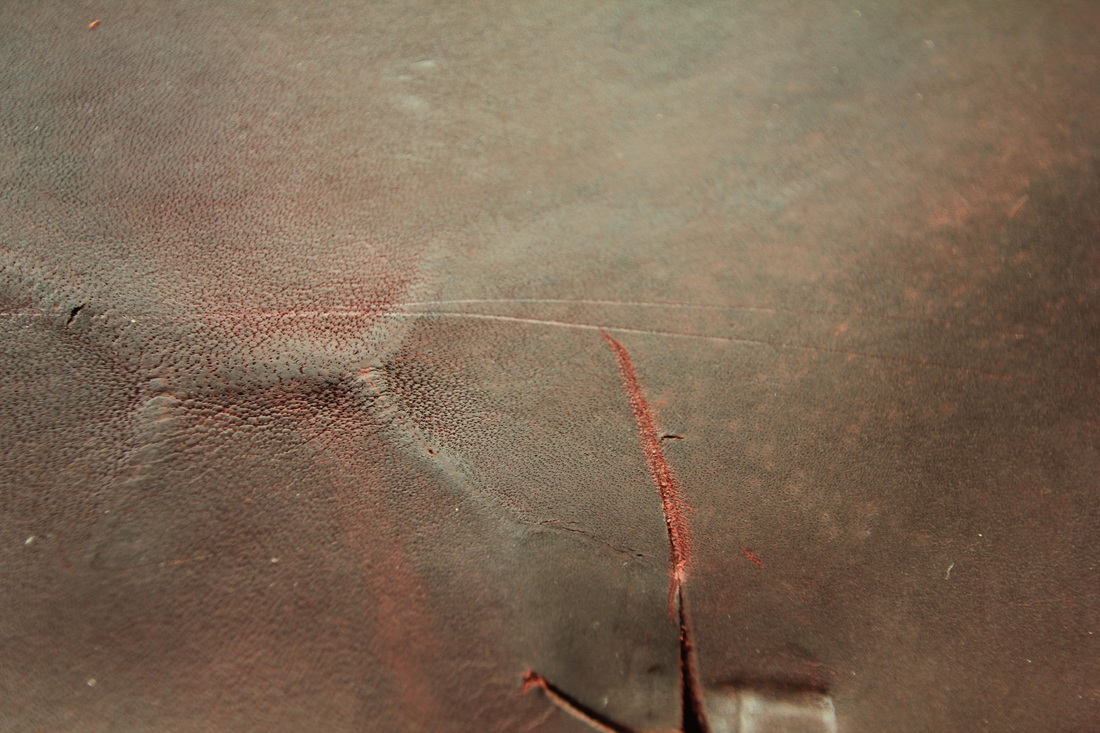
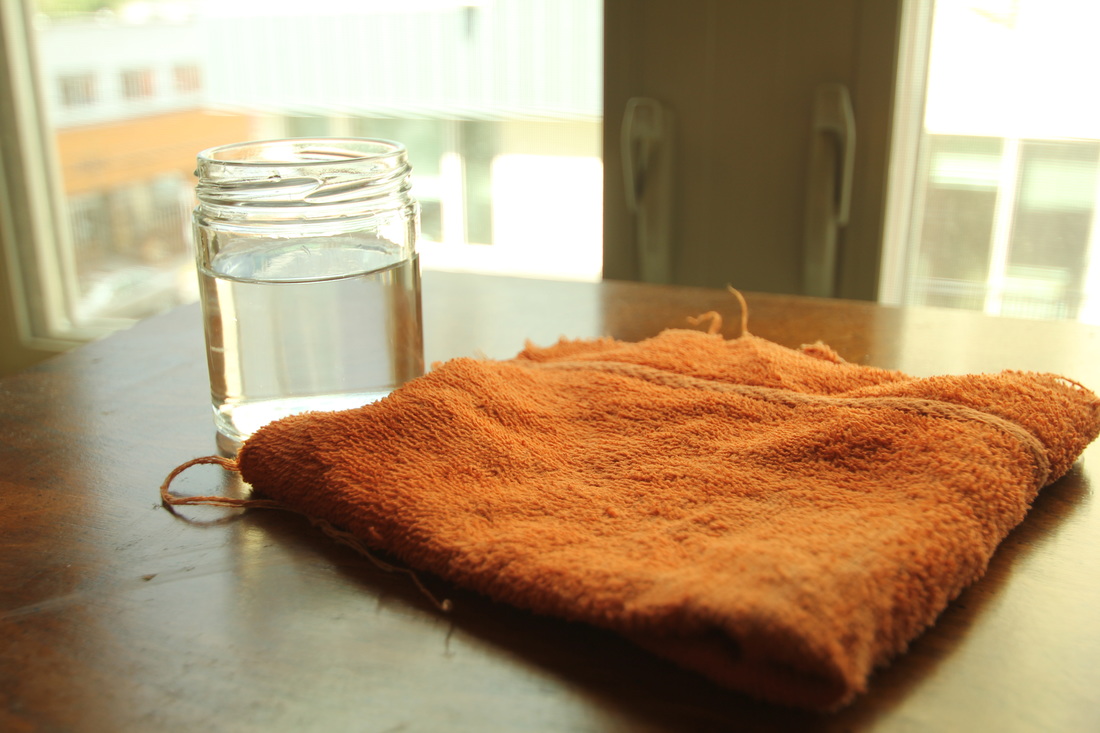
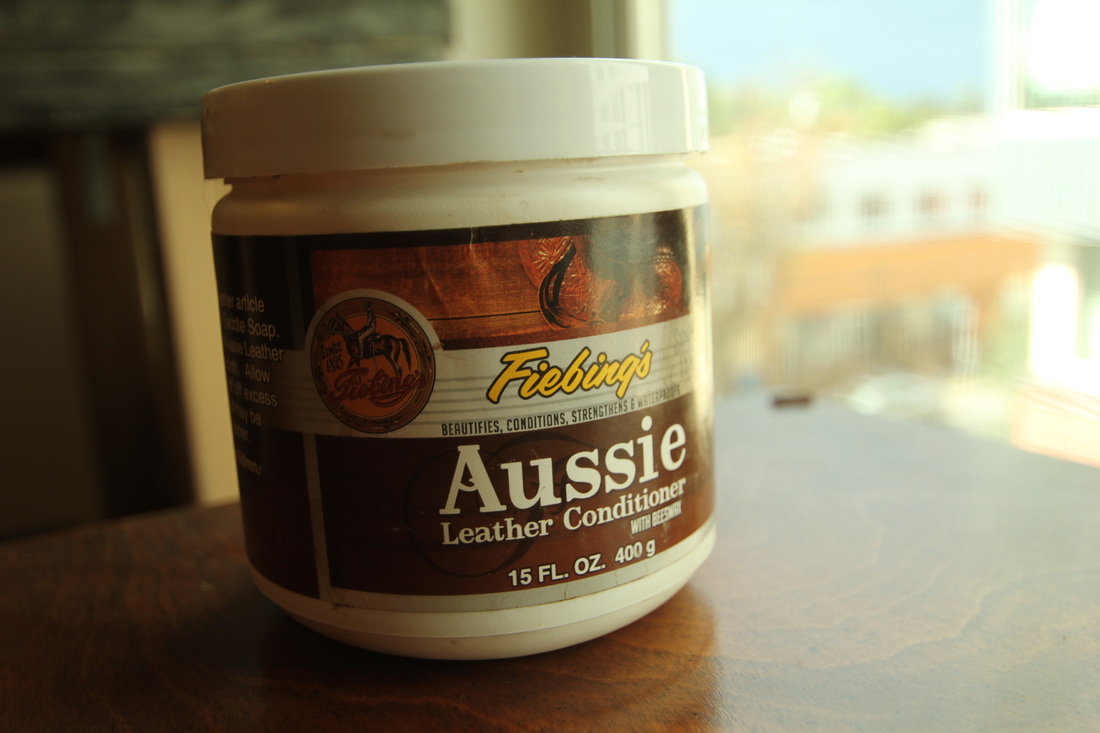
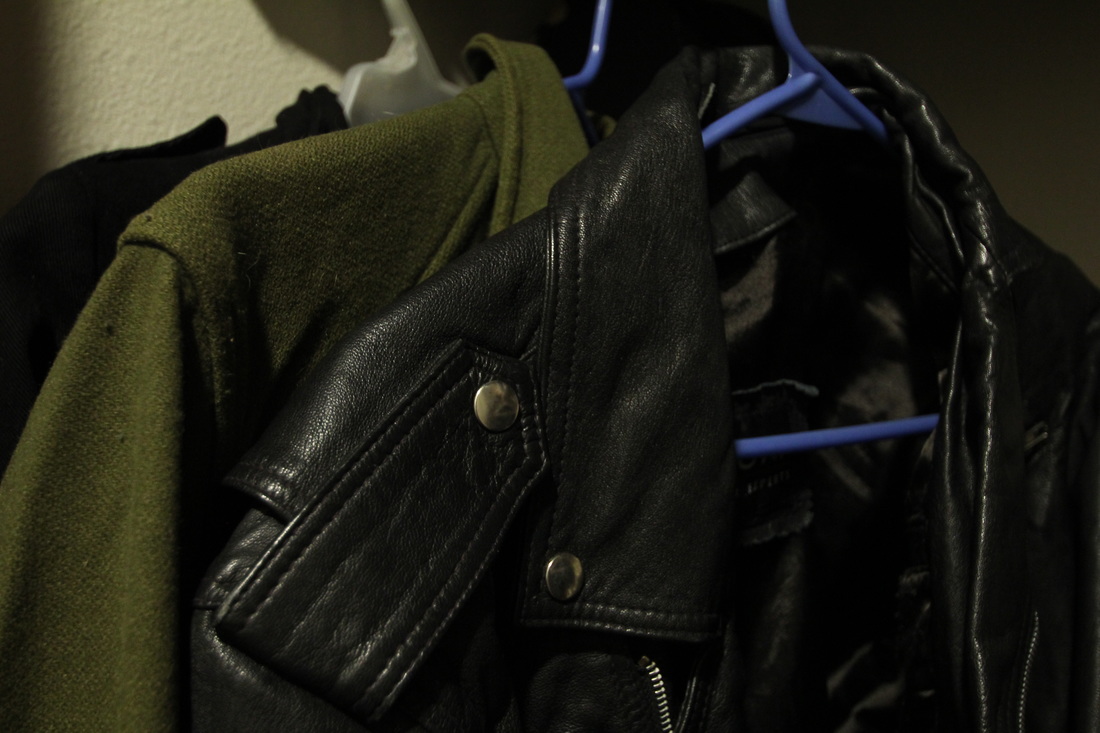
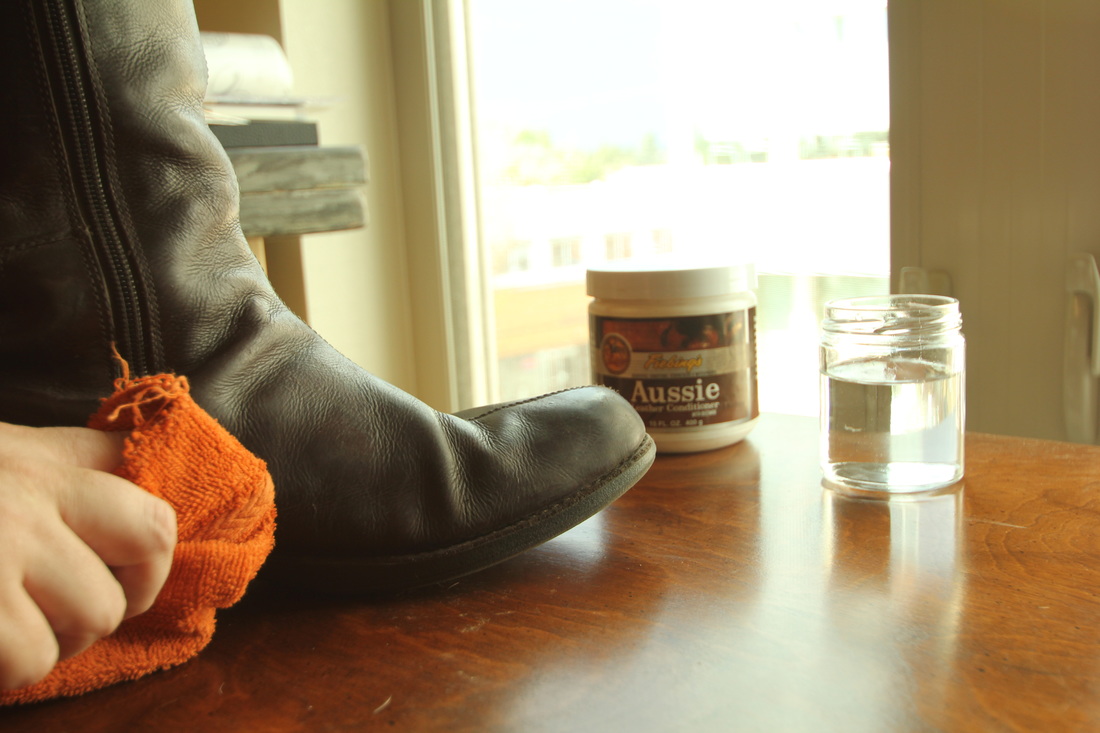
To wrap it up, you want to first look at what you own, then determine what you need to buy. Again Iconic item first, followed by a few easy items, only to be followed by more iconic items, until you are satisfied or until something falls apart. Modifying, making, and finding are the easiest and cheapest way to finish a character, but might take longer than buying. So follow your heart and your budget and have a great time planning your Steampunk Flash outfit. by Willow Enright You’ve finally acquired that dream leather item you fawned over for what seems like an eternity. You want to love those boots and bags for years to come. Now the question is, “How do I take care of it?” If you take good care of your leather, it will take good care of you! Keep it dry, clean, conditioned and stored appropriately and you’ll find that your leather might just out live you. “What do I do when the leather gets wet?” Everyone agrees that you want to keep your leather dry. If it gets damp take a dry cloth to it and then leave it to dry at room temperature. If it gets water logged stuff it with newspaper. Keep in mind that wet leather can stretch, so don’t hang your leather jacket over the kitchen chair because it will reshape the shoulders to fit the chair and not you. Make sure to keep the leather in its natural shape as it dries. Don’t expose the leather to the sun or to direct heat in order to dry it out faster, the leather is likely to crack. Drying naturally at room temperature is best. “How can I prevent stains and scratches?” There’s really no good way to prevent stains or scratches on your leather, that’s simply part of life and the natural aging process known as Patina. You can condition, buff and waterproof to help reduce the effects of wear and tear, plus it adds longevity to your leather, but scratches and stains will happen. “What’s the best way to clean my leather?” The best way to clean your leather is with a dry clean cloth or damp cloth if your item is extremely dirty. Wipe off the dirt gently, don’t scrub or you might rub the particles into the leather instead. There are also leather cleaners you can use but I find simply wiping with a cloth works the best. If your leather has hardware (buckles, D-rings, etc) take care to clean that regularly as well. “How often should I condition the leather?” Think of conditioning your leather like a moisturizer for your skin. If you don’t moisturize you will dry out over time, your leather items are the same. Prevent flaking, peeling, cracking, and wrinkling by conditioning regularly. Try Aussies Leather Conditioner, which supplements the natural oils of leather. Dab a small bit of conditioner on a soft cloth and rub gently all over. Leave overnight, and then wipe off the excess with a dry clean cloth. You should condition every 6 months or so to keep your leather looking shiny. If you use your leather items more often, then condition them every month or even more often if necessary. “Where do I properly store my leather?” Keep your leather in a dry room temperature area. Never store your leather in plastic, cardboard, or in direct sunlight. Confining the leather without air to let it breathe can cause mold or mildew to develop. Leaving leather in the sun can cause bleaching or warping. If you have leather shoes or boots you can use cedar tree shoes which help to absorb moisture and scents and help to retain the shape. In summary you want to keep your leather dry, and if it gets wet let it dry naturally. To prevent wear and tear be sure to clean, condition, buff, and waterproof to prolong the life of the leather. Condition every six months or so depending on use. And when storing your leather, keep it out of the sun, at room temperature, and in an area where it can breathe. Now that you know how to make that leather last, you’ll want to update your last will and testament so the kids stop fighting over your favorite leather satchel.
|
Willow EnrightI started crafting out of leather in 2011, and now I am making it my life's work. I am writing this blog to help myself remember some of the small steps in past projects, sharing my triumphs and failures, as well as my love of leather. Archives
November 2017
Categories
All
|


 RSS Feed
