|
by Willow Enright 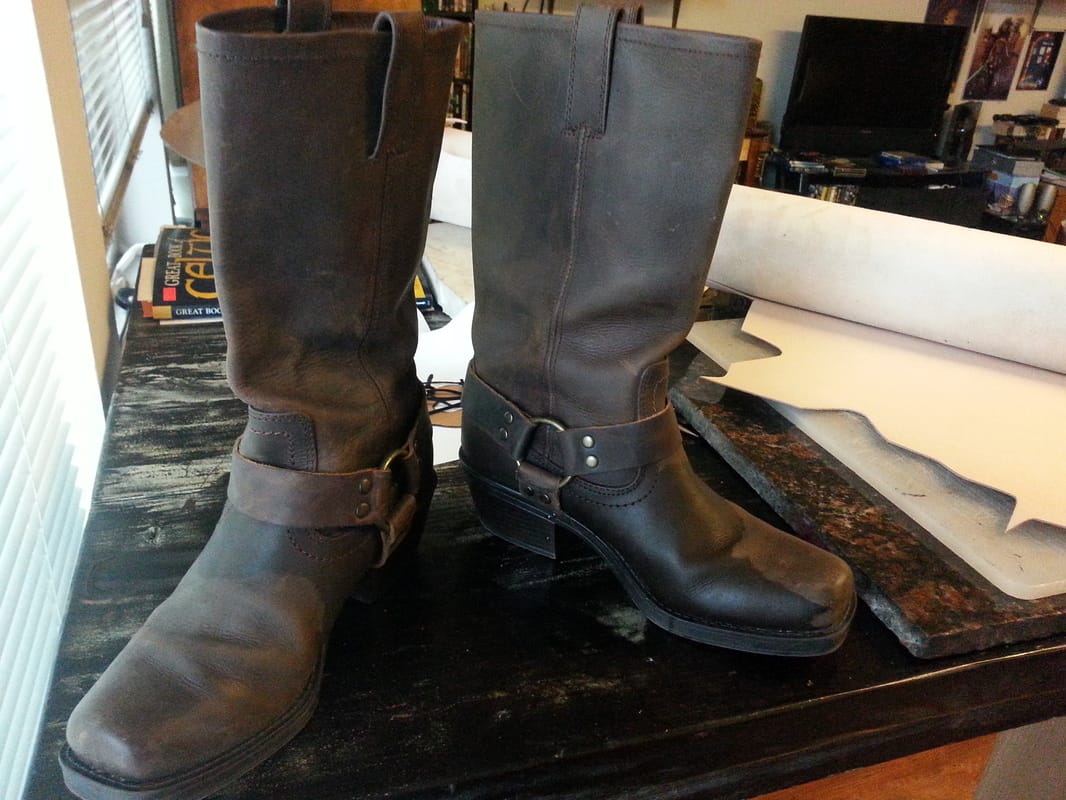 My pair of leather boots You got a new pair of leather boots for Christmas or Hanukkah, but they are just a wee bit too tight. Now what? Spend hours in line trying to return them since you can't exchange them because they have sold out? Nope. Don't do that, instead try this simple boot hack to make those new boots more comfortable. Supplies:Boots 2 extra large freezer ziplock bags Water Freezer 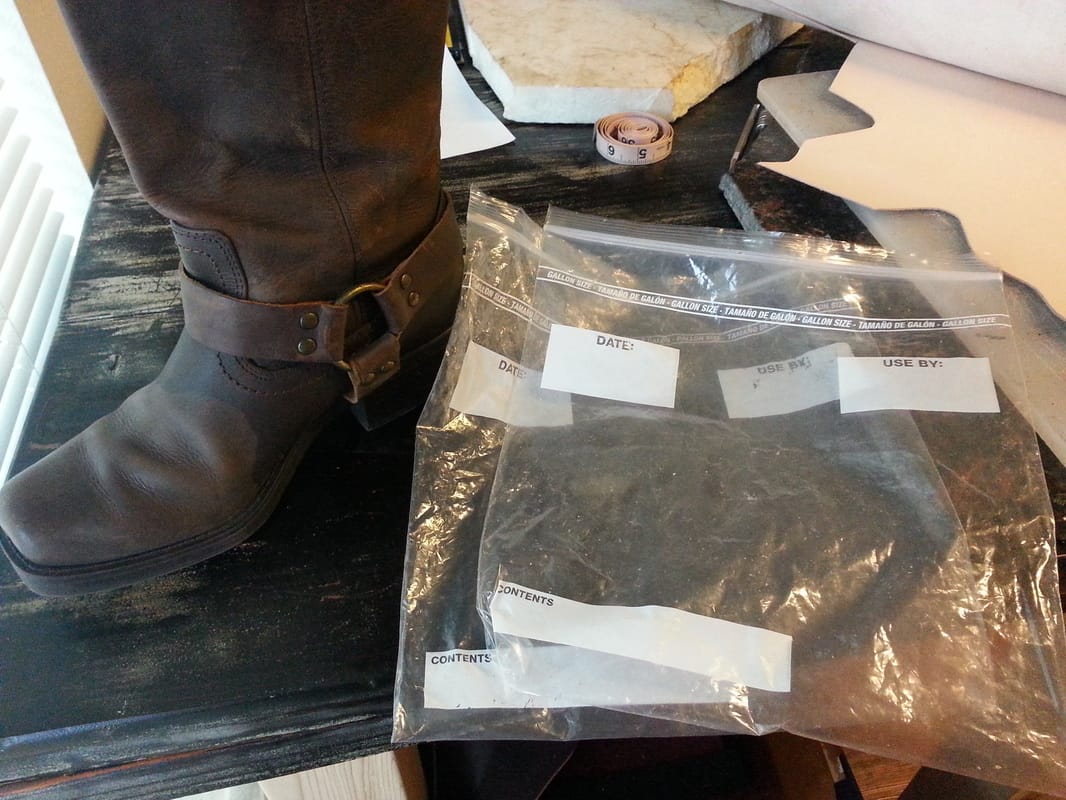 Use 2 large ziplock freezer bags for this boot hack. 1.) Get your leather boots, and head over to the sink. You want to fill two of the ziplock bags about 1/4 of the way full, making sure to squeeze out the air as you close the ziplock bag. Then place your water filled bag inside the second ziplock bag, seal this bag the same way ensuring air is not in the bag. 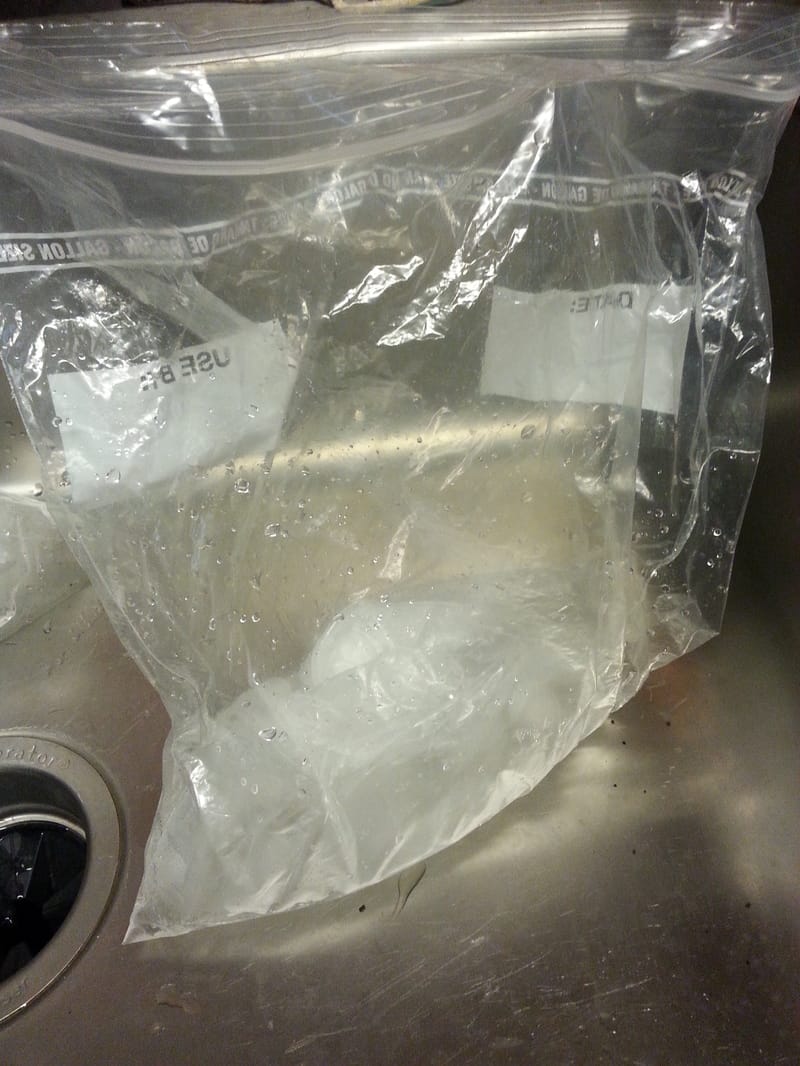 2.) Stuff the ziplock bags deep into your leather boots so that the water essentially fills the toe and heel of the boots. Be sure that the bag gets into the boot far enough so that the next step will work better. 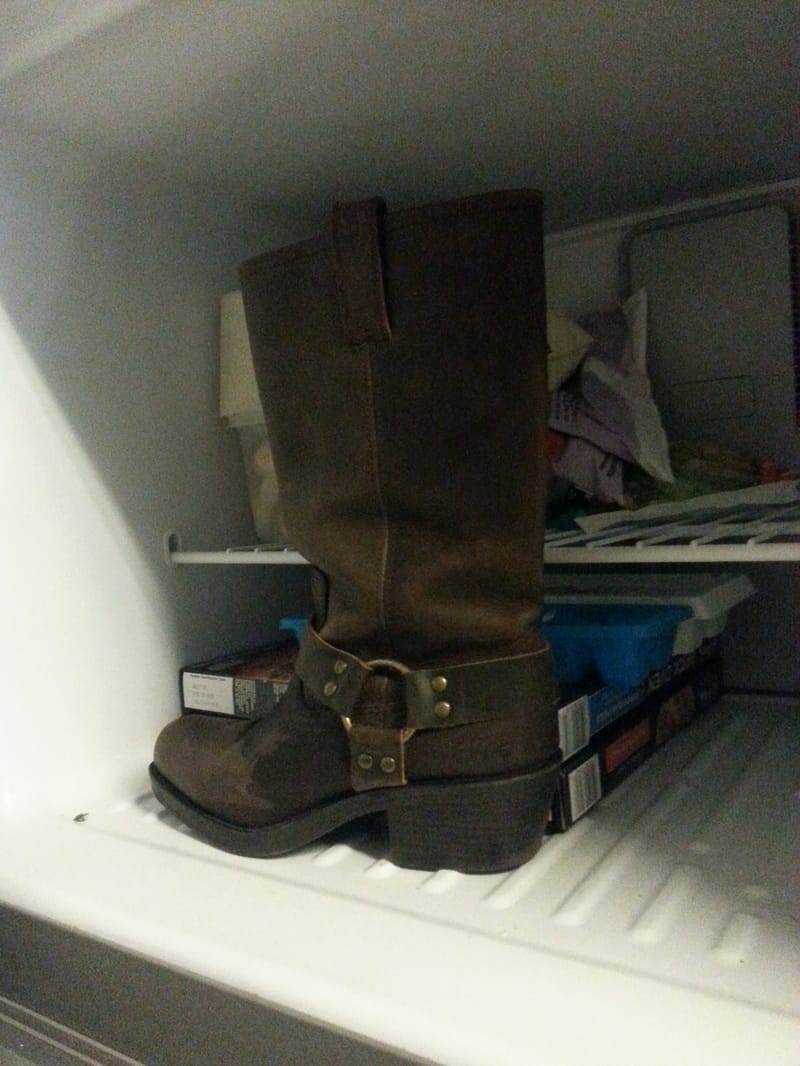 Boot in the freezer. 3.) Put your boots into the freezer overnight. 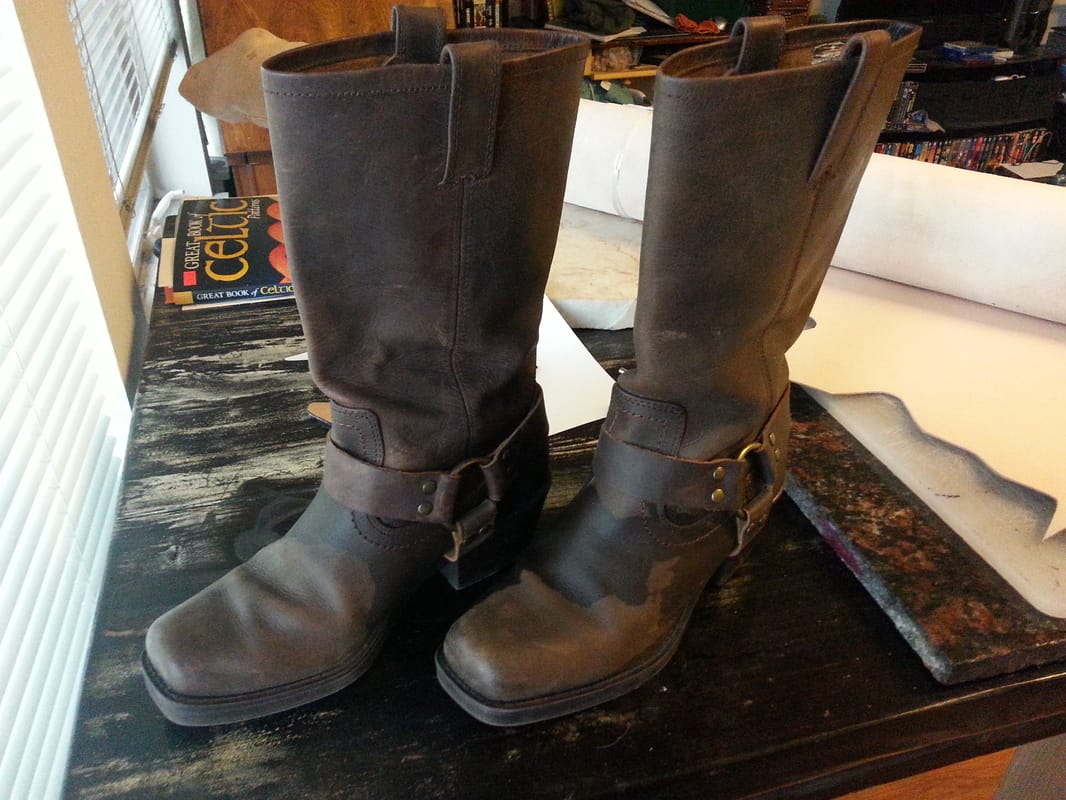 My Leather boots after they came out of the freezer. 4.) Take your boots out of the freezer and leave them to thaw in the sink for a few hours before trying to work the frozen ziplock bags back out. If you still can't get them out, no worries, leave them a bit longer. Leather boots will not be ruined by getting wet. 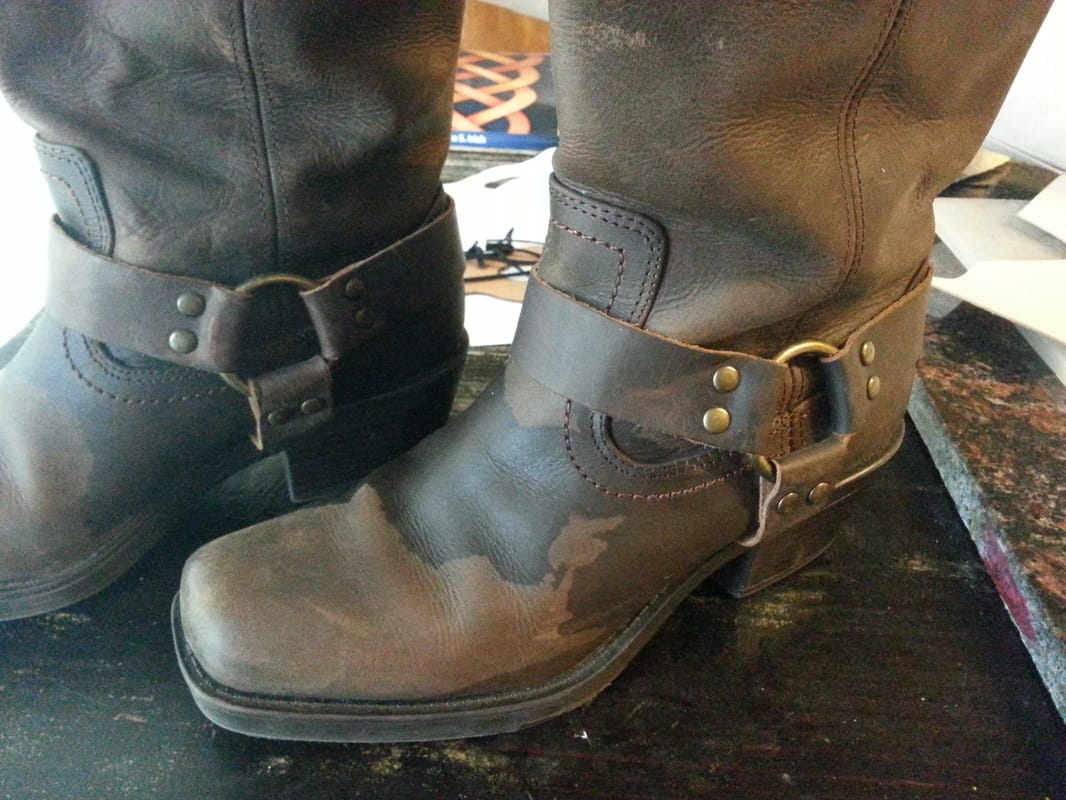 Boots drying naturally on my work table. 5.) Leave them to dry naturally, but go ahead and try them on and see if they are more comfortable. If they are still too tight, wait for them to fully dry and then repeat steps 1-4.
Leather is naturally flexible to a certain degree, so filling the boot with water via a bag that you then freeze allows the slow stretching out of the leather boot as it expands during the freezing process. Since the freezing takes place slowly it allows the leather time to stretch without too much strain. In the end your boots won't be so darn snug, and you can simply enjoy your gift!
1 Comment
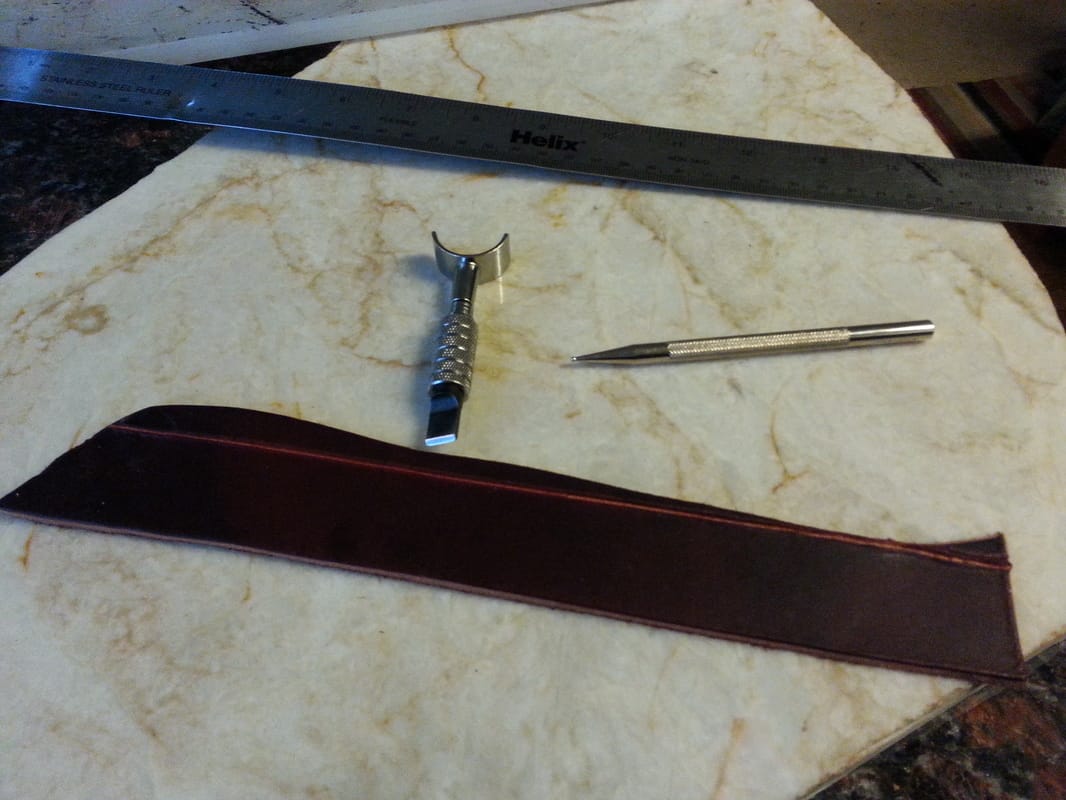
by Willow Enright 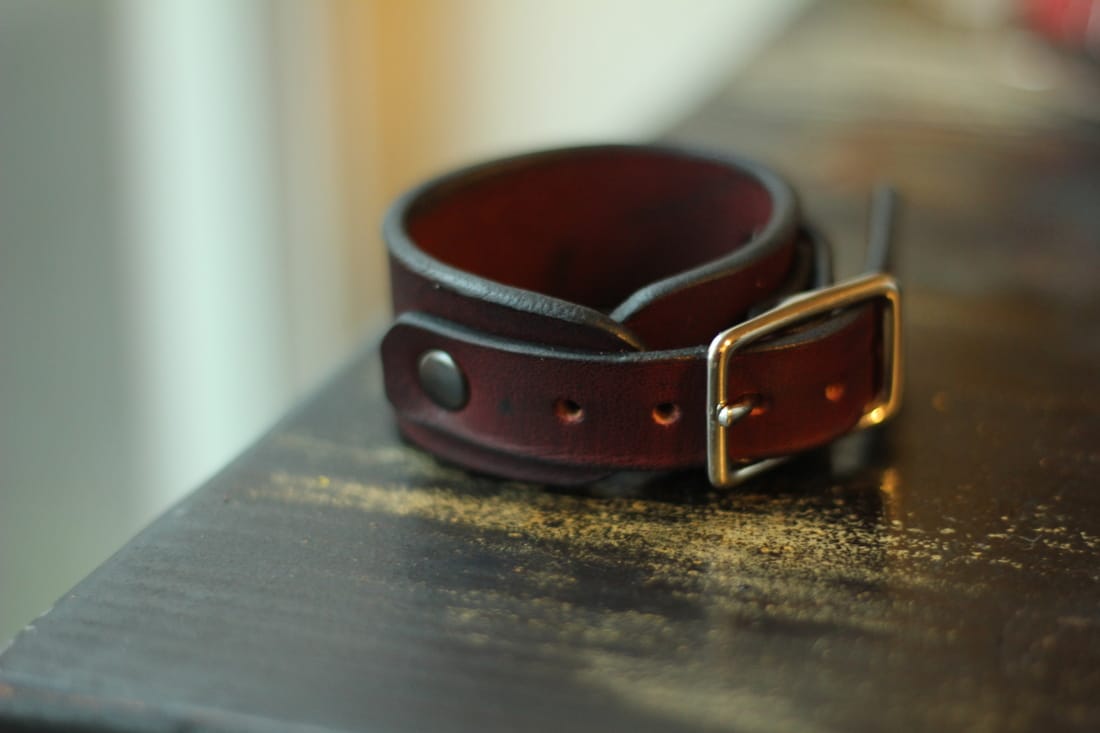 Custom leather bracelet. It seems that most leather lovers are rather fond of the classic leather bracelet. There's much to be said for the simple elegance of a nicely crafted bracelet. It goes with practically everything, and it's not too terribly difficult to make one yourself. So, if you've been wanting to craft homemade gifts for those you love, you should try out this classic beauty! Supplies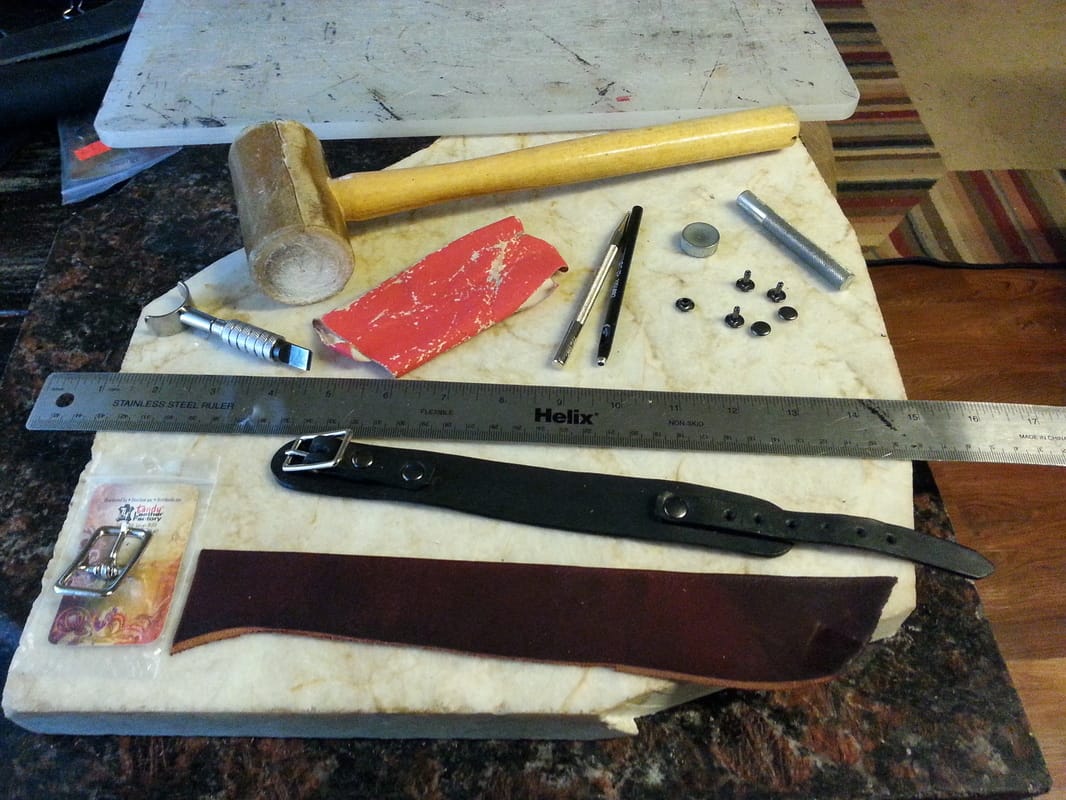 Supplies for creating your classic leather bracelet. Cutting Board Hole Punch Rivets/Rivet Setter & Anvil Mallet Swivel Knife or Scissors Buckle 1/2" or 1" Straight Edge Ruler Leather Sandpaper Oval Belt Punch (or just cut groove for belt tongue)
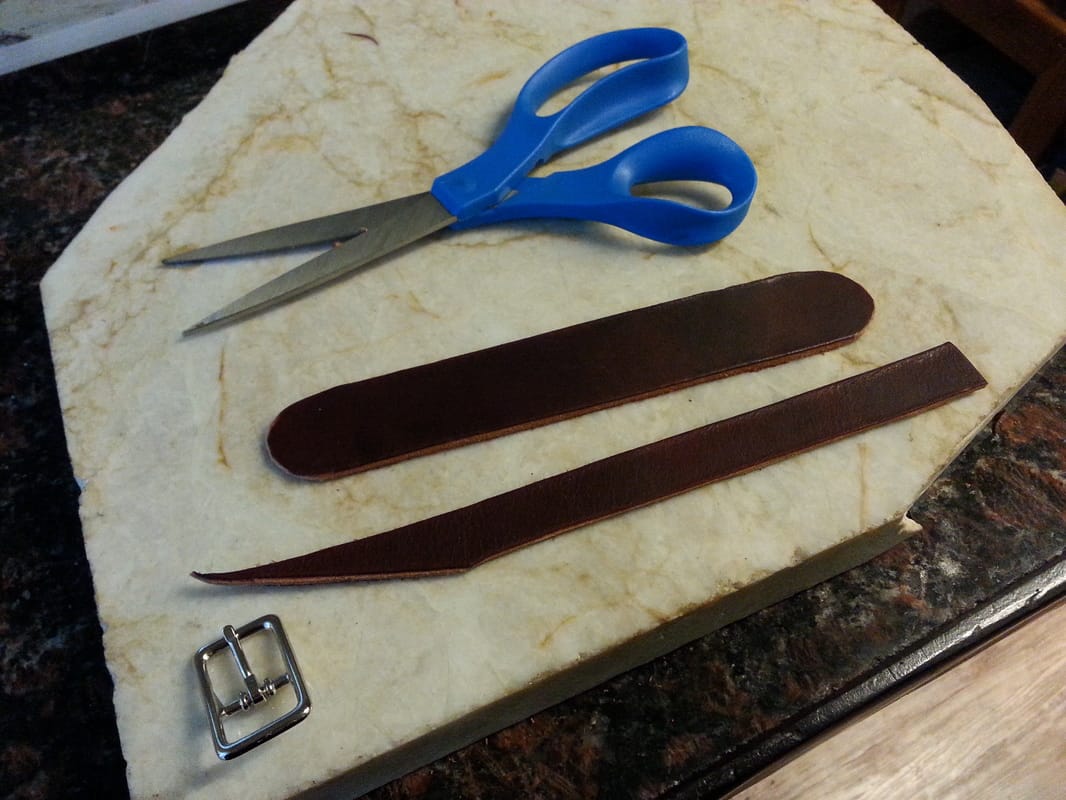
I usually choose a piece of scrap leather that will be long enough, and usually of a thicker ounce like 5-9 oz. You can use vegetable tanned if you want to dye it a specific color, or get fancy with design. Today however, we are staying simple and classic with a pre-dyed leather. I made two bracelets, the finished product you'll see is a 8-9 oz Double Austin Shoulder black leather and the build example is a 5-7 oz burgundy Latigo. Measure your bracelet length, making it at least 1" wide, and 6"-7" long for ladies, and 7.5"-8.5" in length for men's. Also, cut your strap at least 1/2" wide, if your bracelet is thicker than 1" then just make sure that your strap is at least 1/2" less in width than your bracelet. This way your buckle won't hang off the sides when you are done. You will want to cut the strap about an inch and a half longer than you cut your bracelet; this will let you cut that same strap into the two parts for the buckle and its counter strap. You can also round off the edges for a more comfortable fit.
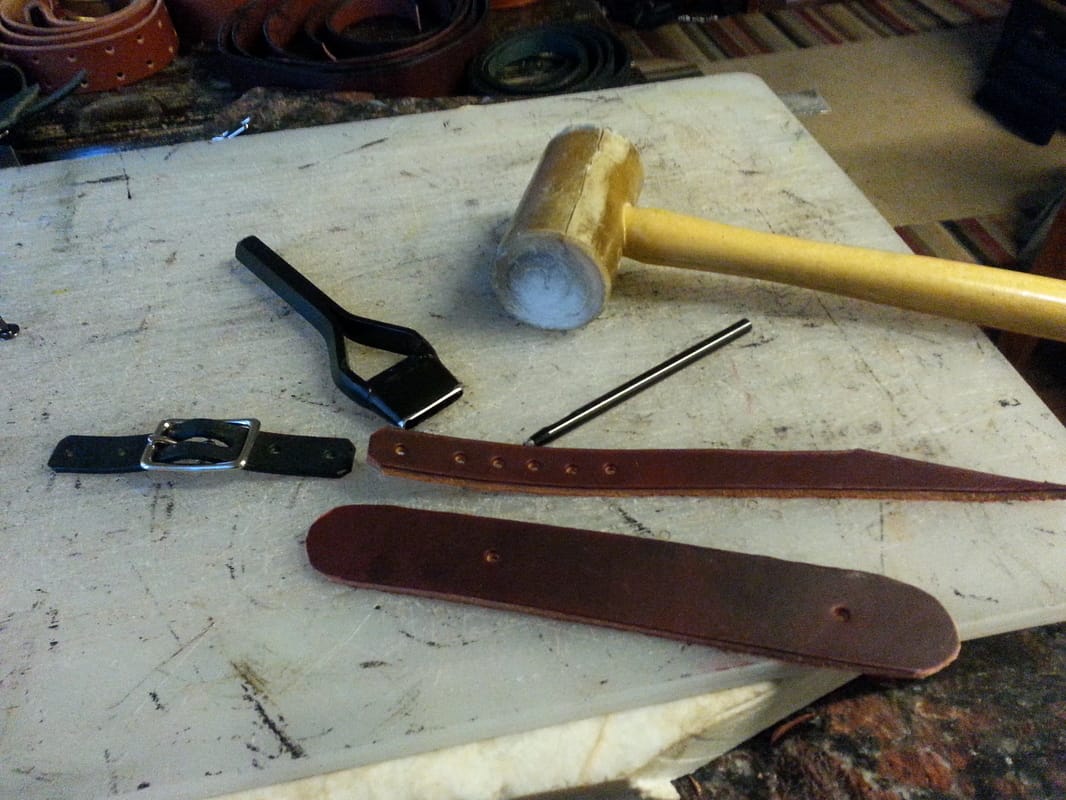
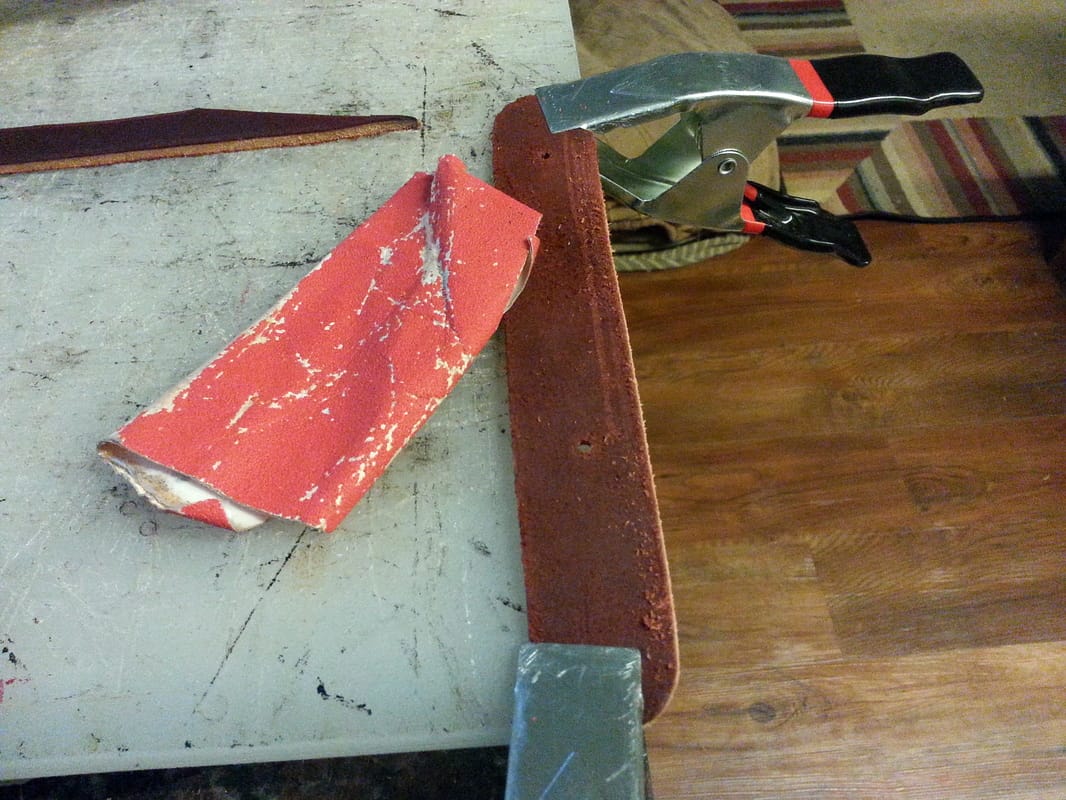
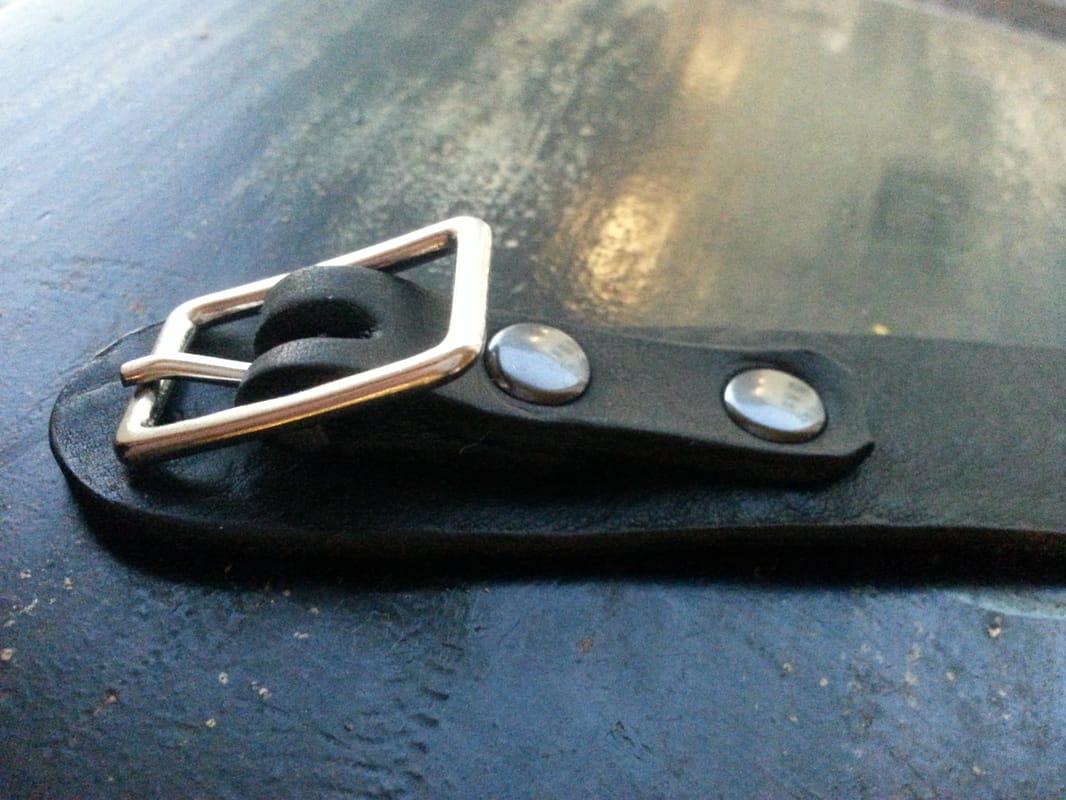
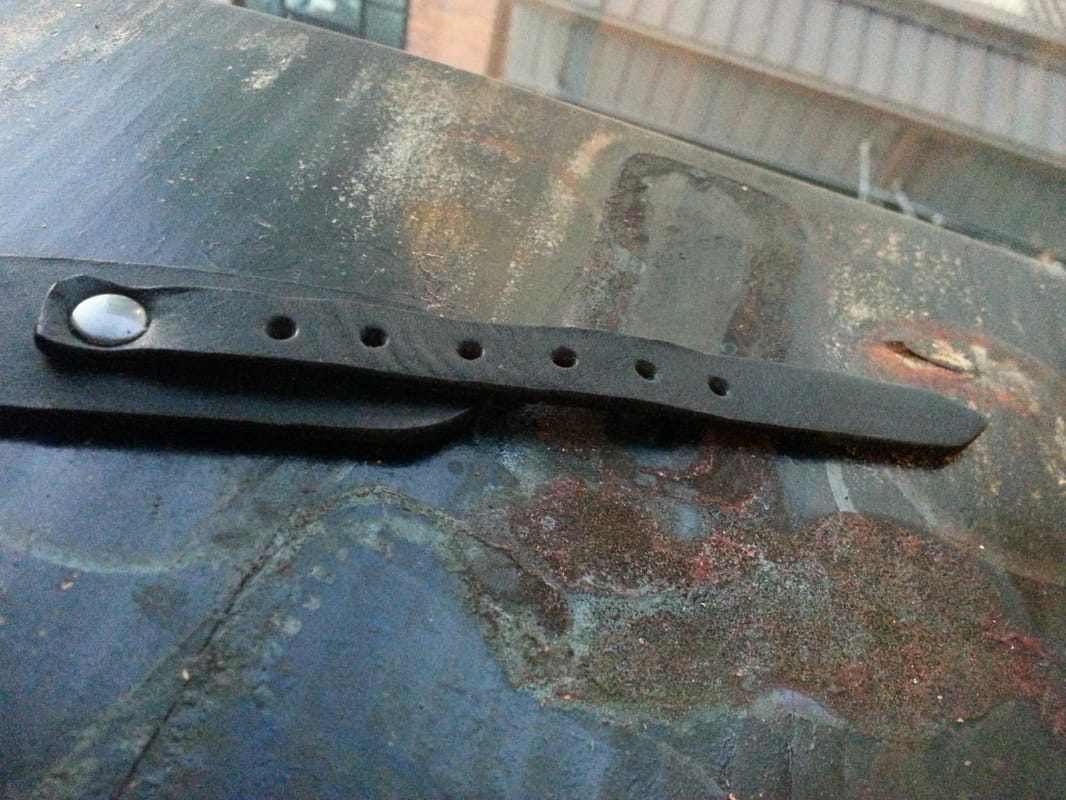
I like to use a buckle that already has a built in keeper to hold down any excess strap. Line up your buckle so that it sits close to the edge but not off the edge, and fold your strap over to create the buckle loop you will need to hold your buckle and fix it to your bracelet (left picture below). Measure and punch all your holes. I like to set my strap holes about 1/2" apart and do at least 5-6 holes for a comfortable but adjustable fit. I like to set my buckle strap about 2-2.5" from the edge, and afix it with one rivet to the bracelet and one rivet to secure the buckle to the buckle strap itself. Once everything is cut, sand the edges of the leather until smooth. If you like the rougher look to your end product then leave the edges raw after sanding, otherwise you can be fancy and use an edge kote and burnish them nice and smooth.
To make the oblong hole for your buckle tongue you can use an oblong hole punch or just use your regular one to punch most of the leather out of the way, and then use sissors or an exacto knife to clean up the edges. Use your rivet setter and anvil to set your strap rivet, fix your buckle to the strap and then the strap to the bracelet. The end result will be a classic leather bracelet that will be loved and cherished for years to come! 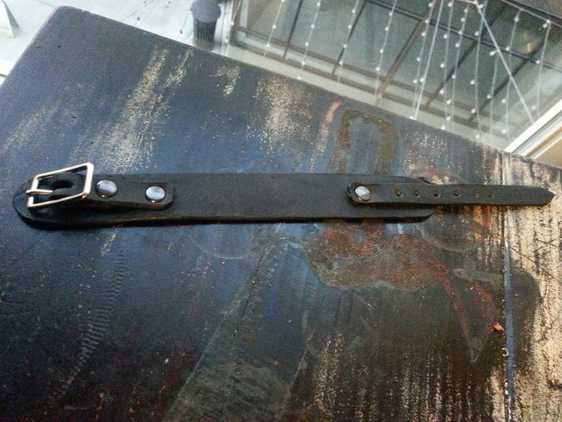 Black Classic Leather Bracelet by Willow Enright  https://pixabay.com/p-2388/?no_redirect I’ve never met a leather satchel that I couldn’t see having in my life for years to come. In fact, one of the most cherished heirloom items are leather bags. Messenger bags, backpacks, satchels, hip bags, duffle bags, suitcases, trunks, and purses have all been passed through the ages as family treasures. Leather has that ageless quality which speaks of a style beyond measure, and the holidays are the perfect time to give priceless gifts that will continue to give for years to come. The classic messenger bag comes in many forms and sizes, varying in the amount of compartments and pockets available. Some are quite large and others reasonably smaller, but regardless of their size these types of bags are one of the most prized totes to own. They usually have a long strap which is slung over one shoulder and across the body, leaving the messenger tote bag to rest on your opposite hip. You can use varying thicknesses of leather to create different looks for a messenger bag. There are even types that have the ability to be used as backpacks as well. 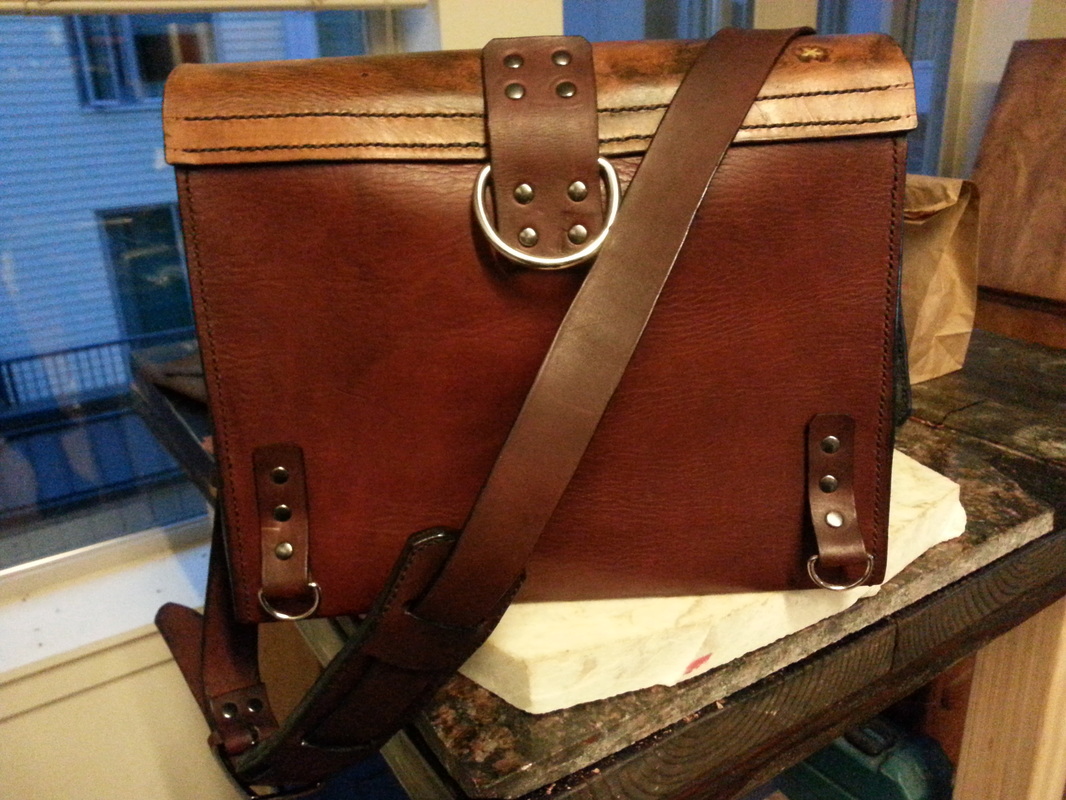 A Messenger Bag that was a custom order and can be used as a messenger or a backpack. Backpacks are basically a rucksack, usually worn on your back, and slung from either one or two shoulders depending on the design. Leather versions of the backpack have been carried for centuries, often with one strap securing the bundle in the middle of your back. It can be quite a crude bag barely more than a swaddled bundle, unsecured but capable of carrying out its intended purpose of hauling goods. Nowadays, backpacks have more happening than that. They are found with multiple pockets and pouches of varying size, and buckles for securing it steadfast. The leather satchel bag has had many forms and uses over the last several hundred years. It was often used in tandem with farm animals, such as horses or mules. Leather satchels are rugged and durable, holding up with hard use outdoors. One could sling a shot gun, supplies, or tools easily over a trusted steed in a leather satchel and never think twice on it, but when the automoble rolled off the assembly line and into your drive way people didn't think to keep around such a handy shoulder bag. Especially since we now have to be our own pack mules and end up carrying laptops, cellphones, tablets, and various other devices. 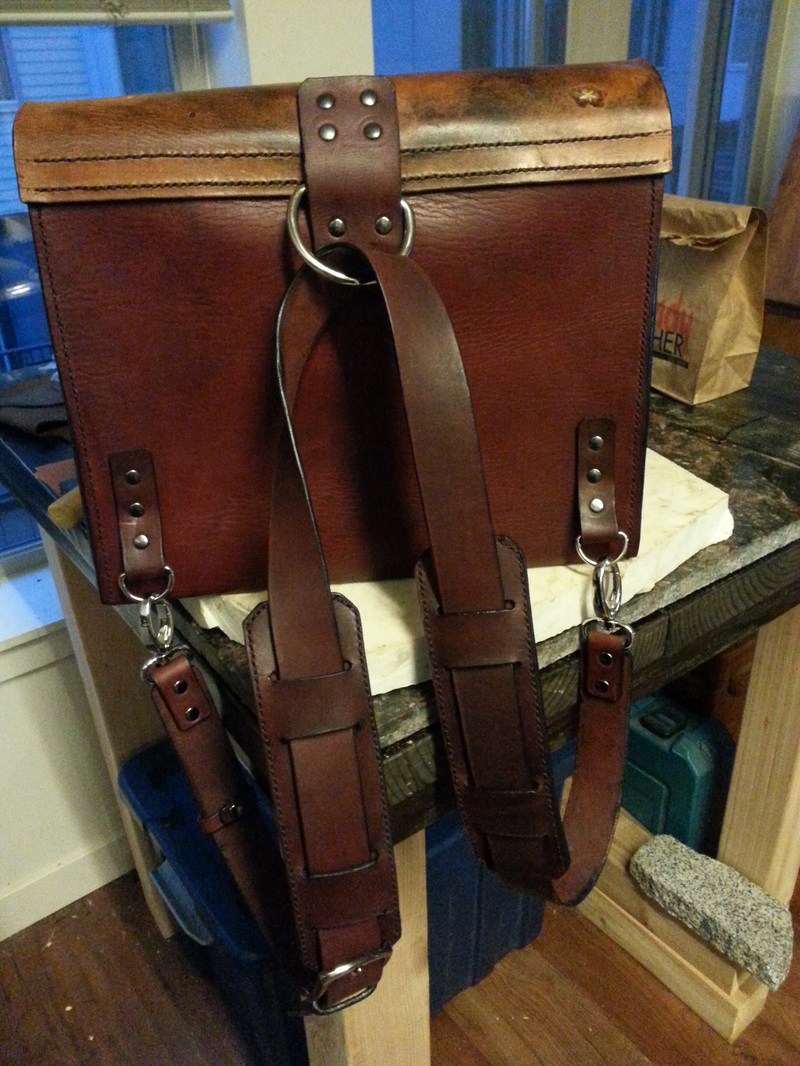 A Backpack that was a custom order and can be used as a messenger or a backpack. Hip bags have deftly replaced the satchel bags we used to know and love. Few folks still have horses and the like, so now we haul stuff around on our own hips. Which is really a good way to carry things around if you think about it; your hips bare the majority of your center of gravity weight. So creating leather hip bags similar to satchels is actually a good alternate way of toting your daily items about. Some hang from your belt, others have their own belt attached, and sometimes there is a leg strap involved. Hip bags are definitely much more complicated than the simple duffle bag, for instance. The duffle bag usually has one very large compartment for carrying more than your daily gear, and a long strap for over the shoulder slinging. These are designed for the weekend getaway or the minimalist’s ideal for traveling. There aren’t many pockets for your stuff to get misplaced in, and you can easily open them up wide for getting to your things. Plus, if you happen to be in a Zombie Apocalypse you can also shove guns into a duffle bag fairly well. Unlike the traditional suitcases which are impossible to run with. 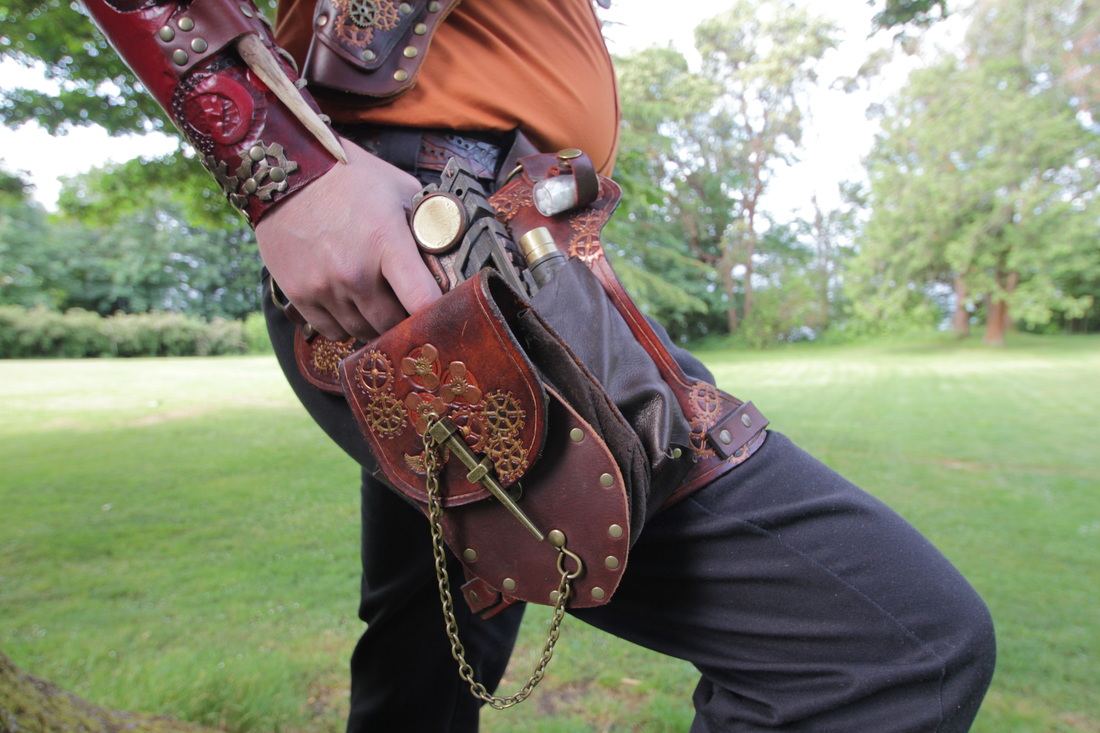 My personal Steampunk Cowboy Pistol Rig. Although they are not great in the Apocalypse, suitcases are extremely helpful for traveling on the leisure. Being rather hardy and compact they truly stand up to the rigger of journeying about endlessly. Usually suitcases are made with a flip lid, buckles or locks for enclosure, and a sturdy handle for toting them about. They can be made of several materials, and leather is one. They were originally designed as the mini trunk on the go, and for the most part retain that reputation today. The traveling trunk may be one of the oldest forms of a closet that we know. There was a time when huge, heavy, overladen trunks stowed away ones beloved possessions and clothes in carefully designed drawers or pull out flats. It made rotating seasonal clothes more convenient, while at the same time making it impossible to easily haul around. Lavish leather trunks have been seen throughout the ages, some in combination with wood, others simply made of leather. However, the ingeniousness of such trunks is scarcely found today unless you take into consideration the basic modern purse. 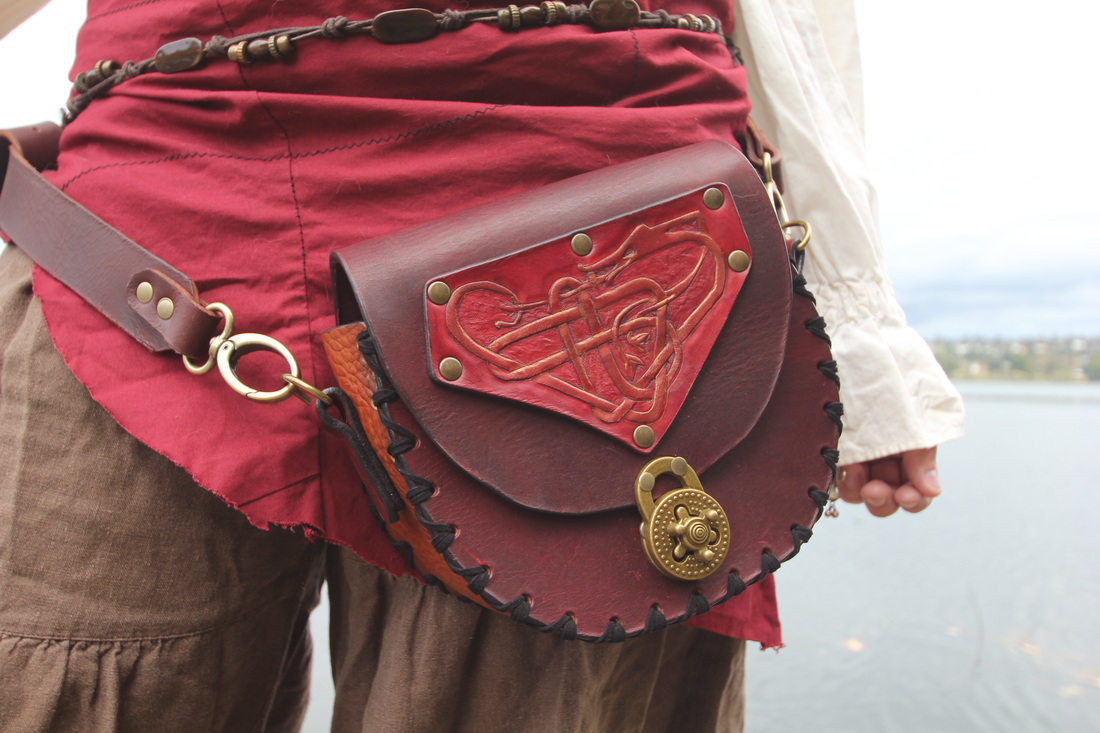 A two toned leather Hip Bag with celtic dragon knot. The common place bag for trekking your daily goods about these days for ladies is the purse. It is preferred with a strap to go over the shoulder, but sometimes women like to carry them clutch style. Lately, wearing them slung around your hips is great, too. Leather purses are lovely, especially when they have a nice patina (where the leather is slightly lighter from being bent.) You can have slouchy leather purses, or more ridged thicker leather purses to maintain the shape. Regardless what type of leather bag is your favorite, if you take good care of it, then it will last you for ages.
by Willow Enright 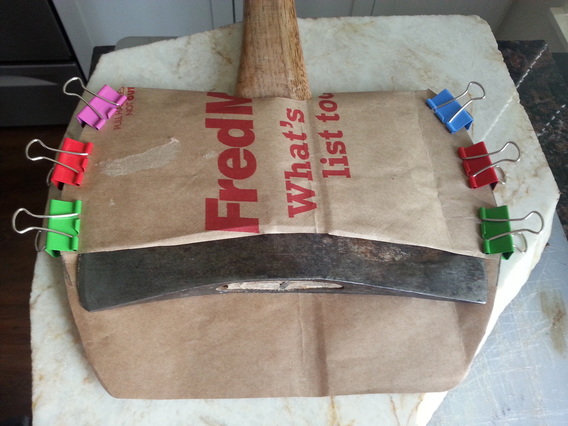 Using some office clips to help hold the paper bag pattern in place to fit it around the axe. People have been copying others for centuries. They copy hairstyles, clothes, weapons, mannerisms, shoes, and even vocabularies. Sometimes you fall in love with something that you see and you just have to recreate it. This is the essence of cosplay, in pretty much a nut shell. Reverse Engineering is the process of figuring out what steps to take to create a garment or item that copies an already existing item that you have seen without a pattern. Outright copying a pattern that has a copyright is against the law, but you can state that you were using such and such’s pattern to create your final product. With reverse engineering you’re going to use all of your know-how to create an item that looks like the one you see. The first step is to choose what you want to recreate. You will need either the physical object to recreate, or some pictures of the item you are trying to copy. If you are using photos try to get pictures of the front, back, and side along with any close ups of the details. 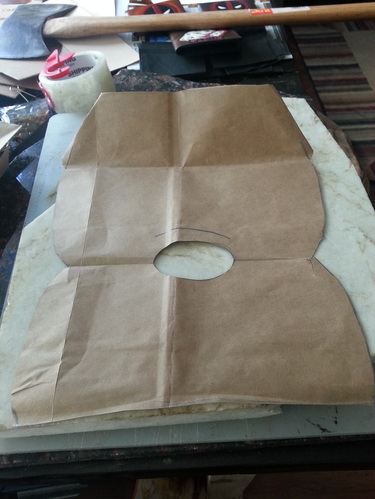 Axe pattern made from paper bags laid out. The next step happens to be my favorite way to reverse engineer something, whether it is a bag or clothes, and that’s to build it with paper bags and tape first. Cut open and lay out your paper bag, then trace the basic shape of the item onto the bag. This is a great way to make changes to the shape and structure quickly. You can pinch, fold, cut, tuck, and tape until you get the shape you want. When it looks like the shape that you’re aiming for, you can cut out the pattern into pieces. This will let you see if the pattern will need darts or strategic cuts in places to be able to put it all back together. Your next step is to build it out of fabric or cardboard. If you are using a garment leather to recreate a fabric item such as a skirt, or gloves then use fabric to create your pattern. If you are using a thicker leather to create a pouch or bag you can stick with the paper bag or transfer your pattern to cardboard. I find both are useful for different patterns. Cardboard is great for wallets, straps, and body armor pieces because it’s thicker and will hold up for multiple uses. If you are making sheaths or other specialty item cases, then paper bags will suit your need better since you are able to bend the pattern over an actual item to see how it will fit. 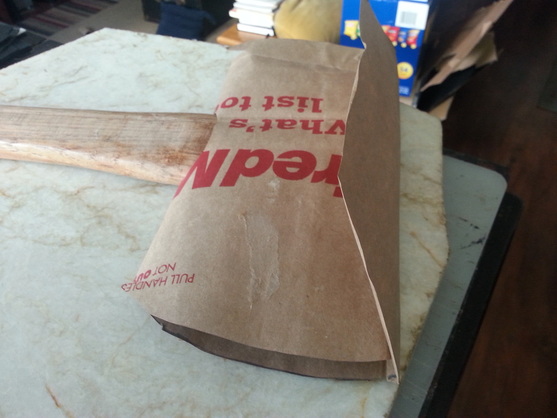 Axe tucked into its paper pattern. One of my favorite reverse engineering of patterns is using small boxes as guidelines for making pouches. This one is pretty simple in that it skips the having to figure out your pattern for the most part. The two adjustments that you need to figure out are another way to make the flap that will cover the basic box shape, and how you want to do your belt strap.
Once you have your pattern, you can begin the real project! For continued use I recommend that you label the pattern and store it in a zip-lock bag or a filing cabinet. Let me know if you try doing reverse engineering, I’d love to see what you come up with! |
Willow EnrightI started crafting out of leather in 2011, and now I am making it my life's work. I am writing this blog to help myself remember some of the small steps in past projects, sharing my triumphs and failures, as well as my love of leather. Archives
November 2017
Categories
All
|

|
Cosplay DIY (Blog) |
 RSS Feed
