|
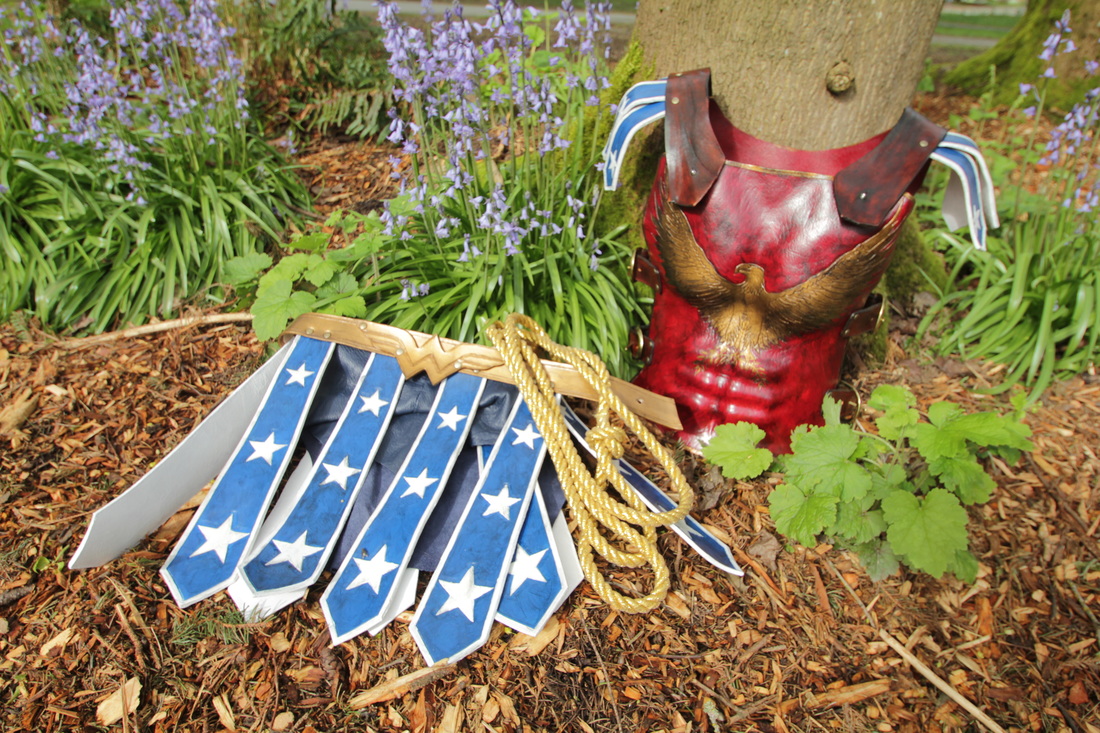
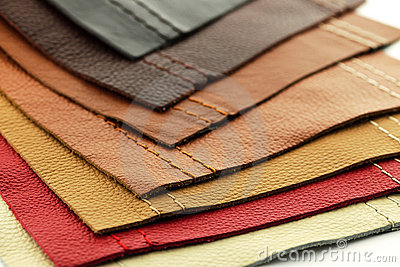
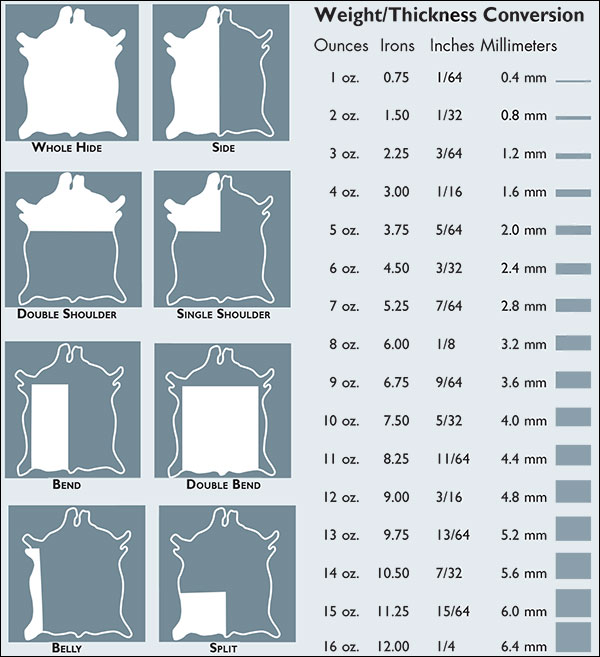
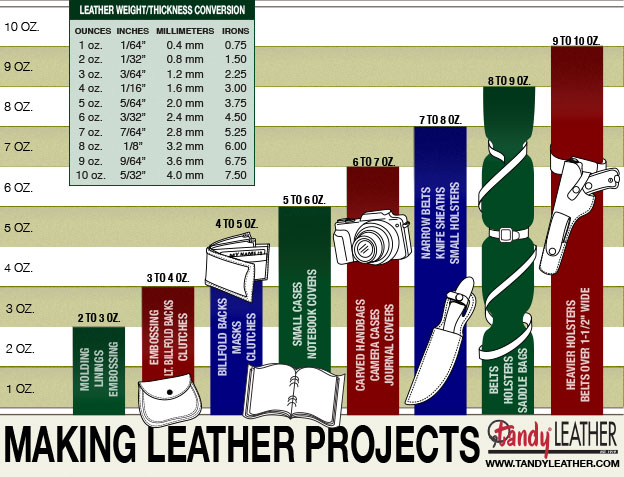
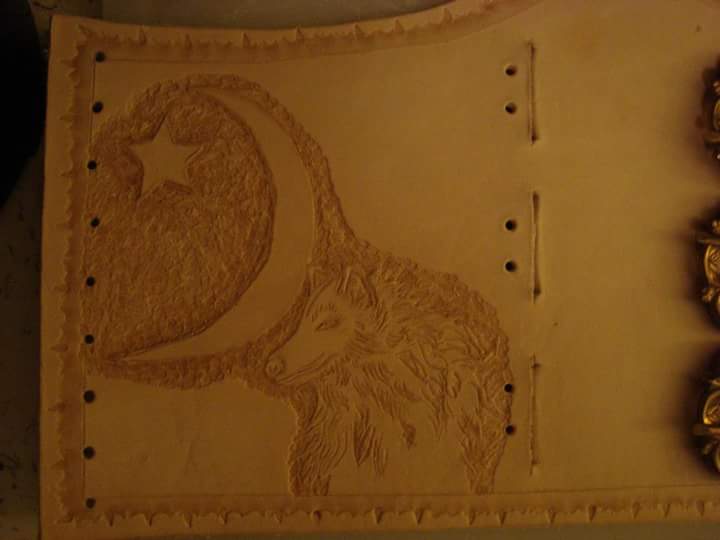
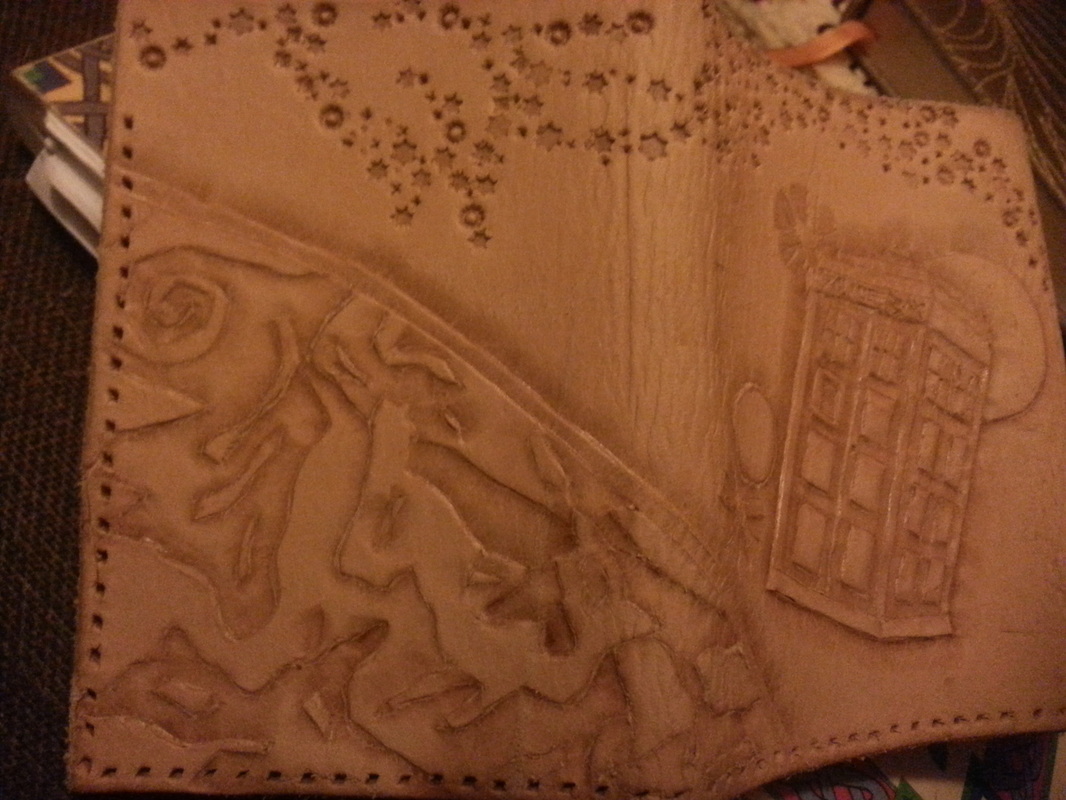
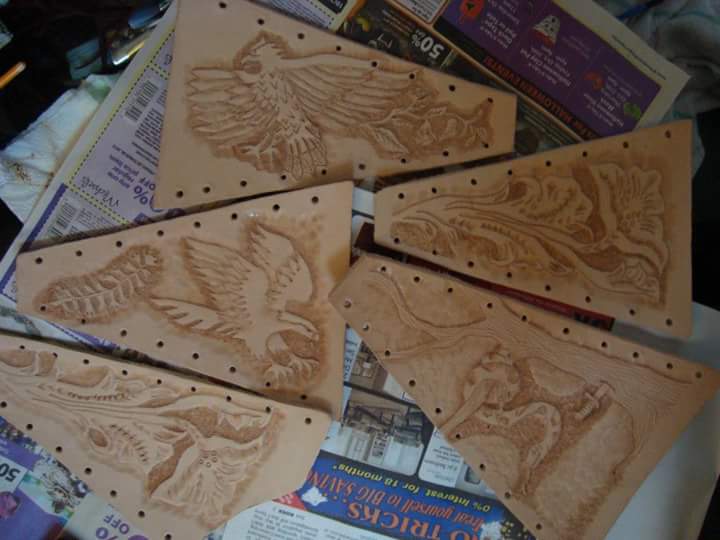
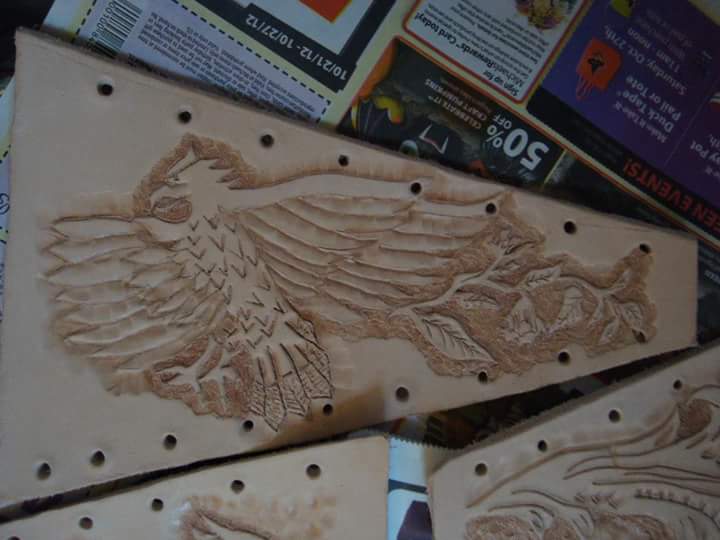
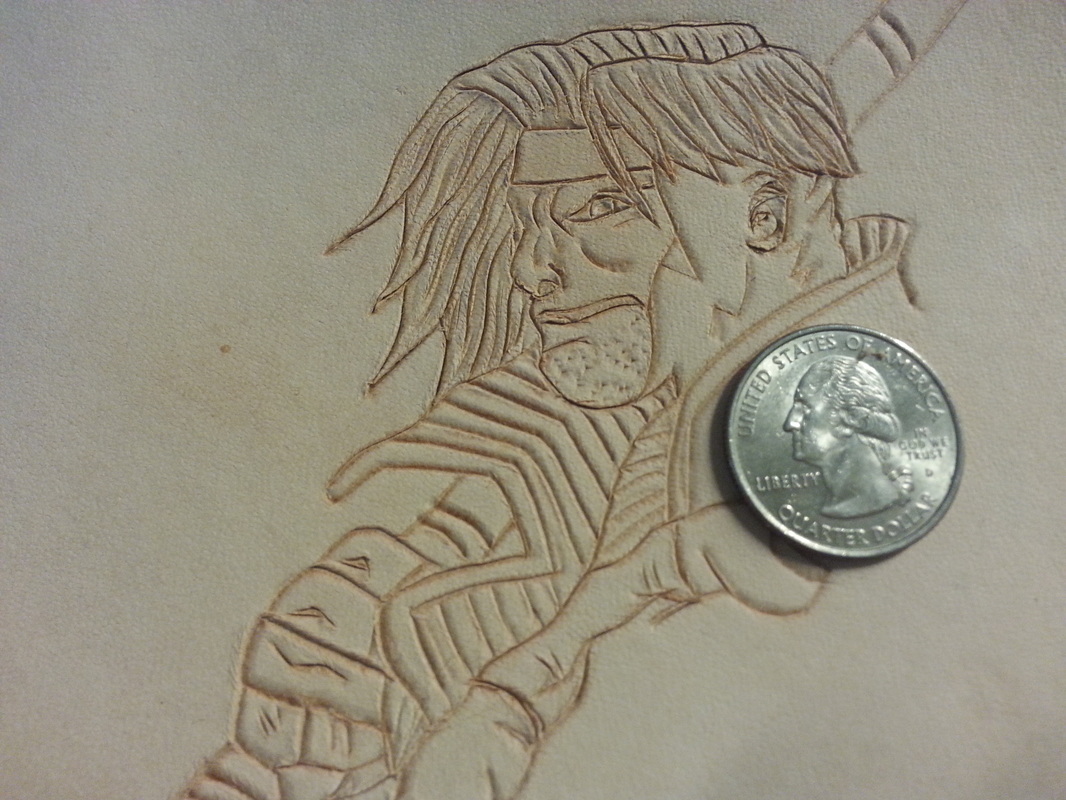
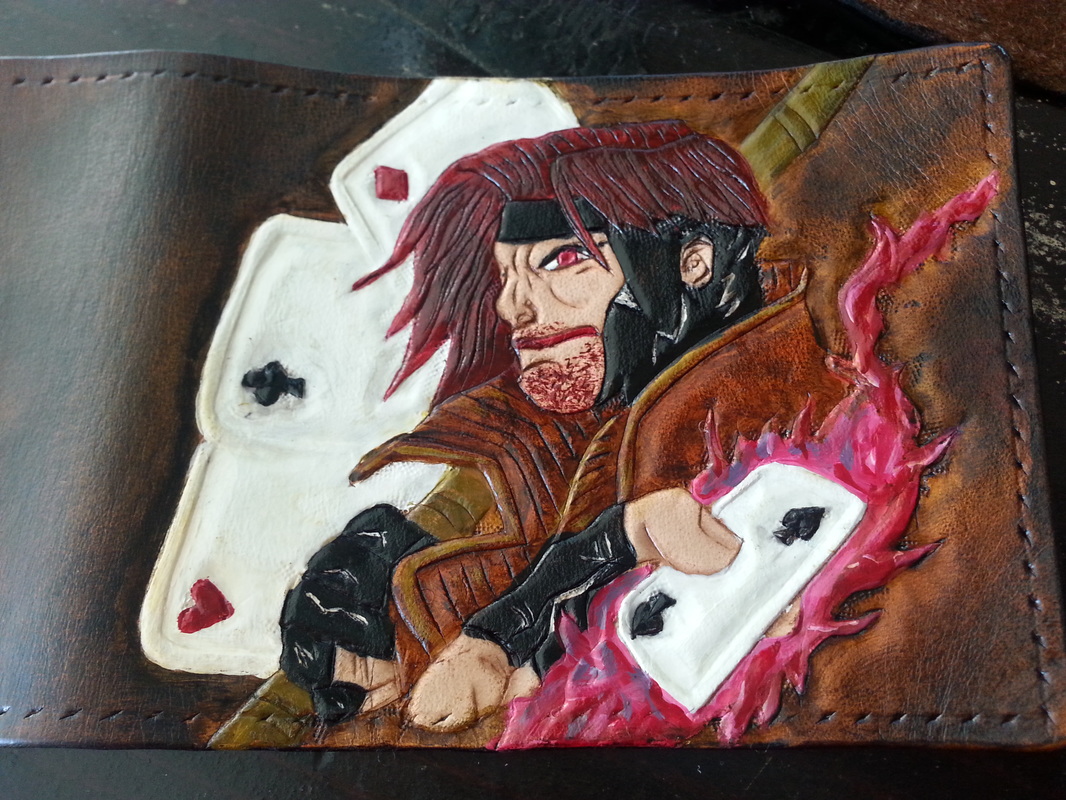
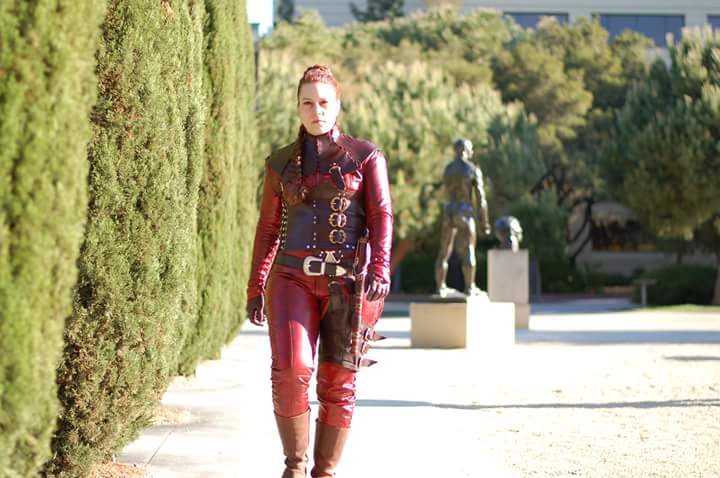
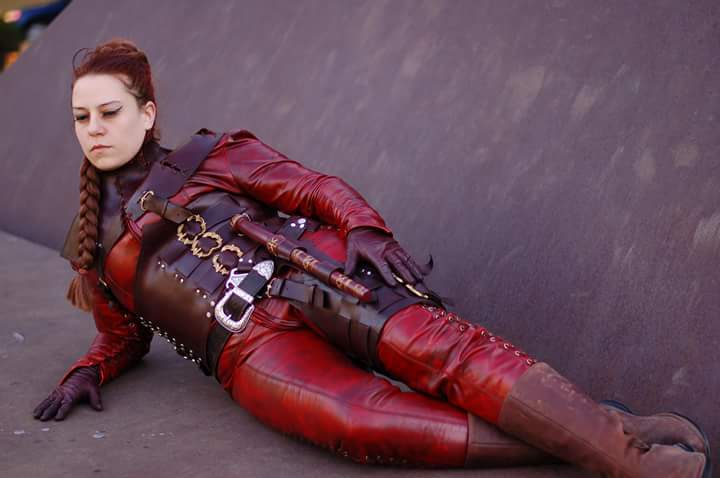
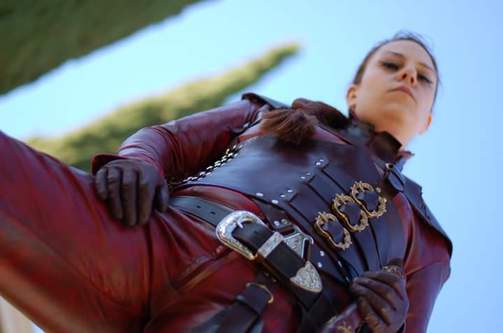
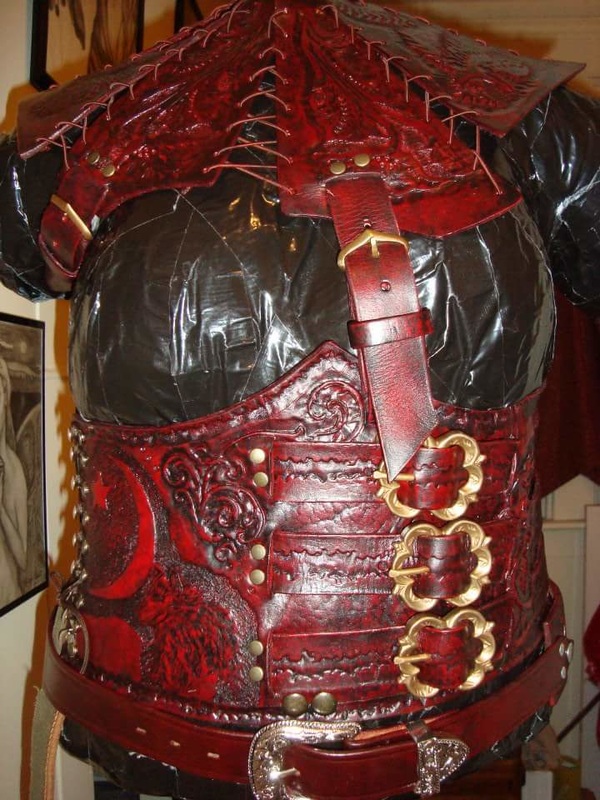
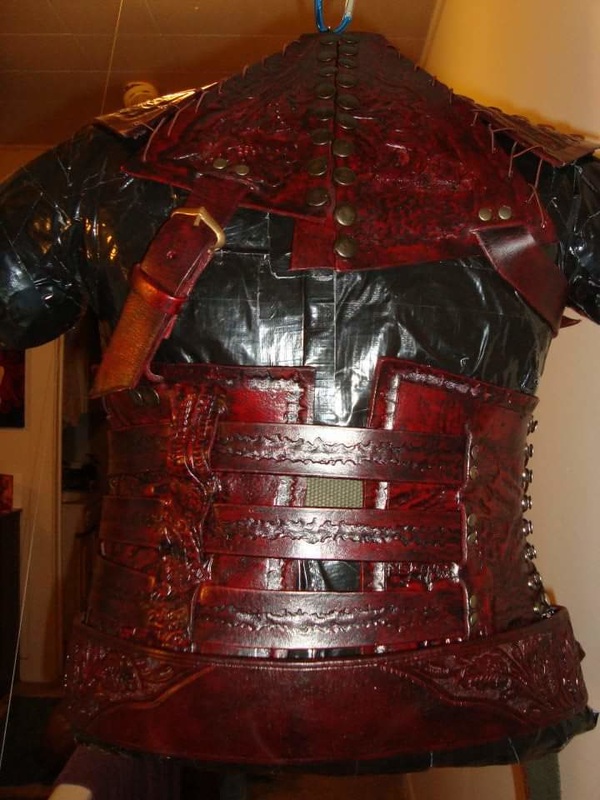
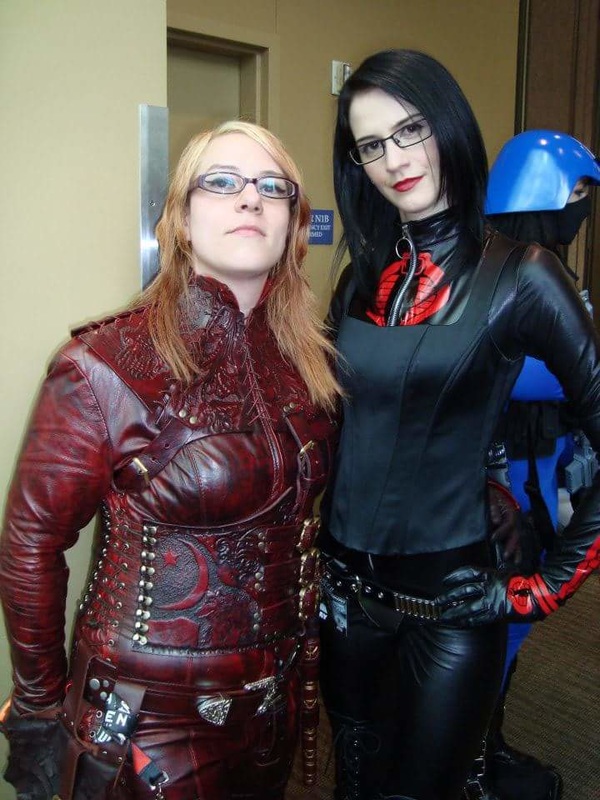
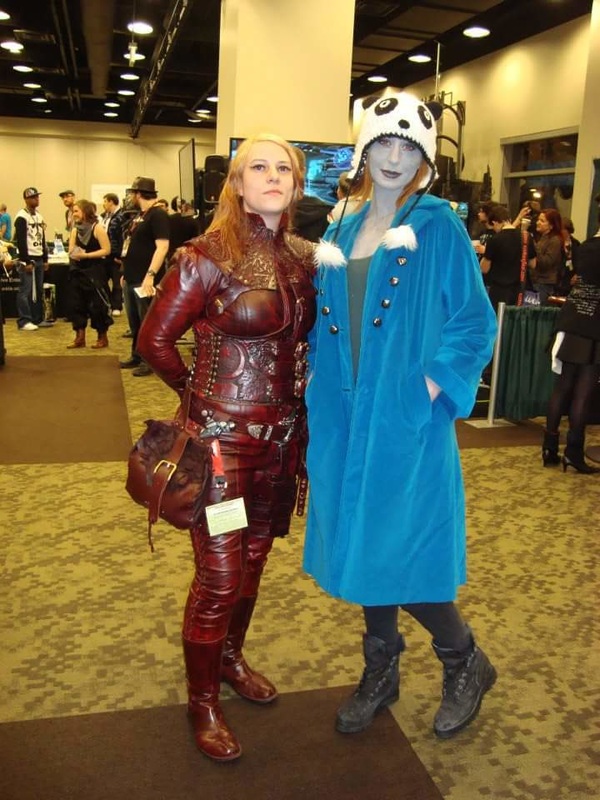
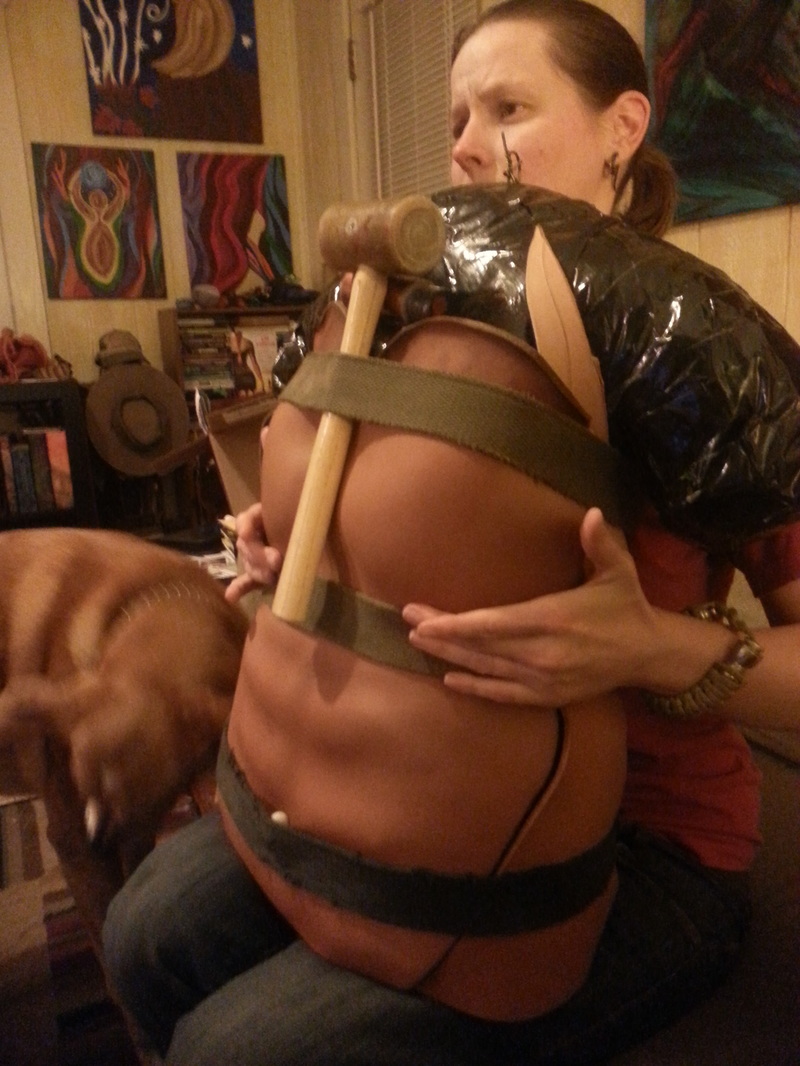
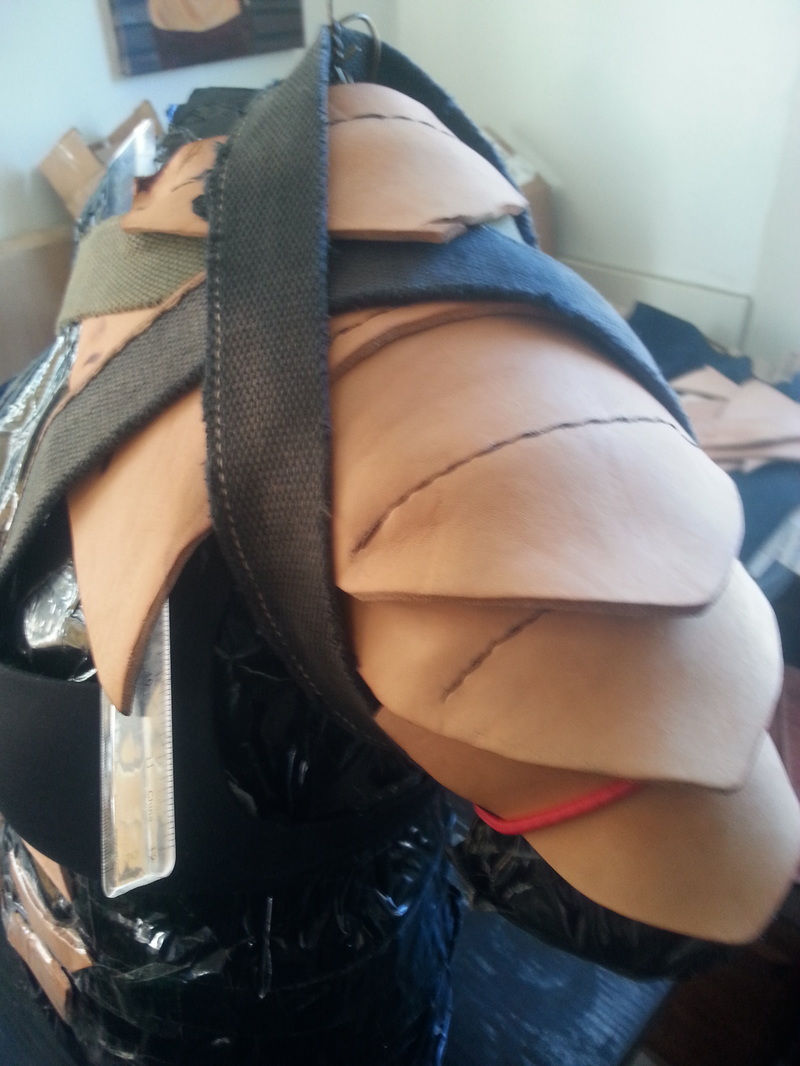
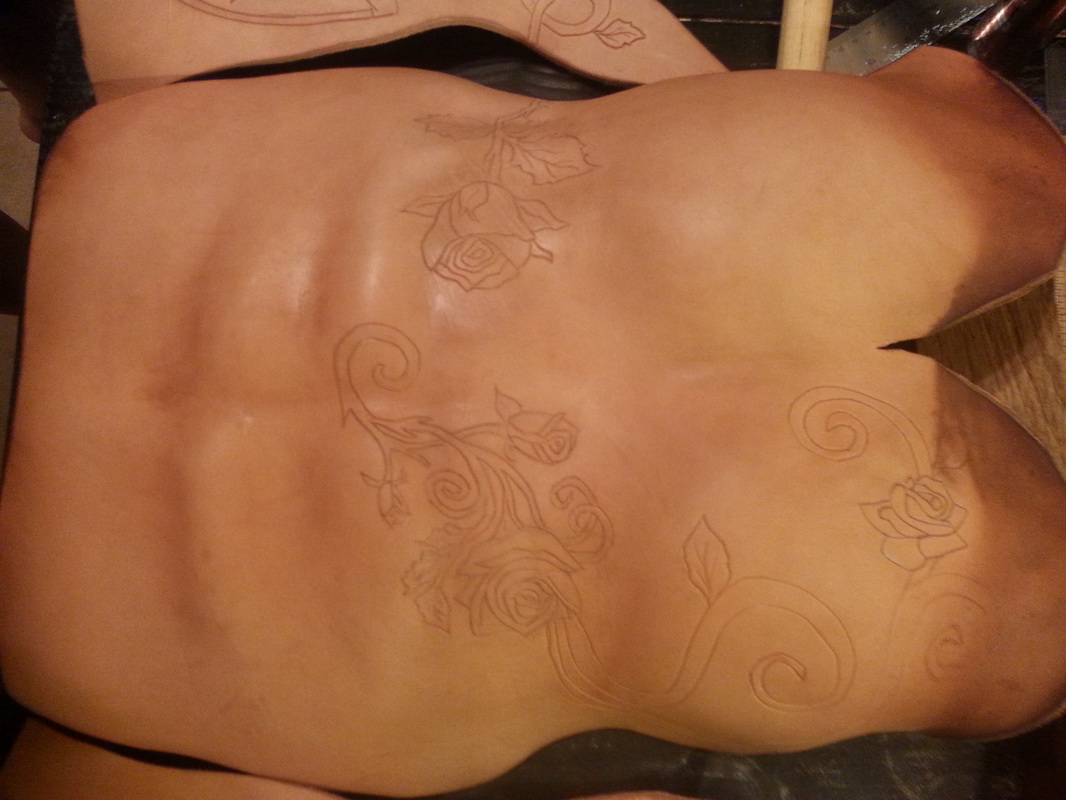
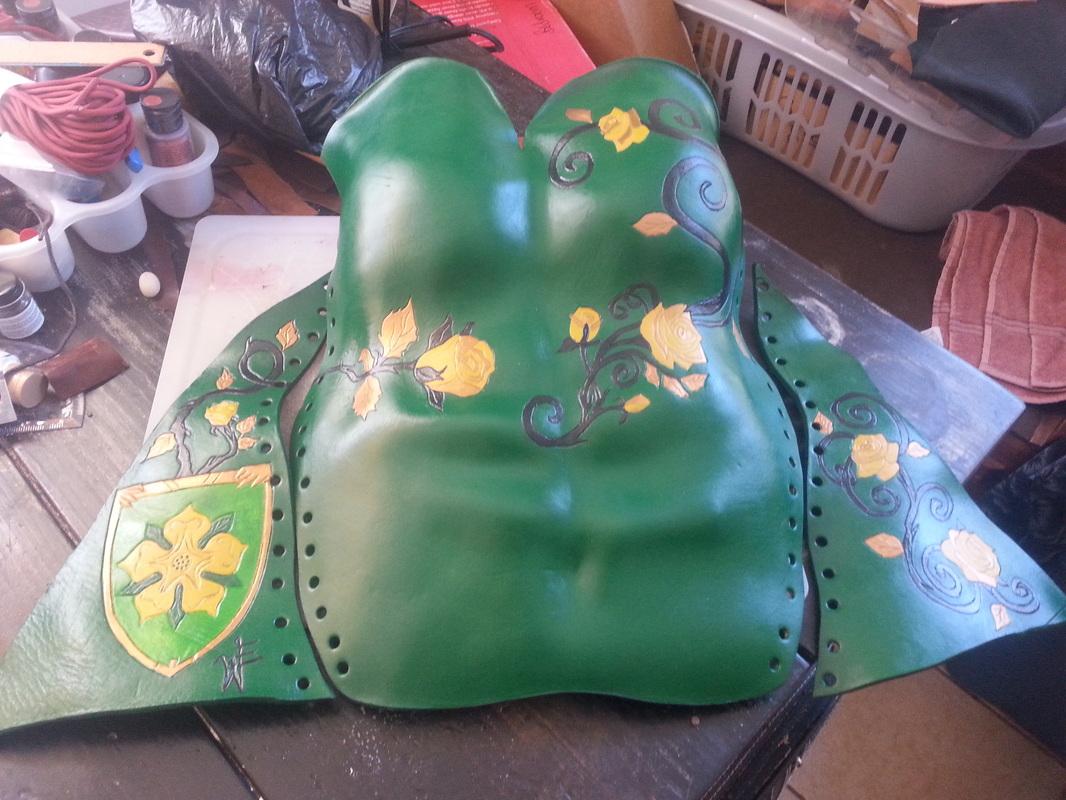
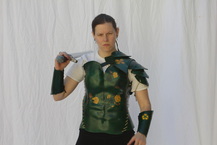
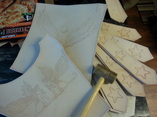
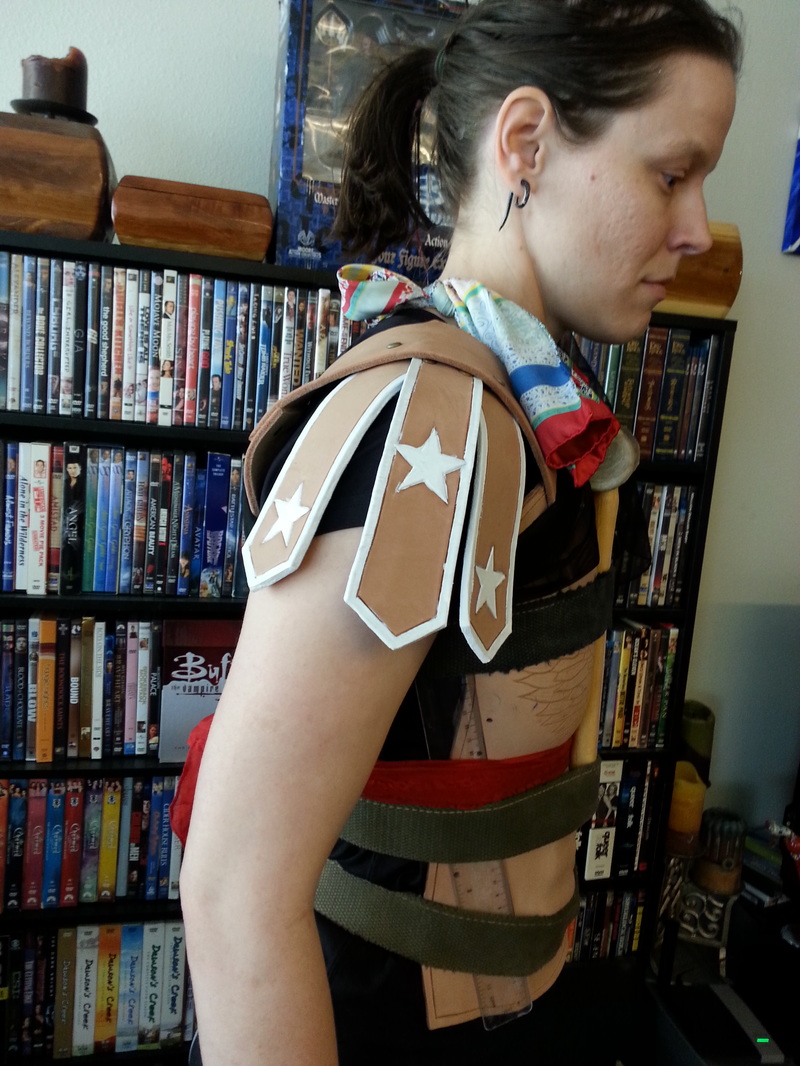
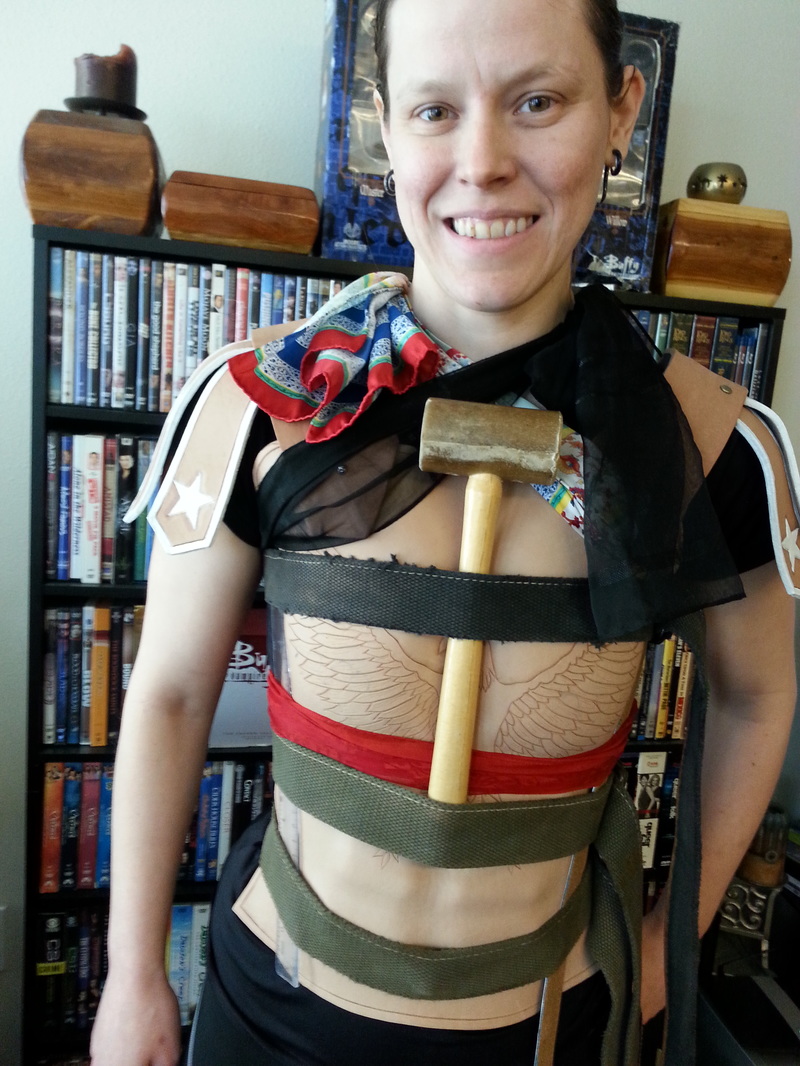
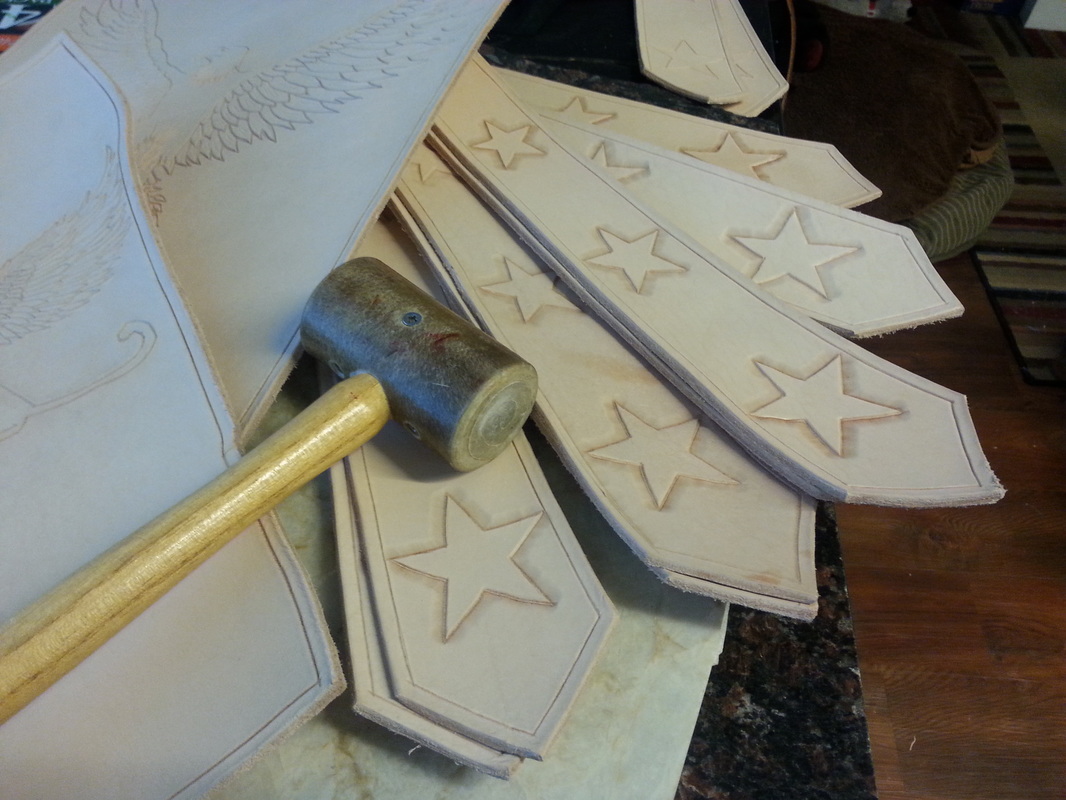
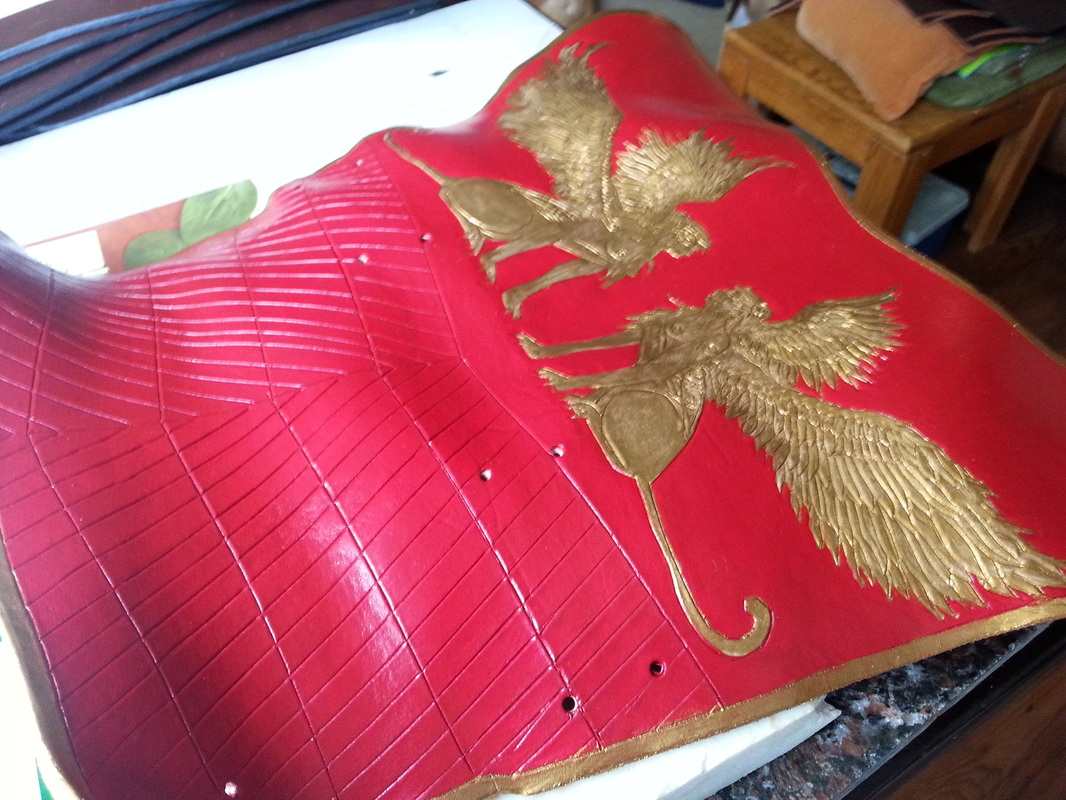
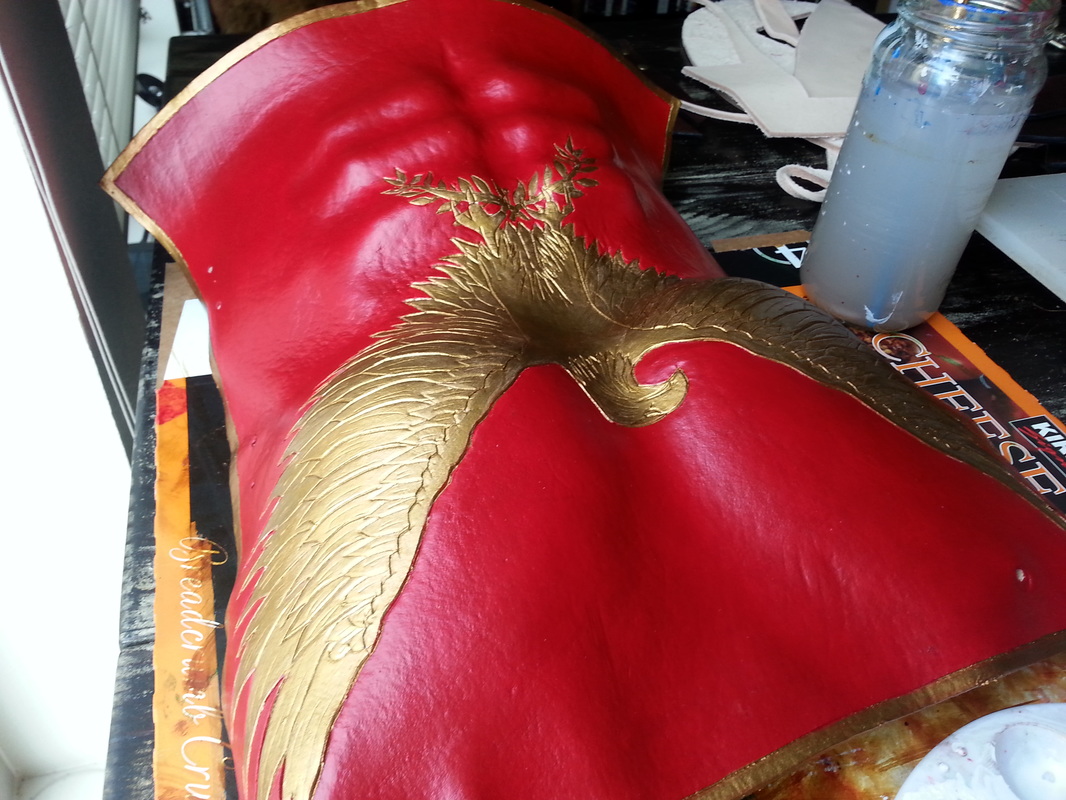
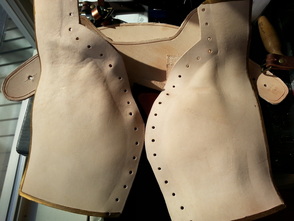
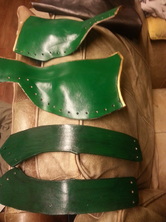
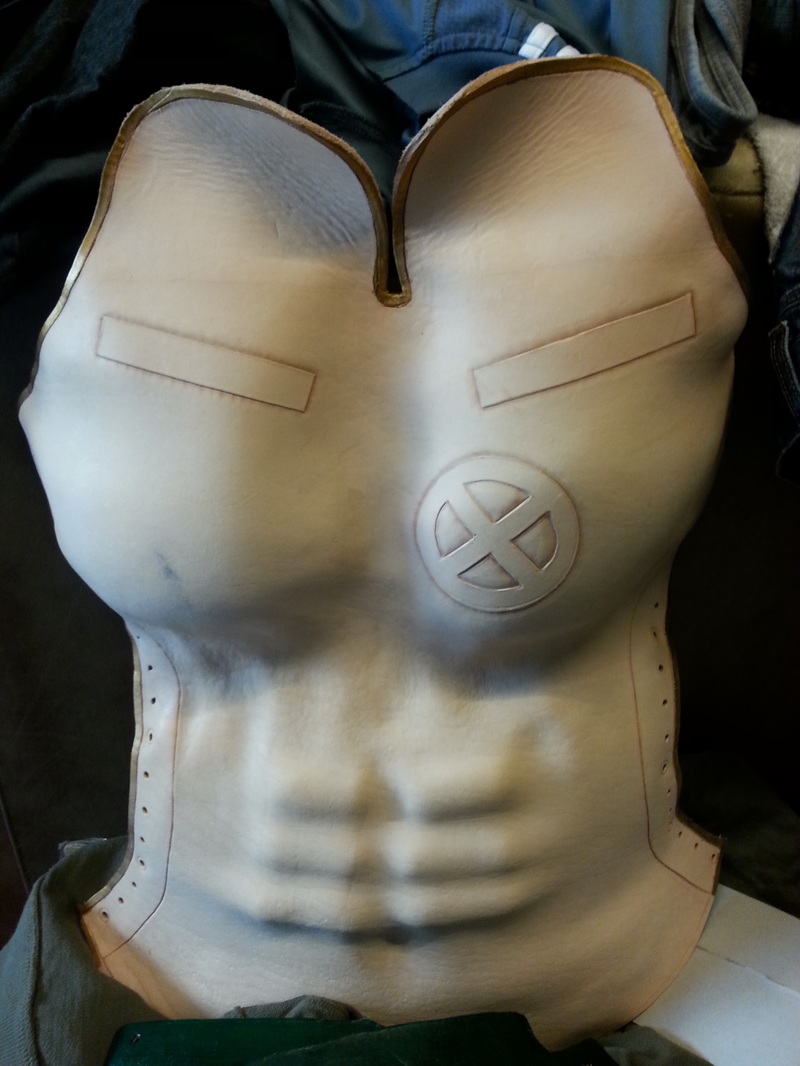
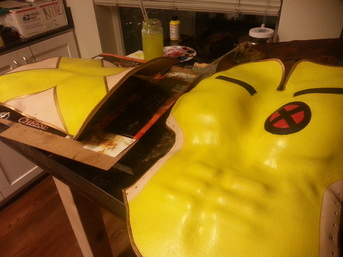
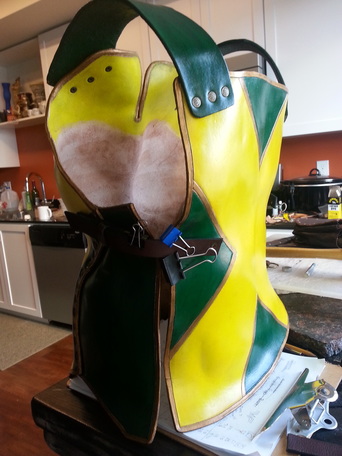
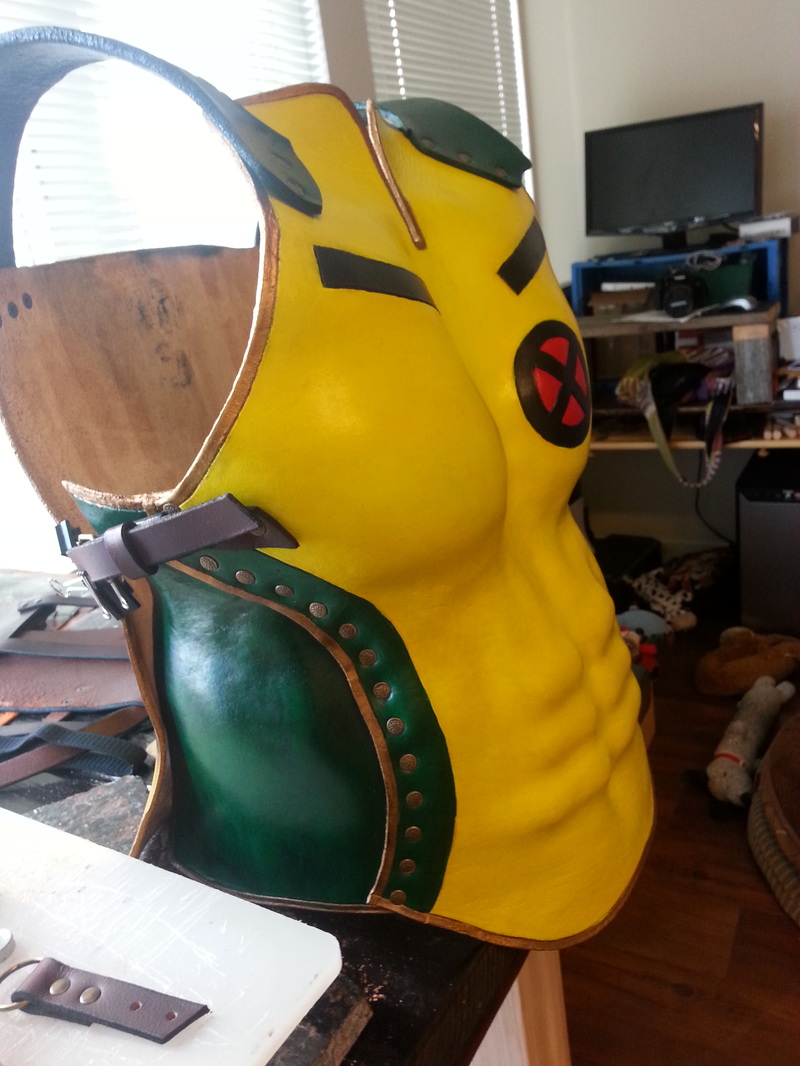
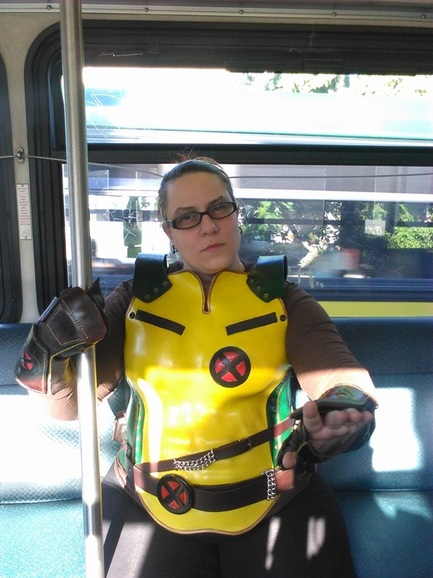
by Willow Enright Welcome to the second installment of Building an Epic Leather Cosplay! We're going to cover some more of the basics for understanding and working with leather. There are many different types of leather for various projects, each having their own thickness, durability, and usefulness. Let's see if we can summerize a few of the leathers that you might want to work with as a beginner leather worker. Types of Leather Leather Hide Weight and ThicknessThe chart below shows the different parts of leather hide that are available, along with the ounces and thickness. The chart below is Tandy’s recommendation for what thickness of leather to use for what project, but you can change this up somewhat. You can make journals out of a thinner leather than a 5-6 oz, you can use a 3-4 oz instead. And holsters can be made from 6-8 oz leather and not just 8-10 oz. It depends on what you are trying to achieve. Larping armor should be between 7-9 oz, and armor for the SCA should be more like 10-16 oz. Otherwise, you can use whatever you think is best to achieve your cosplay. Devil is in the DetailsYou can really get a lot of details into your leather project when you use a Vegetable Tanned leather. You use tracing film and a stylus to transfer your desired design to the leather, and then use a swivel knife to carve the details. Case your leather by wetting it and leaving it to almost dry again, and then use the Craftsman Tool Set and Rawhide mallet to pound the design into the leather. This process is often called Hand Tooling. Below and to the left is an example of the design carved into the leather, and below and to the right is the finished tooled and painted design. The shots below are of my first Mord-Sith armor. I used a 5-6 oz mahogany leather for everything except the belt, that was made with a much thicker vegetable tanned leather of 8-9 oz. For the first version of this armor I concentrated on the pattern and the hardware to give it the design and feel that I wanted to match the T.V. show, Legend of the Seeker. The second set of Mord-Sith armor was done with a 7-9 oz vegetable tanned cowhide leather so that I could really tool the design I wanted in order to show others the character’s story on the leather. Some of the raw detailed shots are above, but the finished shots are below. If you want to see how this costume has transformed over time please check out my blog all about the Mord-Sith. Wet Forming (Shaping)The process of wet forming (shaping) is extremely useful for creating cosplay pieces, especially armor. It isn’t quite as difficult as it seems either. You can check out that process more in depth through my Wet Forming blog. Margery Tyrell Armor Wet FormWonder Woman Wet FormX-Men Rogue Chest Armor Wet FormThere are a ton of amazing things that can be done with leather. Getting yourself some specific tools, and learning the basics of attaching bits and pieces is a huge chunk of it. Trying out some useful techniques such as Wet Forming or Wax Hardening can also take your cosplay to the next level. The tooling can be a challenge, but it’s very rewarding when you get that perfect design onto the leather. However you choose to incorporate leather into your cosplay, have fun with it!
Comments are closed.
|
Willow EnrightI started crafting out of leather in 2011, and now I am making it my life's work. I am writing this blog to help myself remember some of the small steps in past projects, sharing my triumphs and failures, as well as my love of leather. Archives
November 2017
Categories
All
|
 RSS Feed
