|
By Willow Enright 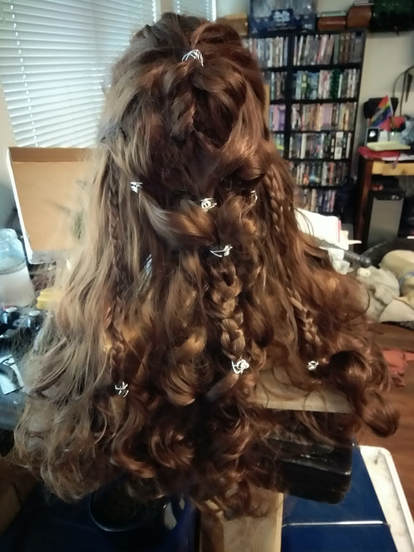 Finished Lexa Kom Trikru's Wig from the CW's The 100 Sometimes when you are putting together a cosplay it’s easier to acquire a wig for the character in order to have consistent continuity for your character’s look. I used to try and cut, color and maintain my own hair for every cosplay, but that starts to take a toll on your own luscious locks. Especially when you want to do multiple characters with different hair styles and colors, possibly for the same event.
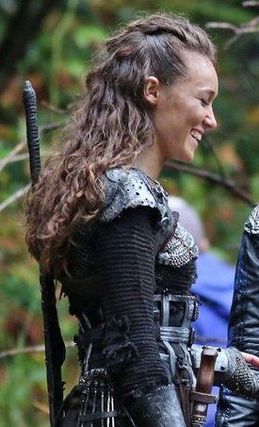
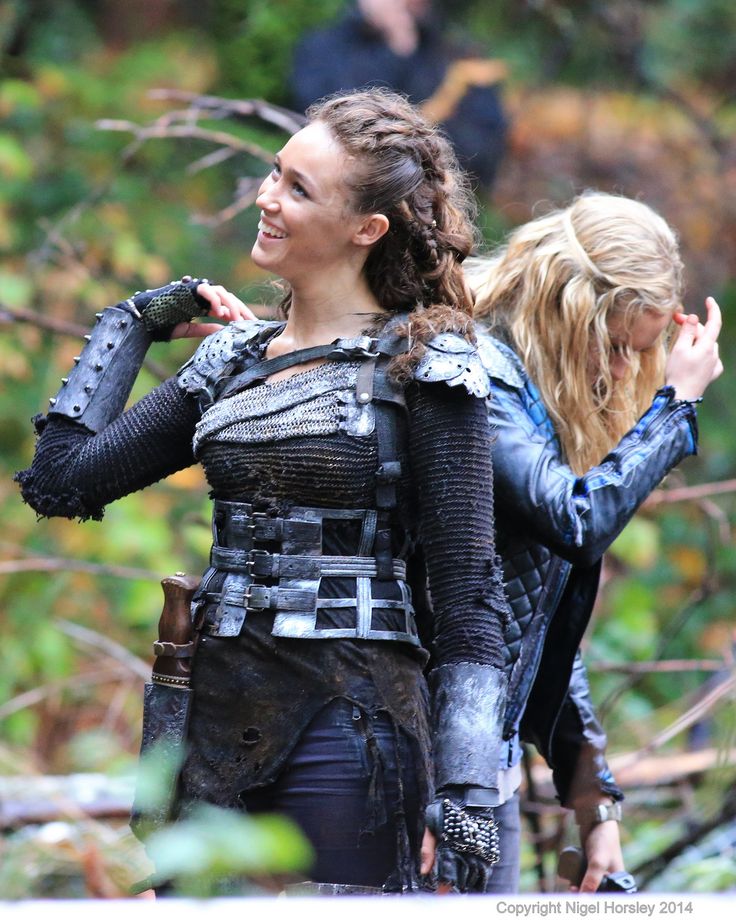
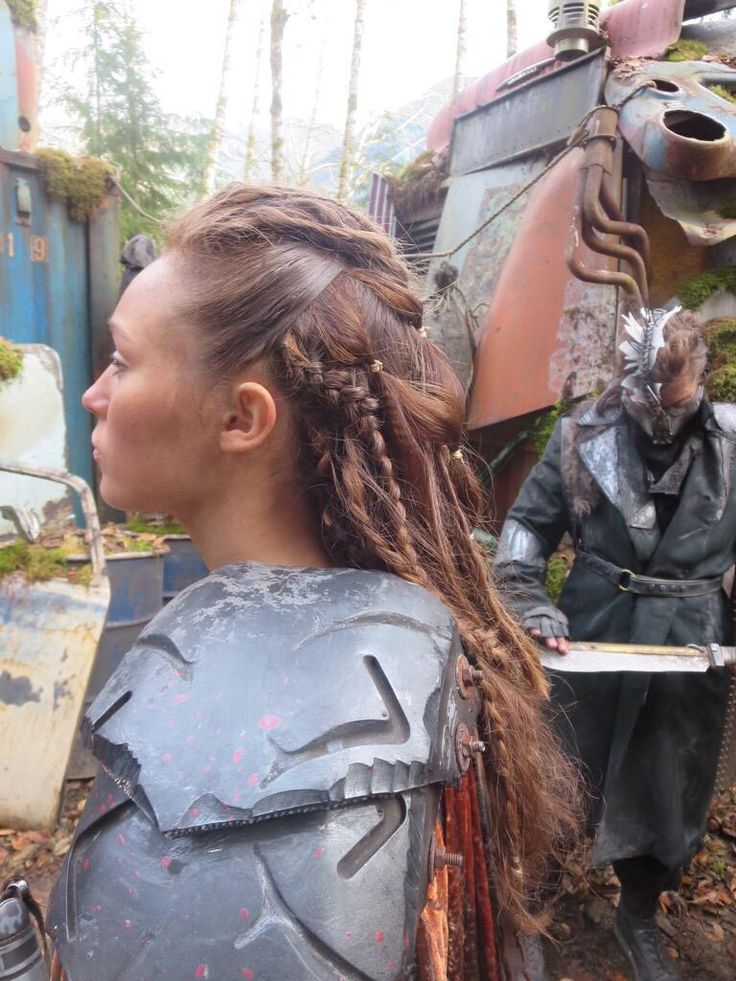
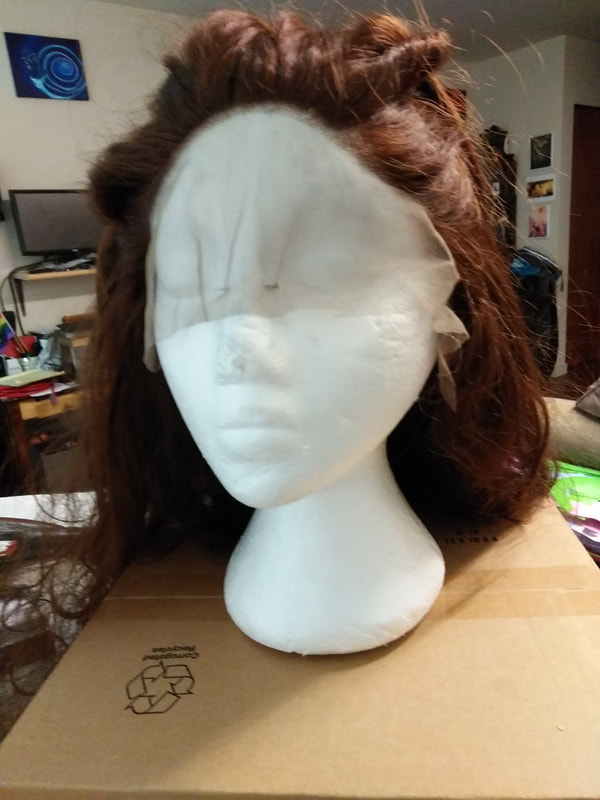
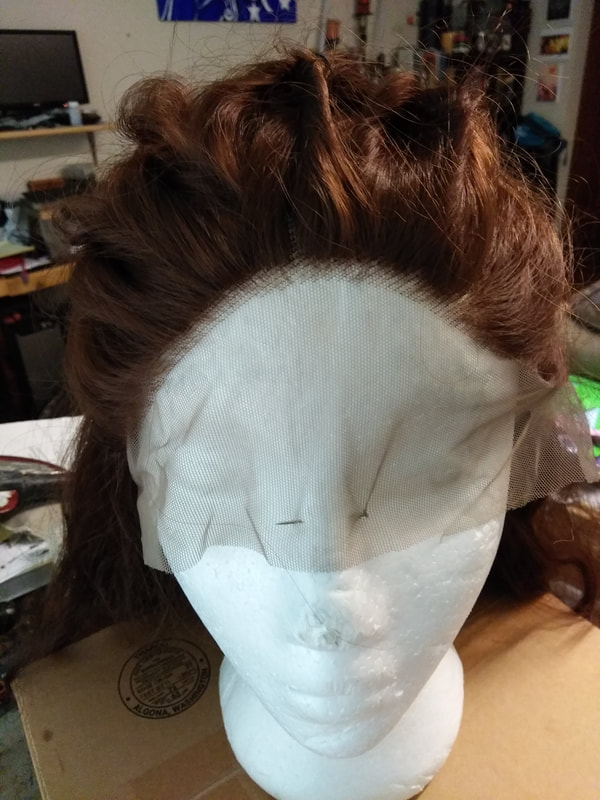
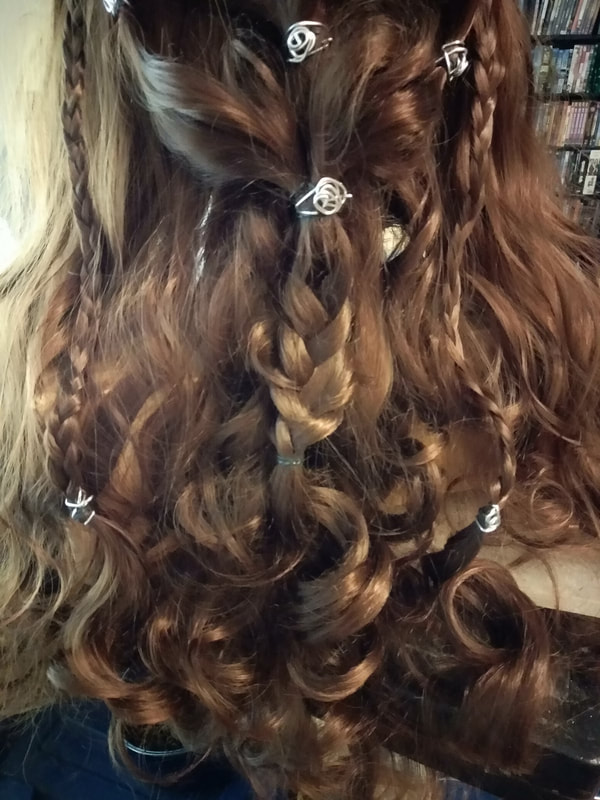
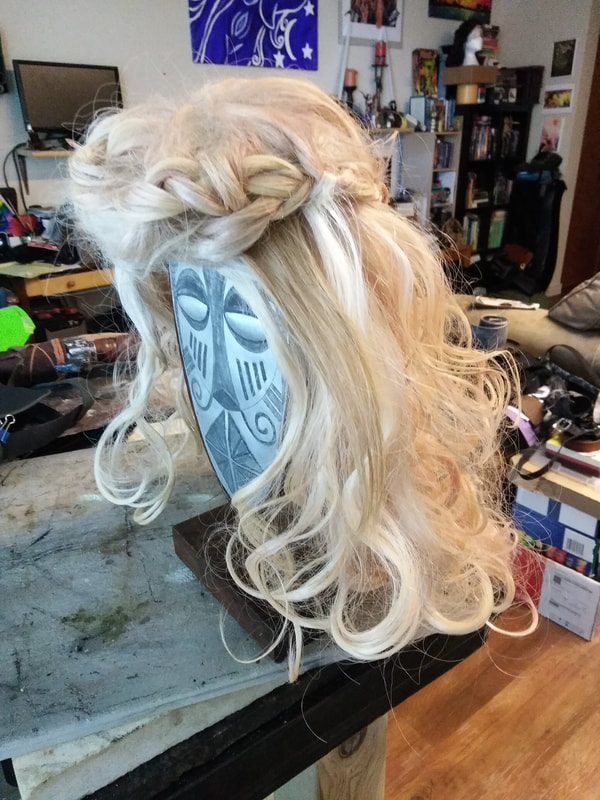
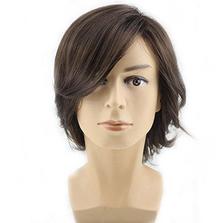
Reference, Research, RestyleLexa has some seriously long locks which she keeps tied back with a series of various techniques. The wig that I acquired for her look was a 24” heat resistant lace front wavy synthetic hair, medium brown. I bought it on Ebay for a really decent price, and I couldn’t be more happy with the quality of it, especially on camera. It has a sewn in cap with clips and an adjustable strap for under the skull, dense locks with a natural variation of color, and the hair feels extremely soft and natural. The most important part is that there is enough hair on the wig itself to do all the details we need to fully embody Heda.
I used a behind the scenes reference photo of Alycia Debnam-Carey (Lexa Kom Trikru) from the TV set of The 100, and I also referenced two YouTube Lexa hair tutorial videos. The main video, Commander Lexa Hair & Makeup Tutorial! | The 100 by Jackie Wyers, and the second The 100 Hair Tutorial for Commander Lexa by Silvousplaits. I mostly wanted to match the reference photo but really liked some of the added details from the two tutorials.
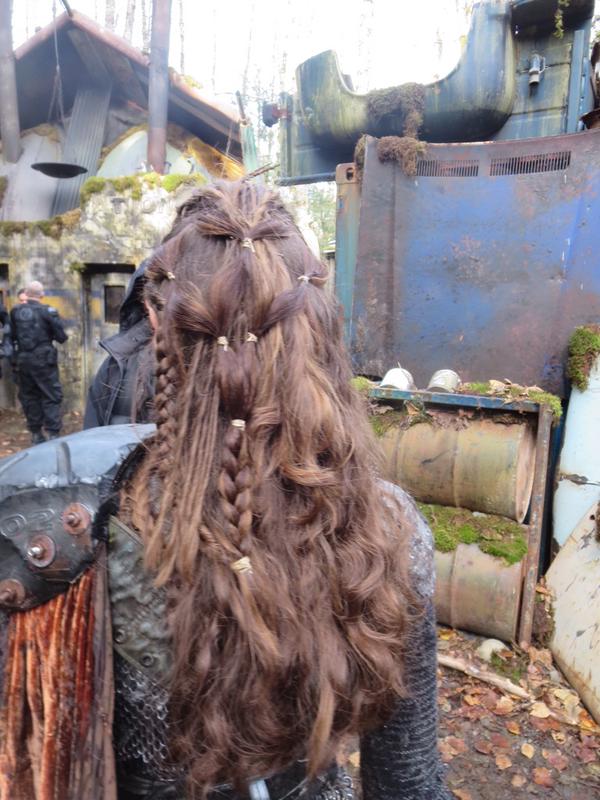
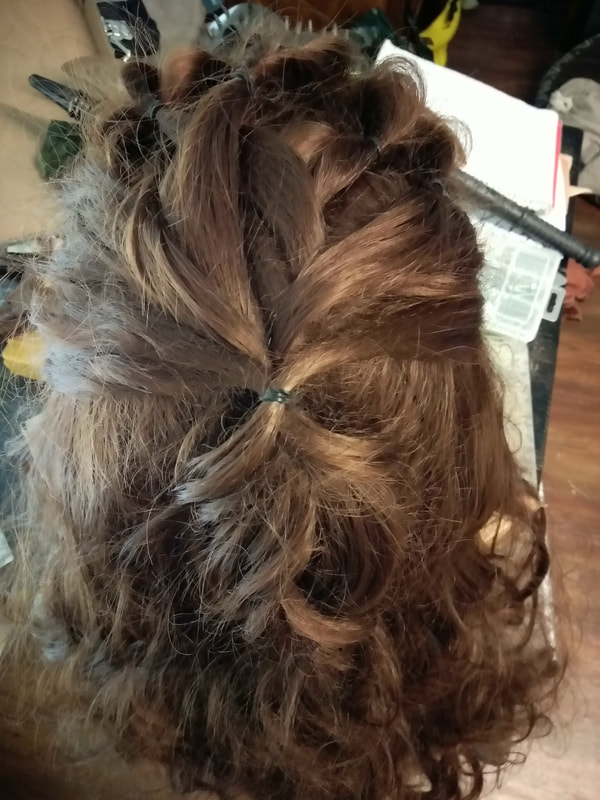
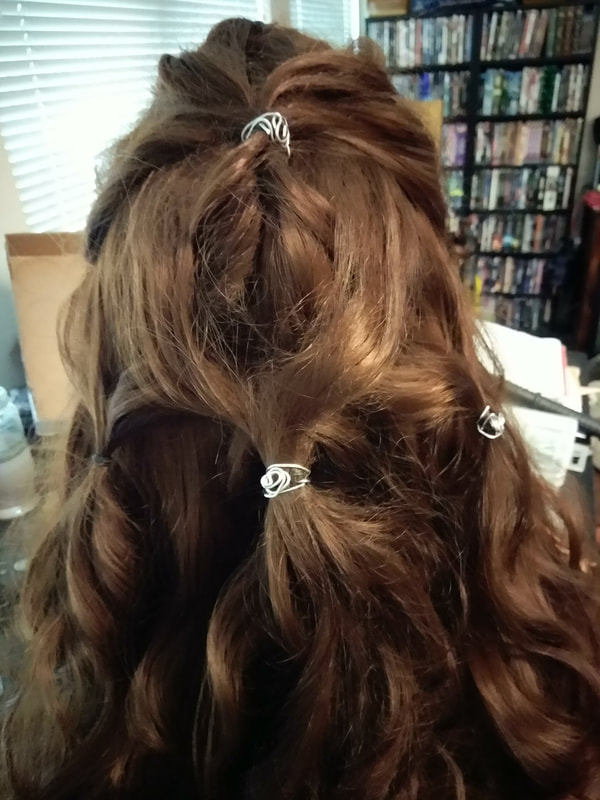
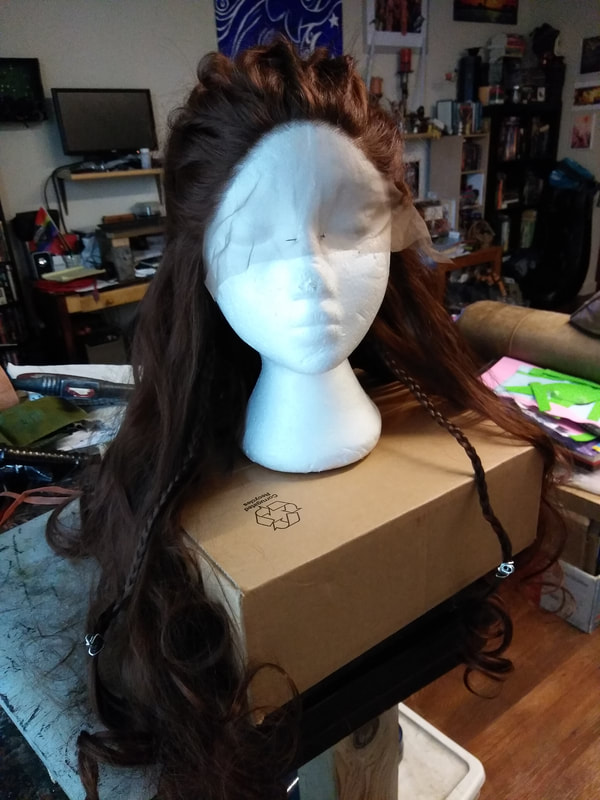
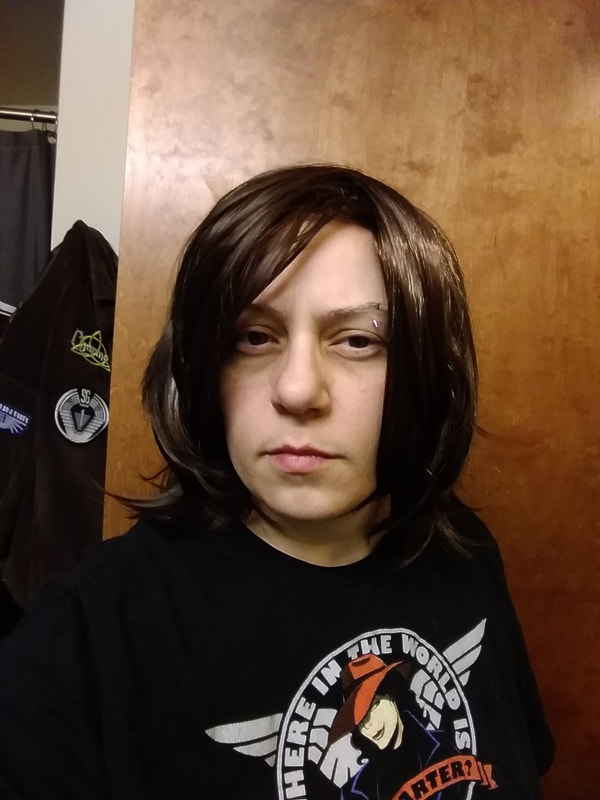
Wig: Ready, Set, Braid!The first step was to section off the front bangs/fringe and separate it into five small sections. I used the little, cheap, black rubber hair bands that are better to cut out of hair than pull. They come in a large packet for fairly cheap so you never feel bad cutting or breaking them to remove them instead of attempting to slide hair back out of them. I made five small pony tails and to give them extra poof I did a reverse tuck with each. Separating the hair close to the scalp with thumb and index finger I pulled each pony through itself, giving each hair section a nice twisted definition. Then the hair along the temples was smoothed flat and pulled into a ponytail at the crown of the head for Lexa’s slicked back sections.
In order to carry the front five ponies back over the top of the head, and to give some more of that defining poof of Lexa’s front section, I did a loose weave of two braids created with the five strands into one. I used the middle ponytail for one of the strands with both braids which nicely guided it along the middle of the head. This was then tied into a ponytail right where the slicked back hair was, leaving one ponytail on top of the other. I then implored the pull through braid technique. By dividing the top ponytail into two sections which I looped over the second ponytail before bringing them back together at the base of the second pony and into a new ponytail underneath. This process was repeated three times and can be found visually at around 3:22-4:13 in Jackie’s video. Once you are done, tug on the separate pieces to puff out the loops. It gives some nice added detail and poof to the crown of the head.
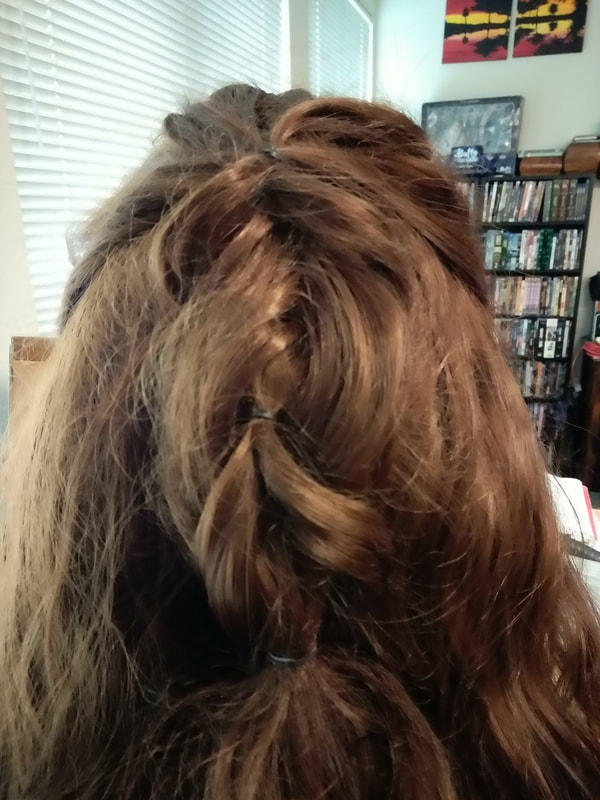
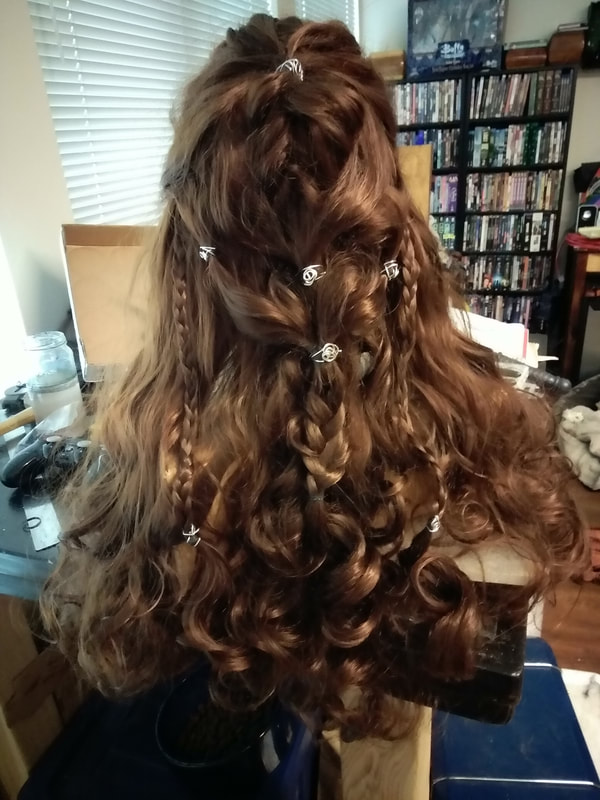
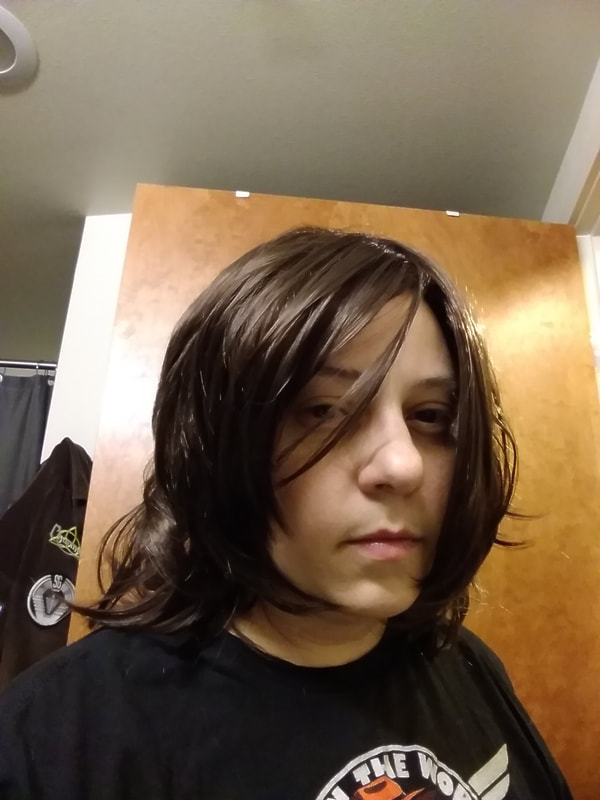
Next you’ll want to take two additional small sections from beside the tied off pull through ponytail and combine them into one ponytail. This will sit over top of the pull through braid. Be sure to pull the loops out to create the soft curving detail of each loop. You’ll want to make two additional ponytails in the same way, only on either side of the middle pull through set. Try to tie them off at roughly the same height so that your loops are fairly symmetrical to each other. Again, you can visually reference Jackie’s video at 6:10 for this technique. The remaining combined ponytails are fairly easy, simply divide the ponytails into two sections, connecting the two center pieces into one hair elastic. This leaves you with two ponytails which you bring together making the final ponytail, tie it off and braid the remaining hair securing the end with another black rubber band.
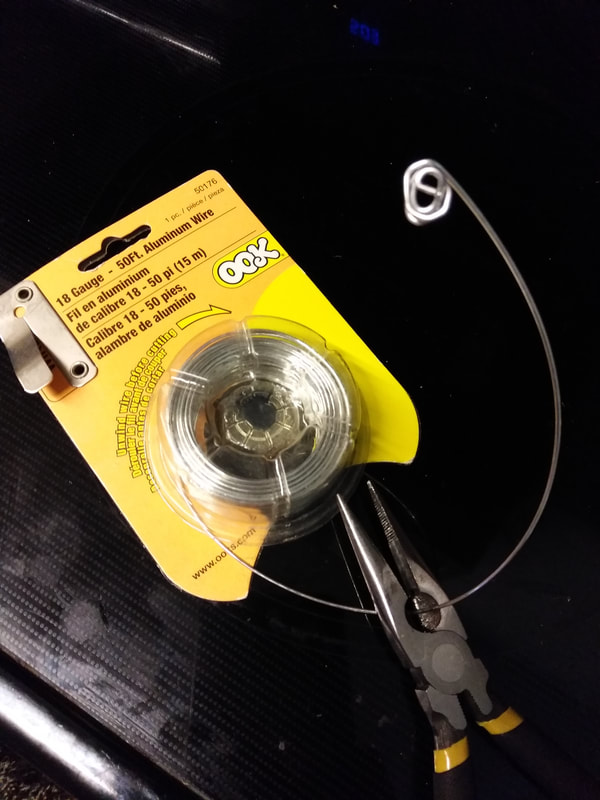
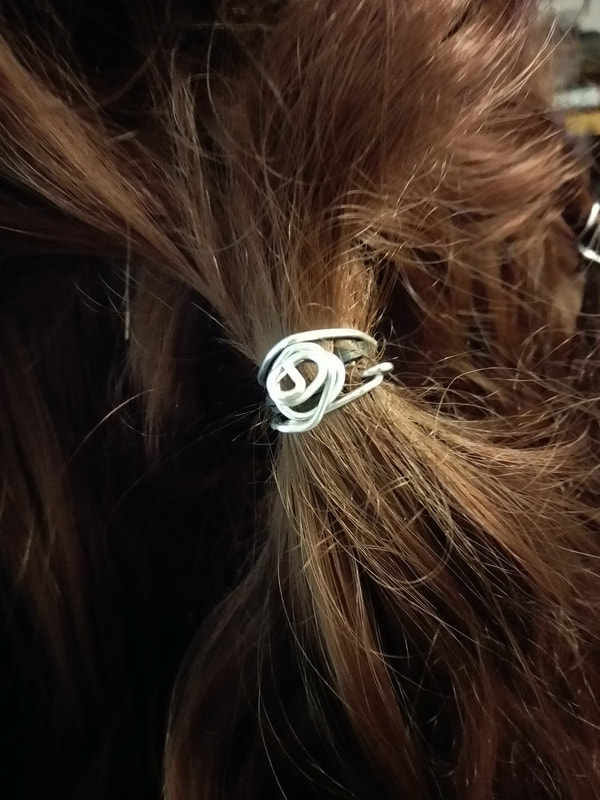
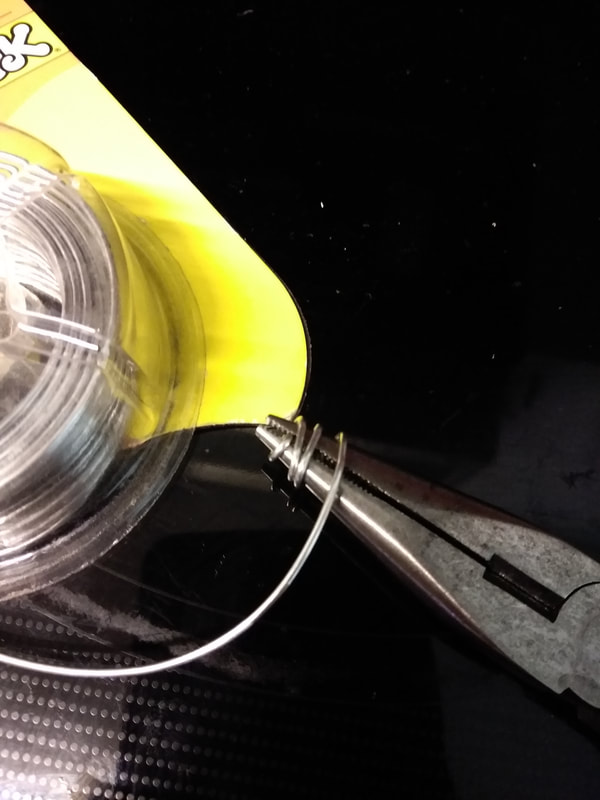
You Nail the Details, You Nail the CharacterTo give each tied ponytail section some added detail like in the show, I used a malleable 18G aluminum wire. Using pliers I twirled a section of wire around the plier head creating some cool spiral details and then cut the wire about 2-3 inches away from the spiral design. I then wrapped the remaining wire around each hair section, being careful to tuck in the sharp wire ends so that they don’t end up poking me.
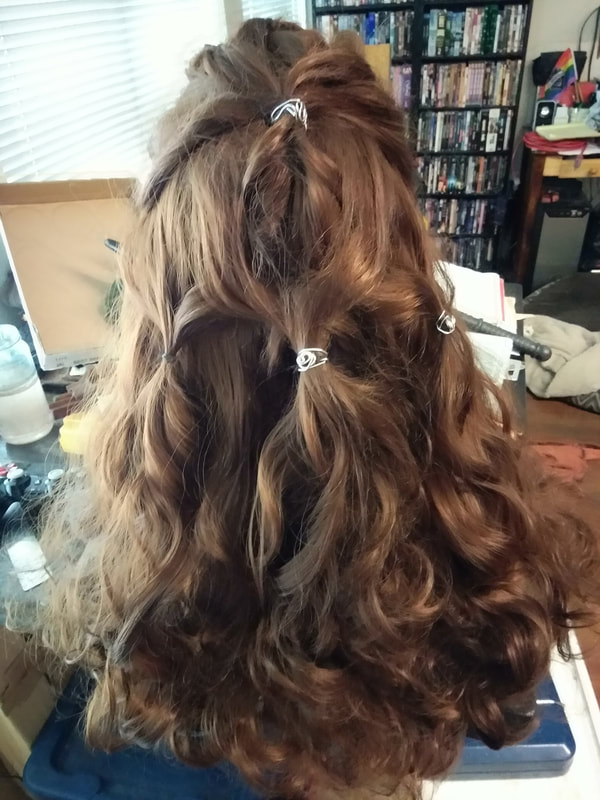
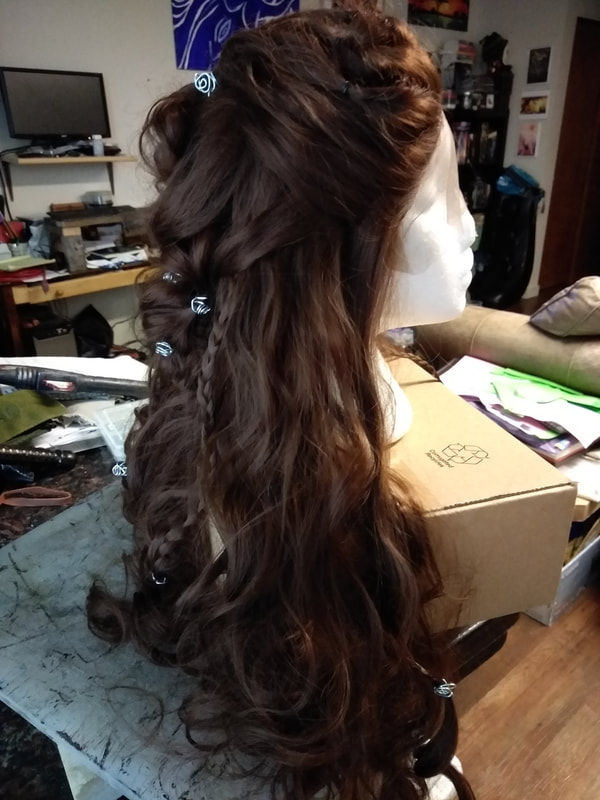
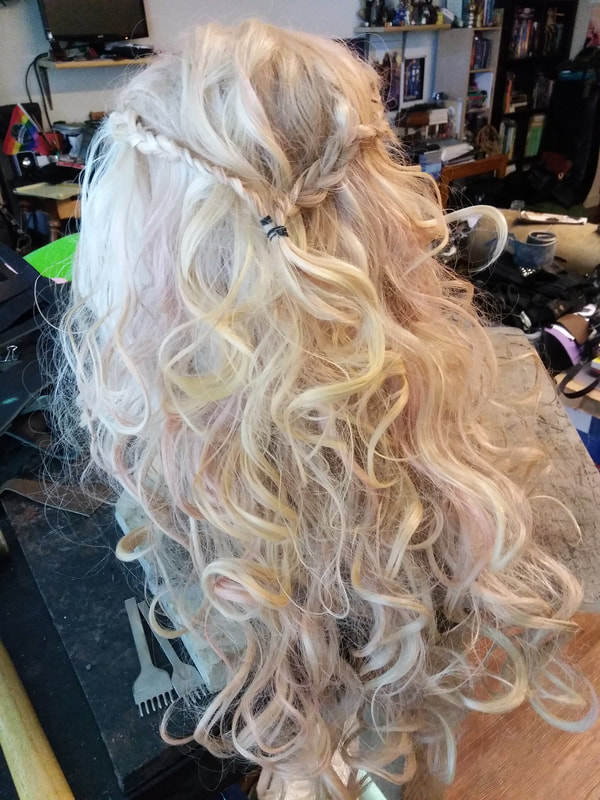
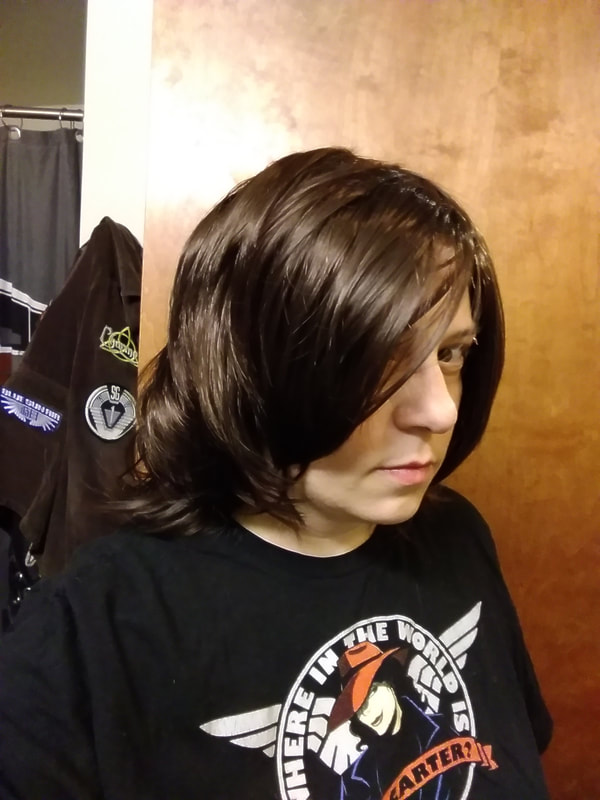
Time to add some accent braids into the mix! I choose to do one on each side of the head in the back, and two underneath on each side so that you can see them from the front. I didn’t use any fancy braids since my braiding skills aren’t that great, traditional three plait braids did the trick. Jackie does a lovely dutch lace braid, around 7:08 in her video, but I wasn’t feeling that fancy with mine. If you have thinner hair or your wig is slightly thin, Silvousplaits video is a great reference for this hairstyle.
You can also choose to attach the dutch lace braid to the main braid, or leave it to hang free. I also like the idea of possibly adding in some dreaded sections for additional details. I noted a small section of four on the TV show reference photo, and Jackie used dreaded hair extensions in her tutorial. I’m fairly confident that I could get the wig synthetic hair to dread up pretty easily. However, I want to make sure that there’s enough hair left over that it doesn’t end up looking way too thinned out from all the detail braids and ponytails before I make that choice.
www.facebook.com/leatherworksbywillow/After all the careful detailing and braiding, be sure to store your wig appropriately to avoid unnecessary entanglements. I left mine pinned on my styrofoam head and covered it with the hair netting that came with the wig, carefully tucking the ends up into the net. I will likely find a cloth to also drape over it to avoid dust gathering on it. I now have my Lexa hairdo ready for every time I need to suit up for battle! Kom wor! (To War!)
The next blog will come out on November 4th! I'll be getting into the holiday spirit next Saturday. I'd love to see you Halloween outfits in the comments, or on our Facebook Page.
4 Comments
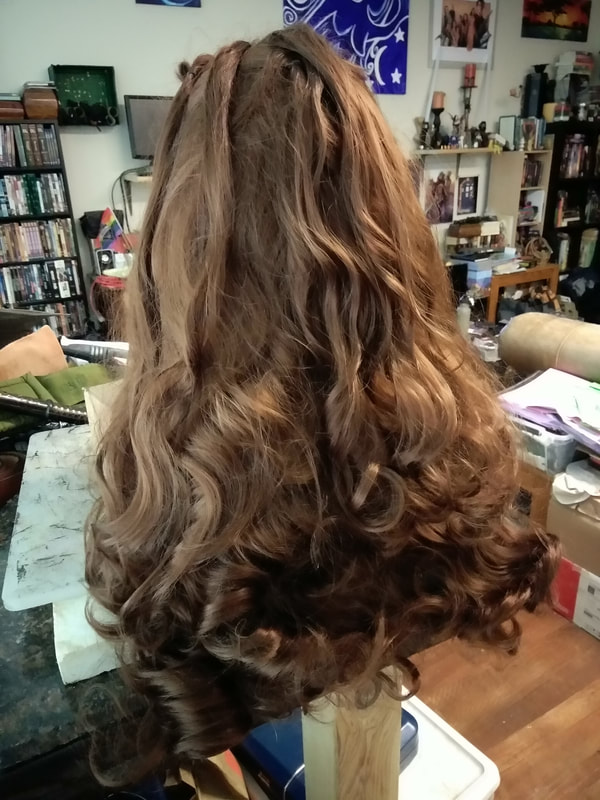
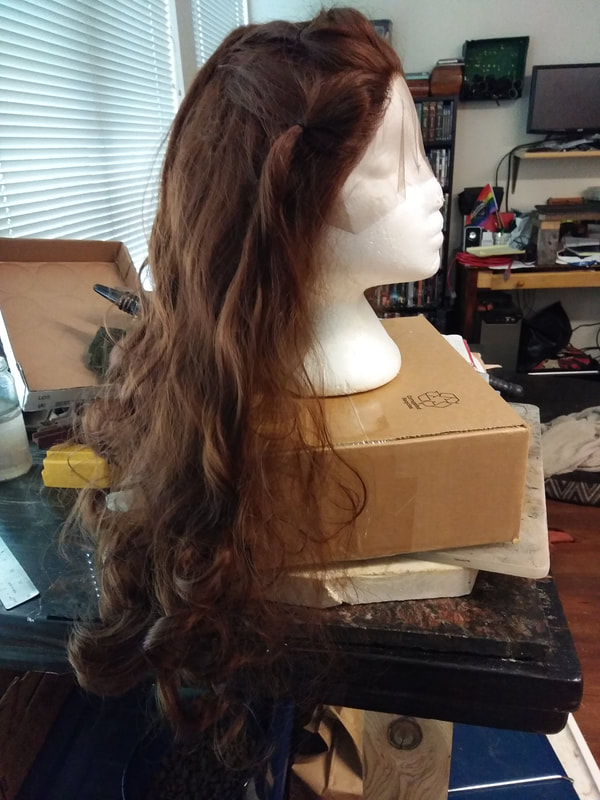
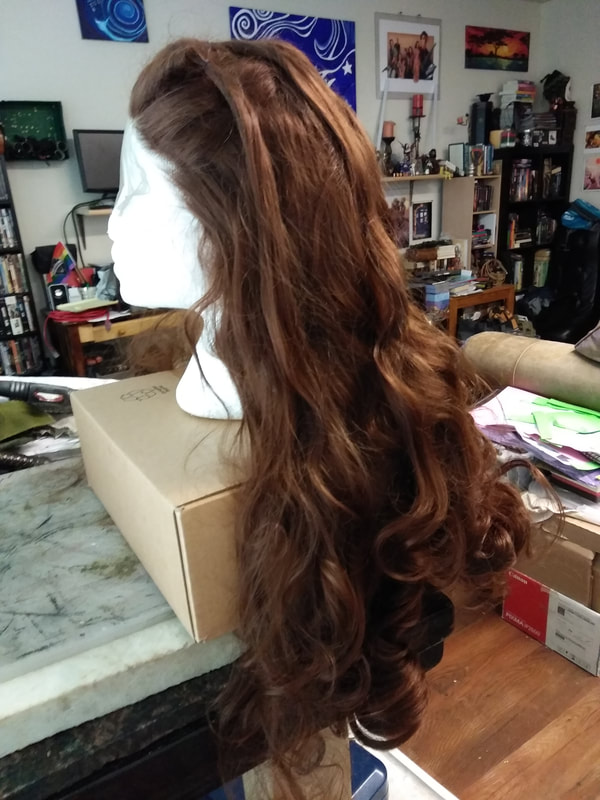
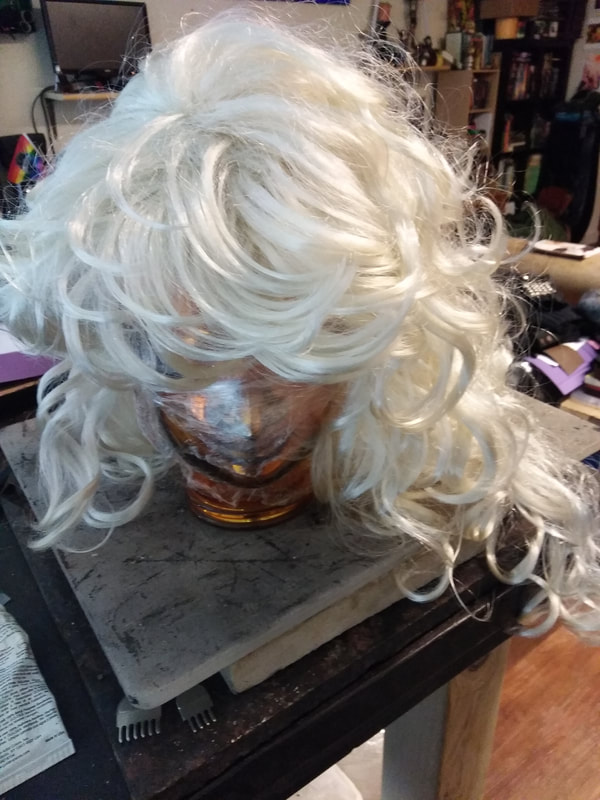
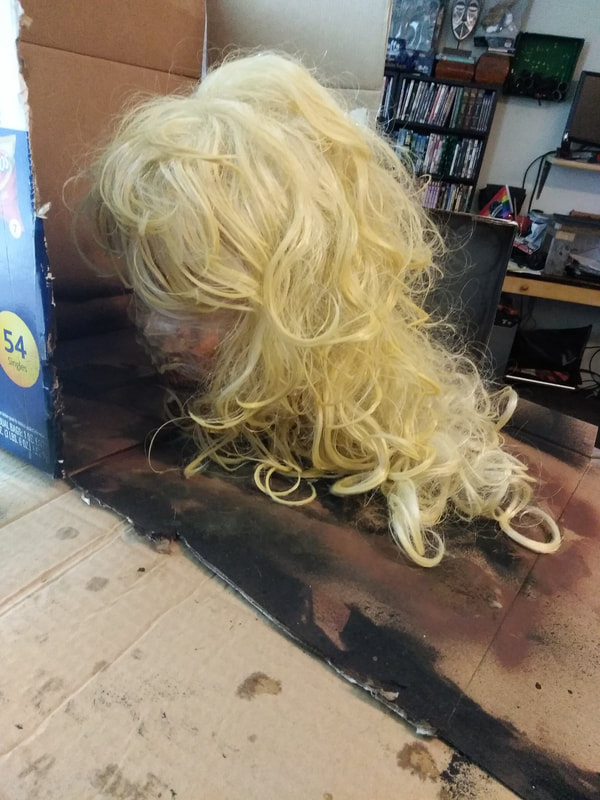
By Willow Enright 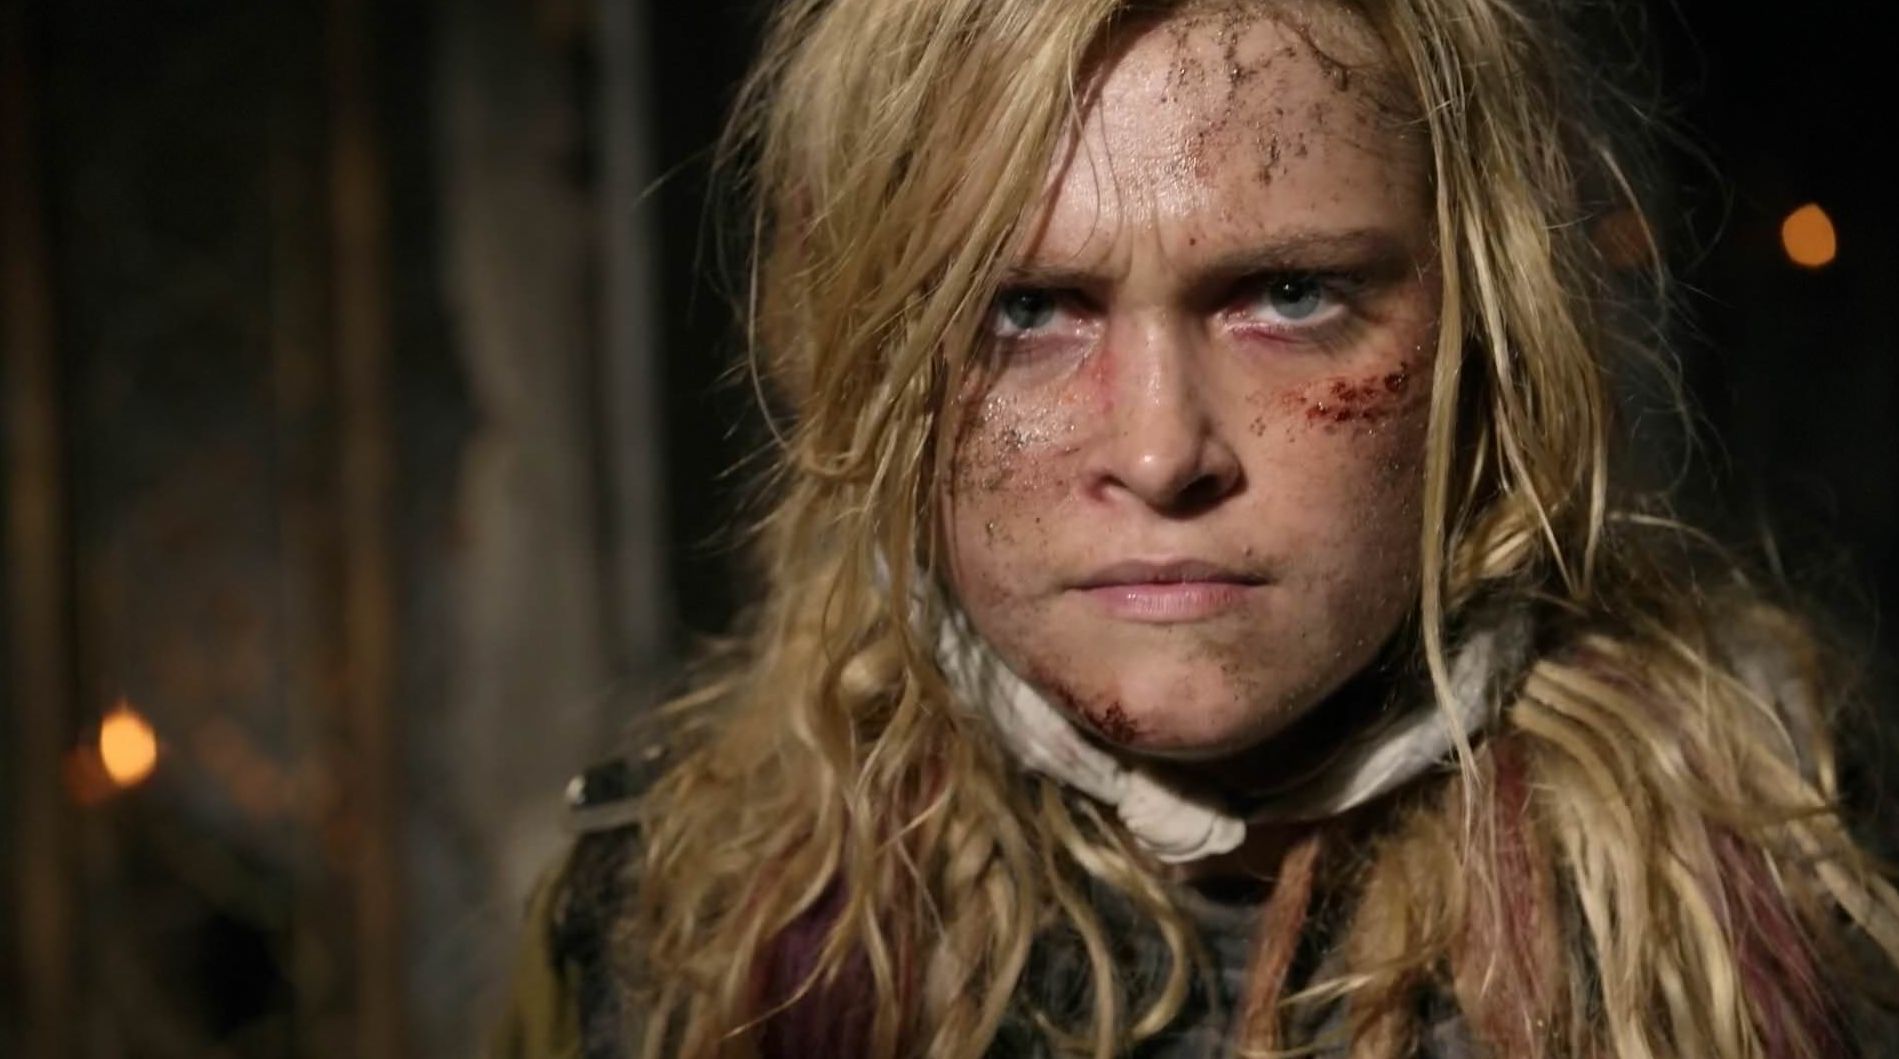 Clarke Griffin The 100 http://www.cultjer.com/img/ug_photo/2016_01/95177720160131112418.jpg There are times in your life where you really feel like making a change. Coloring or cutting your hair can be fun and give you a new outlook on life, however there are times where going blonde just won’t work for you. Clarke Griffin (The 100) has some ever changing blonde locks, and we’re going to transform an ordinary wig into a version of her combined hair-do’s.
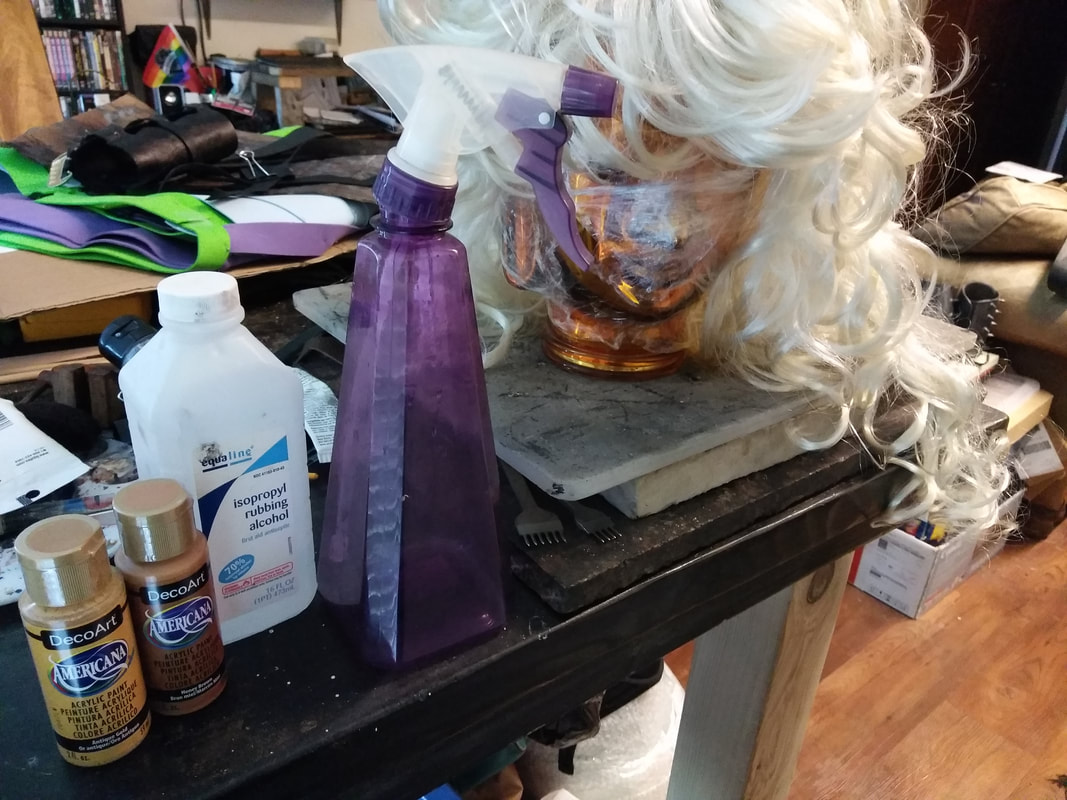
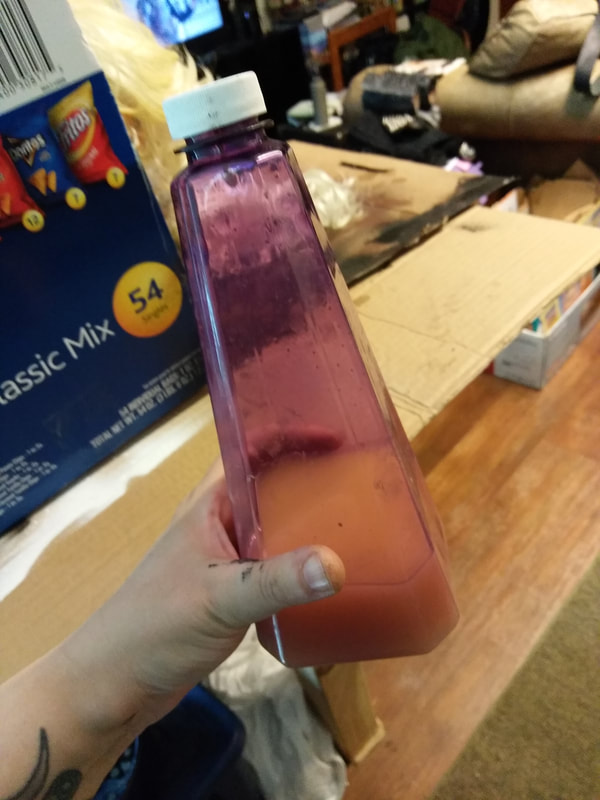
Supplies:Antique Gold, Honey Brown, and Crimson Acrylic paint, Rubbing Alcohol, Head Stand (I used a glass Buddha head, you might be temped to use styrofoam, DON'T!), Saran Wrap (optional), Spray Bottle, Cardboard, Paper Towels, Cheap Small Rubber Bands, and Wig (This wig was originally purchased for a comic book Black Canary cosplay.)
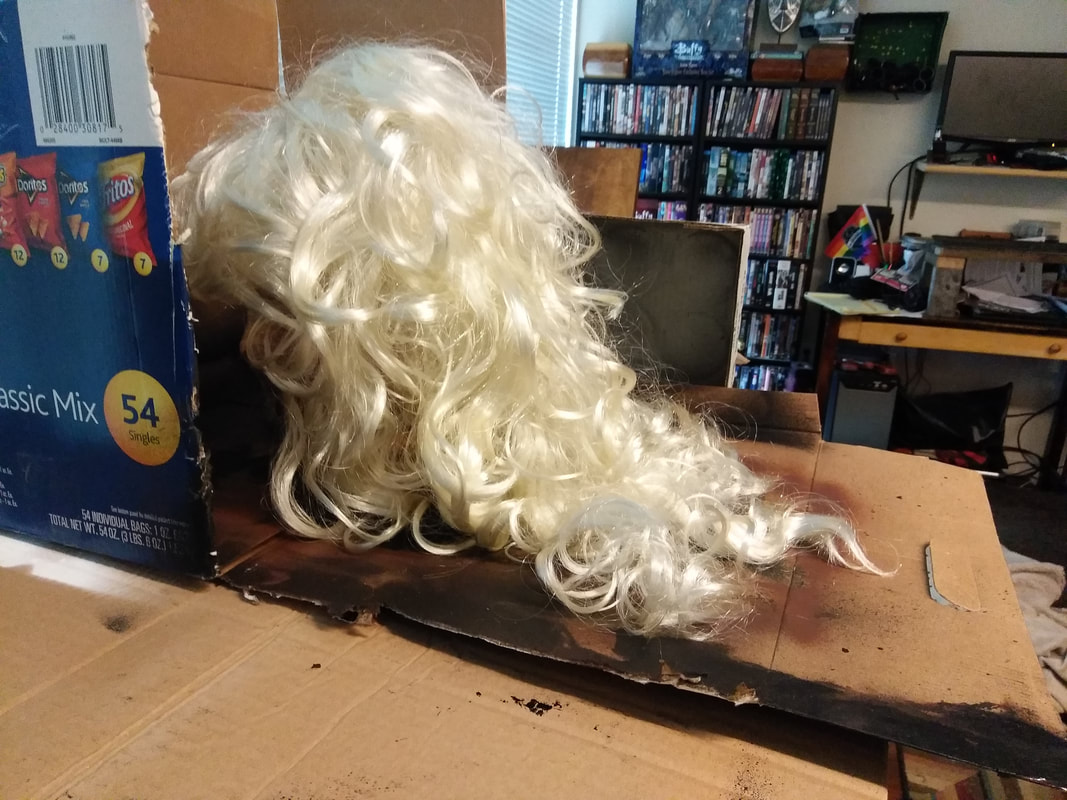
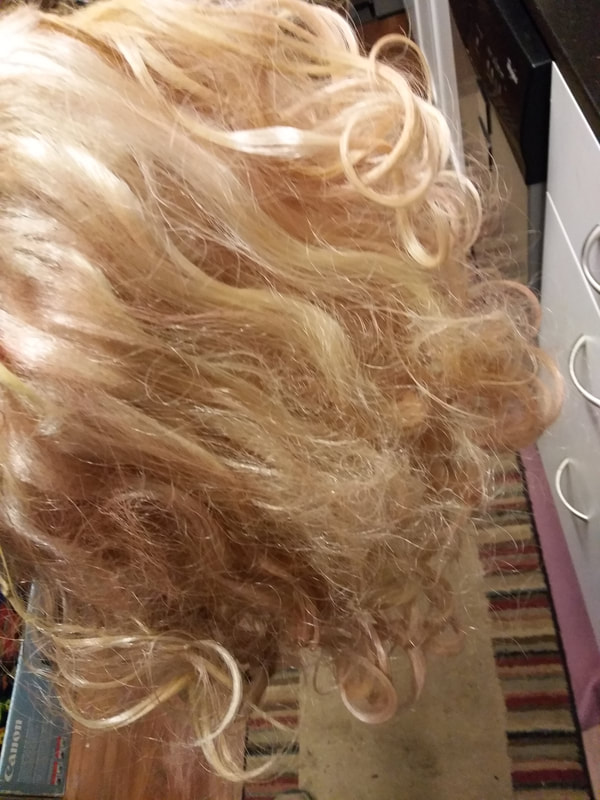
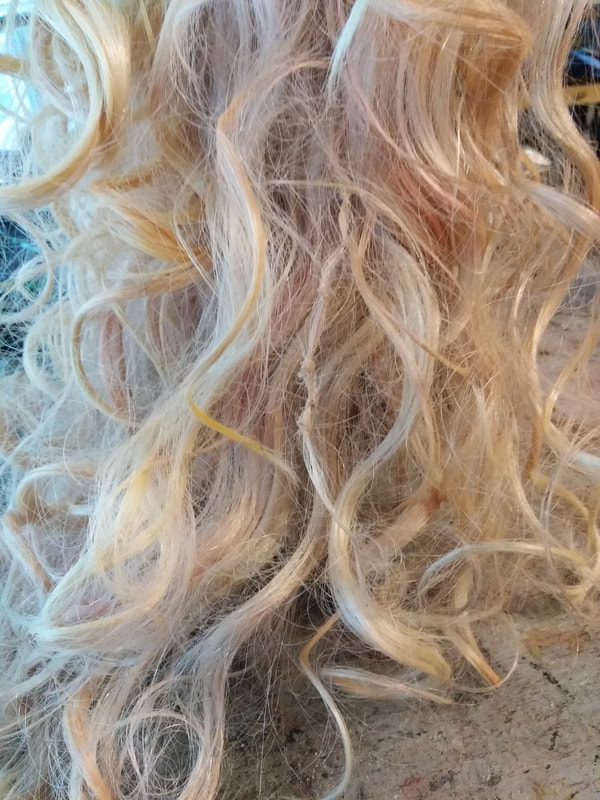
Cheap vs QualityThe wig that I started with was a super cheap synthetic Halloween wig that we got at Goodwill one year ago. So, the quality to start with wasn’t great, in fact it was a pretty typical bad wig. However, it was what we had to work with and I figured that I would at least give it a shot to see how it would turn out. After all, I love a good challenge. Only, if I were to repeat this process in the future, I would definitely invest in a higher quality wig.
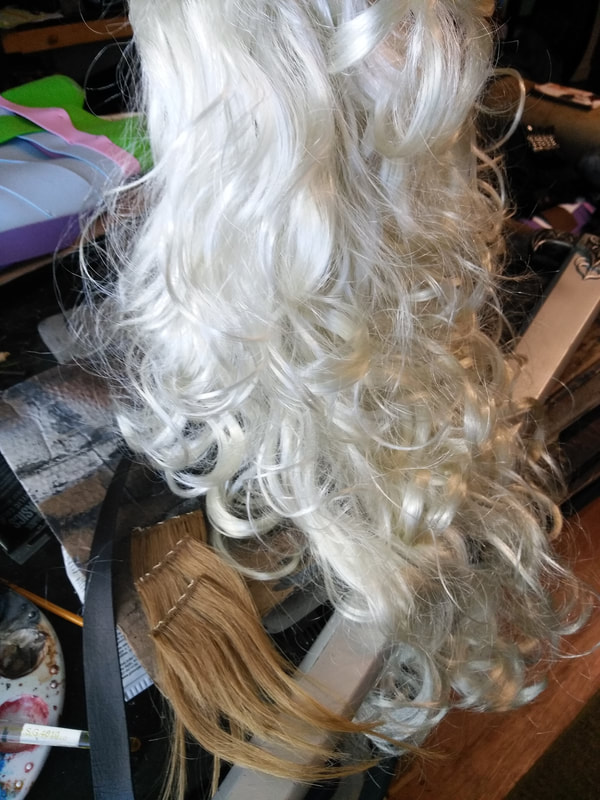
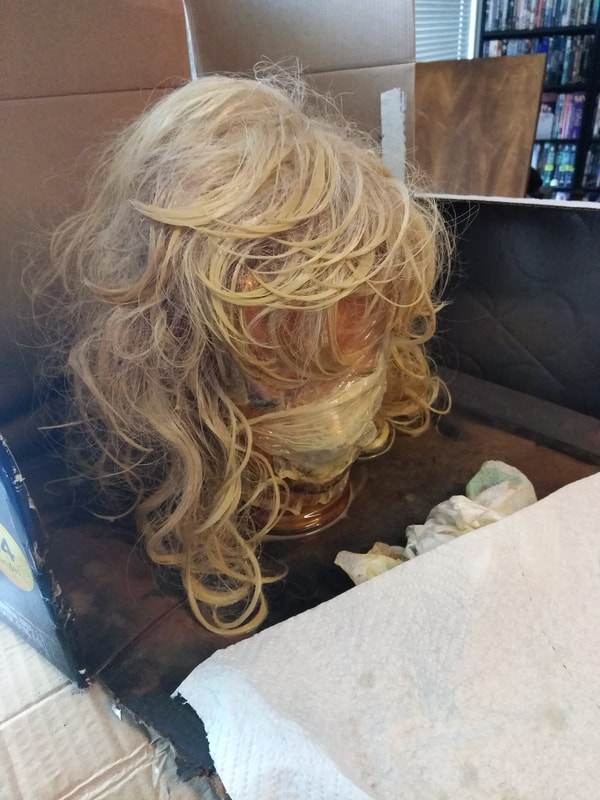
Color ChemistrySince the coloring process involves rubbing alcohol it’s important to use a glass head instead of styrofoam, otherwise it will simply melt. I also covered it with saran wrap beforehand so that the paint wouldn’t stain the glass. I used a cardboard box to make a three sided place to spray, and placed paper towels underneath the glass head to soak up the alcohol. I mixed 1 cup of rubbing alcohol with about 10 drops of paint in order to get the richness of color that I wanted. Always start with your lightest color, Antique Gold in this case. I spritzed the entire platinum wig with this light color first.
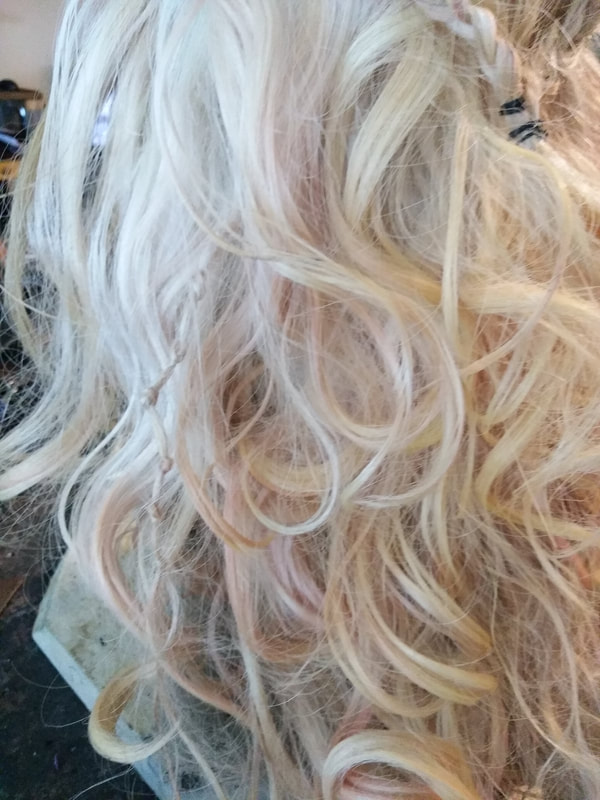
Coloring Synthetic HairChanging the color was a lot easier than I had thought initially. The tricky part is making sure that you mix the paint in the rubbing alcohol extremely well so that it won’t clog your sprayer, or you will spend a long time trying to clear it. Eh, hemmm… as some of us may have done. Once the Antique Gold covered the whole wig, I added another cup of rubbing alcohol and 10 drops of the Honey Brown. Making sure to constantly mix the solution, spritz the second color in various random spots, including the underside of the wig. Adding the red at the end was insanely easy. For this part of coloring you won’t need a full cup of alcohol, just ¼ cup and only 5 drops of paint. The platinum hair just soaks the color up nicely giving that slightly Clarke hue. Leave the wig to dry for 24-48 hours before styling. Also, don’t repeat the alcohol/paint process on the wig more than twice, making sure it is completely dry in between, otherwise the synthetic hair might disintegrate. Styling
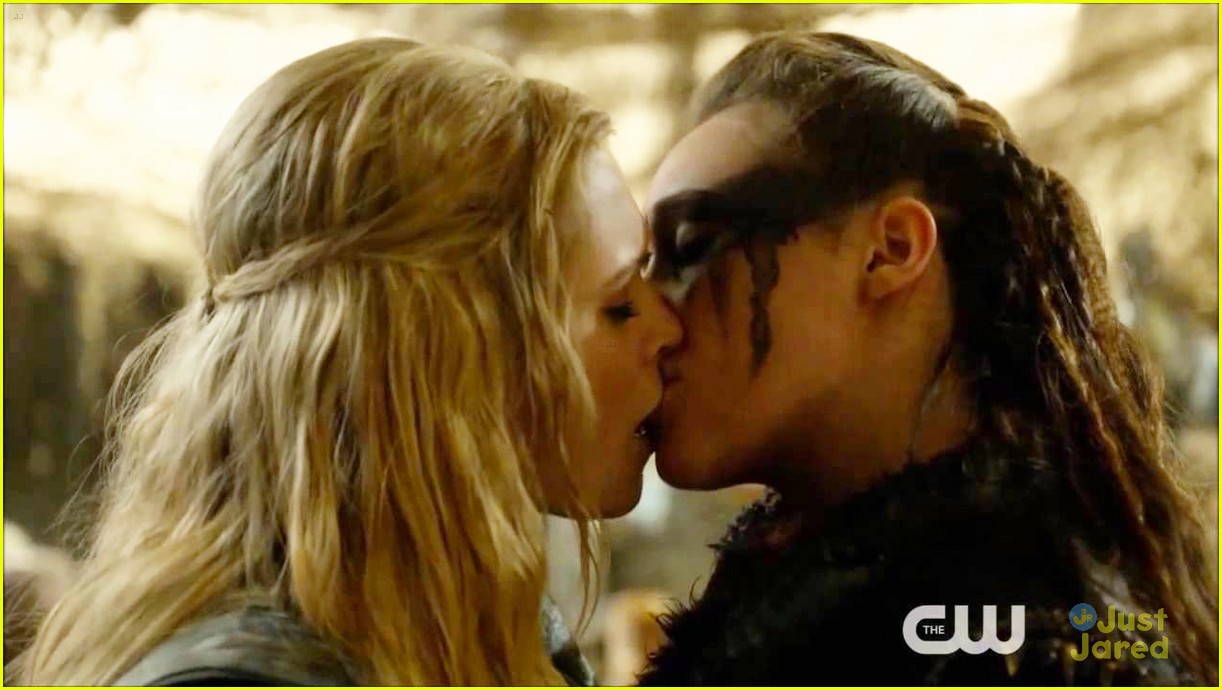
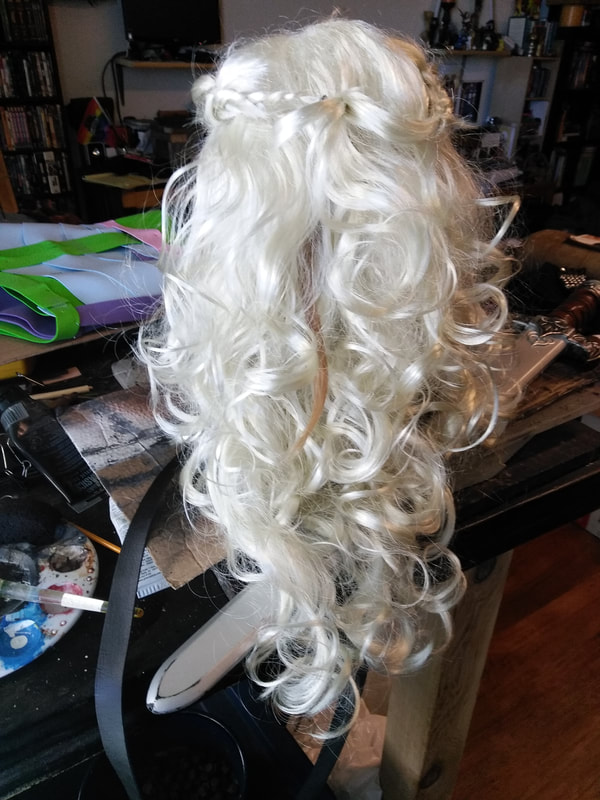
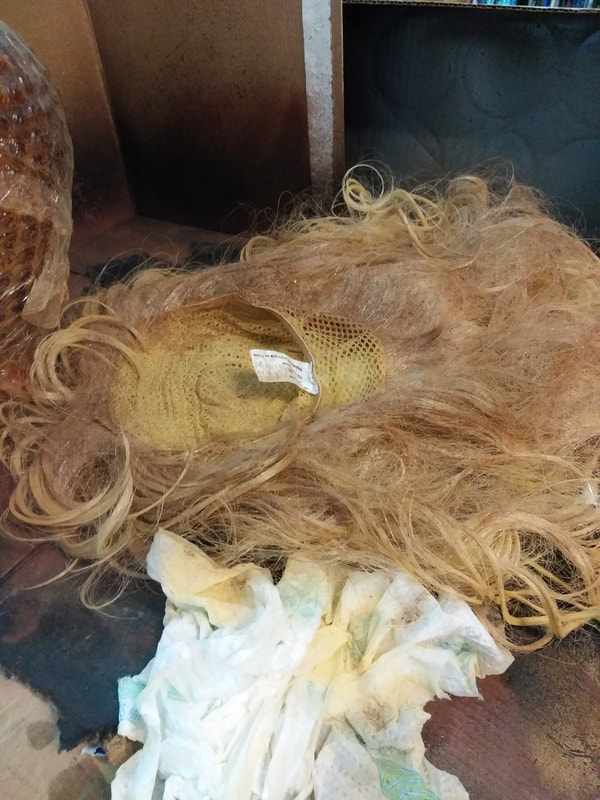
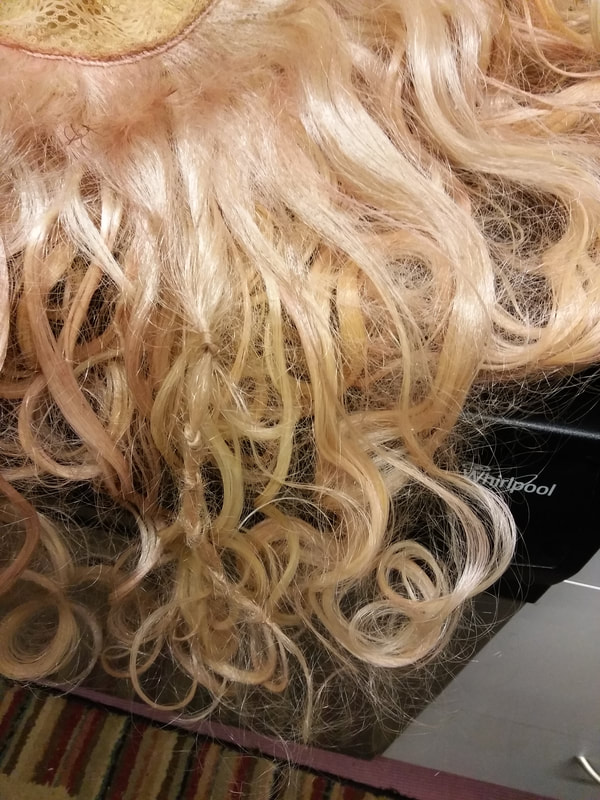
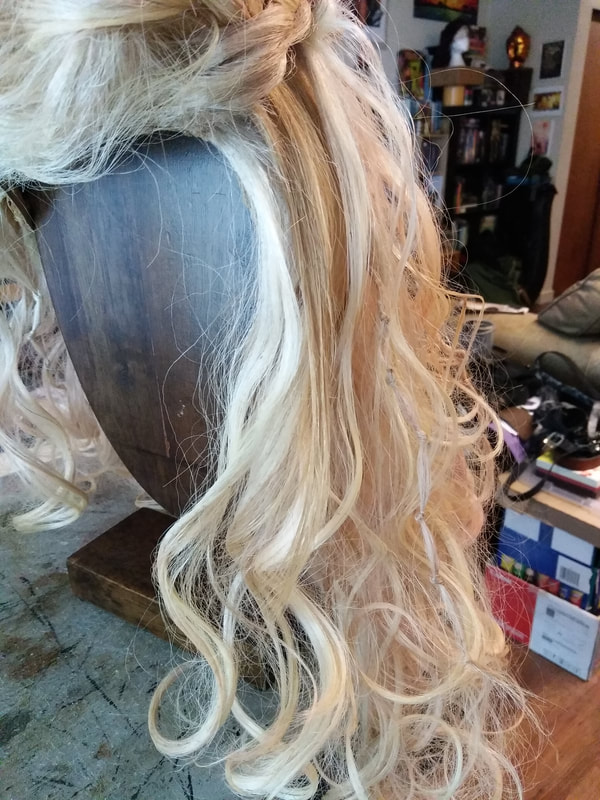
This particular wig has bangs and Clarke doesn’t, so it made sense to me to braid them together along the temples using a dutch lace braid. I was then able to combine the two braids at the crown like Clarke does. There was also a lot of matted hair underneath from previous wearing. When knotted together in sections it became lovely texture, and a lot less 80’s punk mess. I repeated this process several times throughout the wig.
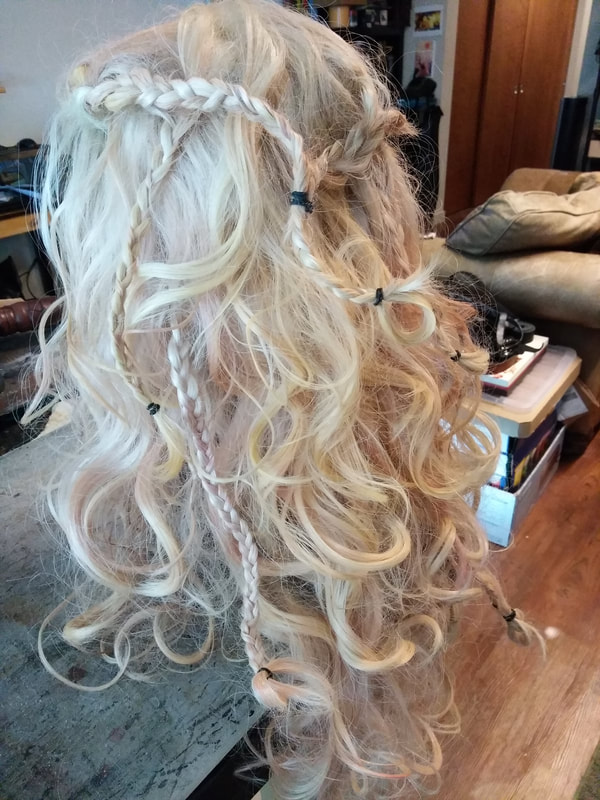
To finish off the Clarke Grounder hair, I added several more small braids. I used cheap rubber bands that can be cut out instead of pulled out. Synthetic hair will not tolerate rubber bands being removed. It will rat the hair, break it, or pull it out. Let’s face it, rubber bands aren’t that kind to real hair either. Getting cheap ones will ensure you don’t care about cutting or ripping them.
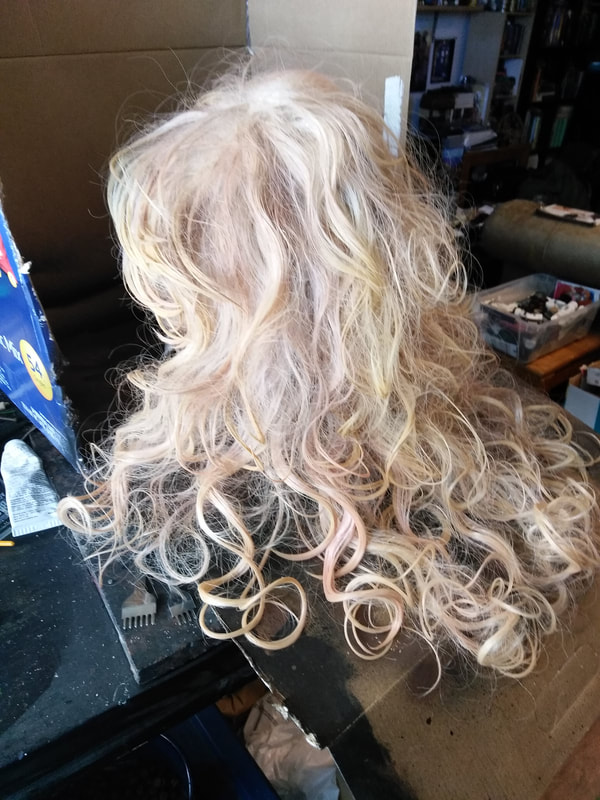
The process of changing synthetic wig hair color was daunting, and I wasn’t certain that it would turn out like I wanted. I was actually surprised at how easy and fun it ended up being. The colors turned out wonderfully! I just wish that I someone had told me to invest in a much better quality wig before attempting this process. Even though it would have cost more, the end would have been a very satisfying kickass result. Instead, I spent countless hours recoloring a crappy wig that really just can’t be used as a complete character wig due to its poor quality. Next time I will begin with a quality foundation. C'est la vie! ("That's life!") Stay tuned for next week's wig transformation: Lexa (The 100) Wig!
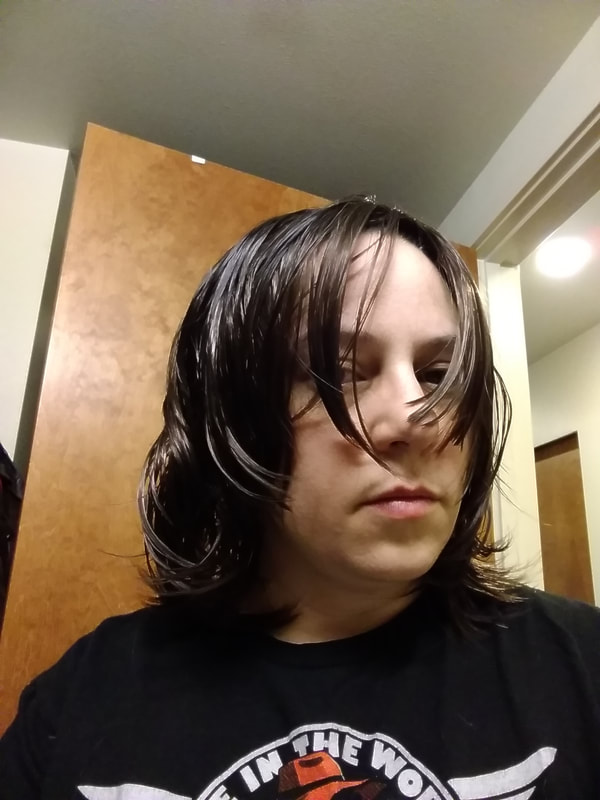
By Willow Enright 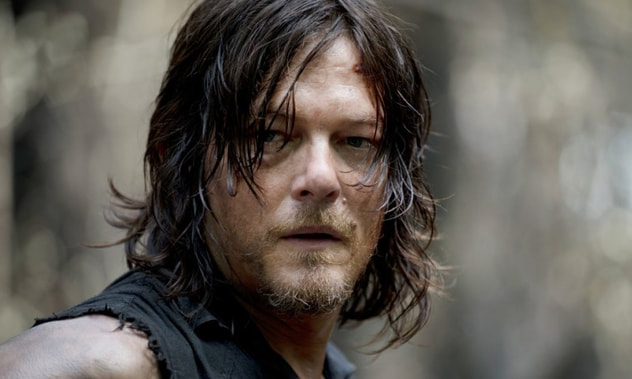 Norman Reedus as Mr. Daryl Dixon from AMC's The Walking Dead Attempting to capture the details of your favorite characters can be as mind boggling as it can be rewarding. There’s nothing worse than being able to convincingly recreate their clothes, props, and identifying features but not be able to sport their characteristic locks without drastically changing your own hair to match. Finding the right wig can go miles when it comes to your cosplays, and not breaking the bank. Especially, when you've have a different character for each day of the con, you'll need more than one wig. Note, this is the first wig I have ever manipulated. I found mine on Ebay from RightOn, Men's Medium Wavy Heat Friendly (150 c / 302 f) Synthetic Wig in dark brown, and it was less than $20. I also made sure to use a good reference photo of the character before starting my wig sculpting, hint, you've already seen it.
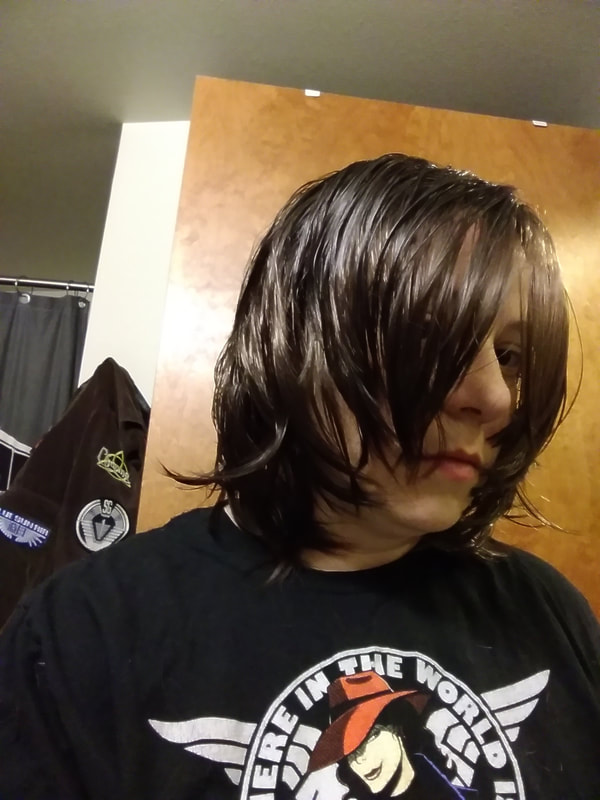
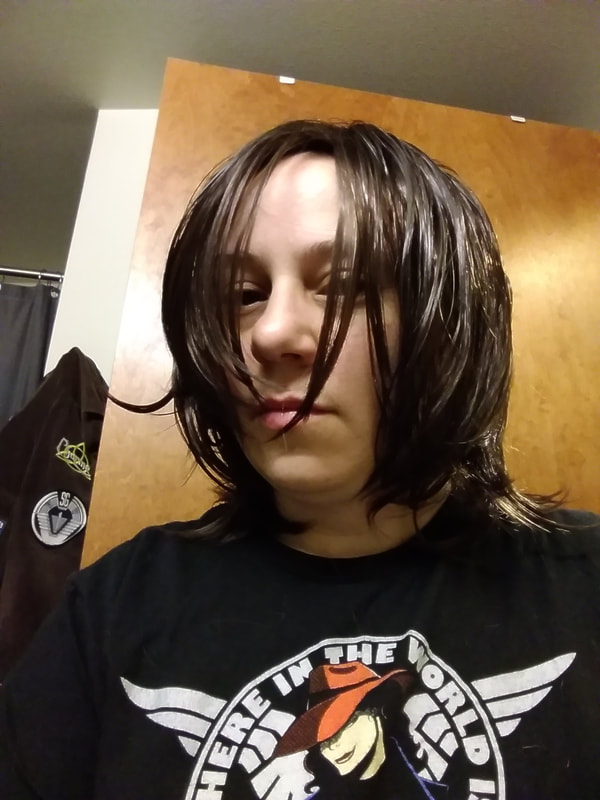
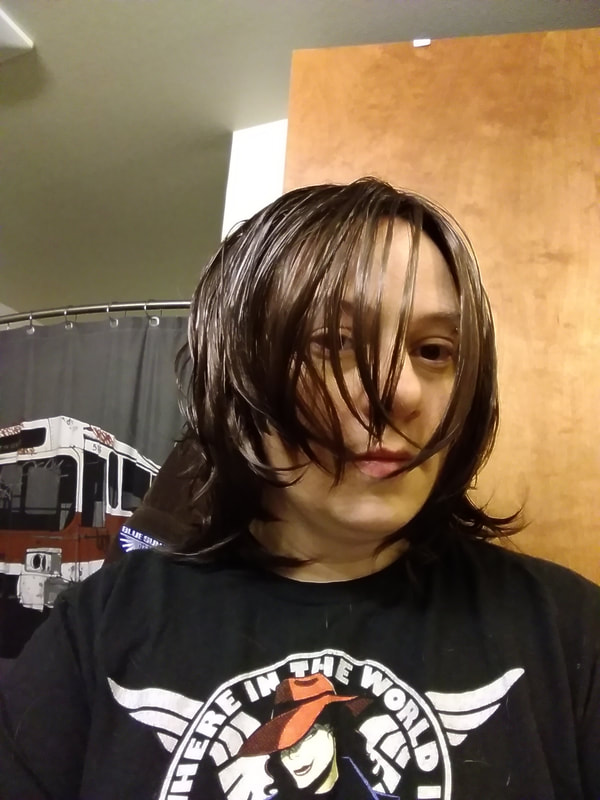
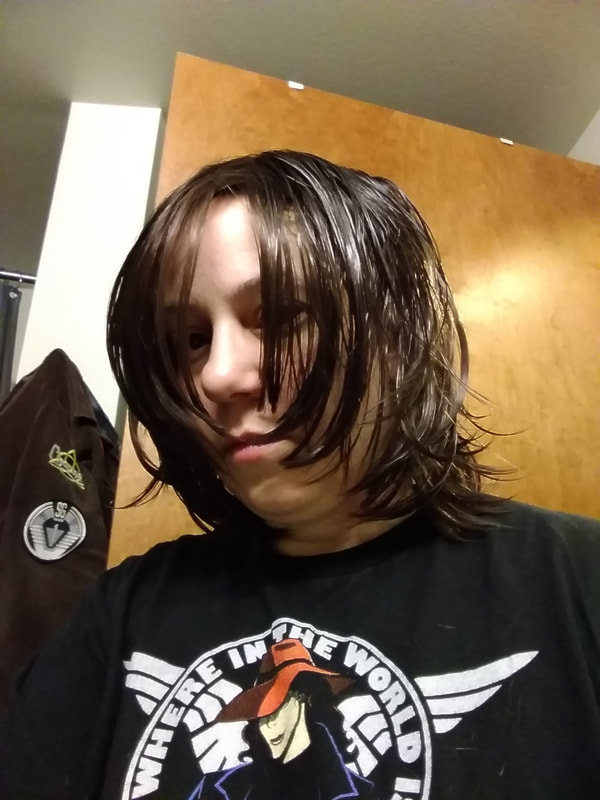
First thing out of the bag the wig was very poofy, and required lots of palm petting to calm down the wig fibers. This transfers the normal oils of your hair to the synthetic wig hairs. The wavy style had the whole top part of the wig swept over, and I had to separate the long bangs to give them that classic Daryl part. Usually, this would be the time to brush the wig, but this is Daryl Dixon and he doesn’t brush his hair. So, I used my fingers which seemed appropriate.
Wearing the wig, I applied two different hair care products, Alterna Life Curls Detangler and Avon’s Curl Goddess Curling Mist. The detangler helps the synthetic hair to avoid knotting up. While the Curling Mist gives some body to the flat wig. I spritzed the products over the wig and used my fingers to scrunch it into the synthetic hair.
Water is hard to come by in the apocalypse so washing your hair isn’t a priority, especially to a snake eating dirty fiend like Daryl. In order to obtain the greasy dirtiness that he usually sports, I used coconut oil. Rubbing it into my fingertips and then running them through the wig hair. I did this a few times until I was satisfied with the amount of grunge. Since the bangs were designed to sweep over to the side they were quite long and I had to do some random trimming to help create the disheveled bangs of Mr. Dixon. The end results completely tie together the costume, makeup, and props wonderfully! 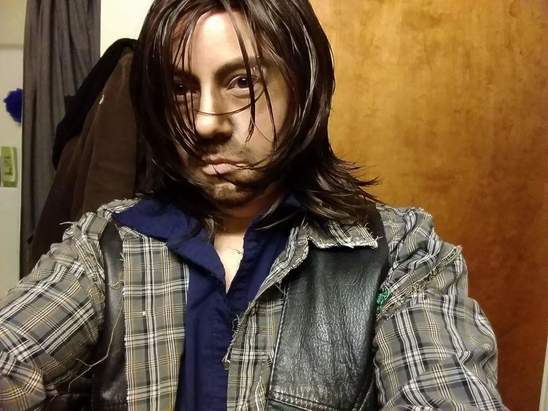 My freshly wet hair Here you can see me in full Drayl Costume. If you'd like to know more about how I created the rest of the costume you can click here: Creating TWD's Daryl Dixon. Stay tuned for next's week's blog about how wig making doesn't always go as planned when I discuss Clarke Griffin's (The 100) wig making experience. 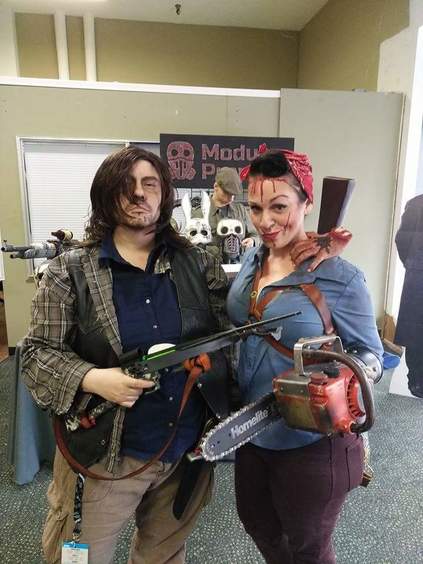 All dry and at the Con! I'm standing next to a fantastic cosplayer, Tina Rivets. |
Willow EnrightI started crafting out of leather in 2011, and now I am making it my life's work. I am writing this blog to help myself remember some of the small steps in past projects, sharing my triumphs and failures, as well as my love of leather. Archives
November 2017
Categories
All
|

|
Cosplay DIY (Blog) |

 RSS Feed
