|
By Willow Enright Supplies:
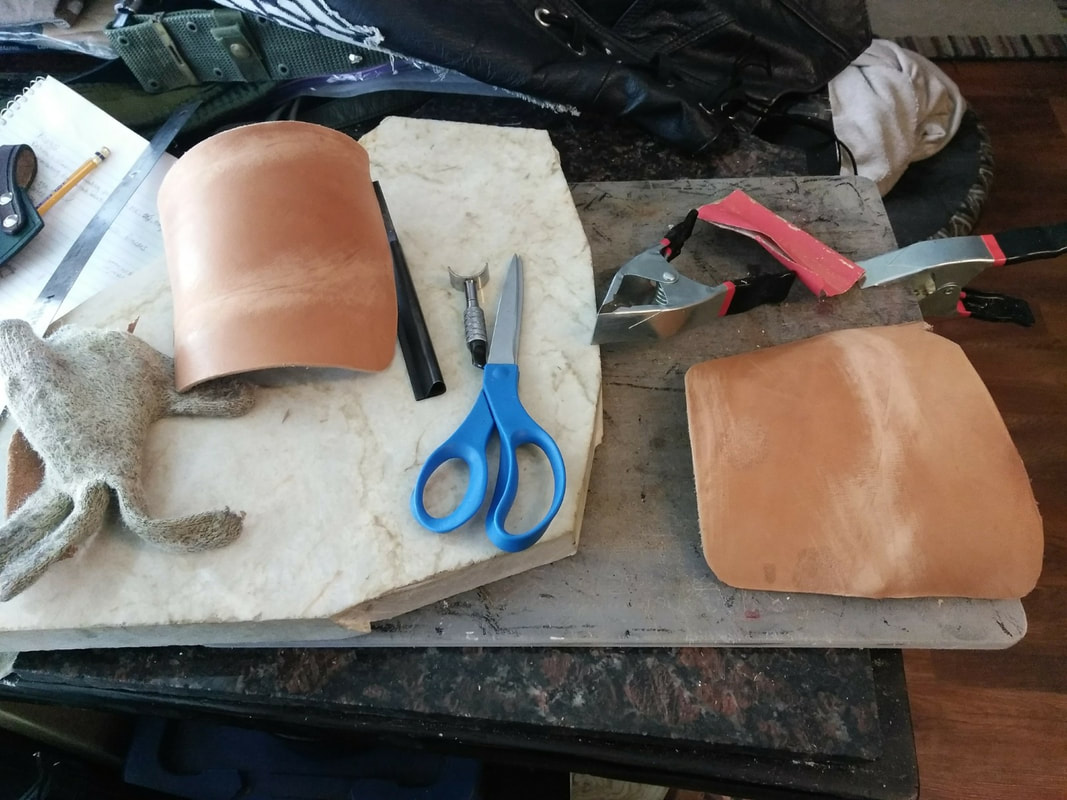
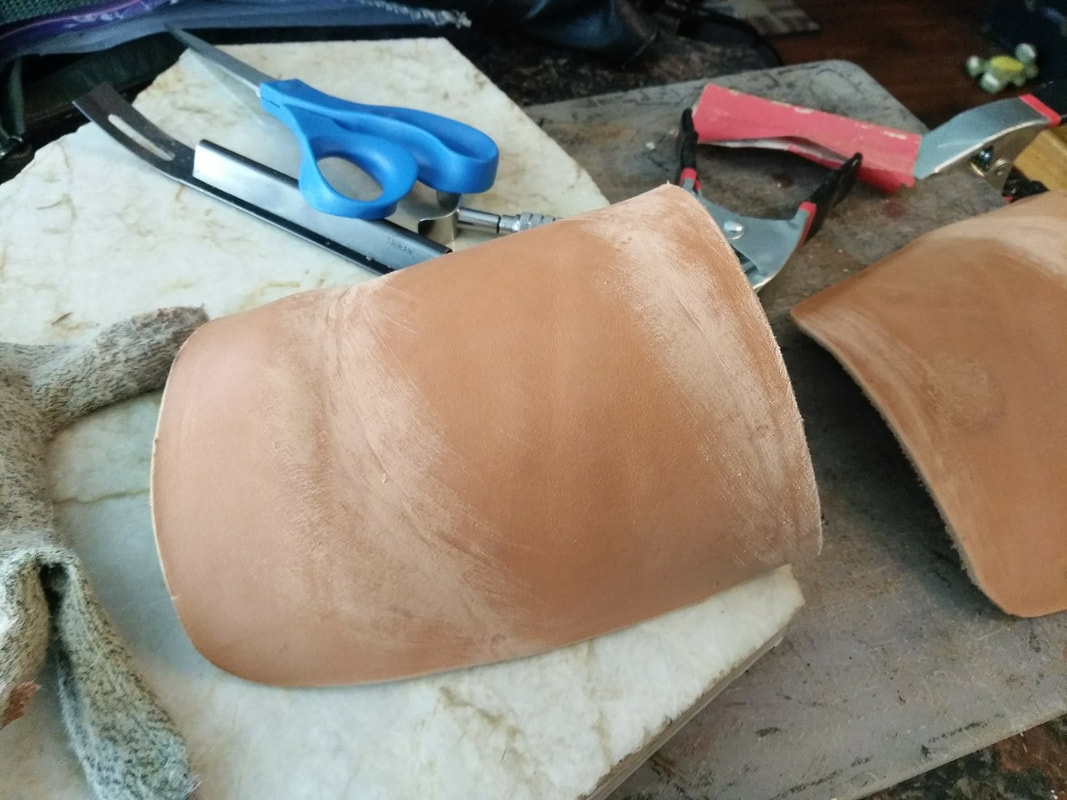
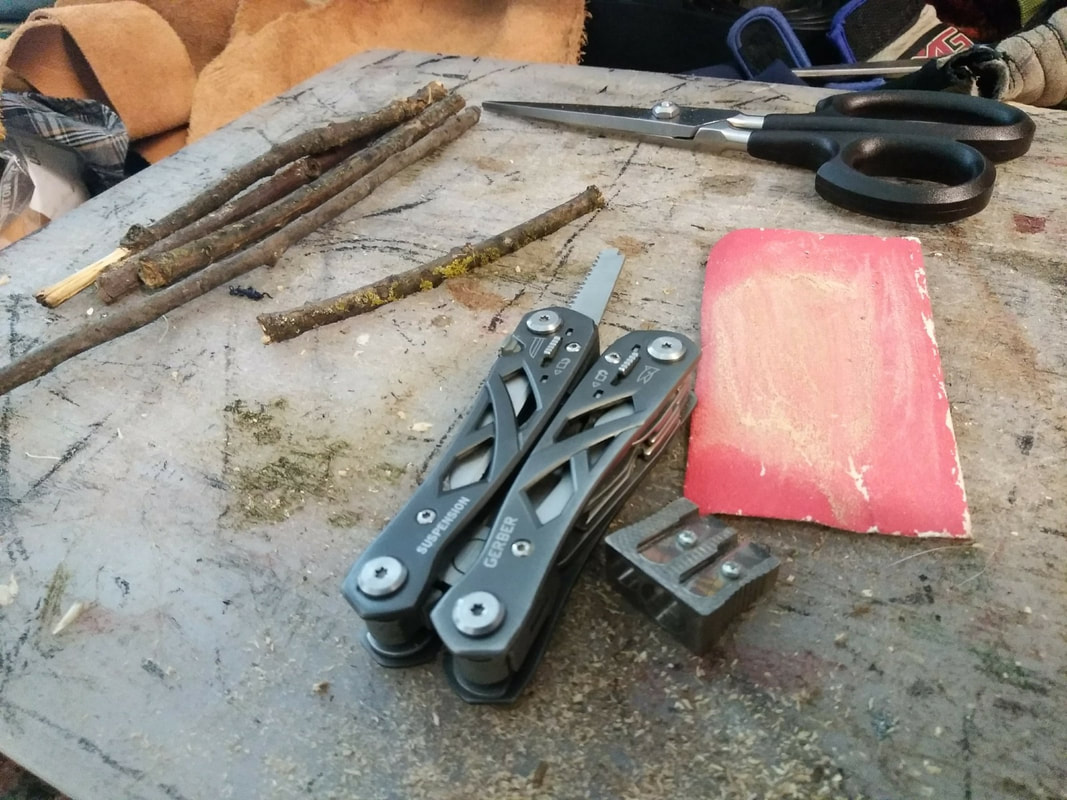
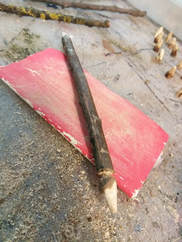
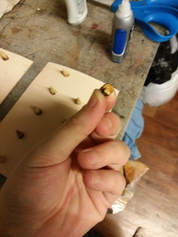
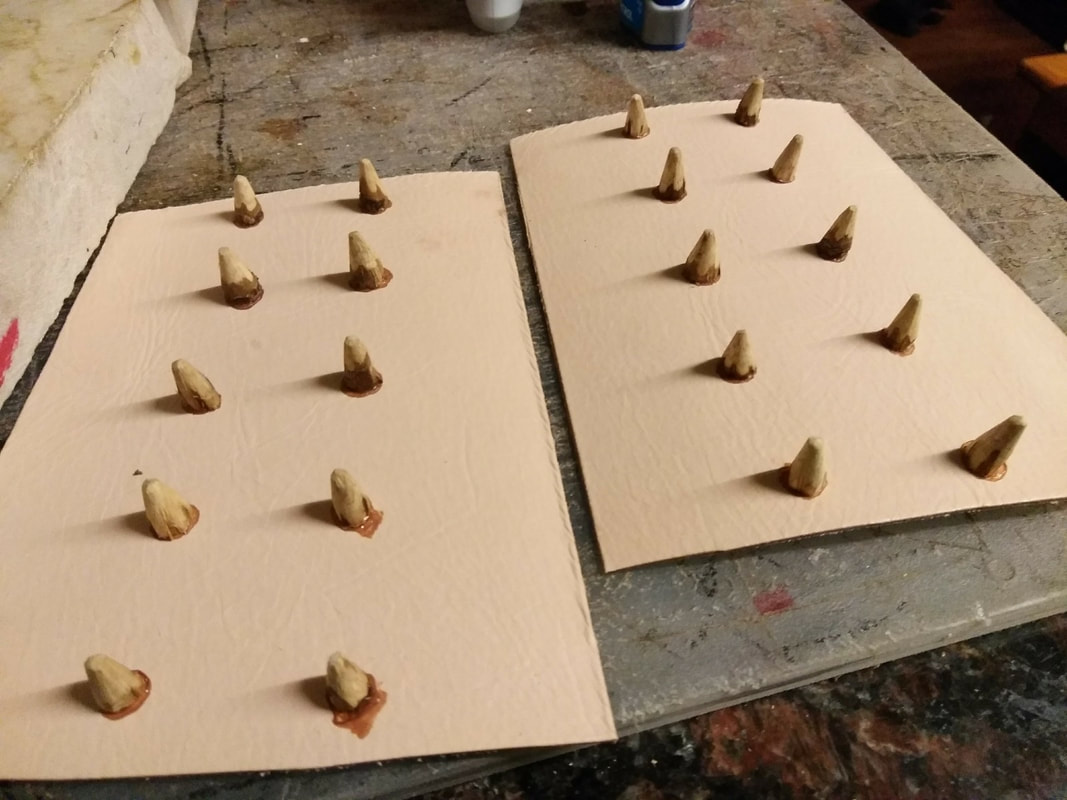
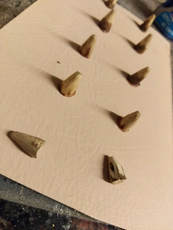
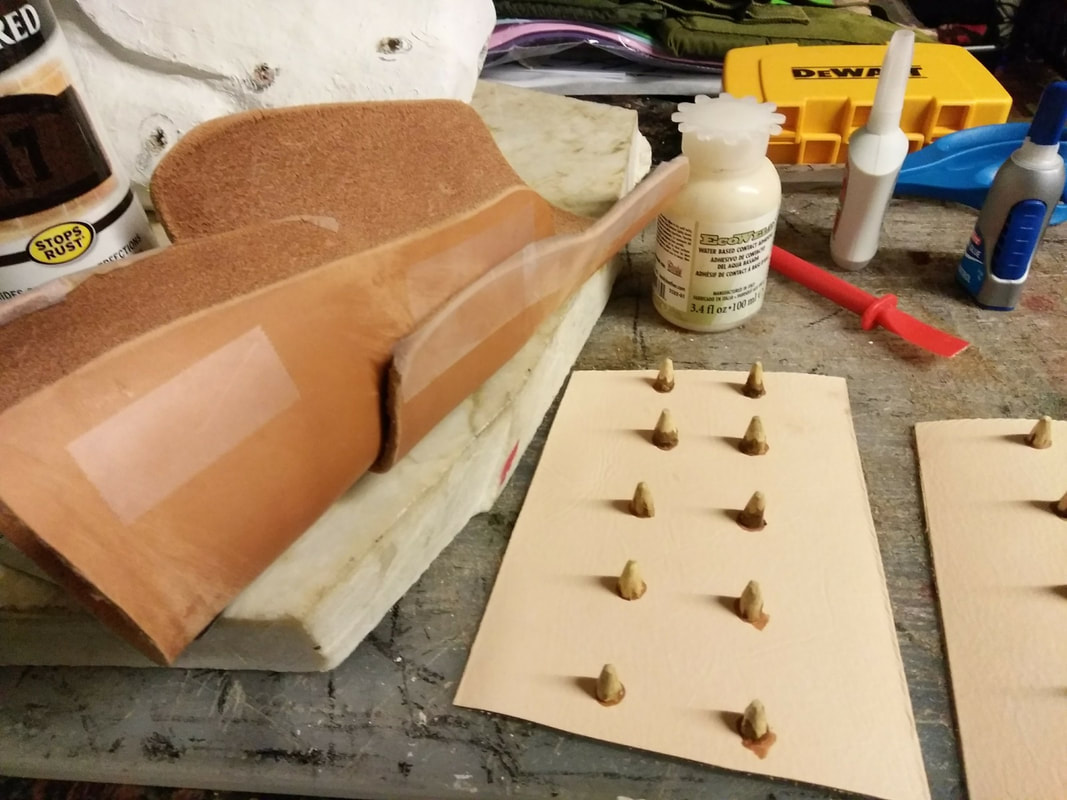
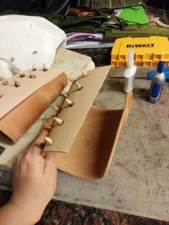
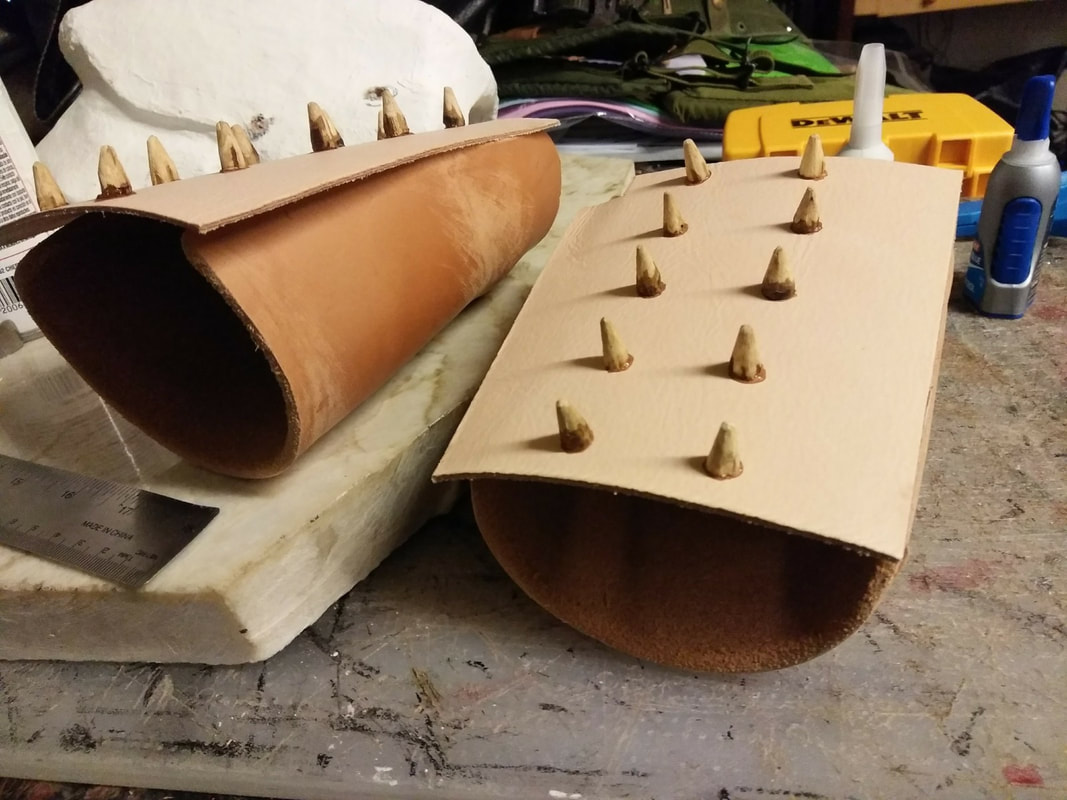
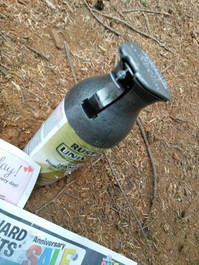
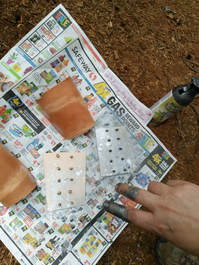
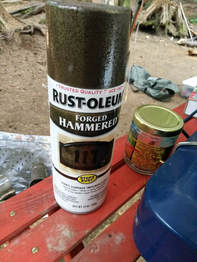
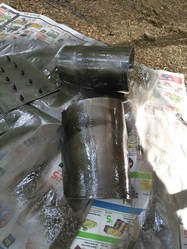
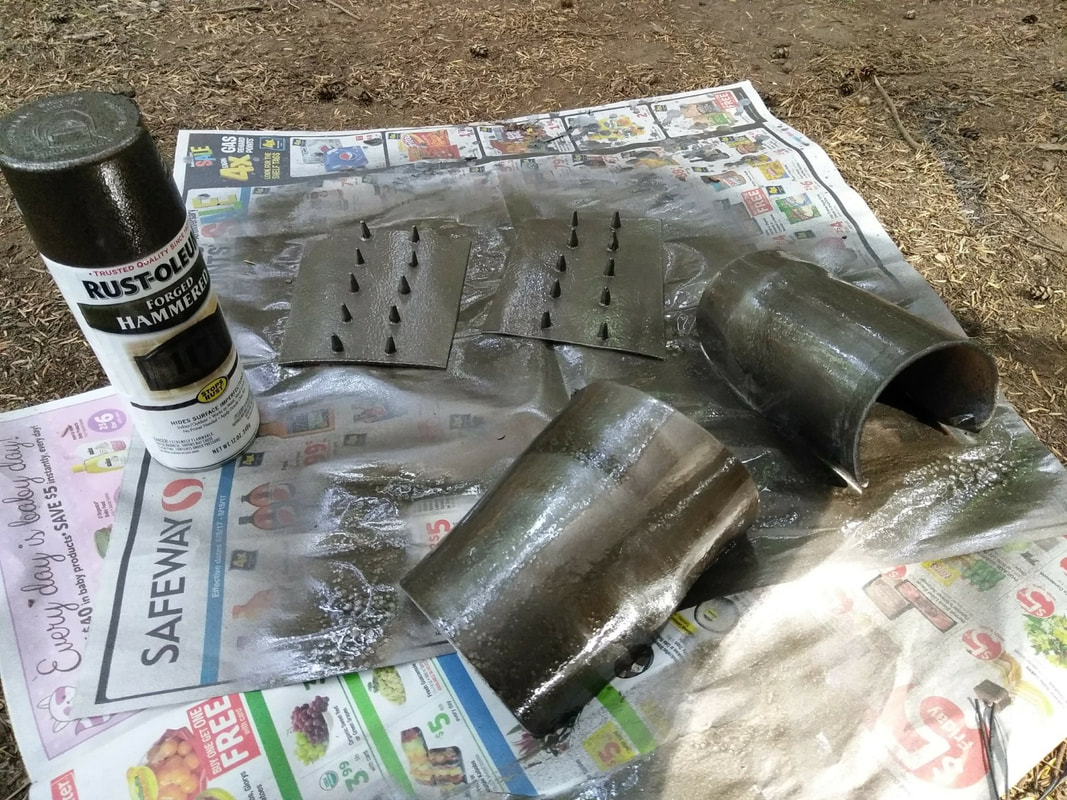
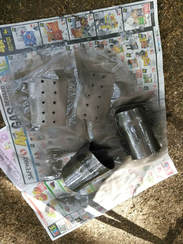
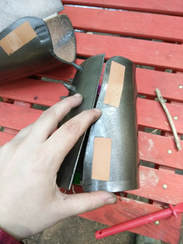
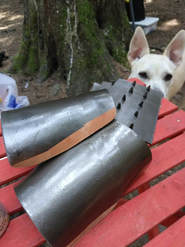
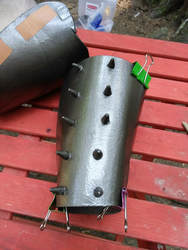
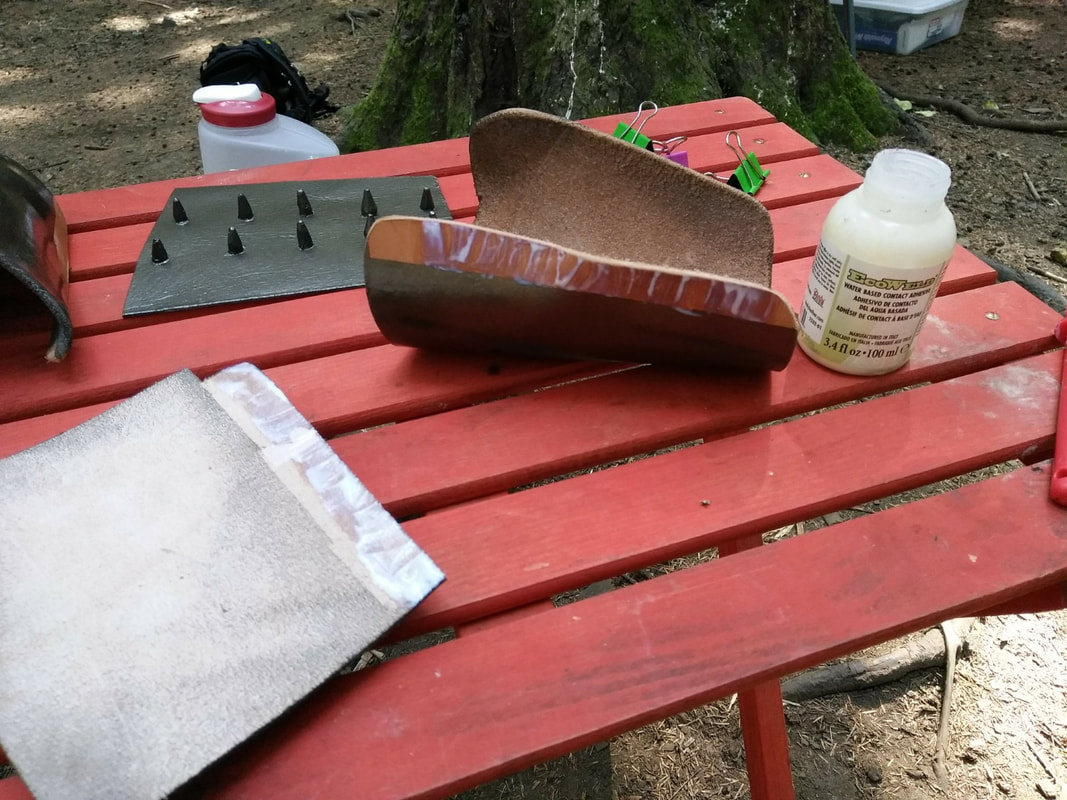
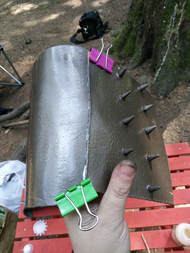
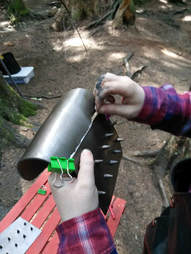
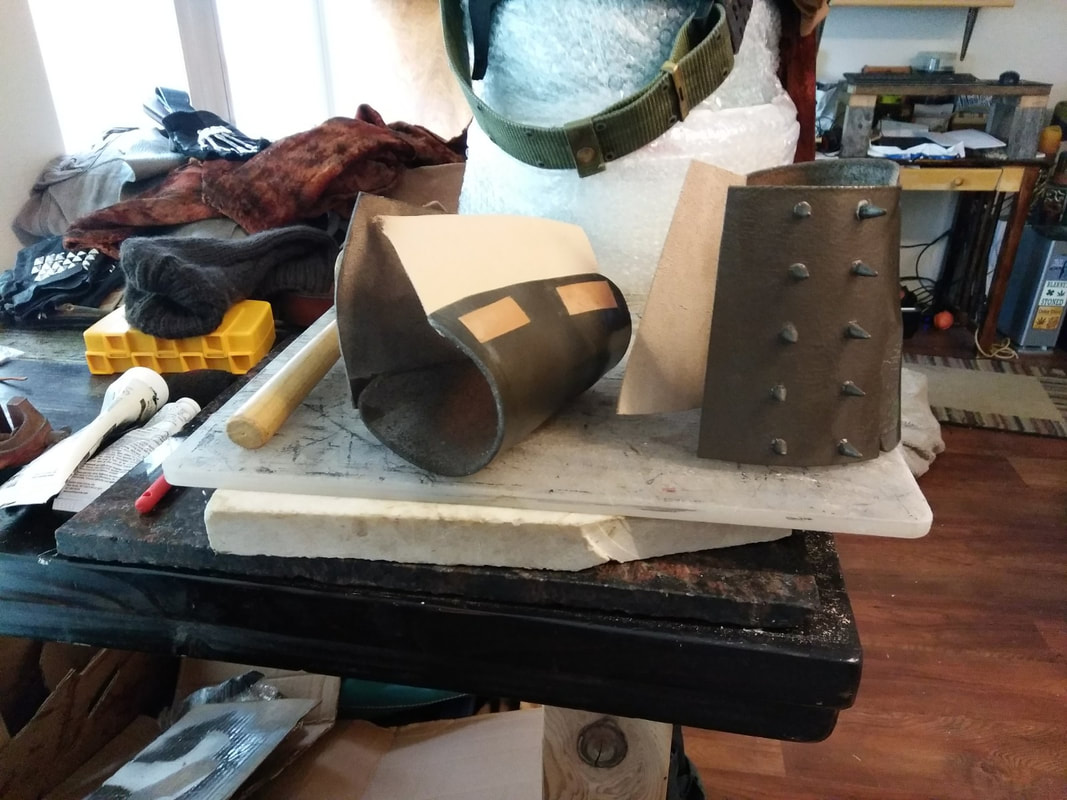
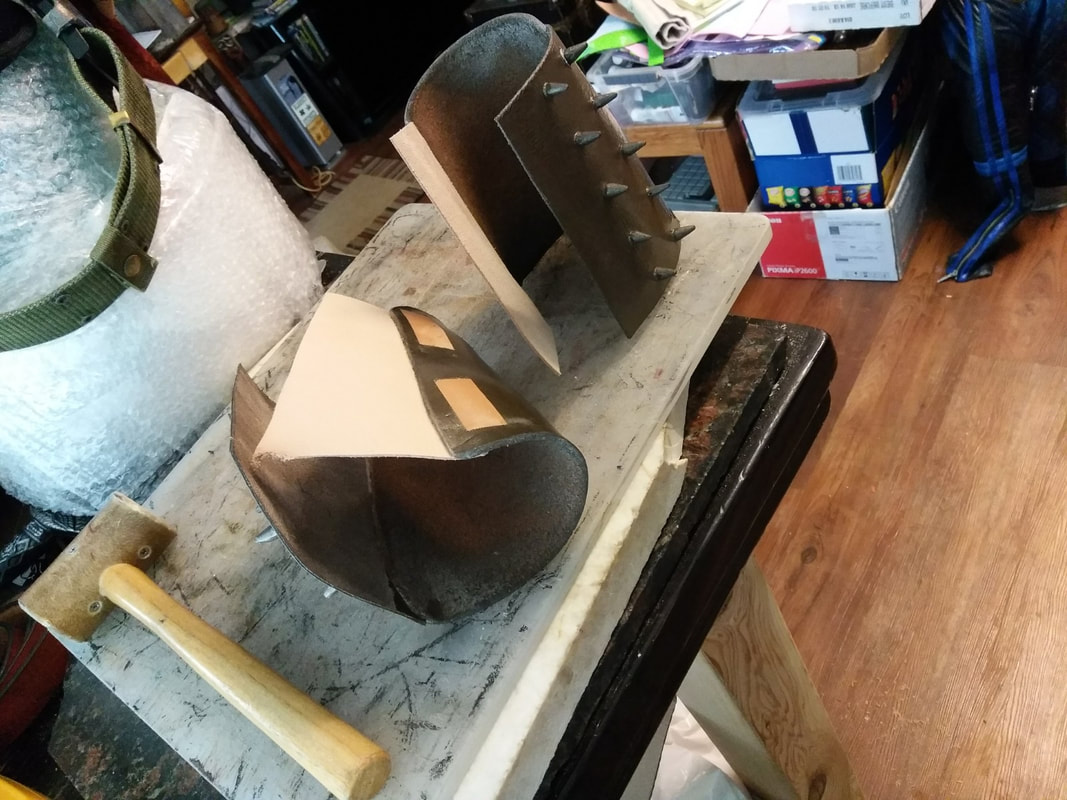
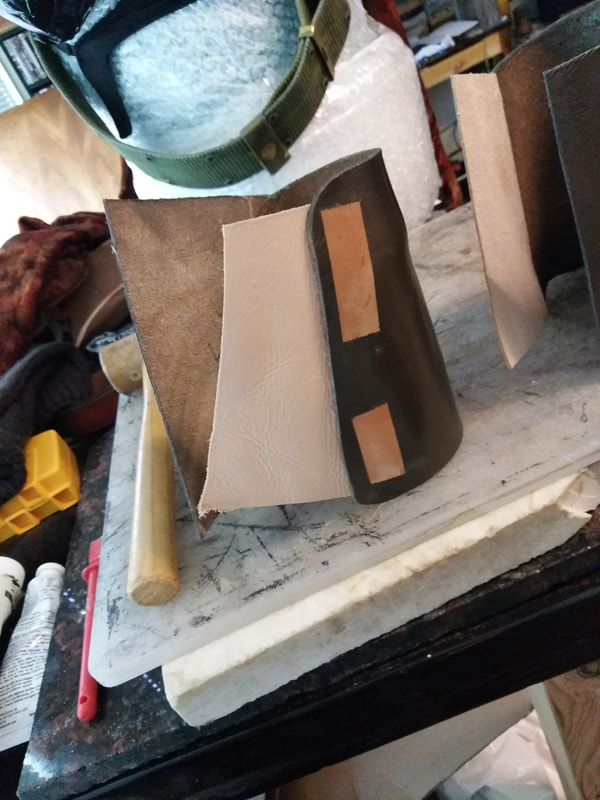
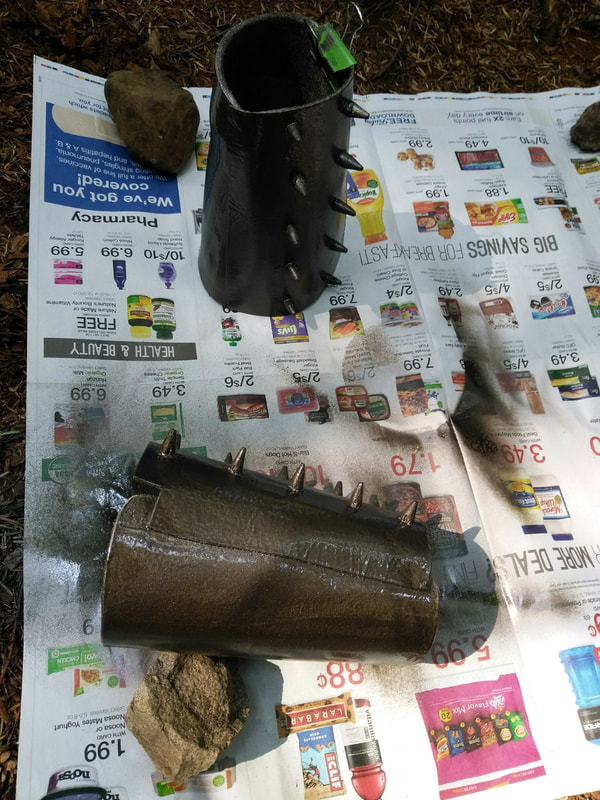
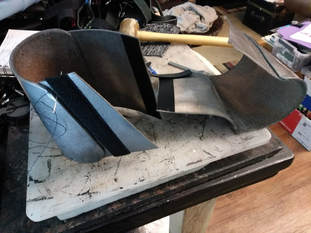
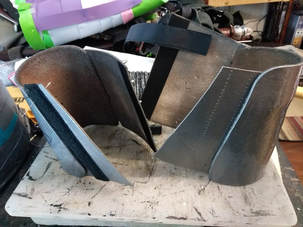
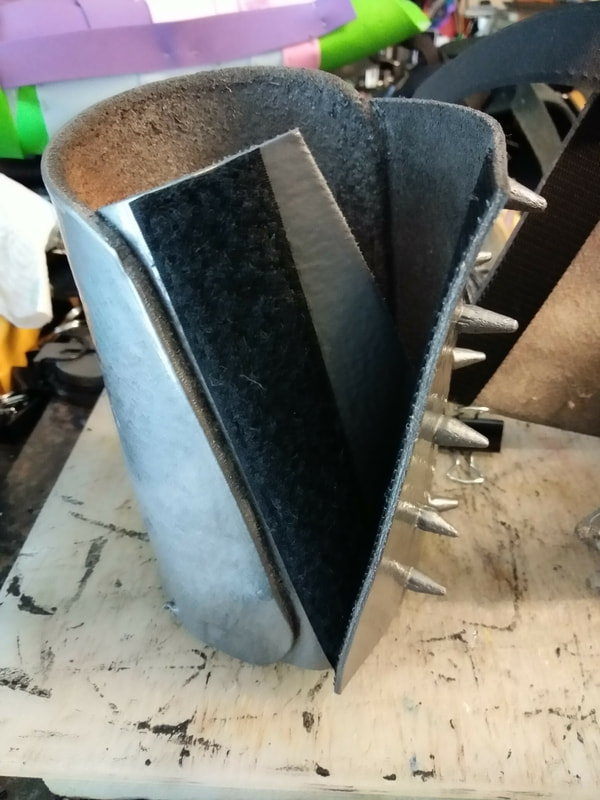
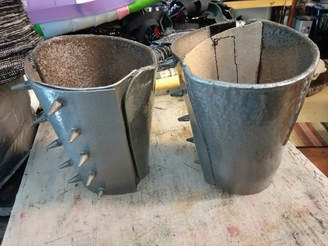
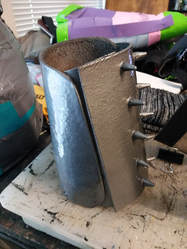
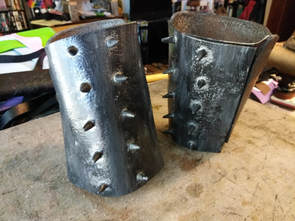
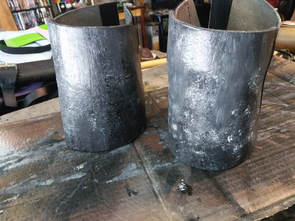
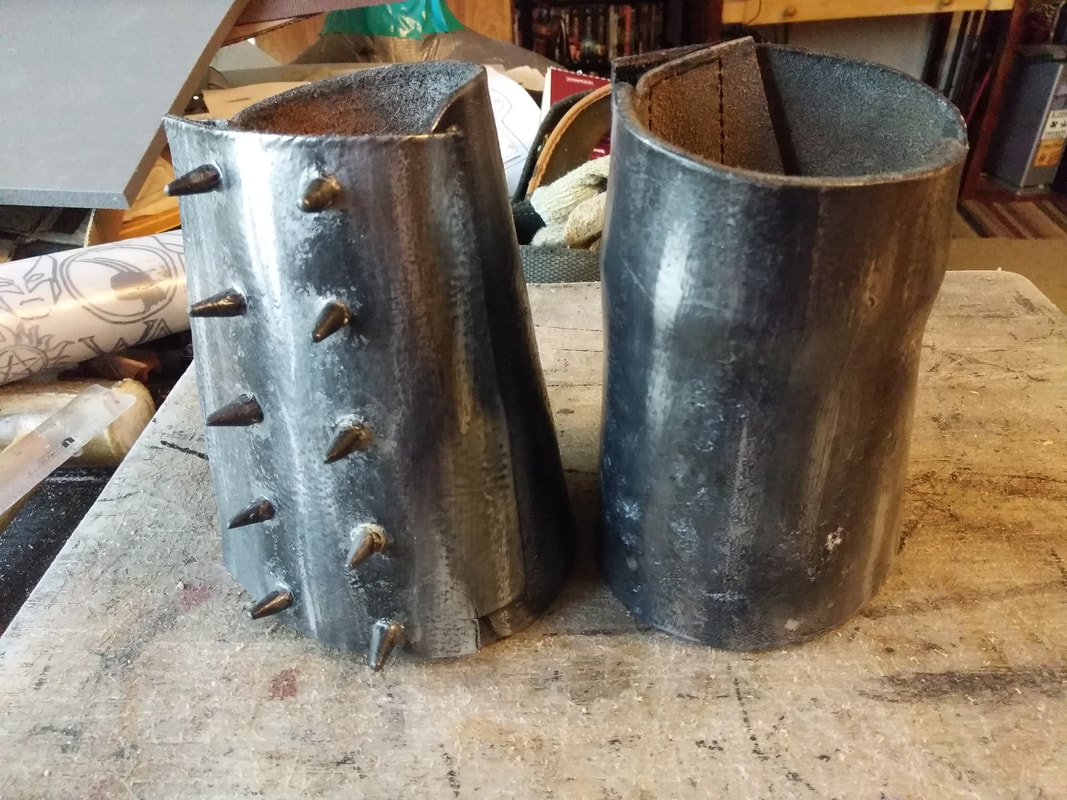
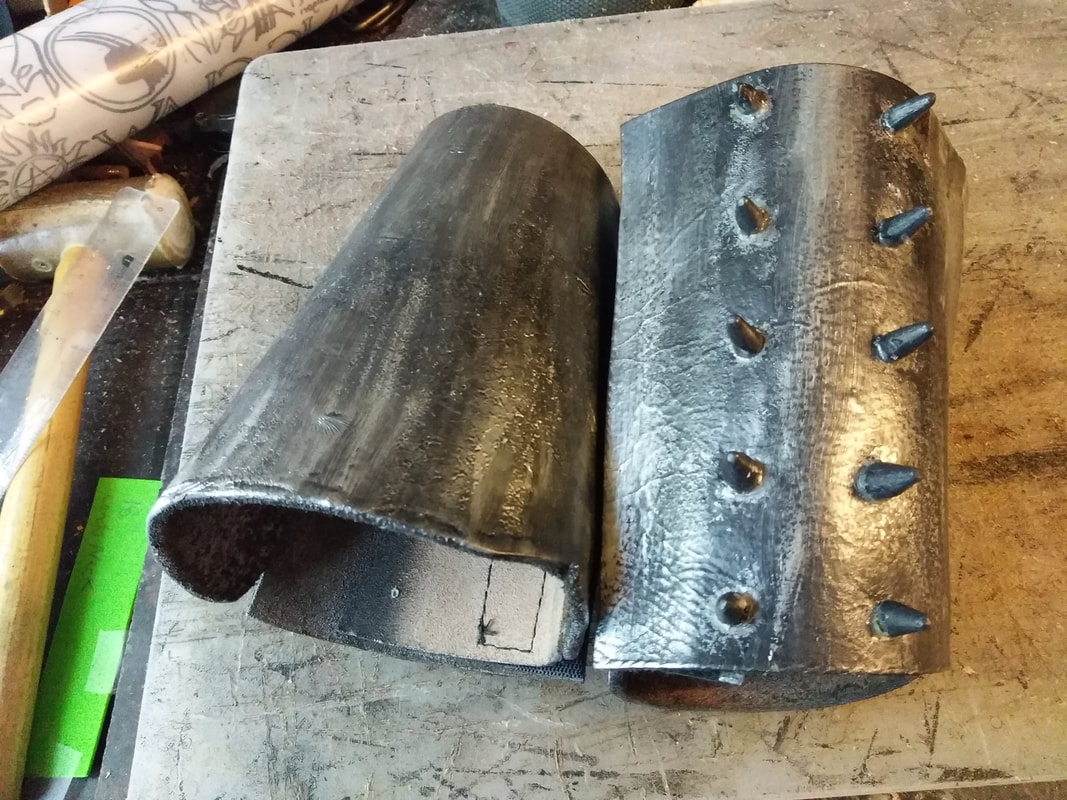
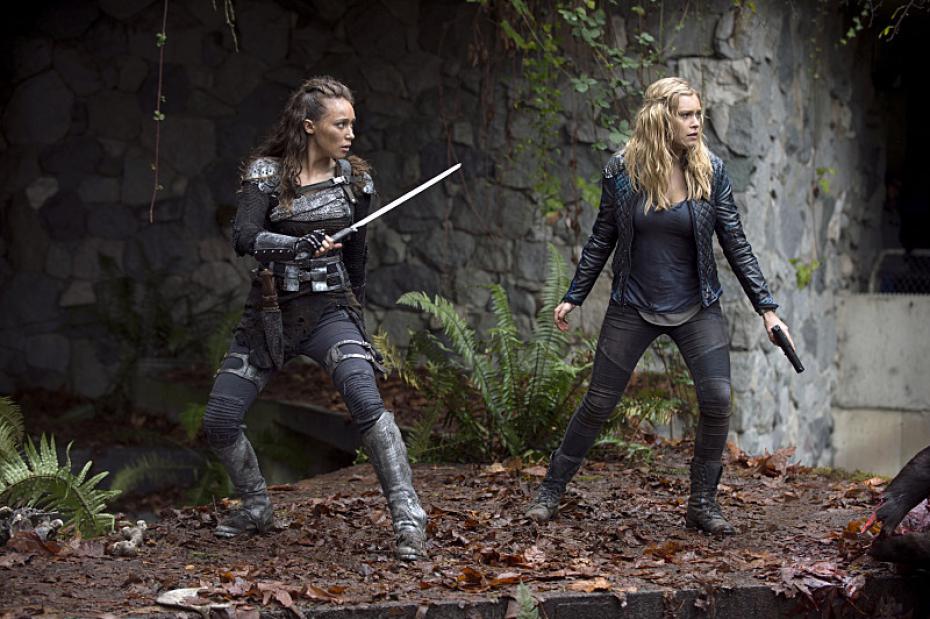
Research Equals ObsessionIf you love cosplay you probably find yourself obsessing over the littlest costume piece of your favorite character’s wardrobe. Especially, when you plan on building complicated, barely documented recreations of something a costuming department made from scratch. The movie magic behind wardrobe can be frustrating, and usually, your only options are front angled photos, exhibits, and the actual TV show or movie. I like to use several reference photos, and sometimes I pause shows or movies on the character so that I can sketch design patterns. When making armor pieces I prefer to use a vegetable tanned leather, usually 7-12 oz depending on the armor and its use. For cosplay armor using a 5-9 oz veg tan is good. For Lexa’s bracers, I used an 8-9 oz section of veg tan leather that I got in trade from a friend who had wet formed them. She used some strapping which left some marking on the leather, so I had to sand and cut the pieces before they were the right size for the back section of Lexa’s bracers. The top flap and under flap were made with a 3-4 oz vegetable tanned leather since they would be overlapped and have velcro attached. I measured my forearms and cut the pieces according to my measurements, but I originally forgot to account for the thick under layers of my costume and had to add the under the flap to give a larger circumference. Needless to say, always wear as much of your costume as possible when measuring. Lexa the Vampire SlayerThe little spikes on the top section are made from twigs roughly the size of pencils in diameter so that they would fit into the pencil sharpener. I sharpened each end and then used the saw on a Gerber to cut them off. I repeated this process until the twig was too small and in the end, I had twenty little wooden spikes. I then used the 100 grit sandpaper to smooth the spikes, especially on the bottom where they would glue to the leather. I originally tried to use super glue on them. However, the leather pieces flex so much the wood spikes would pop off and I had to reglue them with Eco-weld leather cement. This gave them a bit more flexibility. Get Your Metal OnWhen it came time to paint the bracers, I didn’t use a primer since both materials are natural and raw. I used tape to mark off the sections that I wanted to leave raw for gluing later. Then laid the bracer pieces onto a piece of newspaper, shook my Forged Hammered pewter spray paint and then sprayed away. At first I tried to use one of the newer spray nozzle paints, however, it just dribbled all over my fingers leaving spots on my bracer pieces. So I returned that defective can and got an old school version with the little top that can be popped off and soaked if it gets clogged. I did a few layers of paint, waiting in between for the first coat to dry some. Leave overnight to dry. How to create your own Movie MagicIn order to get that "how the Hell does that even close," seamlessness look that Lexa sports in the T.V. Show, The 100, we had to use glue and hidden stitching. First, the spiked top flap was glued to the bottom bracer piece. I used Eco-weld leather cement, applied it to both sides of the leather, and waited for it to become tacky. I pressed the pieces together and clamped them for at least 10-15 minutes. If you don’t want clamp marks, be sure to use a piece of scrap leather between the clip and the project. Also, be sure to clean any overspill of the glue from combined edges or you will have a visible glue line. Sometimes when you are working on building something for the first time you make mistakes or underestimate the project. I completely forgot to take into account that I would be wearing a thick sweater or jacket sleeves underneath my bracers, so I had to add an additional leather flap for circumference. This allows me to wear the bracers much looser and accommodate the bulky sweater sleeves better. The additional leather sections were also spray painted to look the same as the previous sections. Hand Sewn with LoveAfter the bracers were dry, sections of velcro were measured and hand sewn onto the under flap leather. I used stitch hole punches to put holes in the velcro and leather. Since we don’t see this part, visible sewing wasn’t an issue. However, for the corresponding velcro on the top spiked section, the velcro had to be glued or stuck with sticky tape. This way we won’t see any stitching on the outside, and the movie magic will be preserved. Since Lexa’s bracers aren’t actually new and shiny in the show, I had to tone down the metal spray paint shine. I used black, brown, titan buff, and white acrylic paints to weather the bracers. I layered the paint onto the sponge, dark to light and then sponged the paint onto the bracers. Again referencing my photos, I painted them until they resembled Lexa's. I left them to dry thoroughly and then used some silver leaf Rub N Buff wax to go back to the piece and give it a slightly worn metal shine. Devil's in the DetailsThe subtle difference of adding the silver leaf Rub N Buff wax really gives the Lexa bracers that believable quality. Tiny details can give your cosplay character greater authenticity, and make it even more appealing to fans and non-fans alike. The more definable pieces you have in your cosplay, the better chance you’ll have of being placed in that universe. Of course, you will also have the opportunity to do some extremely awesome role-playing through photography which is always fun!
1 Comment
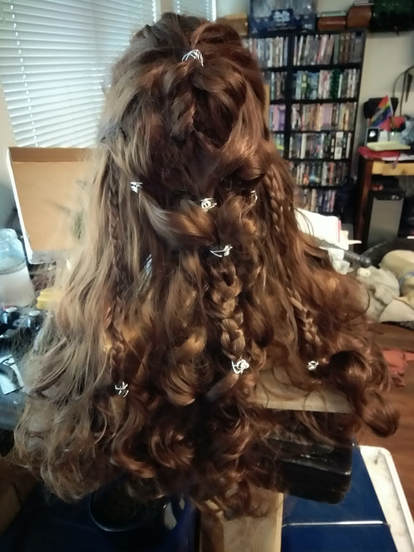
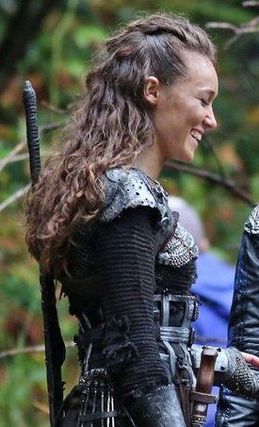
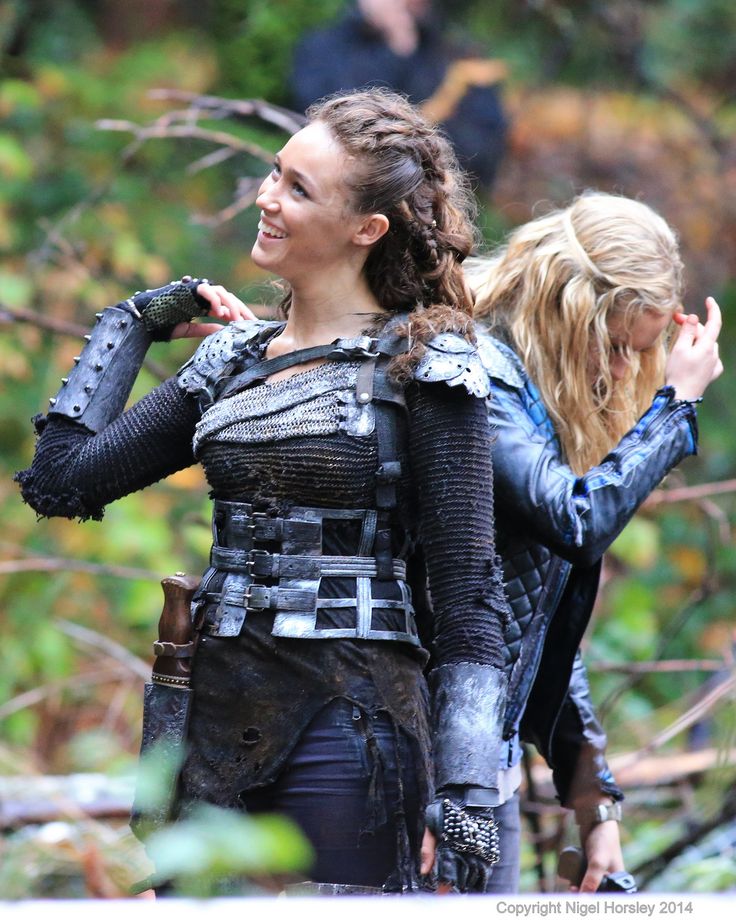
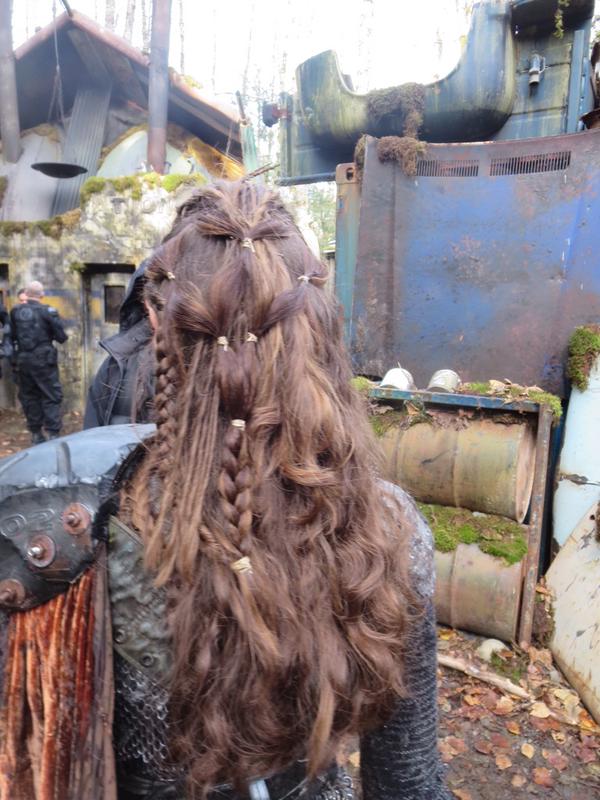
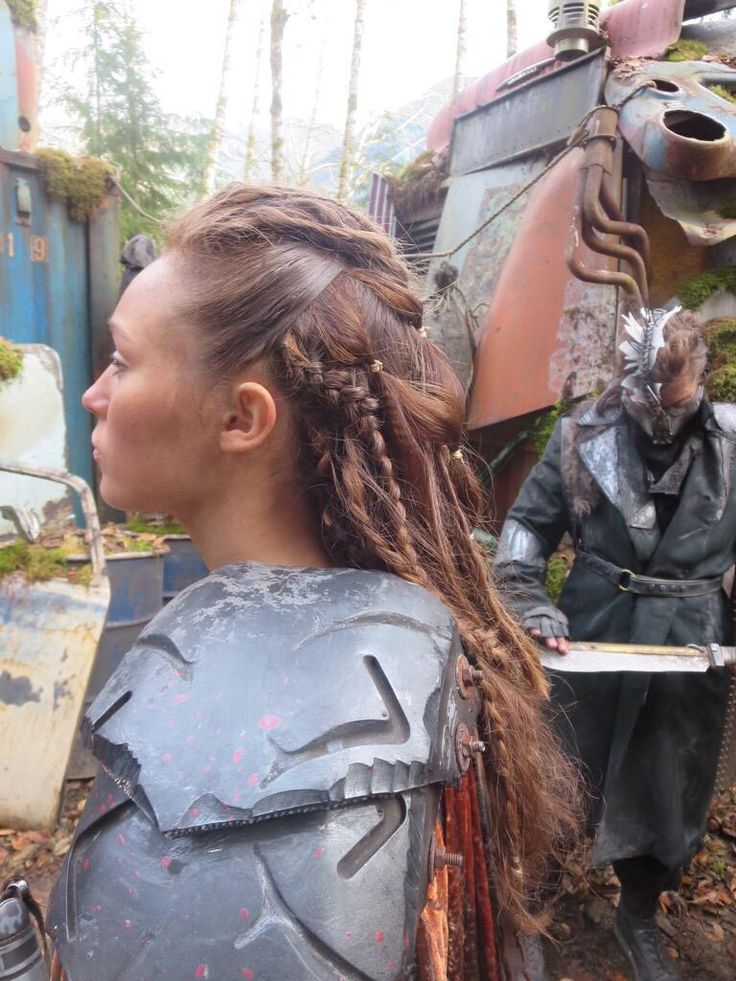
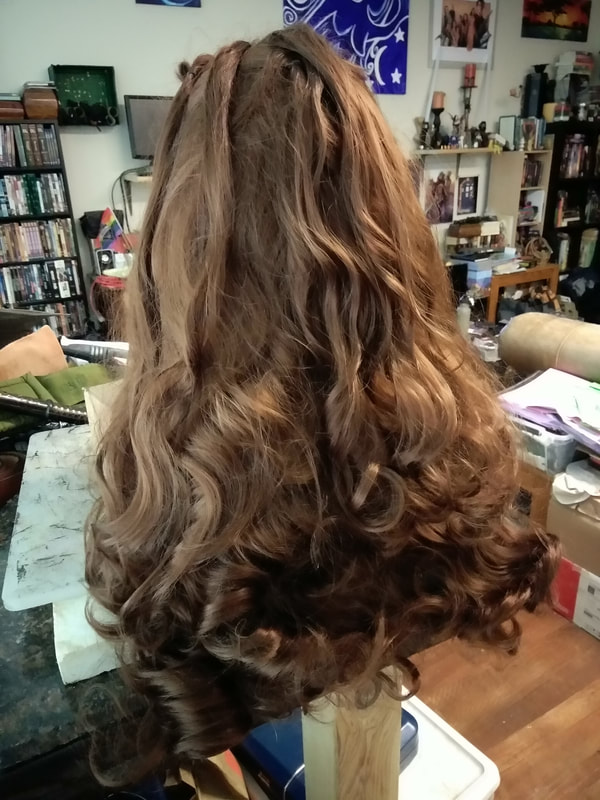
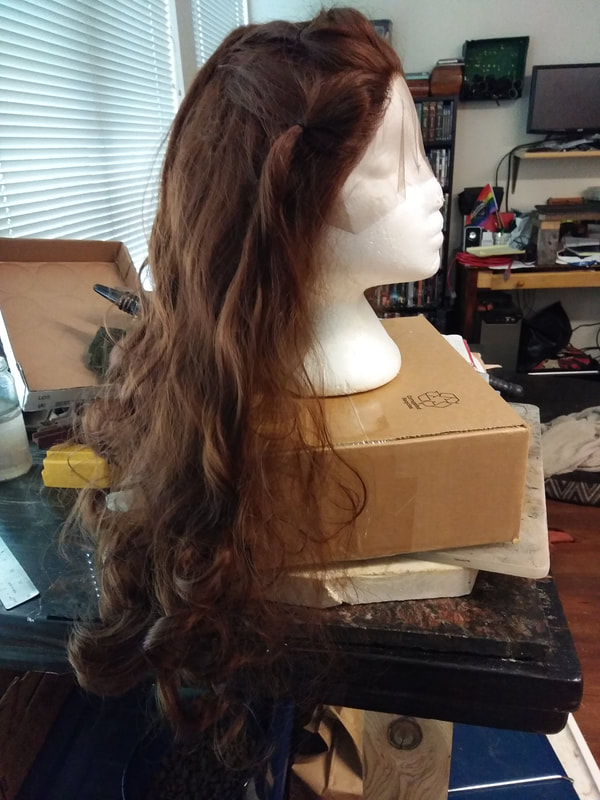
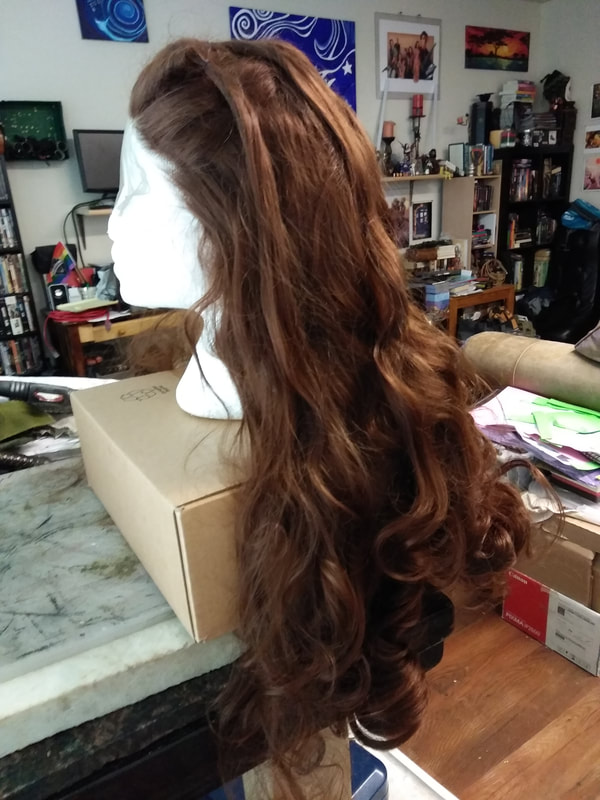
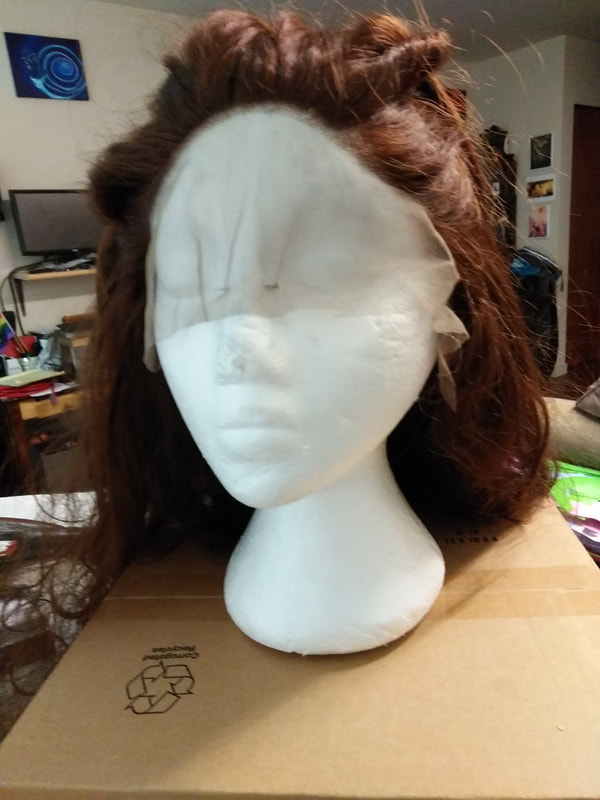
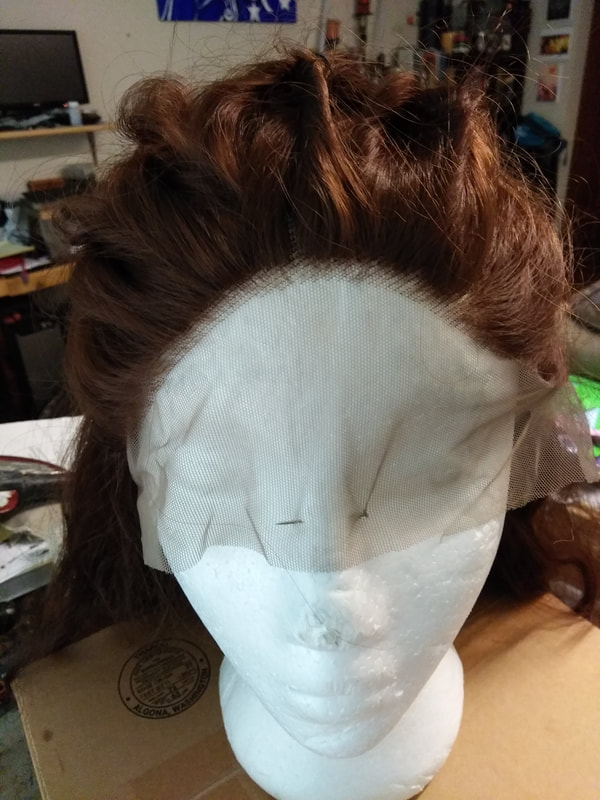
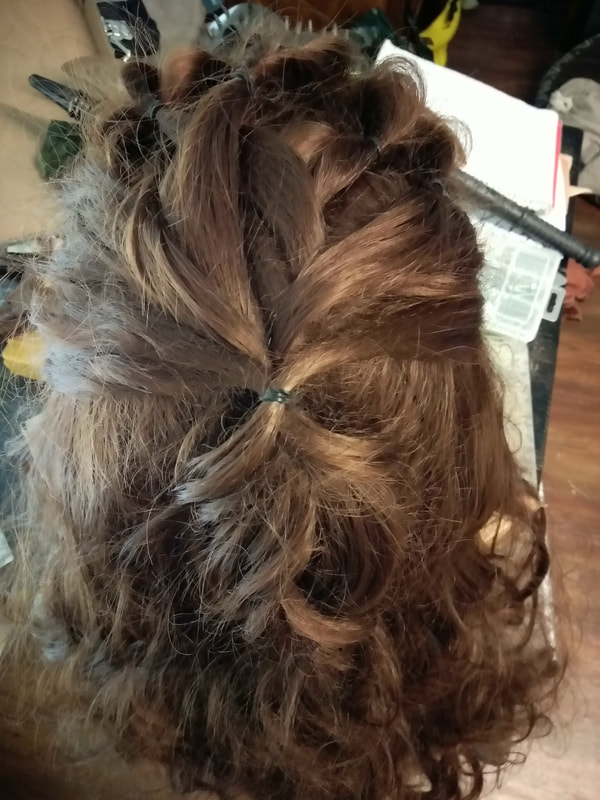
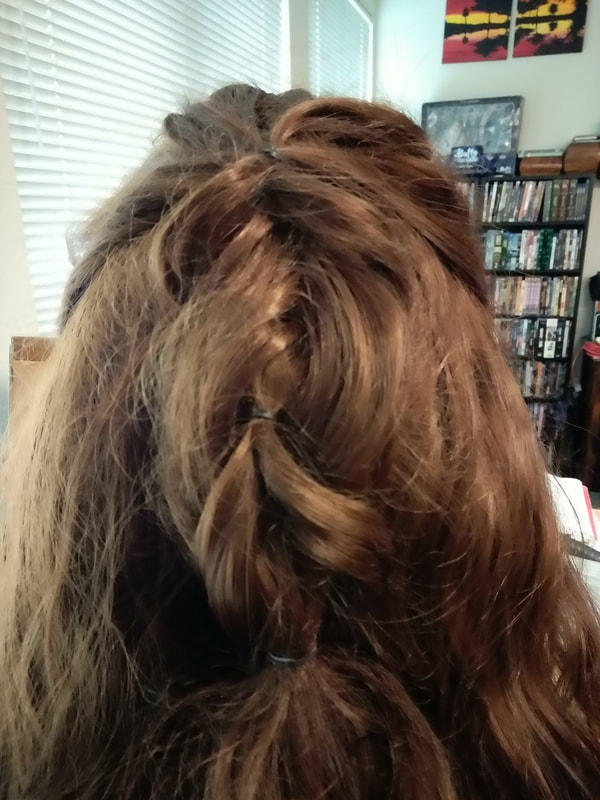
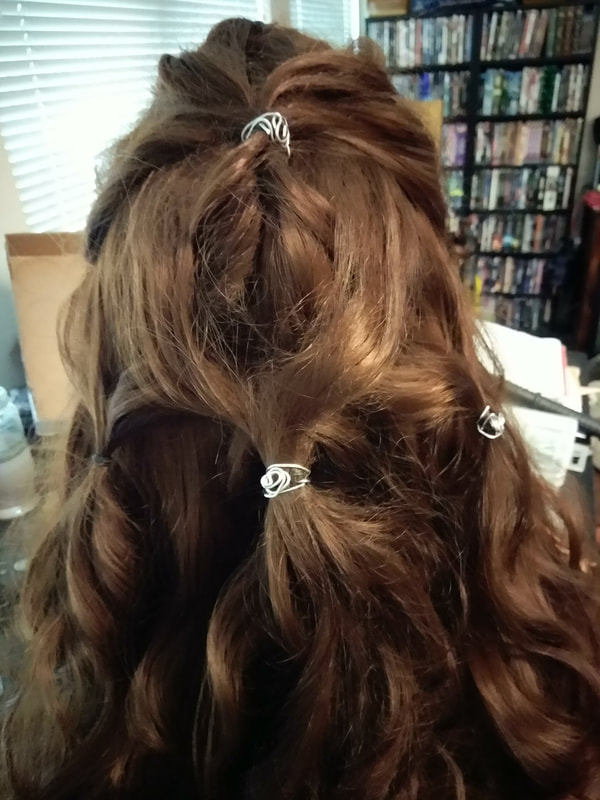
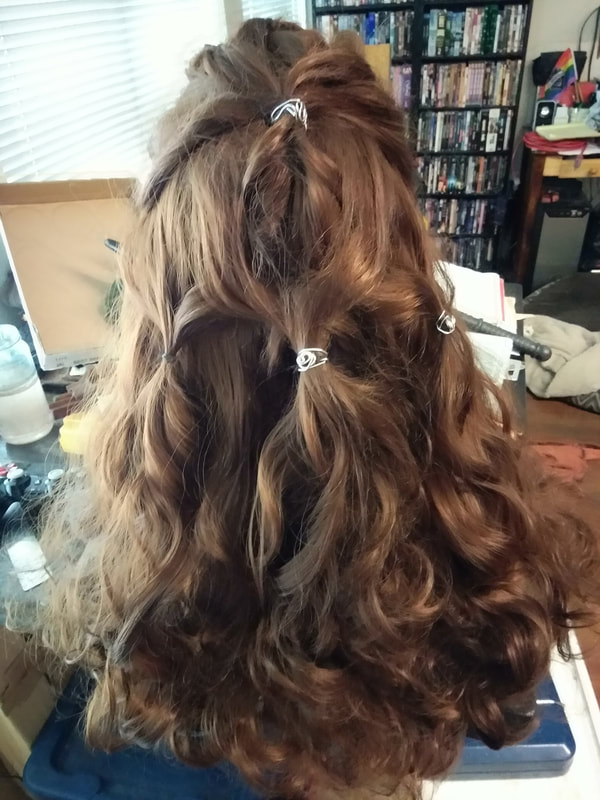
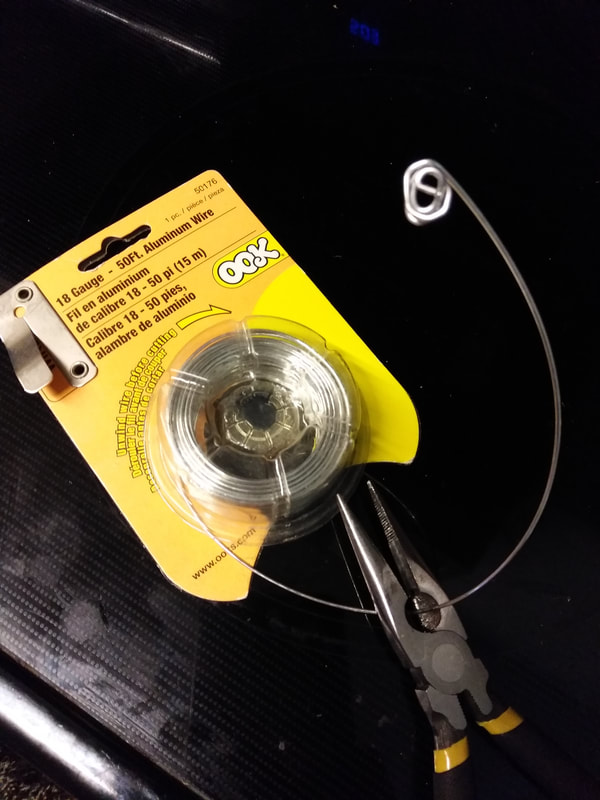
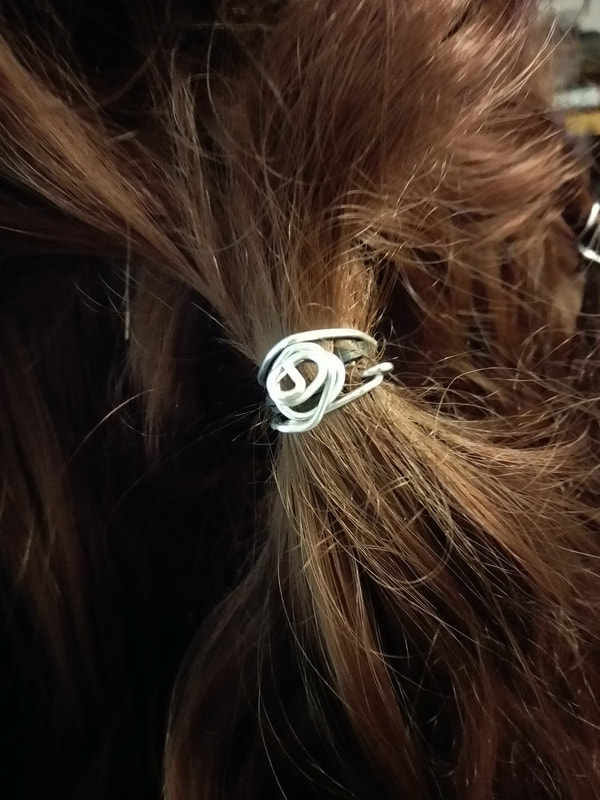
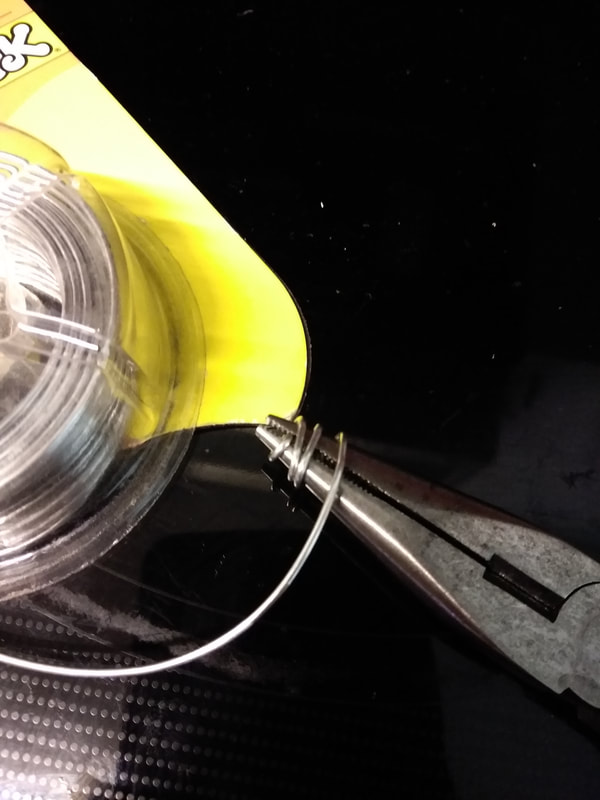
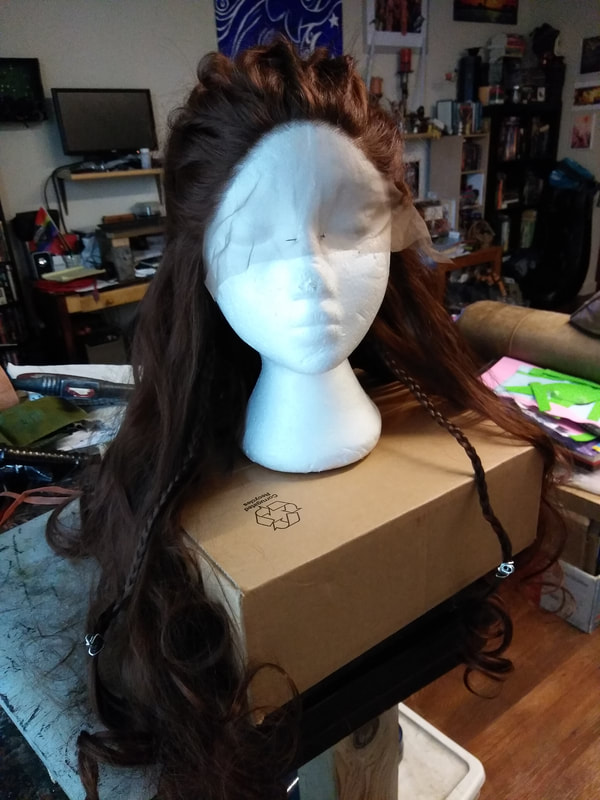
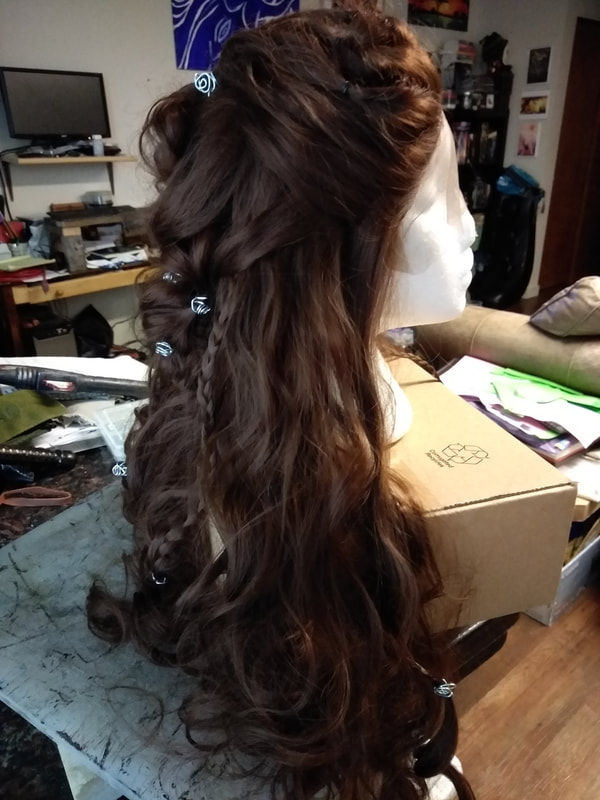
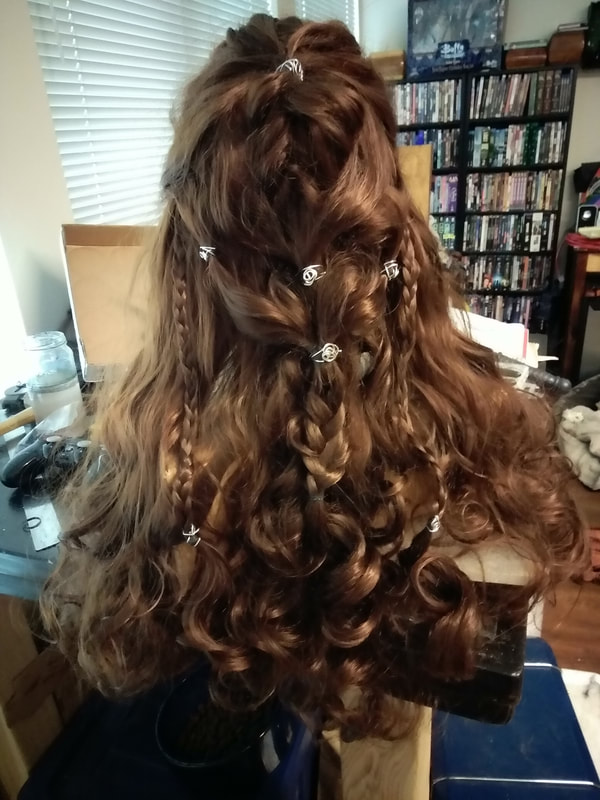
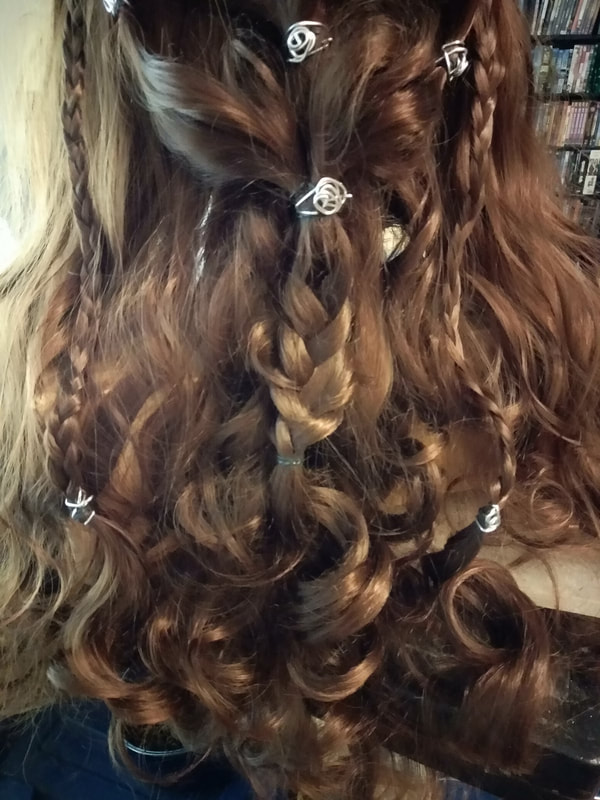
By Willow Enright Sometimes when you are putting together a cosplay it’s easier to acquire a wig for the character in order to have consistent continuity for your character’s look. I used to try and cut, color and maintain my own hair for every cosplay, but that starts to take a toll on your own luscious locks. Especially when you want to do multiple characters with different hair styles and colors, possibly for the same event. Reference, Research, RestyleLexa has some seriously long locks which she keeps tied back with a series of various techniques. The wig that I acquired for her look was a 24” heat resistant lace front wavy synthetic hair, medium brown. I bought it on Ebay for a really decent price, and I couldn’t be more happy with the quality of it, especially on camera. It has a sewn in cap with clips and an adjustable strap for under the skull, dense locks with a natural variation of color, and the hair feels extremely soft and natural. The most important part is that there is enough hair on the wig itself to do all the details we need to fully embody Heda. I used a behind the scenes reference photo of Alycia Debnam-Carey (Lexa Kom Trikru) from the TV set of The 100, and I also referenced two YouTube Lexa hair tutorial videos. The main video, Commander Lexa Hair & Makeup Tutorial! | The 100 by Jackie Wyers, and the second The 100 Hair Tutorial for Commander Lexa by Silvousplaits. I mostly wanted to match the reference photo but really liked some of the added details from the two tutorials. Wig: Ready, Set, Braid!The first step was to section off the front bangs/fringe and separate it into five small sections. I used the little, cheap, black rubber hair bands that are better to cut out of hair than pull. They come in a large packet for fairly cheap so you never feel bad cutting or breaking them to remove them instead of attempting to slide hair back out of them. I made five small pony tails and to give them extra poof I did a reverse tuck with each. Separating the hair close to the scalp with thumb and index finger I pulled each pony through itself, giving each hair section a nice twisted definition. Then the hair along the temples was smoothed flat and pulled into a ponytail at the crown of the head for Lexa’s slicked back sections. In order to carry the front five ponies back over the top of the head, and to give some more of that defining poof of Lexa’s front section, I did a loose weave of two braids created with the five strands into one. I used the middle ponytail for one of the strands with both braids which nicely guided it along the middle of the head. This was then tied into a ponytail right where the slicked back hair was, leaving one ponytail on top of the other. I then implored the pull through braid technique. By dividing the top ponytail into two sections which I looped over the second ponytail before bringing them back together at the base of the second pony and into a new ponytail underneath. This process was repeated three times and can be found visually at around 3:22-4:13 in Jackie’s video. Once you are done, tug on the separate pieces to puff out the loops. It gives some nice added detail and poof to the crown of the head. Next you’ll want to take two additional small sections from beside the tied off pull through ponytail and combine them into one ponytail. This will sit over top of the pull through braid. Be sure to pull the loops out to create the soft curving detail of each loop. You’ll want to make two additional ponytails in the same way, only on either side of the middle pull through set. Try to tie them off at roughly the same height so that your loops are fairly symmetrical to each other. Again, you can visually reference Jackie’s video at 6:10 for this technique. The remaining combined ponytails are fairly easy, simply divide the ponytails into two sections, connecting the two center pieces into one hair elastic. This leaves you with two ponytails which you bring together making the final ponytail, tie it off and braid the remaining hair securing the end with another black rubber band. You Nail the Details, You Nail the CharacterTo give each tied ponytail section some added detail like in the show, I used a malleable 18G aluminum wire. Using pliers I twirled a section of wire around the plier head creating some cool spiral details and then cut the wire about 2-3 inches away from the spiral design. I then wrapped the remaining wire around each hair section, being careful to tuck in the sharp wire ends so that they don’t end up poking me. Time to add some accent braids into the mix! I choose to do one on each side of the head in the back, and two underneath on each side so that you can see them from the front. I didn’t use any fancy braids since my braiding skills aren’t that great, traditional three plait braids did the trick. Jackie does a lovely dutch lace braid, around 7:08 in her video, but I wasn’t feeling that fancy with mine. If you have thinner hair or your wig is slightly thin, Silvousplaits video is a great reference for this hairstyle. You can also choose to attach the dutch lace braid to the main braid, or leave it to hang free. I also like the idea of possibly adding in some dreaded sections for additional details. I noted a small section of four on the TV show reference photo, and Jackie used dreaded hair extensions in her tutorial. I’m fairly confident that I could get the wig synthetic hair to dread up pretty easily. However, I want to make sure that there’s enough hair left over that it doesn’t end up looking way too thinned out from all the detail braids and ponytails before I make that choice. www.facebook.com/leatherworksbywillow/After all the careful detailing and braiding, be sure to store your wig appropriately to avoid unnecessary entanglements. I left mine pinned on my styrofoam head and covered it with the hair netting that came with the wig, carefully tucking the ends up into the net. I will likely find a cloth to also drape over it to avoid dust gathering on it. I now have my Lexa hairdo ready for every time I need to suit up for battle! Kom wor! (To War!)
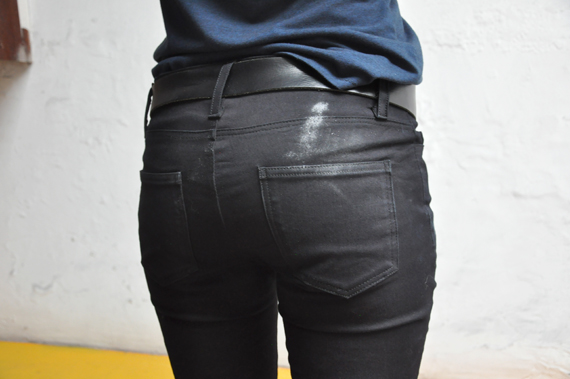
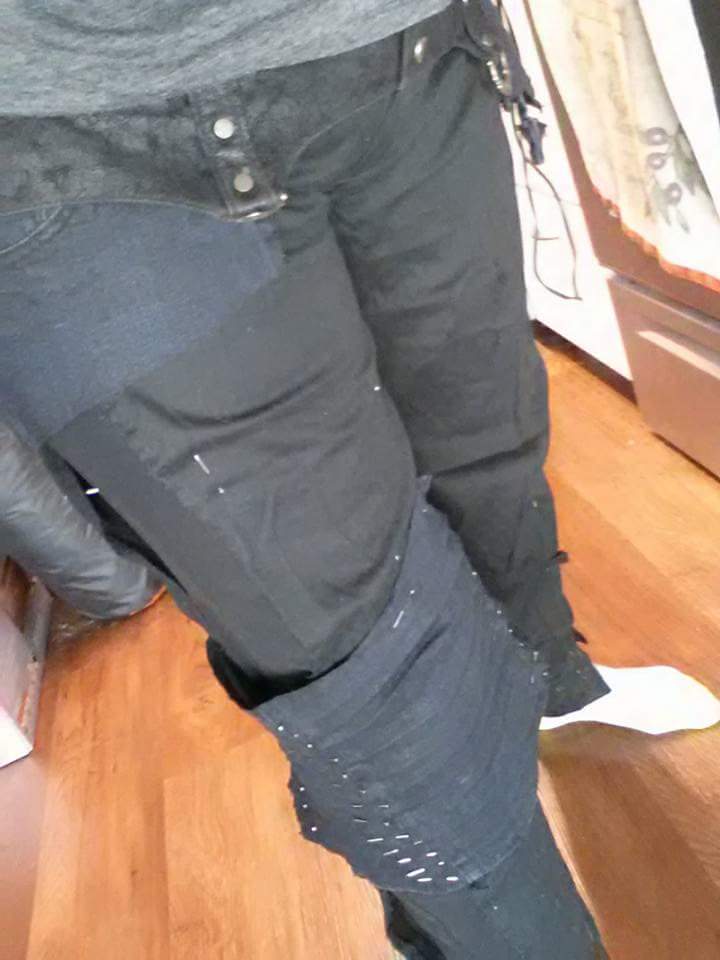
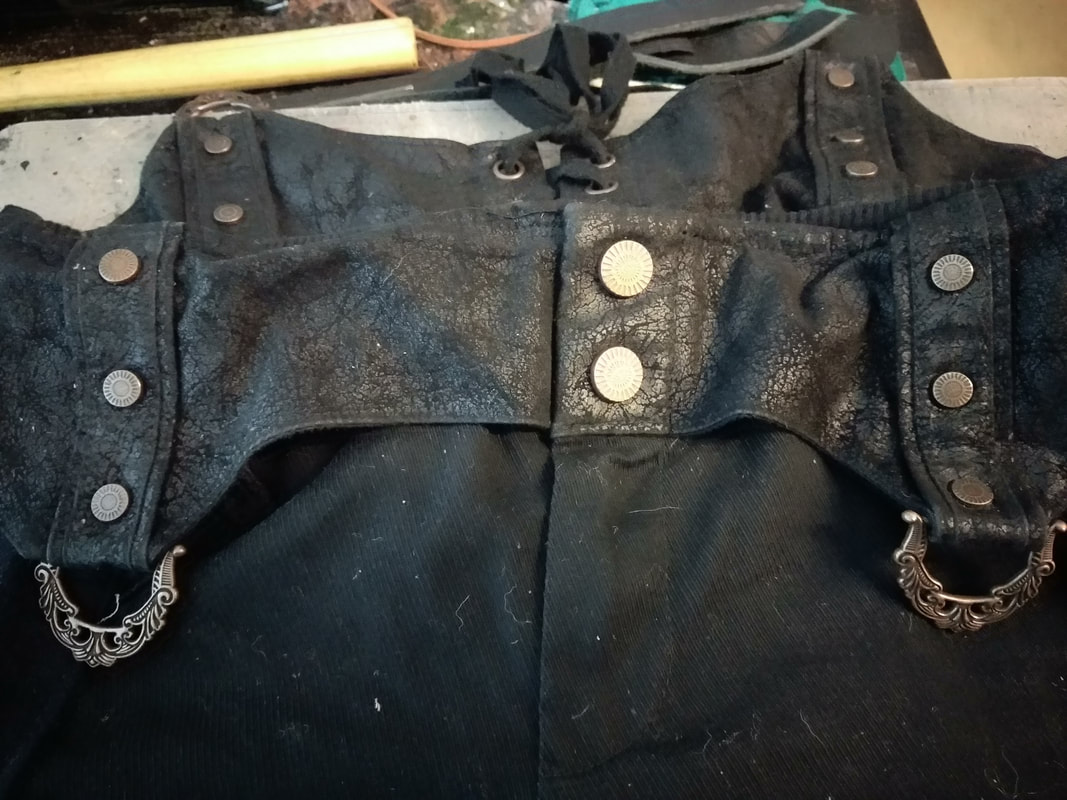
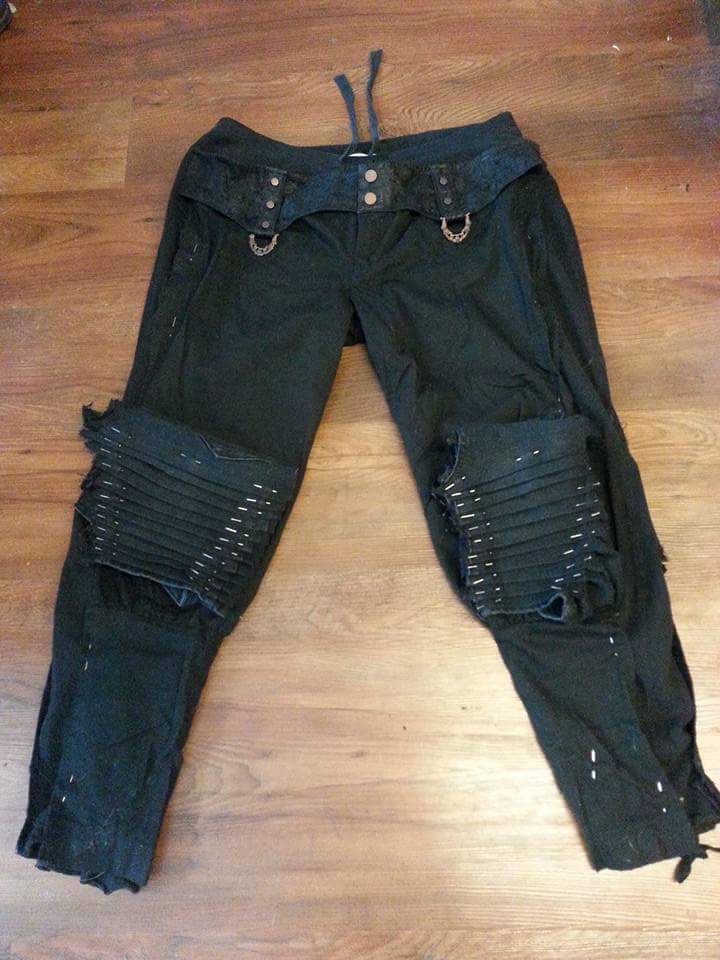
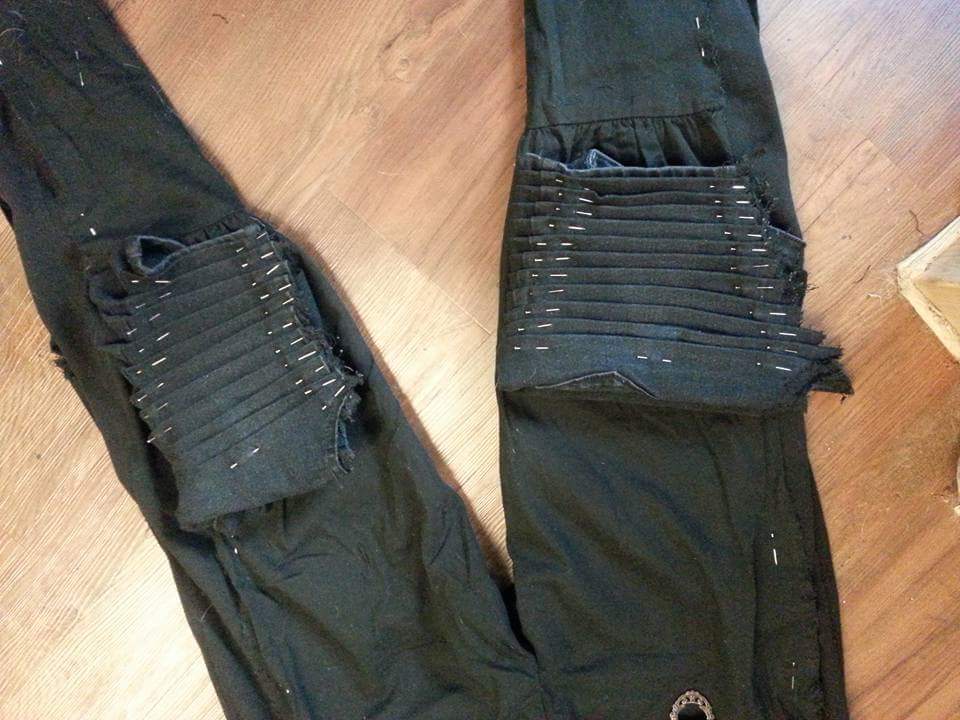
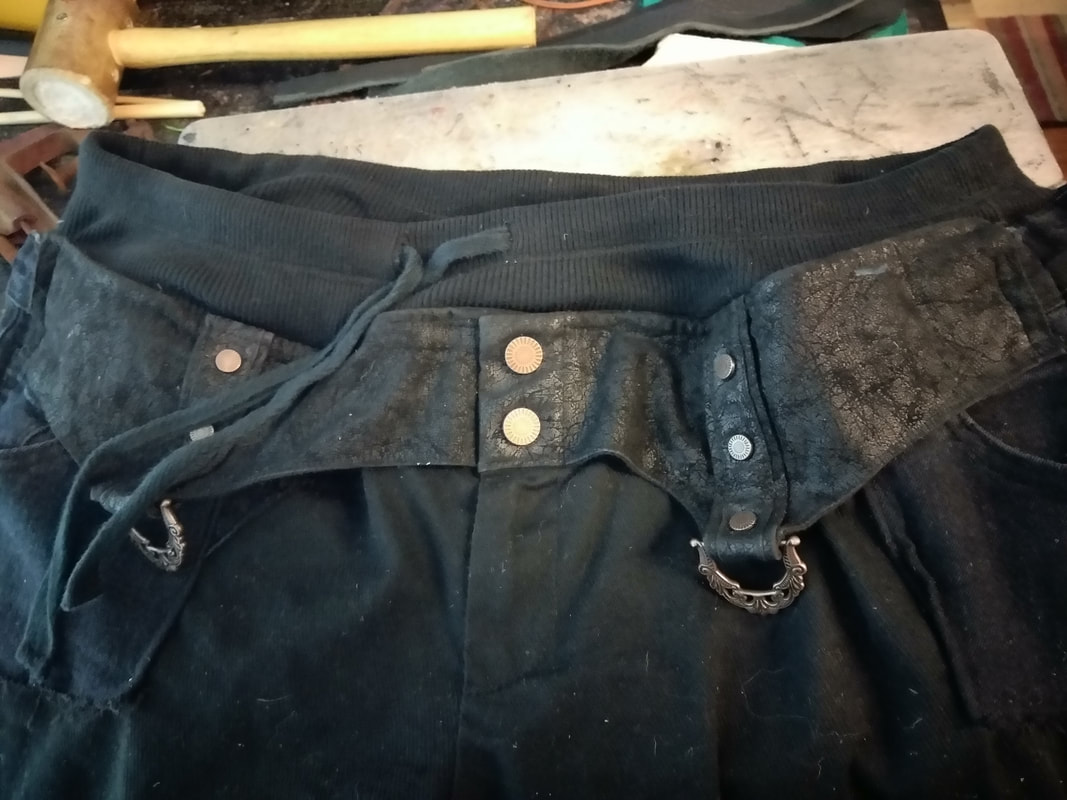
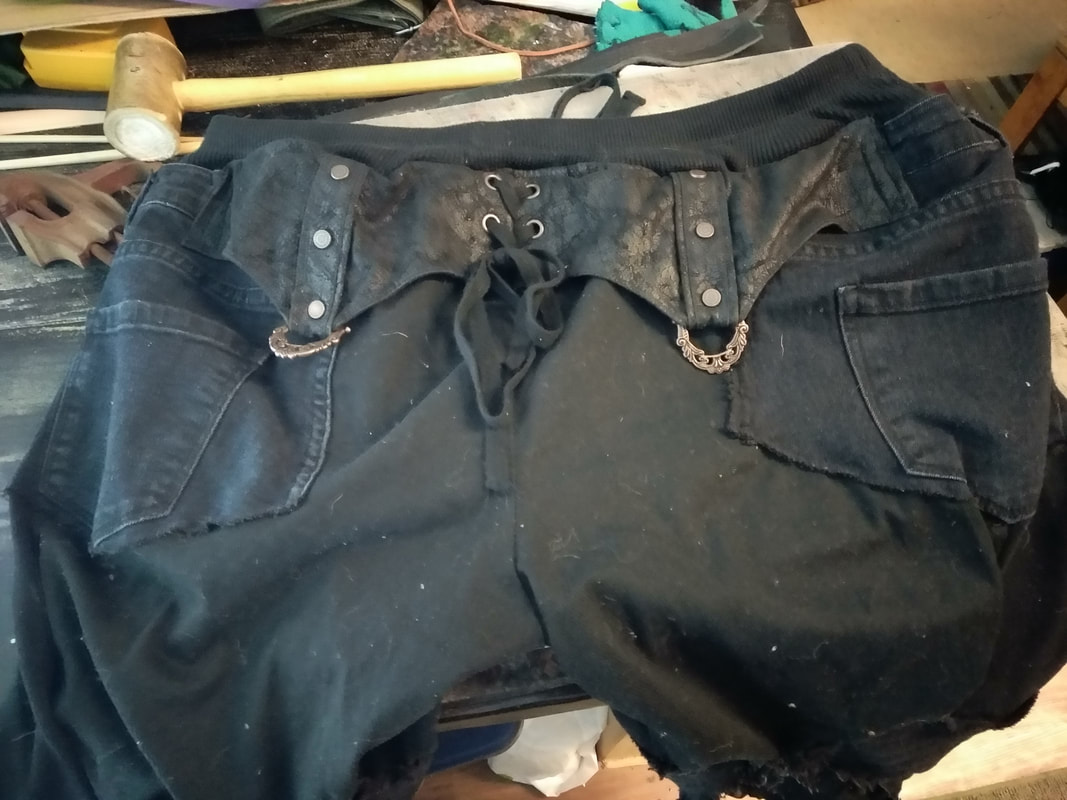
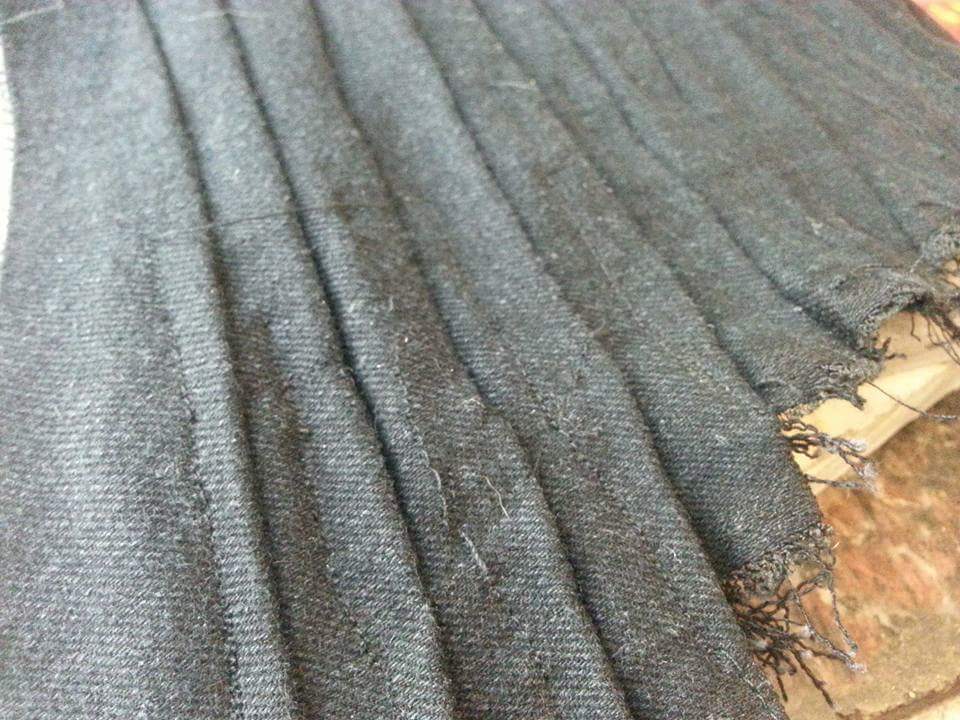
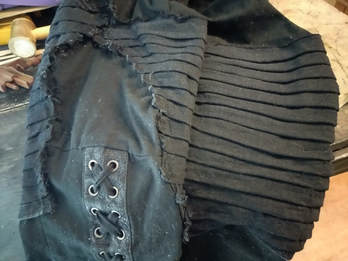
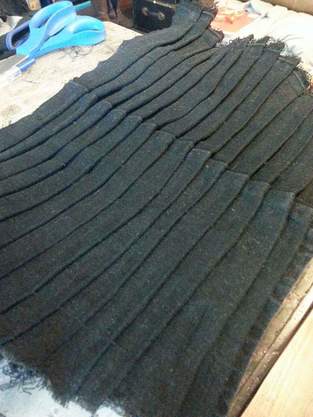
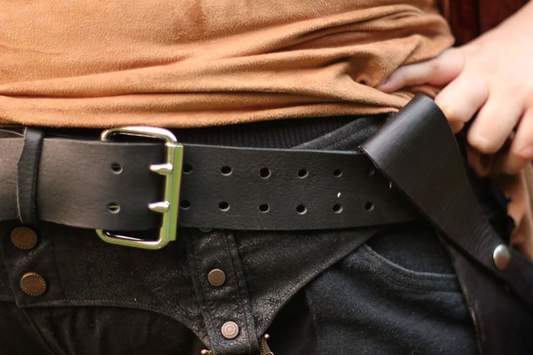
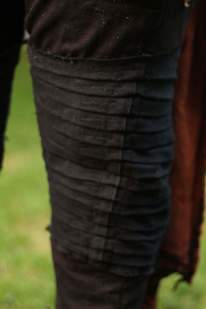
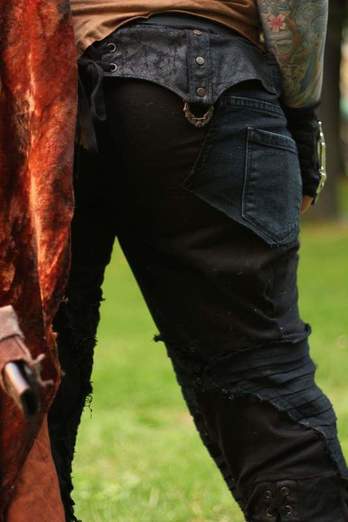
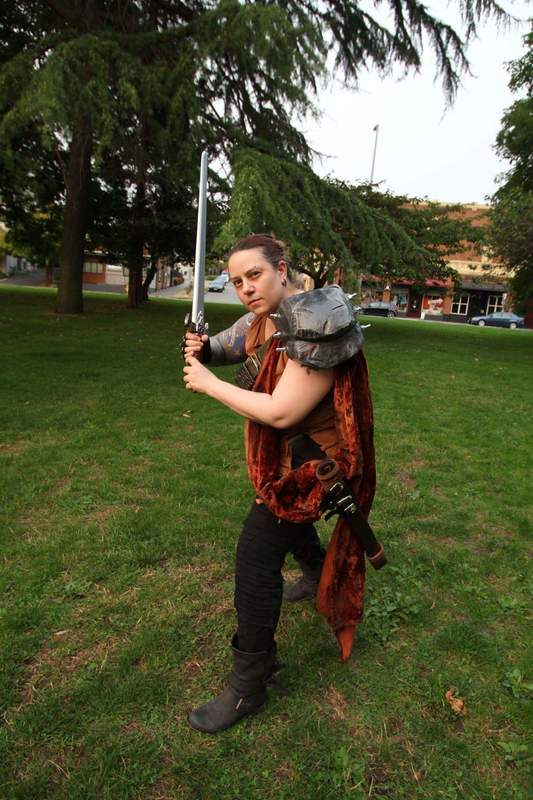
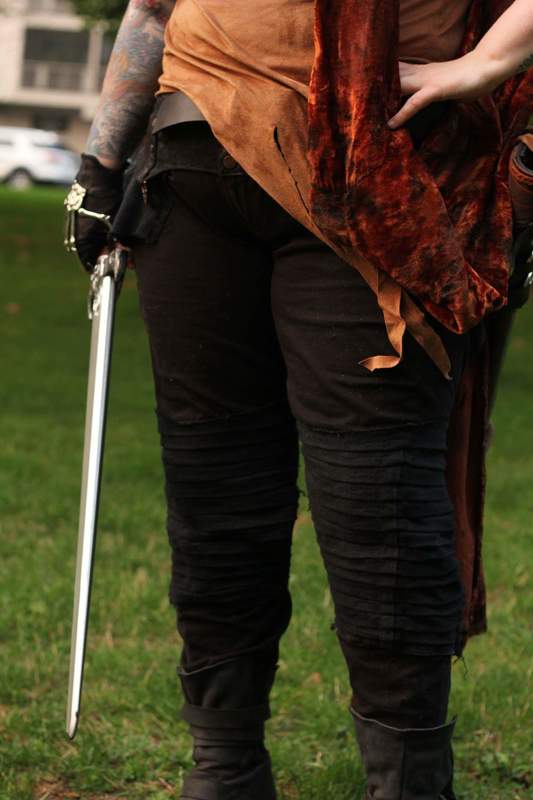
The next blog will come out on November 4th! I'll be getting into the holiday spirit next Saturday. I'd love to see you Halloween outfits in the comments, or on our Facebook Page. By Willow Enright The wardrobe in The 100 is a cosplayer’s dream. There are so many rich details to garbled together clothing and armor, that the world of the Grounders seems tangible. Maybe it’s their use of seat belts, tires, and ripped up grunged gear to create their recycled style, or perhaps it’s simply the ingenuity. Either way, the post-apocalyptic look of The 100 is fun to recreate! Grounders don't buy fashion, they create it!I decided that I didn’t want to outright buy the motorcycle pants, but make them myself so that they are more Grounder-like. To recreate the Lexa Grounder pants I used three different pairs of pants that I already had. The anchor pair are old workout pants that have a decent waist height, fit, and are stretchable with a drawstring waist. I used this pair as my base for building the rest of the pants. The main focal point of pants were some black linen Steampunk pants acquired a long time ago by catalog, only they never fit because the pants were so incredibly low cut that it was obscene. I decided to split these and use them as the front and back of the pants due to their cool Steampunk flare of hardware and leather. The third pair were black denim stretch jeans that were way too small. These were used for pockets, and accent details, including the pleated knees. I started by putting the workout pants on my body. I then pinning the flared legs over for a more fitted pant all the way to my ankles. I cut off the excess material folded over and sewed the pant legs back together. I apologize that I didn’t actually take great photos of my build process, including before photos of each pair of pants. I had to use similar reference photos for the stretch denim jeans, and shots of the already finished Steampunk pants. Tear it down, to build from the Grounder up.My next step was to split the Steampunk pants down the outer seams. This essentially left me with a large flap of pants in the front and back connected by the crotch of the pants. I then pinned these large pieces to the workout pants, before cutting away the additional layer of workout pants on the inside that would make the pants unnecessarily two layered. Since these pants were also originally puffy at the knee, I had to take in the knee area until it was fitted. I sewed these two pants parts together before adding any of the denim detail pieces, and I used a basic straight stitch to combine them. The stretchy workout pants along the side help to accommodate getting into the pants once they are all sewn, especially since the focal pair aren’t stretchy at all so there’s zero give to the fabric. The stretchy denim jeans were dissected into four parts. The legs of the jeans were cut off just under the pocket lines so that all four pockets could still be used. The front button and zipper section were cut off since the Steampunk pants already have a button/zipper combo, and the back pockets were separated by cutting along the seam leaving the original seam on one pocket’s edge. Each leg was opened along the inseam, and then pleat folded until the entire leg of the jeans was one huge denim pleat. This process took several pinning, un-pinnings before the pleats were even on both sides and could be sewn to make them permanent pleat panels. Don't Forget About the POCKETS!I then pinned the denim pocket sections so that the front pockets could easily be used, along with the belt loops. The back pockets wrap around and add some additional details to the butt, even if they aren’t traditionally placed. I sewed these denim sections over the combined pair so that the finished pants appear to be altered jeans. The matching pleated knee panels tie in the materials to make the pants seem more cohesive. Each pleated panel was wrapped around the knee section and sewn on top of the combined pants. In the end I have an original pair of Grounder pants. They retain the classic Lexa pant style by being fitted with pleated knee sections, but also have a uniqueness which make them my own creation. Emulating post apocalyptic characters provides the opportunity for your own artistic expression, and gives you a wicked new style to sport!
|
Willow EnrightI started crafting out of leather in 2011, and now I am making it my life's work. I am writing this blog to help myself remember some of the small steps in past projects, sharing my triumphs and failures, as well as my love of leather. Archives
November 2017
Categories
All
|


 RSS Feed
