|
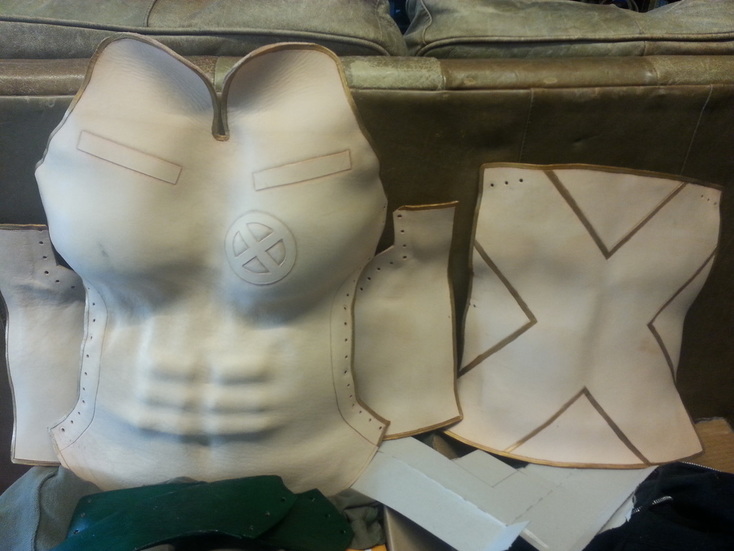
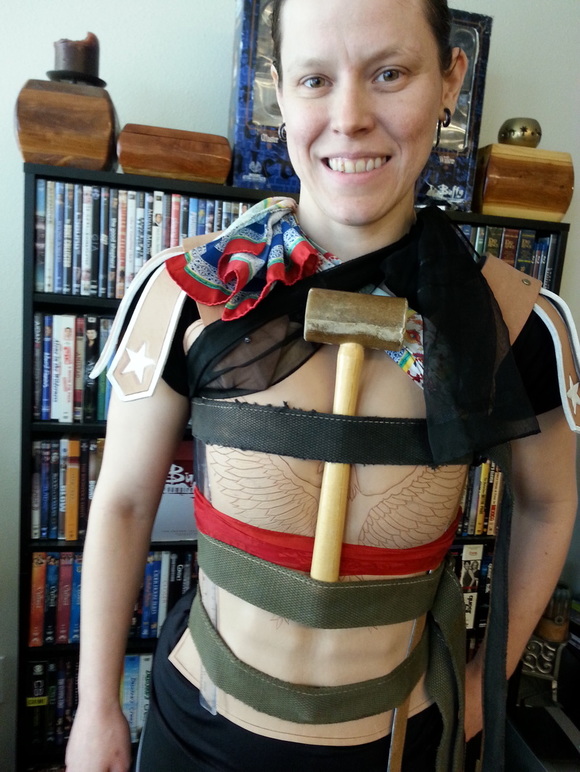
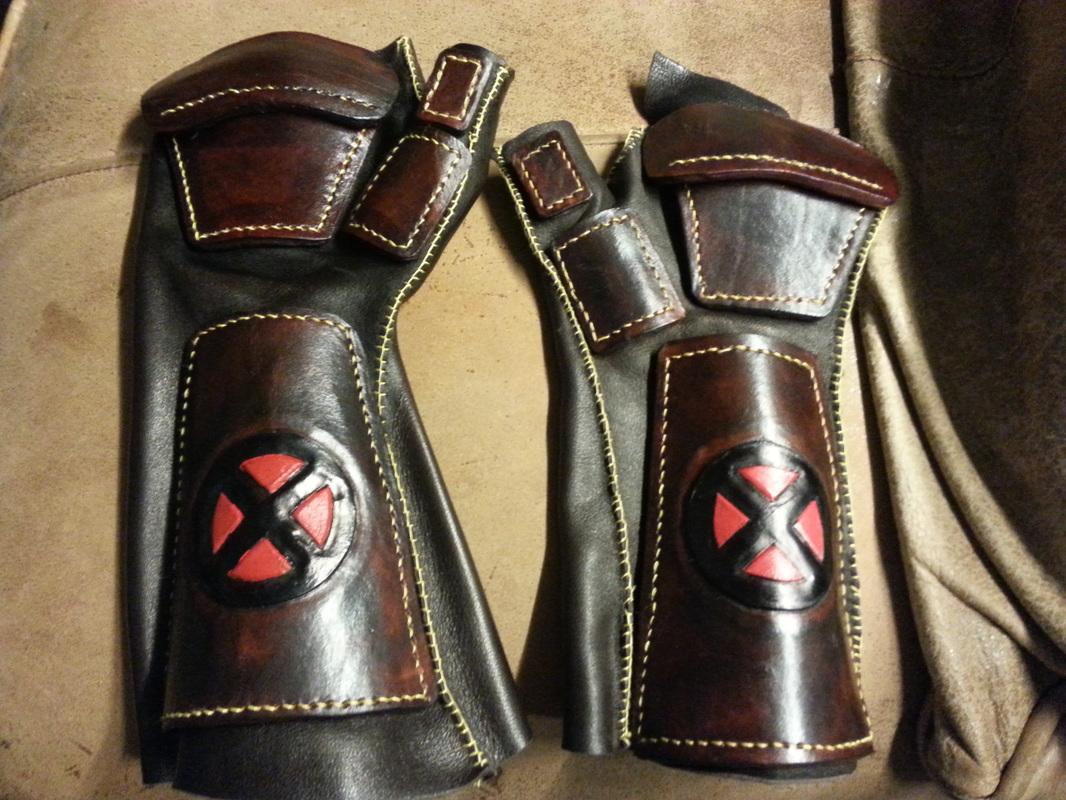
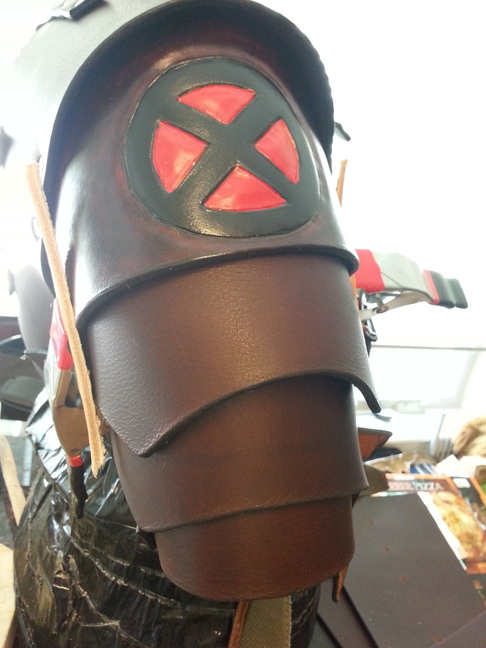
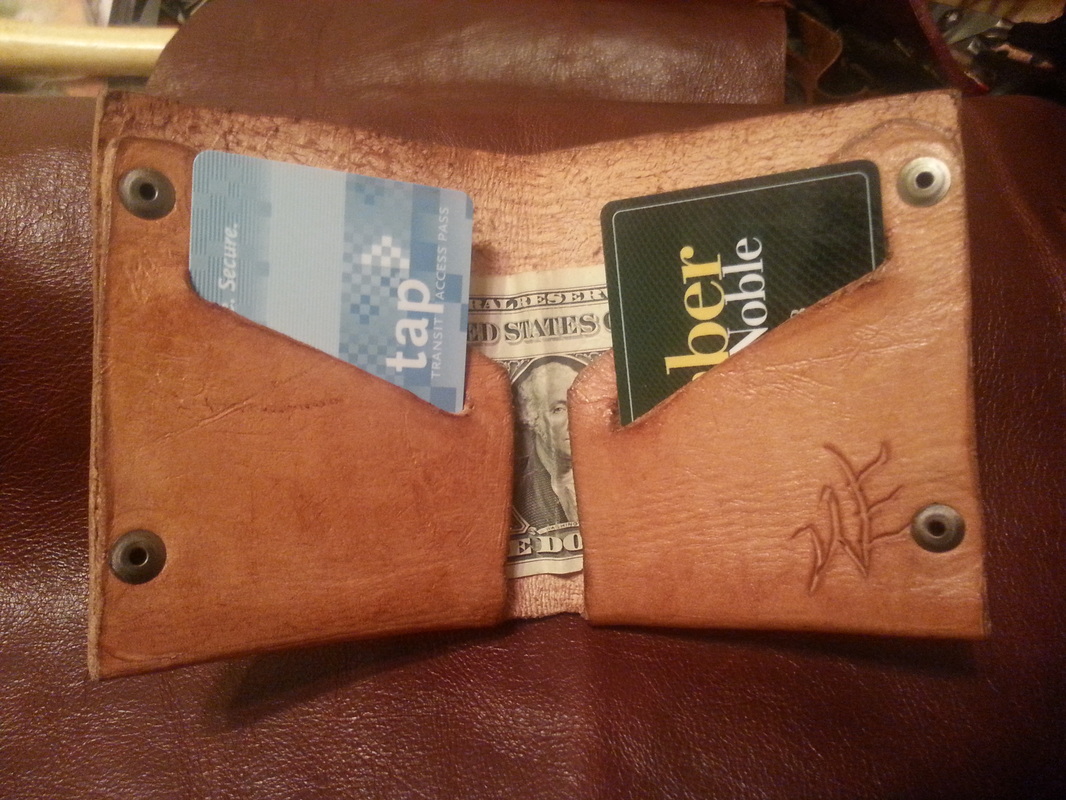
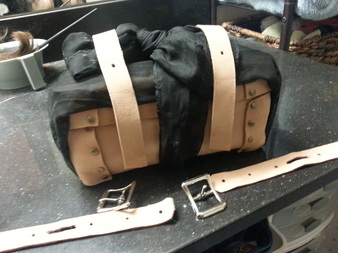
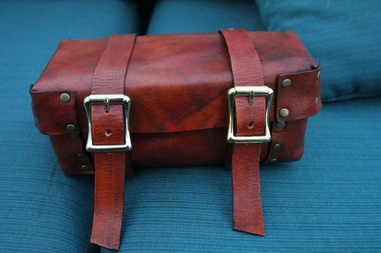
by Willow Enright When I first started working with leather I discovered that there are many different ways to work with the versatile material. One of the best aspects of working with leather is the ability to wet form mold it into different shapes. You can wet form bags, boxes, pouches, armor, masks, mugs, and sheaths. Sharing the time old secret to wet forming is simpler than you would think. The best leather that works well to wet form mold is the vegetable tanned leather. With a wide variation of thickness veg tan leather serves well to create a vast array of durability based on the wear of the item. You can wet mold wallets and pouches with a thinner veg tan, or masks and boxes with a medium grade, and sheaths and armor out of the thicker hides. Figure out what leather you’ll need for what you want to make then choose your mold. Wet form molding can be done with multiple items, but creating wood molds are the best. The wood absorbs the moisture and lets your mold dry faster, but you can use whatever is handy. I like to use jars, plastic items, wooden boxes, and emptied food containers such as coffee cans. It’s important to know what you are going to use to form your leather before you start preparing it. It’s rather simple to prepare your veg tan leather for wet forming. You need to cut the leather large enough to stretch or fold over your mold. Cut more than what you think you’ll need because you can always cut off extra, but you can’t add to the leather. Then fill the kitchen sink with water for smaller pieces and the bathtub for larger ones. Leave your leather to soak for about 10-15 minutes. This will change the fibers of the leather making them elastic and pliable so that you can mold away! You’ll need to leave the leather on the mold as long as possible, or until it is dry to help it retain the shape you want it to have. Sometimes you will need to pin the leather down, or create a press down wooden mold. I use sewing pins for thin leather and tacks or nails for thick leather. I often use scarves or canvas belts to help the leather hold shape, and I have a duct tape body double for doing chest armor. Once it is all dry, presto! So that’s it, determine the thickness needed, cut to size, submerge it in water, and you can mold it to your desired shape. This is just a part of the leather working process. If you need to rivet or sew the leather to other pieces this can be done either before or after. You’ll need to determine whether you should do them before or after, this is a personal preference based on the project and skill level. Don’t wait forever, once the leather is dry it’s harder to cut, puncture, and stretch. I prefer to sew before hand, and rivet while it’s still a little damp.
2 Comments
by Willow Enright Panels are something that are very confusing for me, yet I find myself preparing for one. I’ve got just over a week to figure this out. I know that I have to draft up a paragraph or so to introduce myself and my company. The panel that I am participating in on July 16th is at the Tacoma Public Library it’s FREE to attend, and it’s called Atomic Comic Con. It’s focus is on getting the youth to read more, so bring your children, kid brother, or niece.
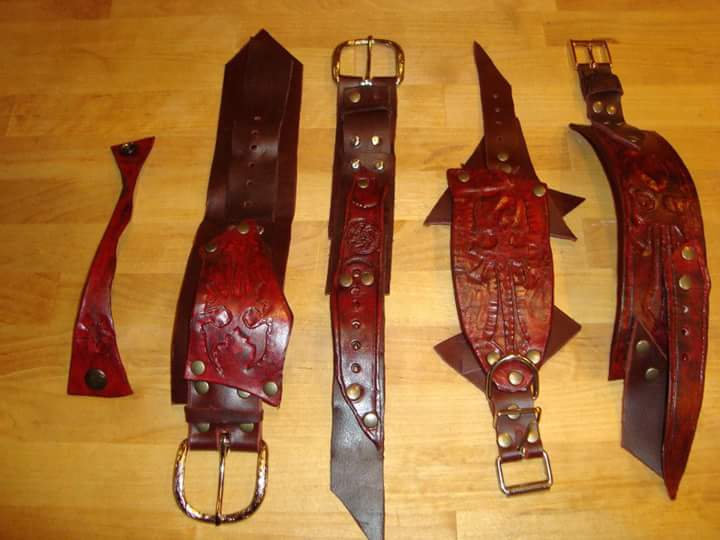
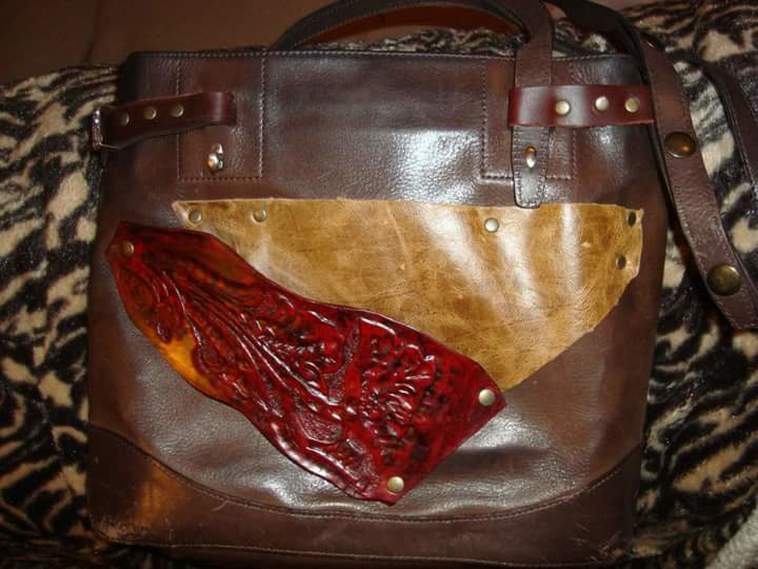
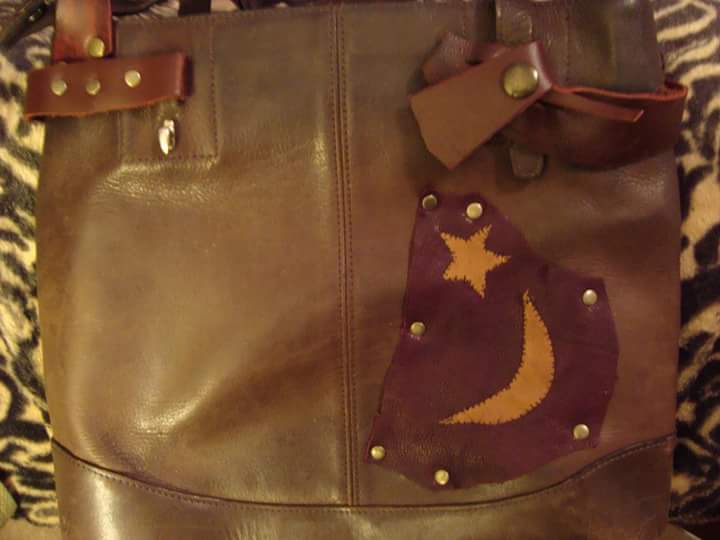
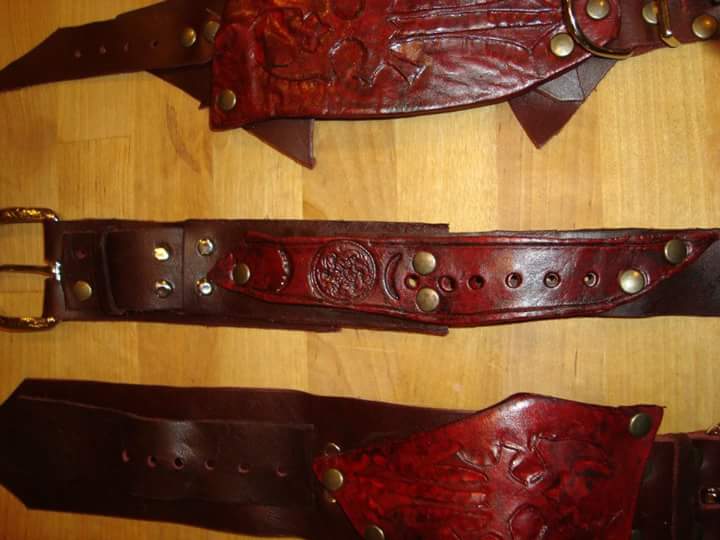
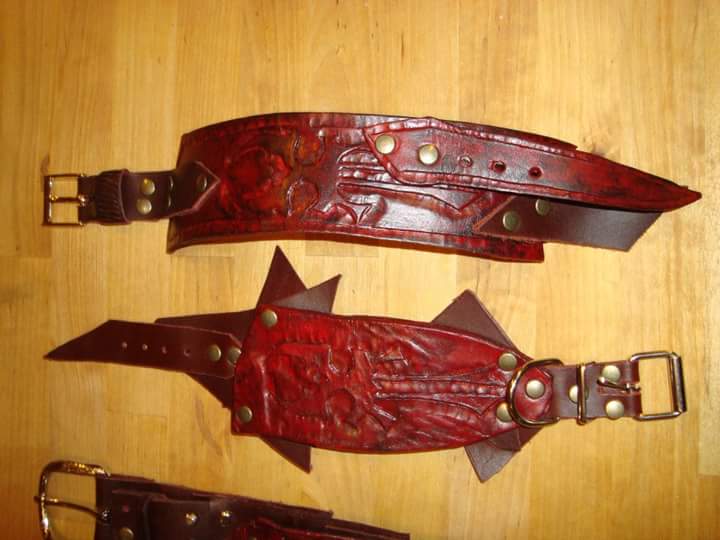
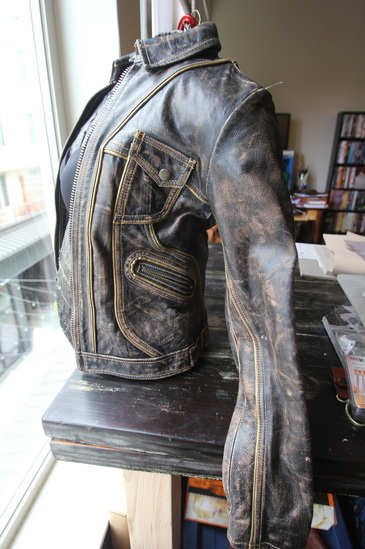
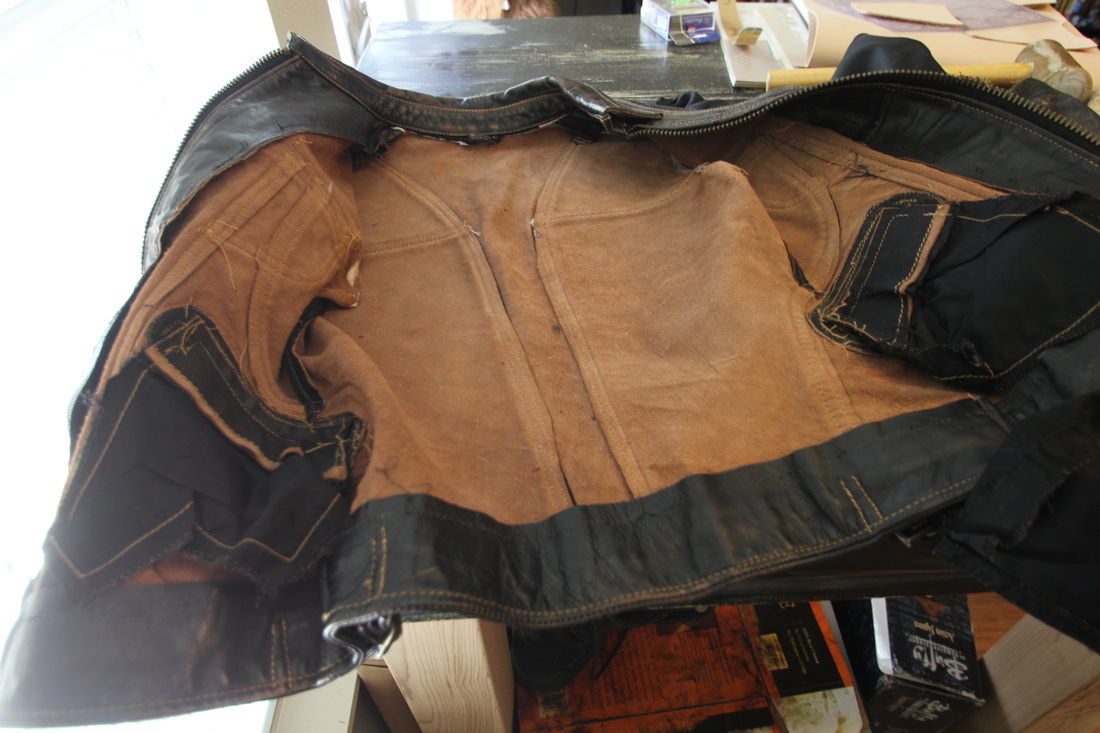
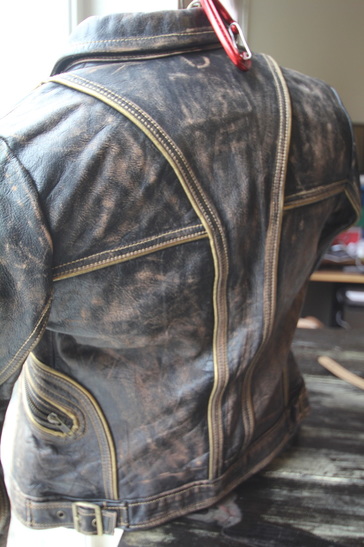
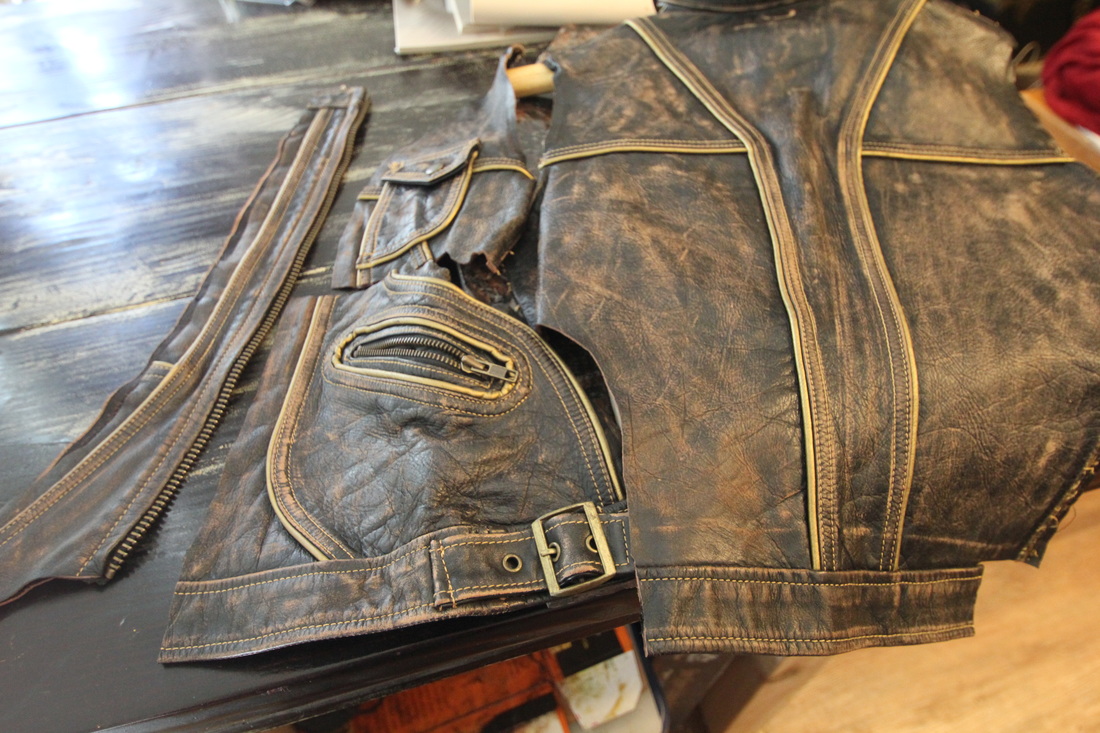
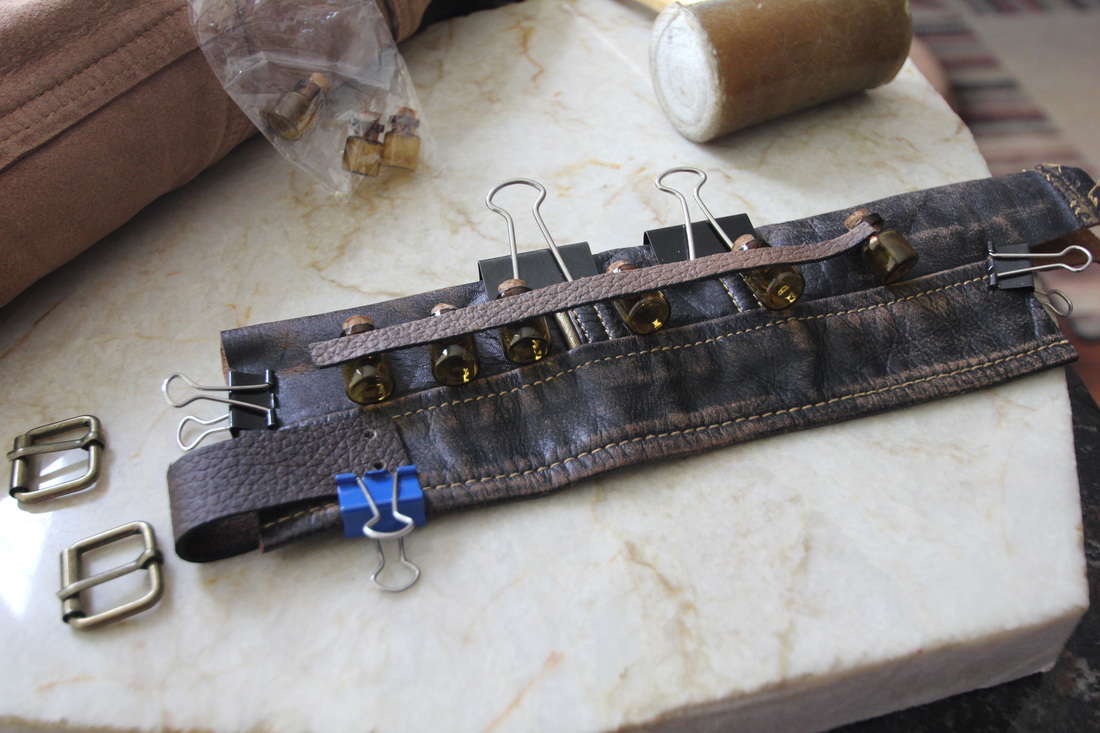
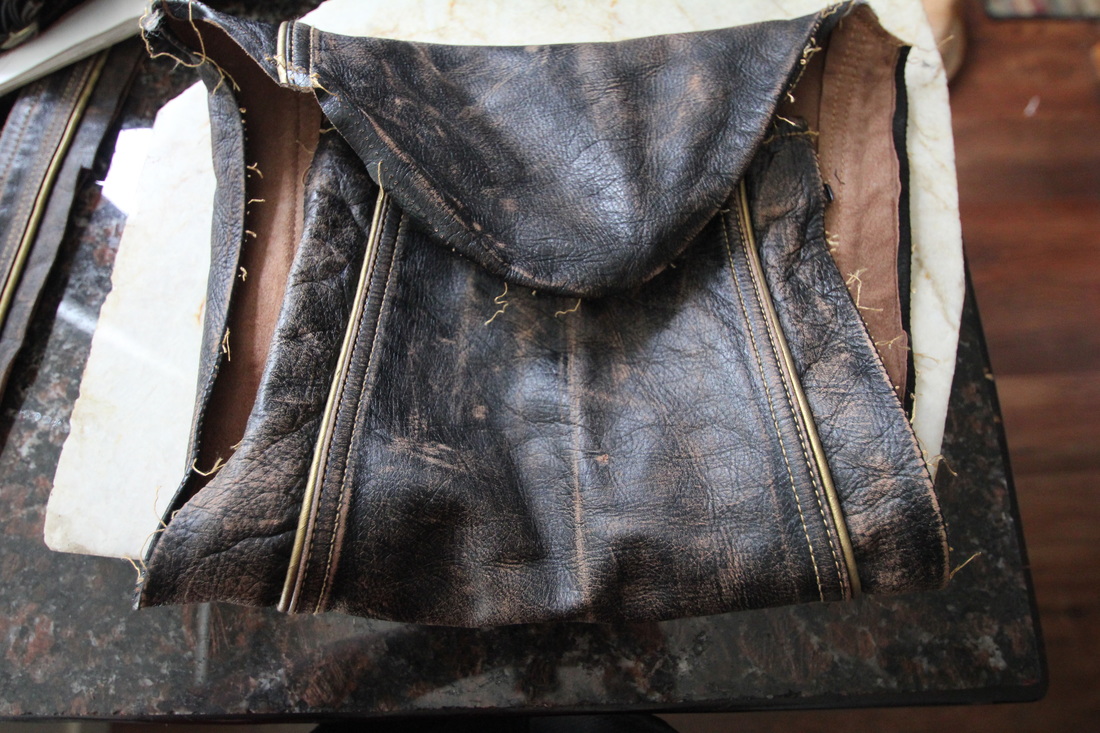
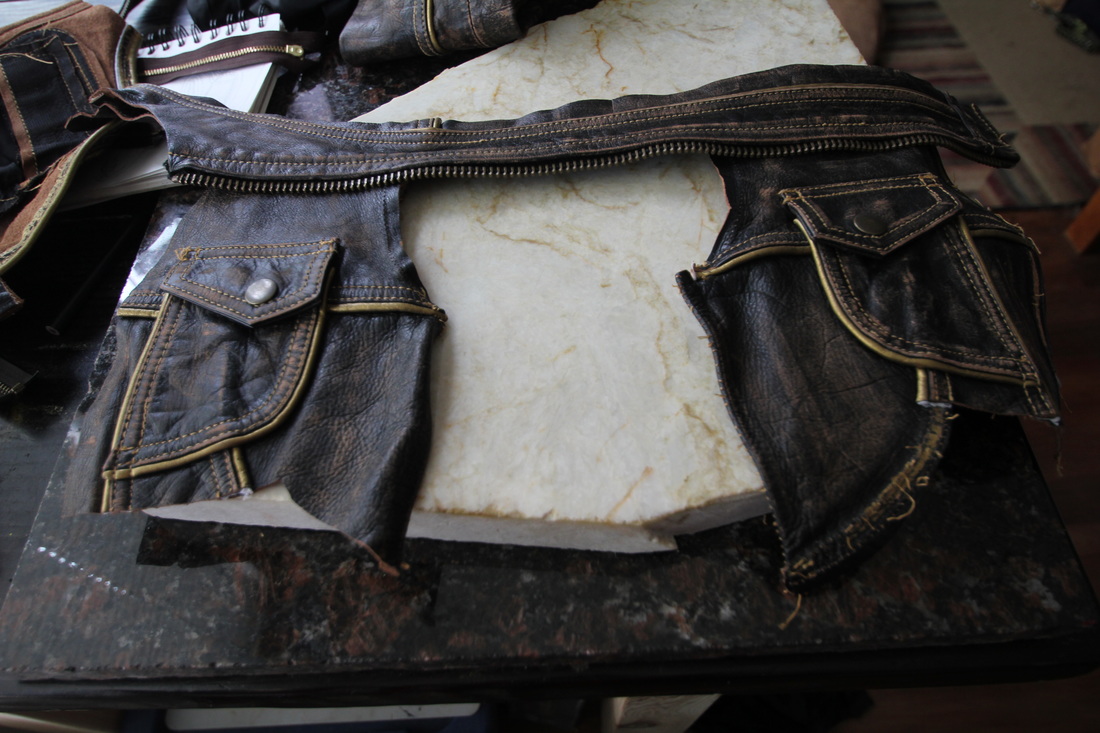
I know that this panel will mainly be a Q&A so I have searched the internet for some common questions posed to cosplayers. I’m hoping that in writing out the answer to these questions I will be more prepared for Atomic Comic Con. I took the questions from the two links below: http://cosplaylife.blogspot.com/2011/07/102-cosplay-questions-originally-from.html http://www.aminoapps.com/page/cosplay/2589982/questions-to-ask-cosplayers-in-interviews by Willow Enright In my experience I have found that there are two types of repurposing of old items, modification and transformation. This can be for leather items, denim, wood, and anything else you can craft with, because I am a leather worker my focus will be there. Modification is taking an existing item and adding to it, without changing the basic structure. Transformation is taking your basic structure breaking it into separate elements and creating something completely new, for example taking your T-shirt and making it into a bag. Modifying a perfectly serviceable leather item so that it can fit a specific genre or character is not only fun, but a rather easy way to get started creating your own unique pieces. This type of project requires a leather item such as boots, jacket, bag, journal, belt or other. My favorite modification, and this is one that I have done numerous times, is changing the color of my leather boots. I have a pair of nubuck leather boots that I bought in a brown color, and then dyed them to match a blood-red armor suit, this is the Mord-Sith if you are curious. I used Angelus Scarlet red paint for the first layer and Fiebings Antique black stain to darken the red and followed it up with a Resolene to seal them. I wear them everyday and they have gone camping, hiking, and to the beach and could use a shine to clean off the dirt, but otherwise look just as great as the day I bought them. Another time I took a second hand leather purse that my sister called “an old lady bag,” with a broken handle, and I modernized it with a bit of leather embellishments for my mother. I tooled a design to add on each side and mixed some different leathers together to give it a mottled bit of color and riveted it all onto the purse. I also made a new anchor for the handle. Her one complaint was that it didn’t have enough pockets for her liking. Apparently, it wasn’t “old lady enough” with its lack of extra pockets. *chuckle* One Christmas I transformed my first Mord-Sith waist cincher armor so that I could make bracelets for everyone for the holiday. I tooled individual designs into new pieces to add to the 4-5 oz mahogany leather that the armor was made from, and added buckles or snaps. When I told my friends and family that I had used my first Mord-Sith armor for most of the bracelets they were very touched. Currently, I’m tearing apart a second hand leather jacket so that I can use it for other hip bags and utility belts. I’m considering using the collar of the jacket to line the neckline on an elaborate Steampunk full arm armor. One sleeve will be turned into a handbag, the other into an archery quiver. I’m going to make an apothecary bracelet with the bottom back hem section. The two lower front pockets will end up as hip bags with a zippered pocket behind them and possibly a flap pocket behind that. The two smaller pockets and one edge of the zipper will be part of a utility belt. I can’t decide if I will use the back section for a journal cover or as the back of another vest. *shrug* That’s the beauty of repurposing leather. Your limit is your imagination! Please send me any projects that you have transformed or modified to make it your own. I would love to see what your minds create.
|
Willow EnrightI started crafting out of leather in 2011, and now I am making it my life's work. I am writing this blog to help myself remember some of the small steps in past projects, sharing my triumphs and failures, as well as my love of leather. Archives
November 2017
Categories
All
|


 RSS Feed
