|
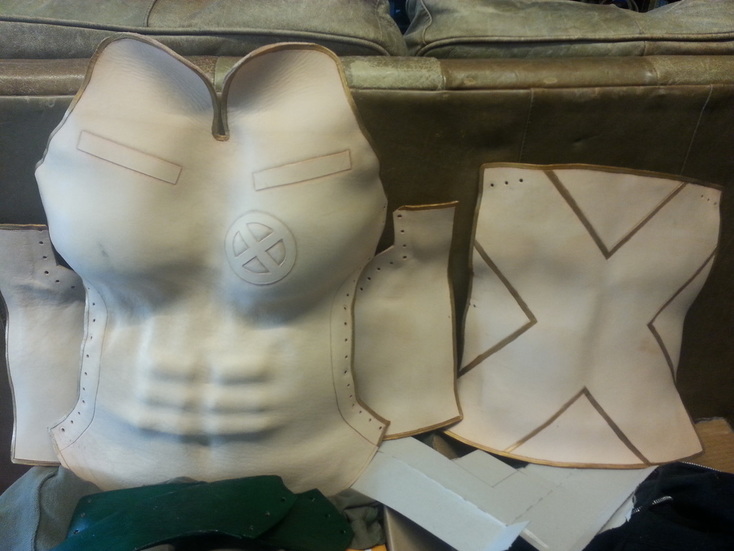
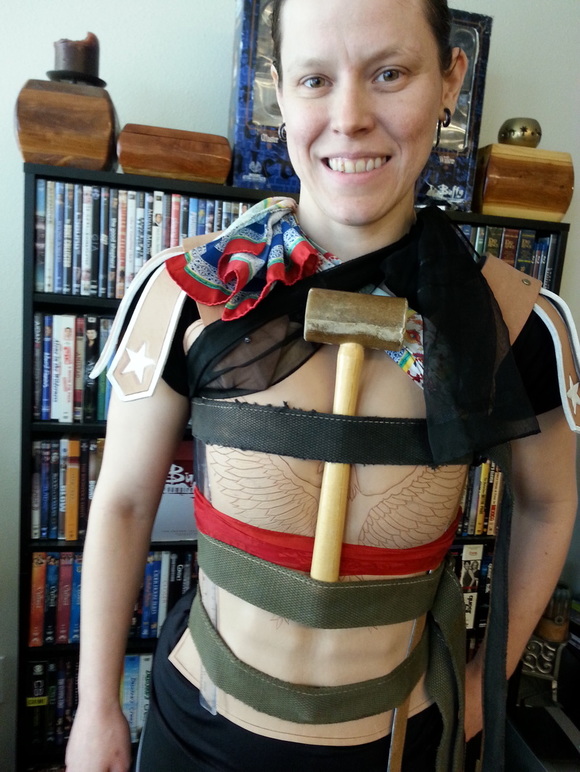
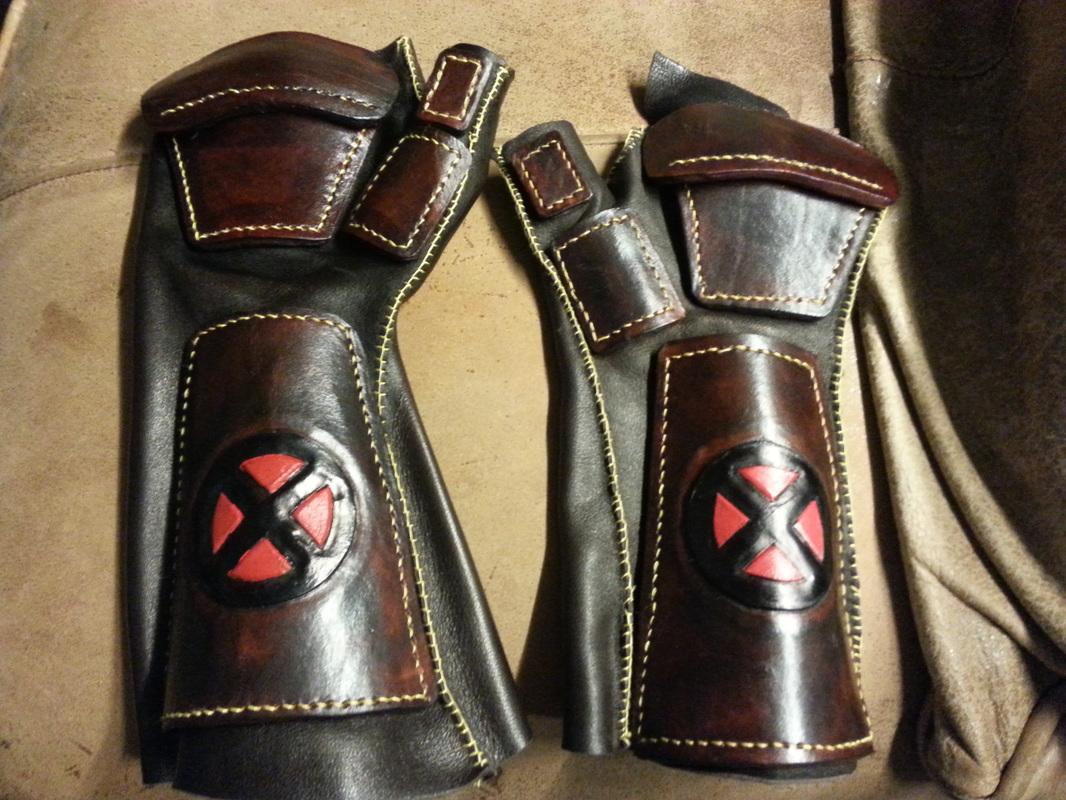
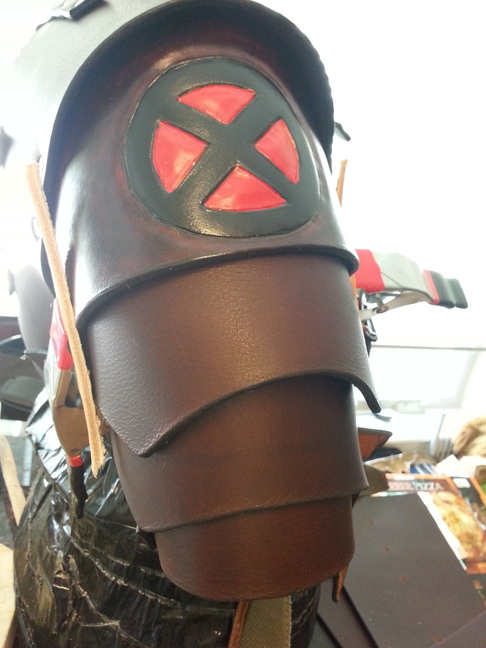
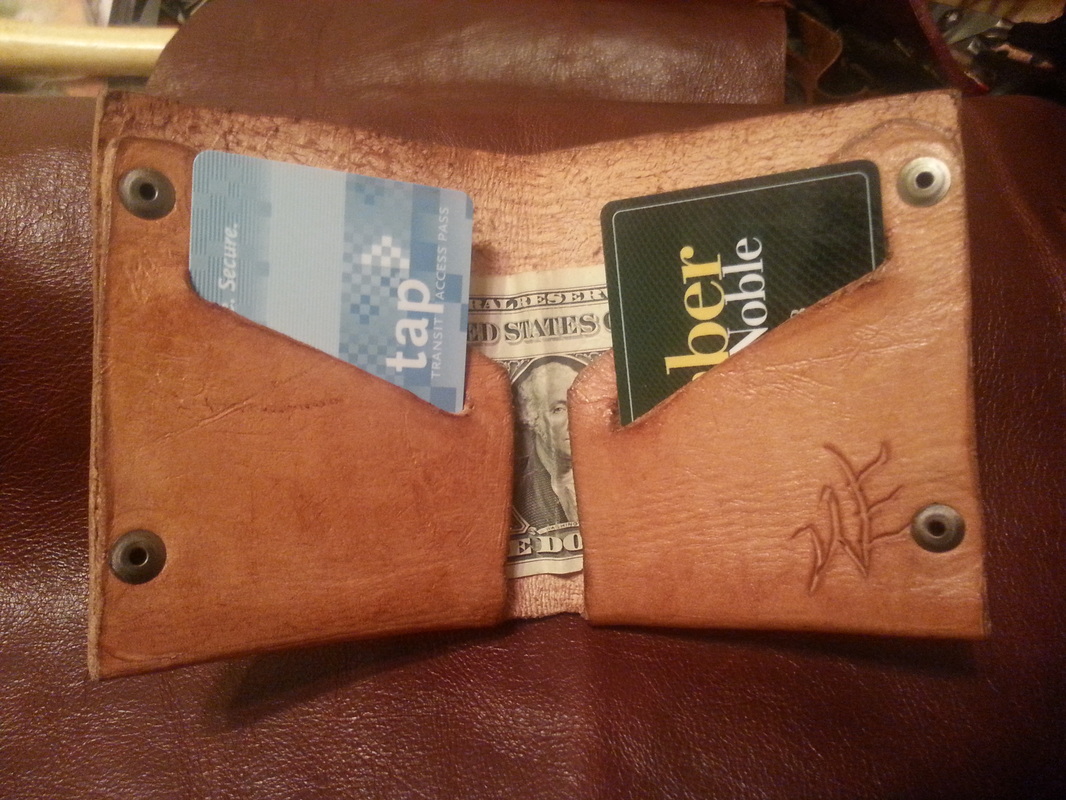
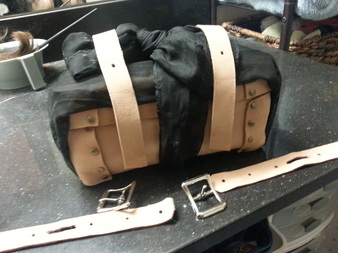
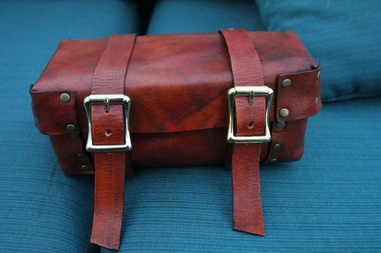
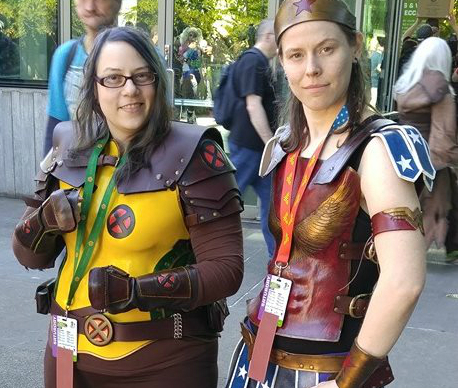
by Willow Enright When I first started working with leather I discovered that there are many different ways to work with the versatile material. One of the best aspects of working with leather is the ability to wet form mold it into different shapes. You can wet form bags, boxes, pouches, armor, masks, mugs, and sheaths. Sharing the time old secret to wet forming is simpler than you would think. The best leather that works well to wet form mold is the vegetable tanned leather. With a wide variation of thickness veg tan leather serves well to create a vast array of durability based on the wear of the item. You can wet mold wallets and pouches with a thinner veg tan, or masks and boxes with a medium grade, and sheaths and armor out of the thicker hides. Figure out what leather you’ll need for what you want to make then choose your mold. Wet form molding can be done with multiple items, but creating wood molds are the best. The wood absorbs the moisture and lets your mold dry faster, but you can use whatever is handy. I like to use jars, plastic items, wooden boxes, and emptied food containers such as coffee cans. It’s important to know what you are going to use to form your leather before you start preparing it. It’s rather simple to prepare your veg tan leather for wet forming. You need to cut the leather large enough to stretch or fold over your mold. Cut more than what you think you’ll need because you can always cut off extra, but you can’t add to the leather. Then fill the kitchen sink with water for smaller pieces and the bathtub for larger ones. Leave your leather to soak for about 10-15 minutes. This will change the fibers of the leather making them elastic and pliable so that you can mold away! You’ll need to leave the leather on the mold as long as possible, or until it is dry to help it retain the shape you want it to have. Sometimes you will need to pin the leather down, or create a press down wooden mold. I use sewing pins for thin leather and tacks or nails for thick leather. I often use scarves or canvas belts to help the leather hold shape, and I have a duct tape body double for doing chest armor. Once it is all dry, presto! So that’s it, determine the thickness needed, cut to size, submerge it in water, and you can mold it to your desired shape. This is just a part of the leather working process. If you need to rivet or sew the leather to other pieces this can be done either before or after. You’ll need to determine whether you should do them before or after, this is a personal preference based on the project and skill level. Don’t wait forever, once the leather is dry it’s harder to cut, puncture, and stretch. I prefer to sew before hand, and rivet while it’s still a little damp.
2 Comments
Damon Woods
12/10/2023 07:31:19 am
Can you tell me specifically how you form the concave areas under the breasts? I am doing something similar for my sister and am afraid that it will stretch across that area rather than hug the mold. Am I wrong?
Reply
Leave a Reply. |
Willow EnrightI started crafting out of leather in 2011, and now I am making it my life's work. I am writing this blog to help myself remember some of the small steps in past projects, sharing my triumphs and failures, as well as my love of leather. Archives
November 2017
Categories
All
|
 RSS Feed
