|
by Willow Enright 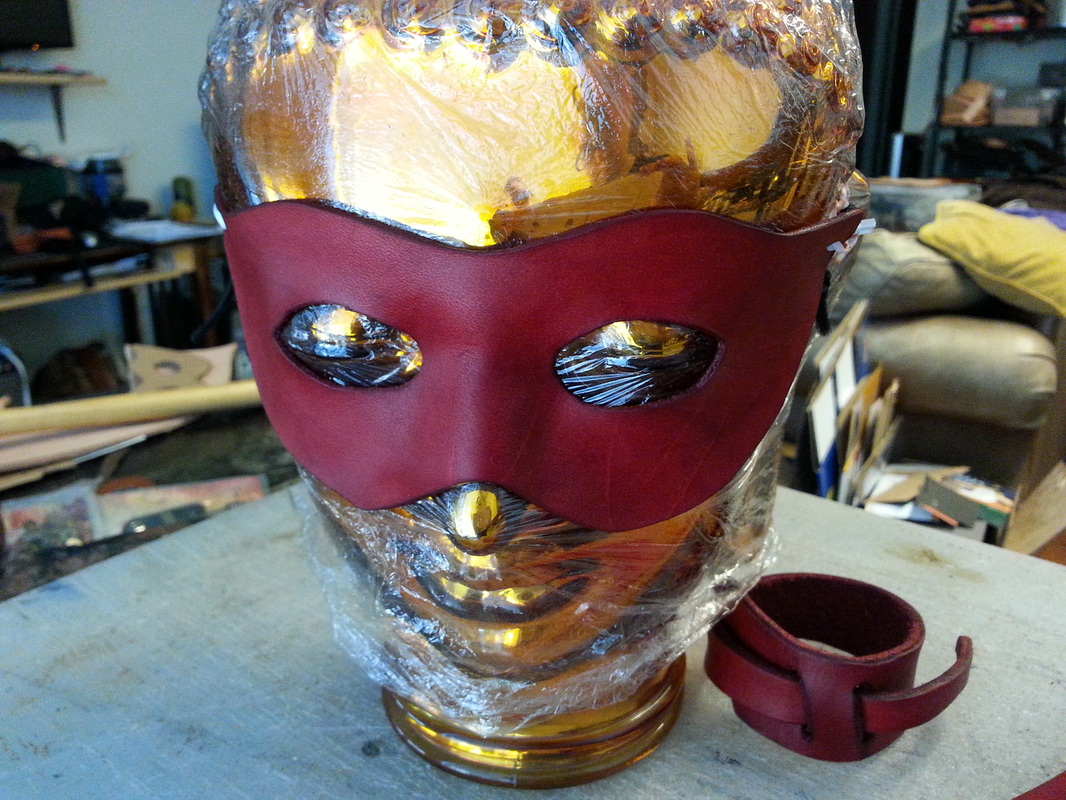 Supplies: Vegetable tanned leather (2-3 oz, or 4-5 oz are best, but any weight will work.) Scissors/Craft knife Ballpoint Stylus or Pencil Tracing Film or pencil rub transfer technique Optional Supplies: Styrofoam Head, Feathers, Pine cones, Markers, Stains, Paints, Beads, Glitter, and pretty much anything else you might want to craft into your mask.  Instructions: Step 1: Trace a mask pattern onto paper using pencil or onto tracing film using a permanent marker. You want to ensure that the mask will fit over the area on your face that you are attempting to cover. 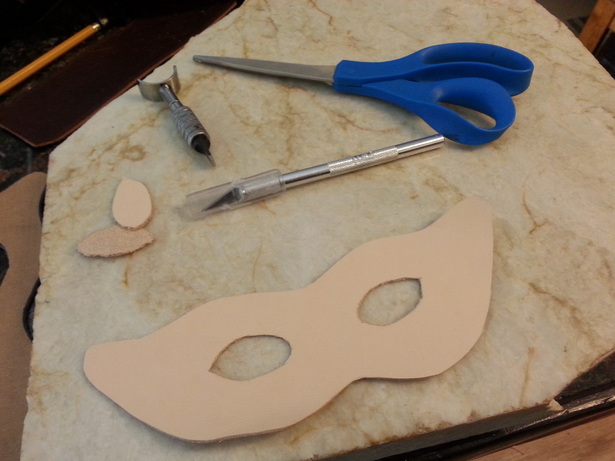 Step 2: Wet leather lightly with a spray bottle or sponge, and let the leather dry slightly. Once it has lightened again in color transfer the pattern from the tracing film to the leather using the ballpoint stylus, or you can use the pencil drawing technique to rub the design onto the dried leather. Just remember that your design will be like a mirror image and it will be the opposite of what you drew, so you’ll need to pay attention with this method. Cut out the mask pattern, and put holes in the temple area for your tie to be attached. 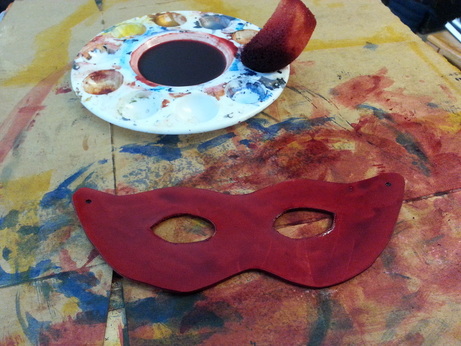 Step 3: Wet the mask again with the spray bottle or sponge, and carefully shape the mask by hand to fit the contour of the face. If you choose to use a Waterstain, you can substitute it as your wetting method instead of using the sponge or spray bottle of water. Continue to check on it to ensure shaping is done well. Allow the mask to dry completely. You can also take the time to cut a design into the leather before shaping it. This is best done after the leather has almost dried again after being slightly moistened. 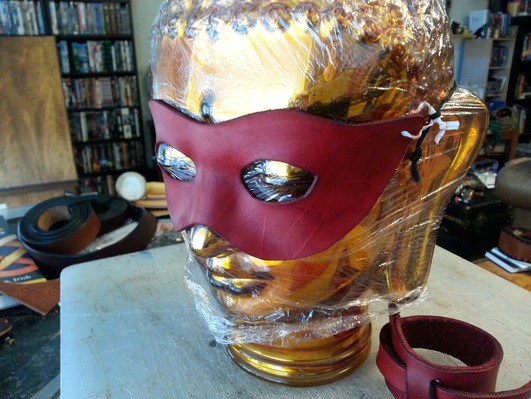 If you can acquire a Styrofoam or glass head to use for the shaping and drying process it will be very helpful. This way you can stain or dye the mask prior to shaping it, thus skipping a step. Otherwise, you can use your own face to shape the mask, but keep in mind that if you do use a Waterstain or dye beforehand it will dye your skin, too. I recommend you wait until after the mask is dry to stain or dye it if you are using your own face to mold the mask. 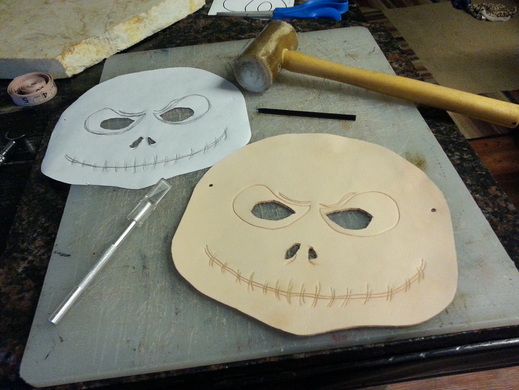 Step 4: Add any additional items for details such as feathers, beads, cogs, or glitter. You can also do fine detail painting once the mask is all dry. 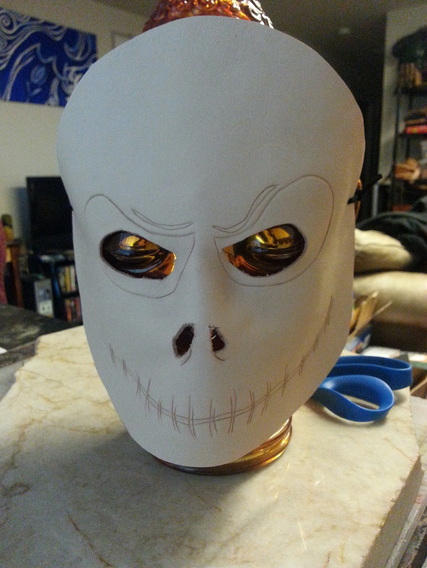 Other Options:
Cut an oversized mask and cut the edges to make fringes for different effects of hair, flames, or ears. Try adding faux fur or a mustache and eyebrows. Add beads and feathers to make an elaborate headdress. Use the suede side of the mask on the outside for a different texture, or try gluing sand or glitter to the outside.
0 Comments
|
Willow EnrightI started crafting out of leather in 2011, and now I am making it my life's work. I am writing this blog to help myself remember some of the small steps in past projects, sharing my triumphs and failures, as well as my love of leather. Archives
November 2017
Categories
All
|

|
Cosplay DIY (Blog) |
 RSS Feed
