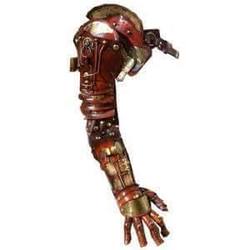
 Steampunk Arm Armor that inspired the filmmaker to reach out to me. It can be daunting working with an artist that you've never met before. I can recall some interesting conversations with folks seeking commissioned works of art from me. One in particular was a request from an aspiring film maker, where I was asked to provide a "bid" for creating an elaborate Steampunk armored arm from shoulder to finger tip. When I inquired further about the financial expectations for the piece, the individual did not provide me with a proposed budget even when I specifically asked for the budget available to them for the project. They vaguely suggested that others were contributing their time, money and goods to the project simply to be supportive of the possible film endeavor. When I mentioned that I have a contract for commissioned pieces, especially for such an elaborate end product, and that I require half upfront for materials they agreed this seemed fair and still requested that I give them a "bid" for the work. The piece was supposed to be incorporated into an already made elaborate period piece costume. I spent time researching materials, including leather hides and Steampunk hardware, and I also drew up several sketches to incorporate the original costume into the piece. When I was done with my several hours of research I submitted the requested "bid" to the individual for the project, they read the proposal and then never responded back. If they had provided me with a proposed budget I may have been able to accommodate their need by using different materials, however not having this information I gave them what I thought would work best and of course, charge accordingly for the project. Sometimes, you want awesome things for various reasons and you have a specific budget. There's nothing wrong with that. In fact, it happens often where people want something but don't have any clue how much time, energy or money goes into making that happen. However, knowing your own expectations and presenting them to the artist aren't negative things, they actually help an artist gauge what sort of creations can be done for the money the individual has available to spend. It won't always work out that the artist can create such an amazing piece on the budget that you have available, and most artists who sell their work have a certain standard of what their time and art will cost to create, and almost all of them can give you an honest response about what they can and cannot do for you. None of this should be seen as negative simply because it is about art. After all, you wouldn't ask your local furniture store to give you one of their high end refrigerators for $20 would you? 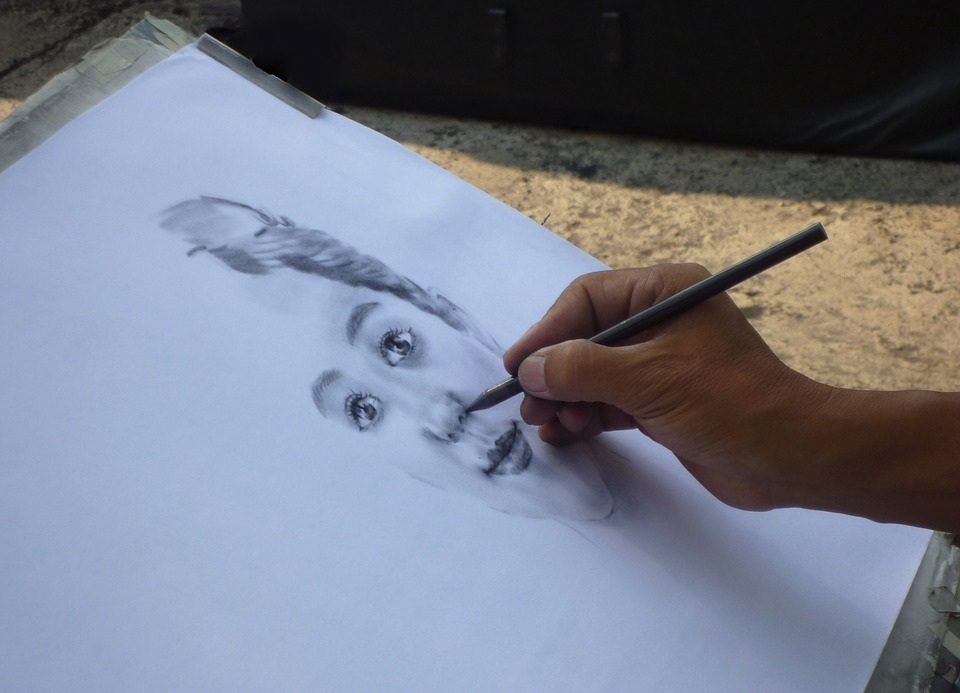 An Artist working on a Sketch. https://cdn.pixabay.com/photo/2014/02/02/17/47/art-256895_960_720.jpg Here are a few helpful hints to remember when working with an artist. They are dreamers and use a lot of their brain power towards using their imagination. They want to create something that they will enjoy making and you will enjoy forever. And most importantly this is their job. Artist use their imagination as much as they can. This can be both a plus and a negative, plus side they will be able to dream bigger than you ever thought, the drawback is they may not be able to keep themselves grounded in reality or budget. This is where a contract helps the artist stay on track. Good contracts will have promises that the artist will communicate with you multiple times about what you want, each step is to be looked over before moving on to the next. This helps keep the project on target. 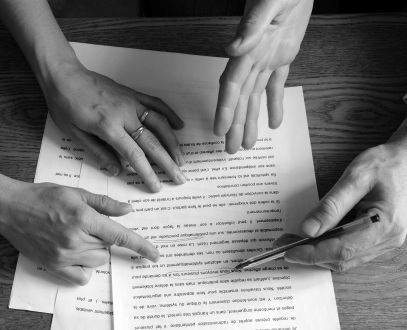 Two people going over a contract. https://upload.wikimedia.org/wikipedia/commons/b/b2/Ecrivains_consult_-_Texte_4_mains.jpg Artist don't want to sell you something that you aren't going to love. One, you might talk bad about them, two, you won't showcase them and three, artist also don't want to make something that's boring to them. They have to work with this art form for however long it takes to get it right. So it isn't helpful to shut down all their ideas, especially when you don't have specifics about what is desired. Remember they are using their imagination frequently, which is taxing to their energy. You wouldn't offer to lift a heavy bag for your personal trainer, so why ask an artist to keep their opinion to themselves? Don't forget that being an artist is a profession, not just a hobby. This is their job, and contracts are a professional way to help them stay on track towards creating the best outcome. When you hire a contractor, go to a mechanic, or call your plumber they all offer you a contract to sign before they begin working, and it should be the same when requesting the same service from an artist. If you have a budget, be upfront, that can only work in your favor. Artists do what they do because they love it, but they can't read your mind or do it for free. Don't be afraid to ask for some assurance, aka a contract; this will help the artist and insure that you are both on the same page. Be professional. I know that I wrote this blog from the perspective of working with someone new, but even your artist friend is due the same courtesy. 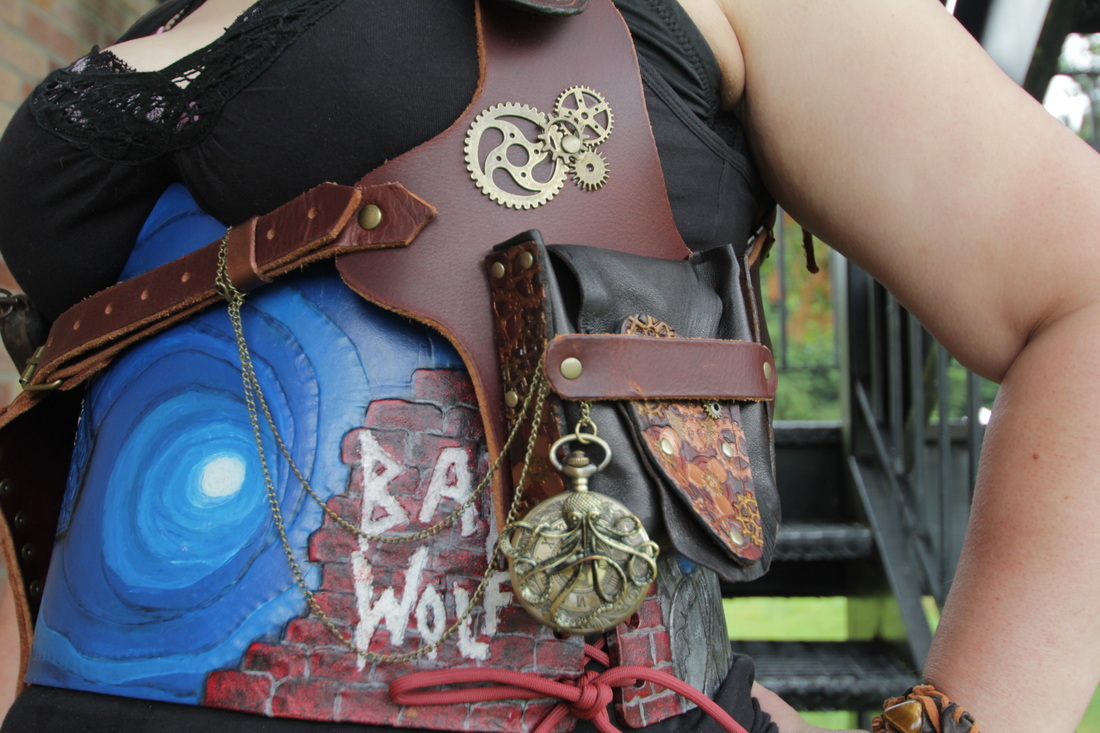 Various Steampunk Art on Leather. The Doctor Who inspired Waist Cincher is an example of one of my first commissioned works of art.
2 Comments
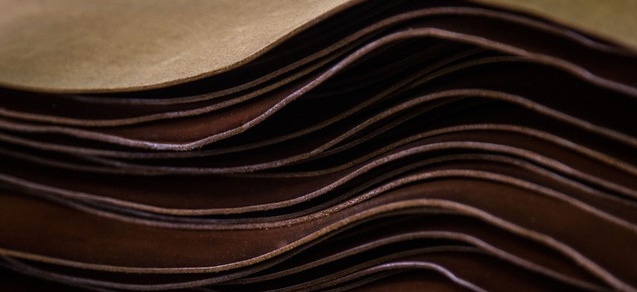
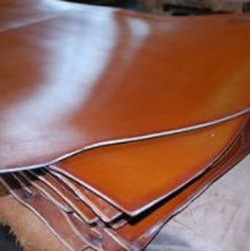
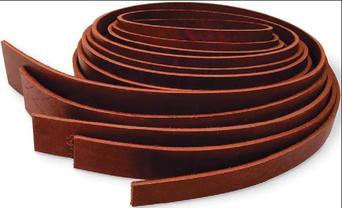
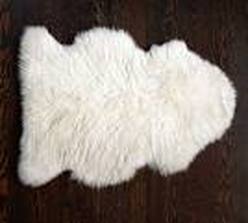
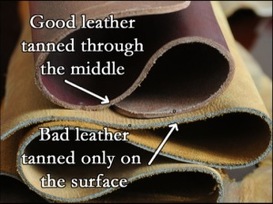
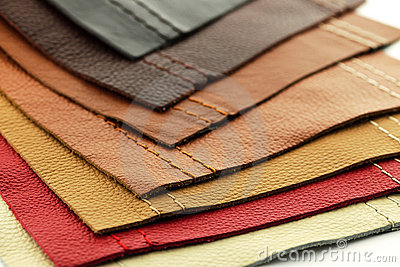
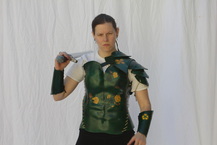
by Willow Enright 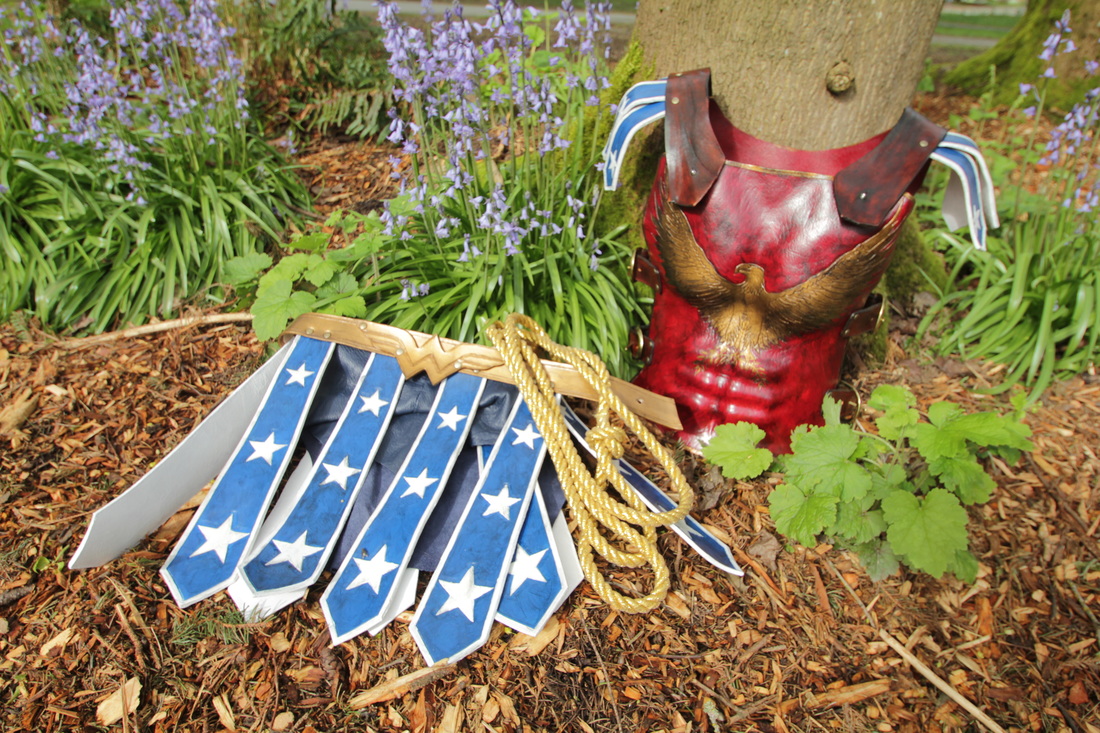 Grecian Style Wonder Woman Leather Cosplay Welcome to the second installment of Building an Epic Leather Cosplay! We're going to cover some more of the basics for understanding and working with leather. There are many different types of leather for various projects, each having their own thickness, durability, and usefulness. Let's see if we can summerize a few of the leathers that you might want to work with as a beginner leather worker. Types of Leather
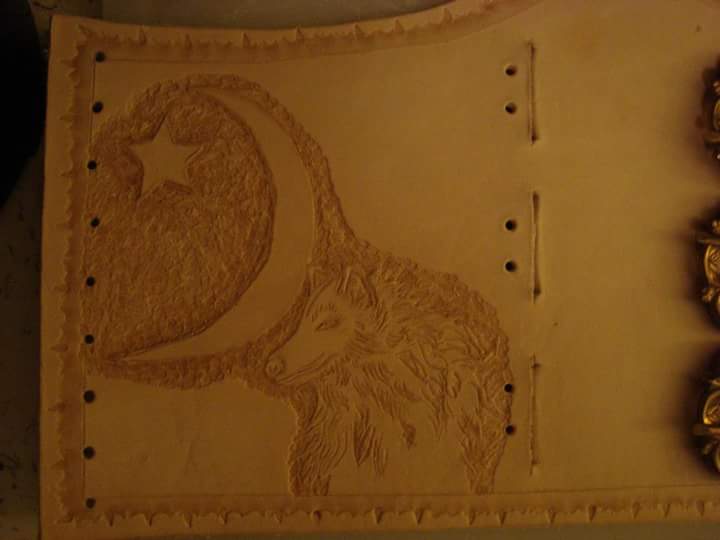
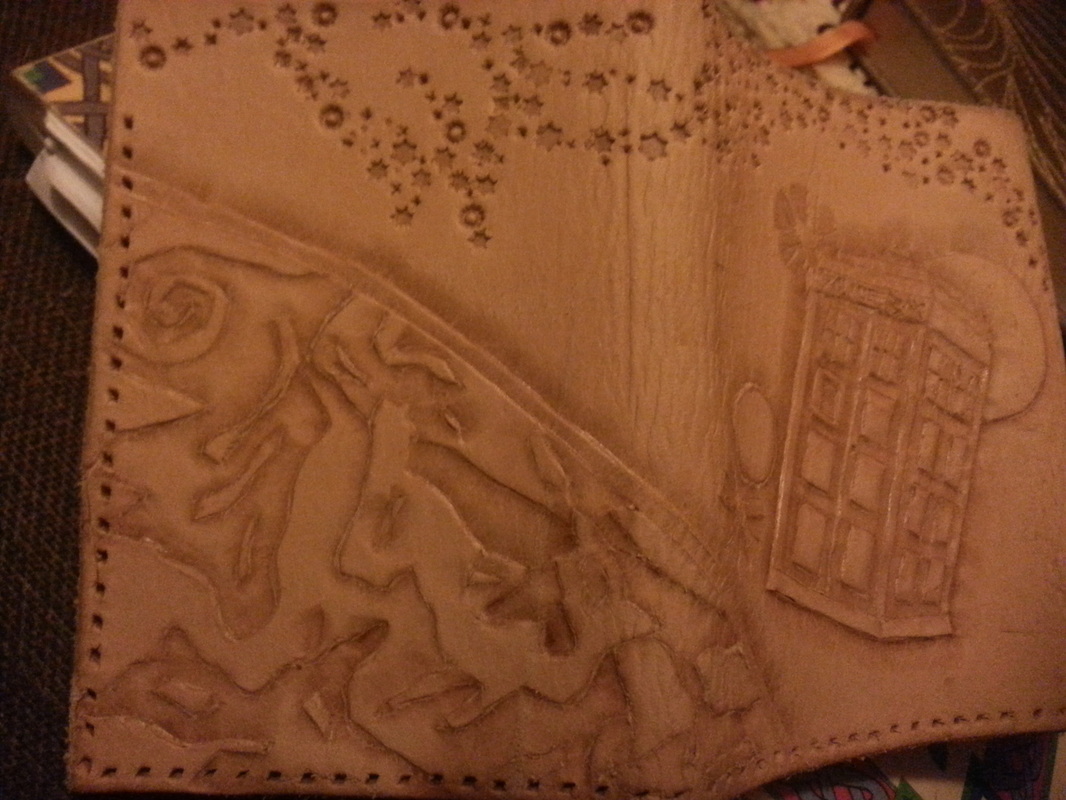
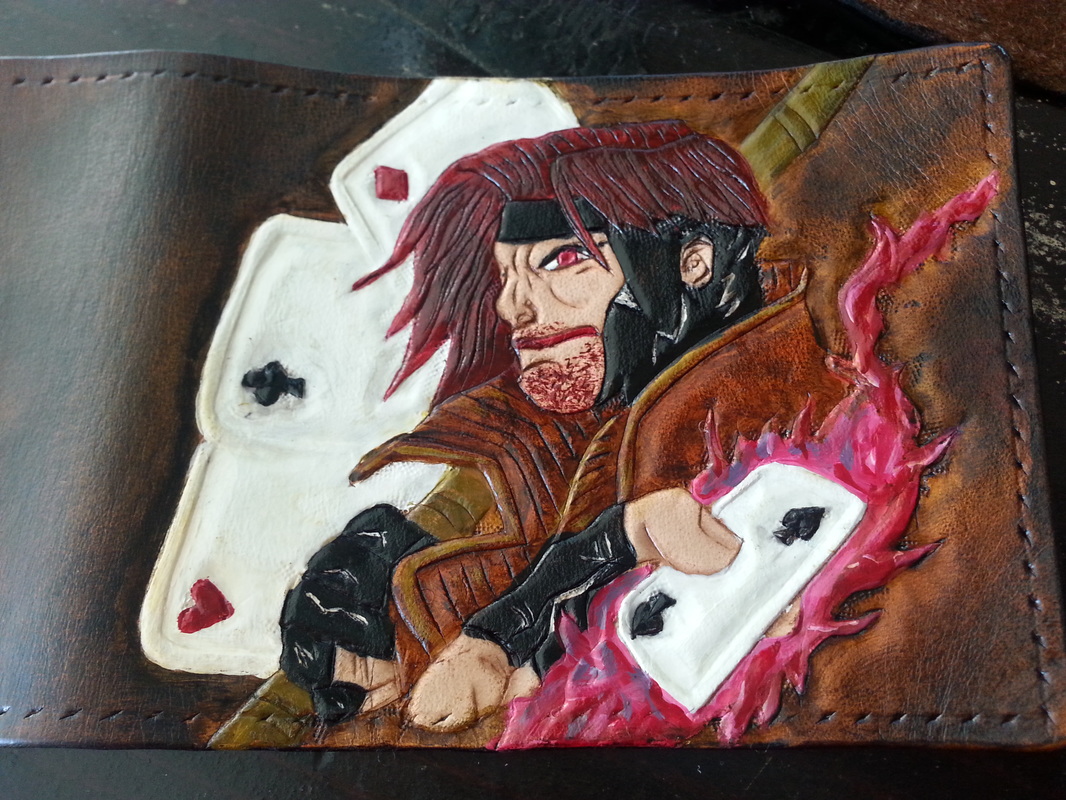
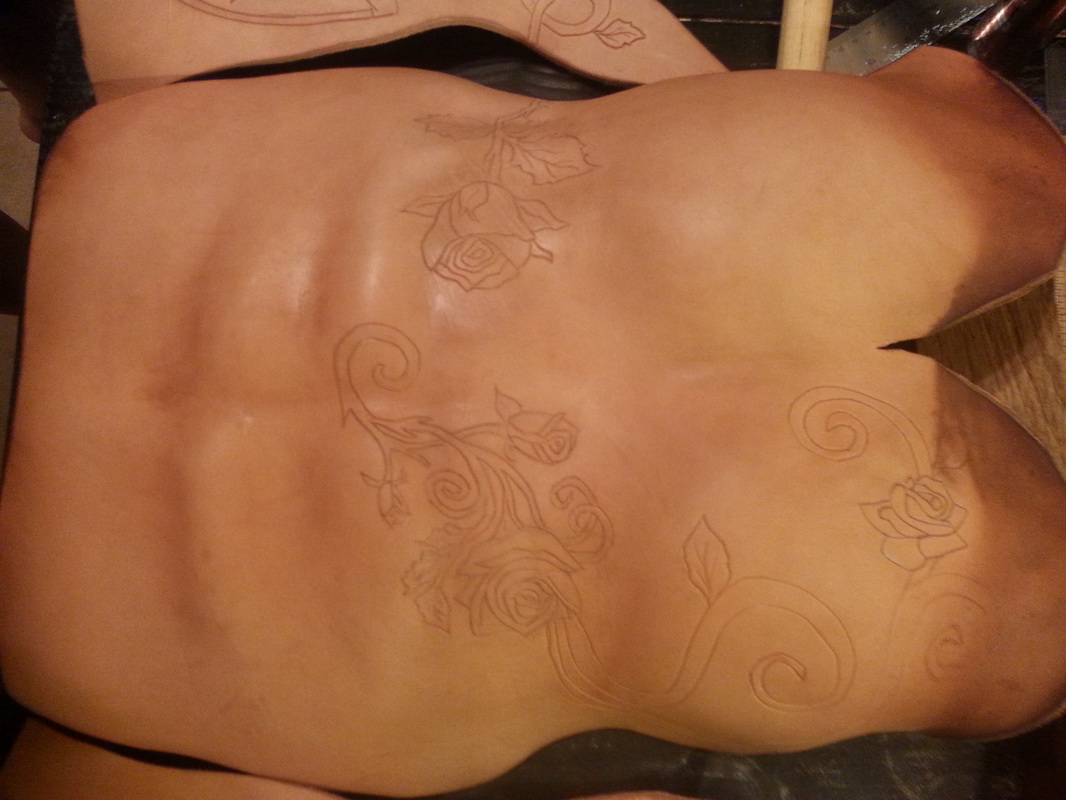
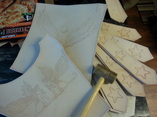
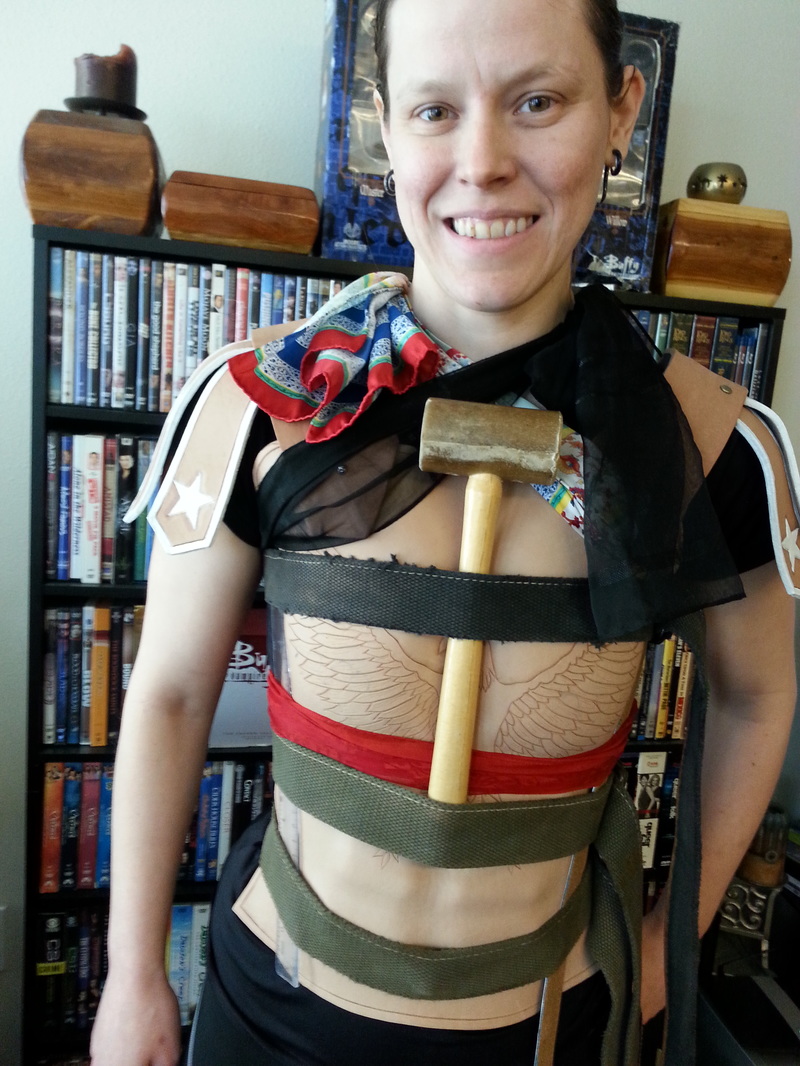
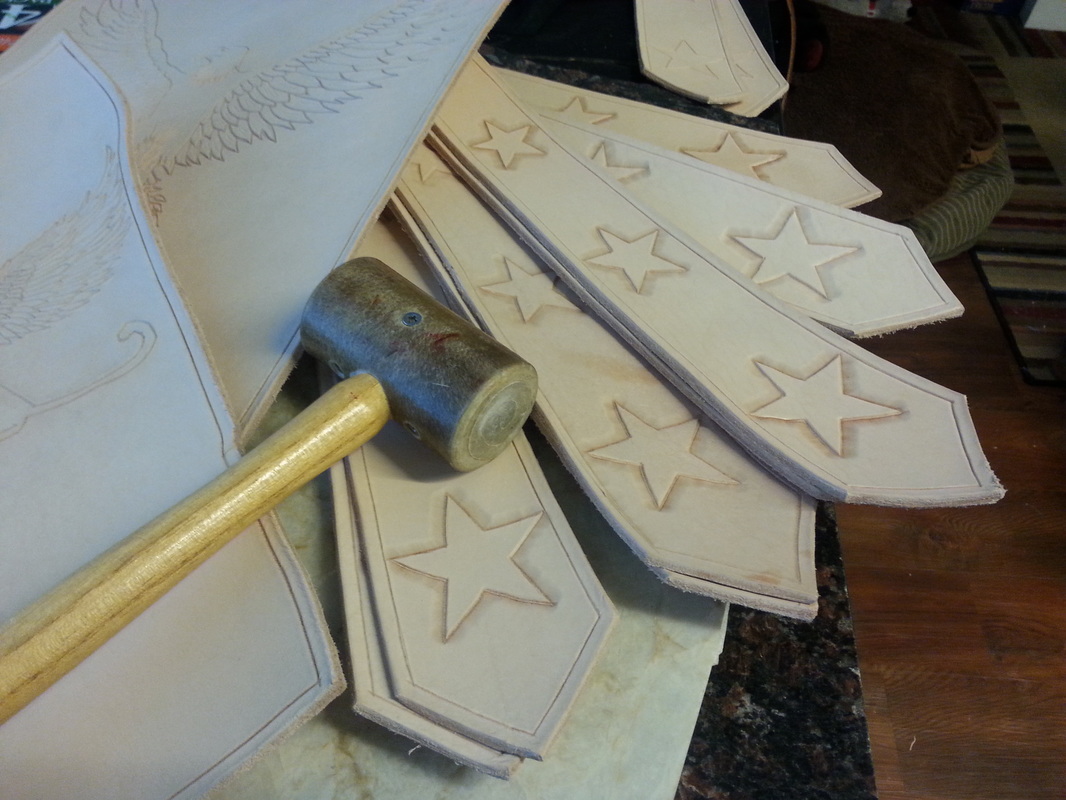
Leather Hide Weight and ThicknessThe chart below shows the different parts of leather hide that are available, along with the ounces and thickness. 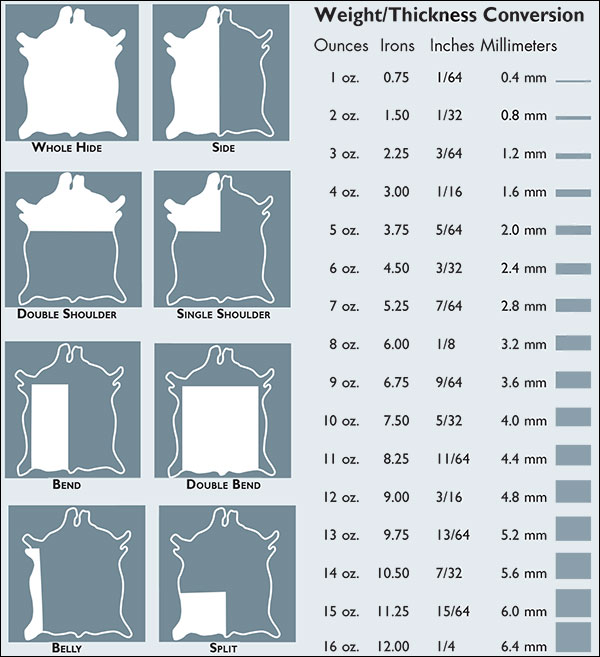 Tandy Chart for Leather Weight and Thickness The chart below is Tandy’s recommendation for what thickness of leather to use for what project, but you can change this up somewhat. You can make journals out of a thinner leather than a 5-6 oz, you can use a 3-4 oz instead. And holsters can be made from 6-8 oz leather and not just 8-10 oz. It depends on what you are trying to achieve. Larping armor should be between 7-9 oz, and armor for the SCA should be more like 10-16 oz. Otherwise, you can use whatever you think is best to achieve your cosplay. 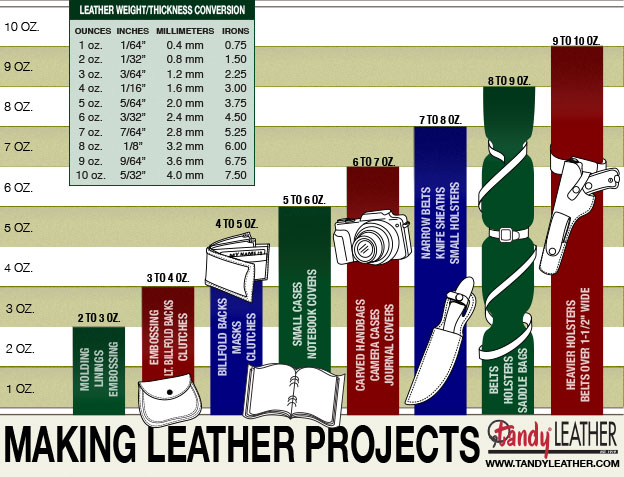 Tandy chart for what leather to use for different projects. Devil is in the DetailsYou can really get a lot of details into your leather project when you use a Vegetable Tanned leather. You use tracing film and a stylus to transfer your desired design to the leather, and then use a swivel knife to carve the details. Case your leather by wetting it and leaving it to almost dry again, and then use the Craftsman Tool Set and Rawhide mallet to pound the design into the leather. This process is often called Hand Tooling.
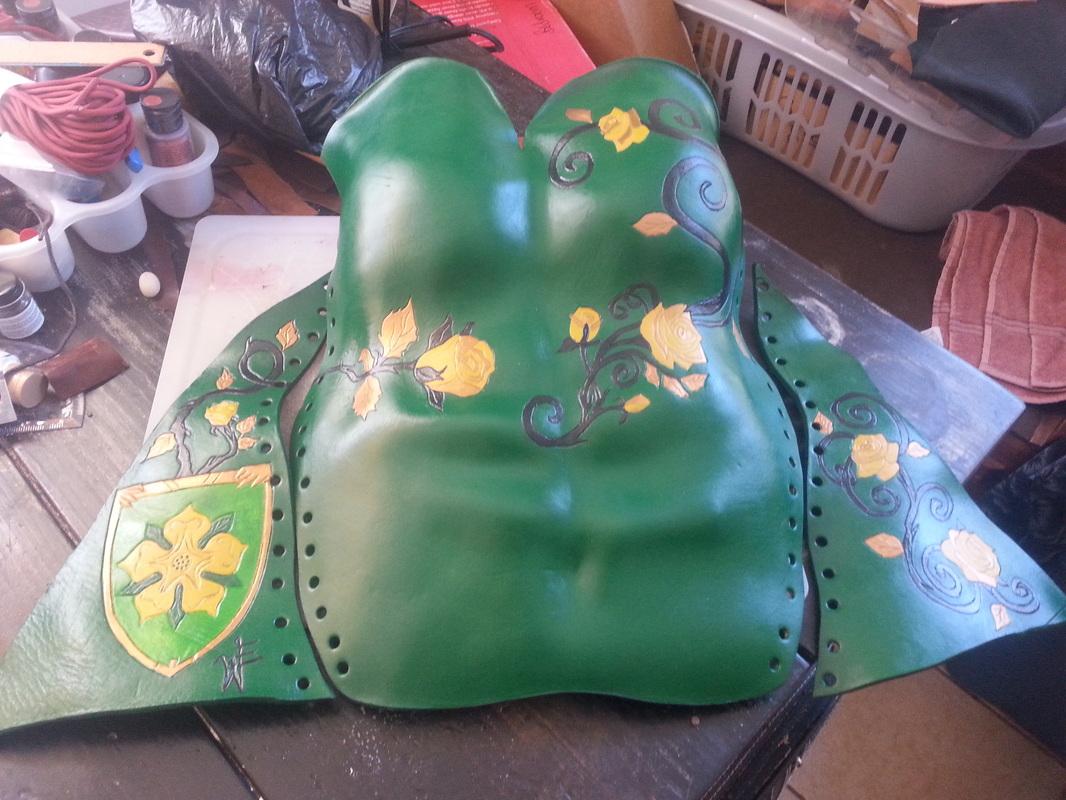
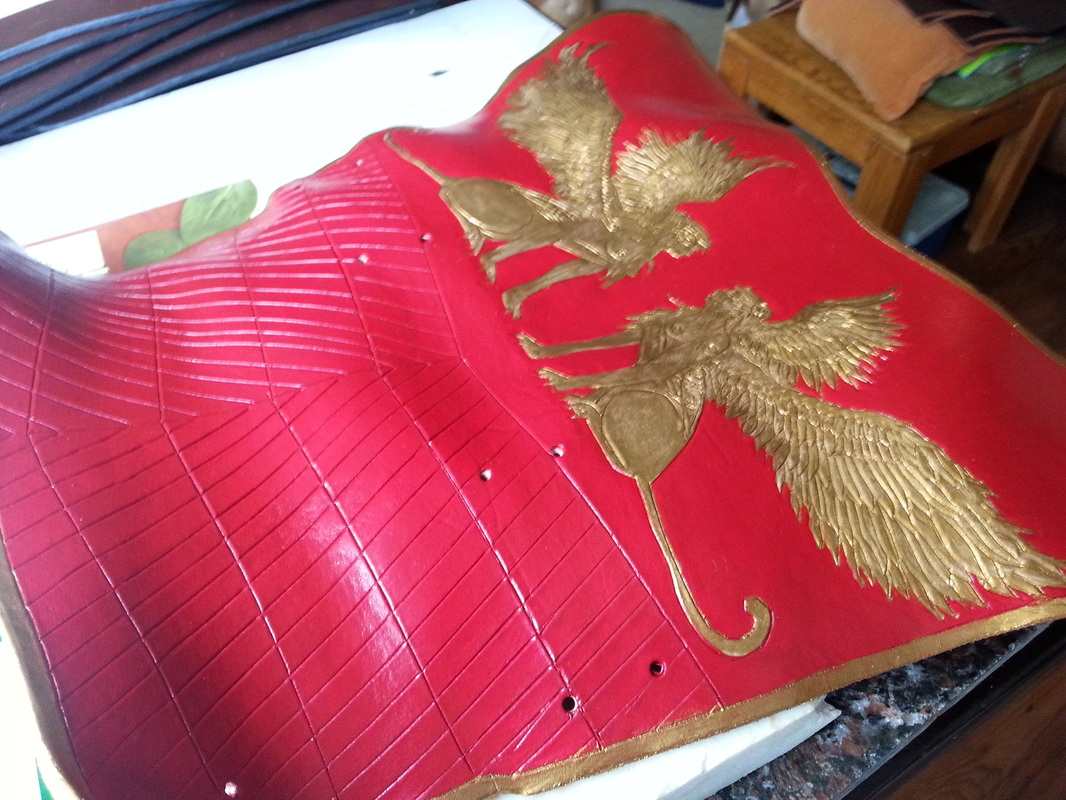
Below and to the left is an example of the design carved into the leather, and below and to the right is the finished tooled and painted design.
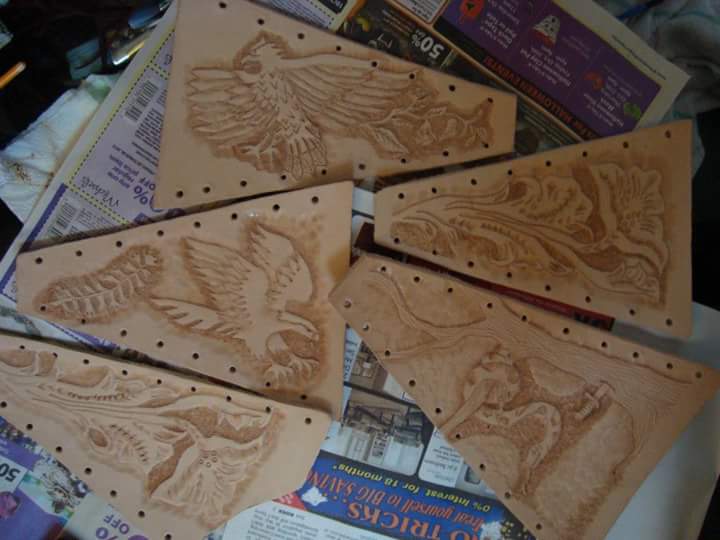
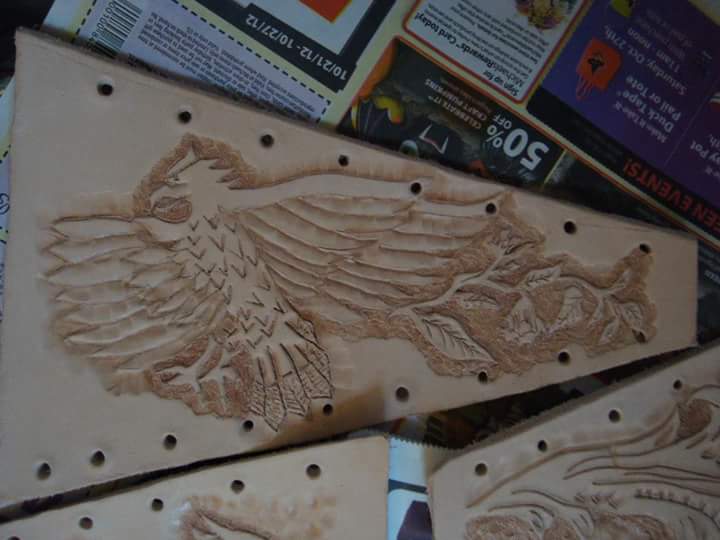
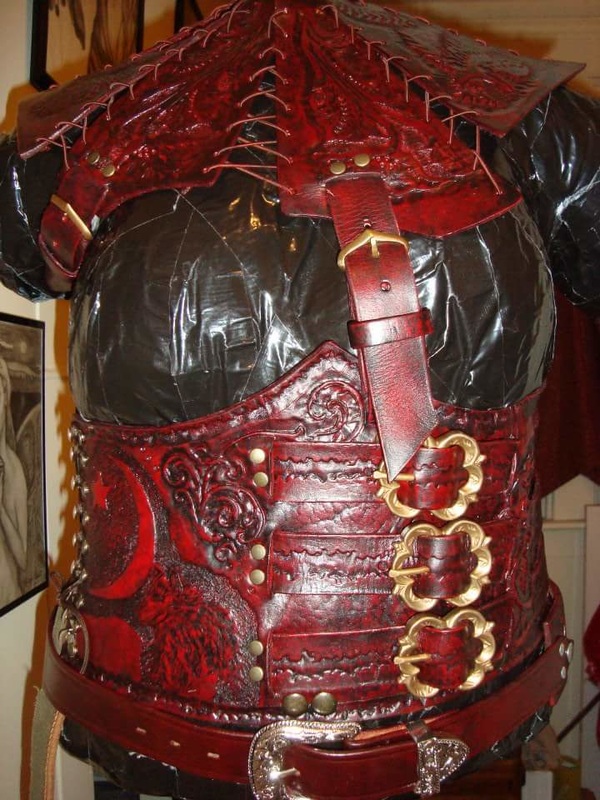
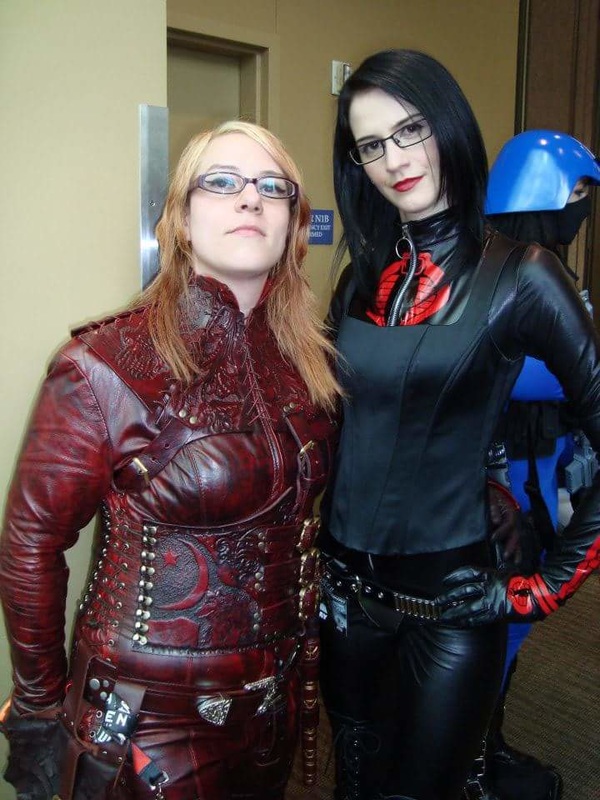
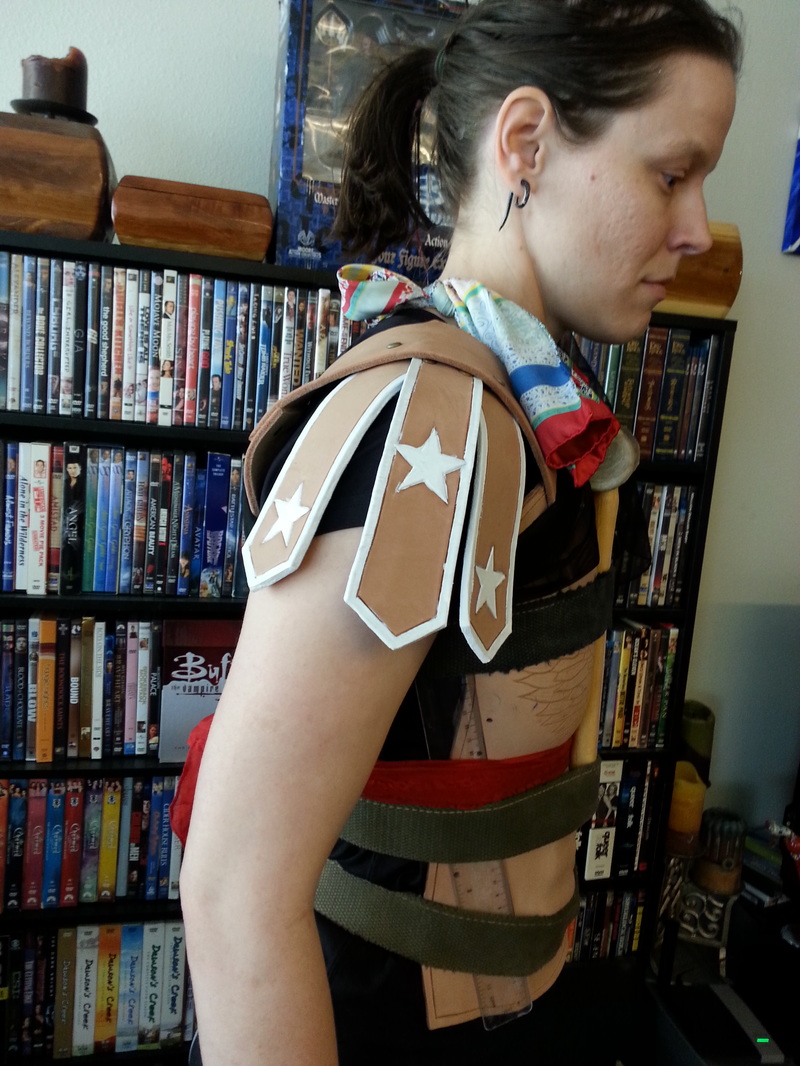
The shots below are of my first Mord-Sith armor. I used a 5-6 oz mahogany leather for everything except the belt, that was made with a much thicker vegetable tanned leather of 8-9 oz. For the first version of this armor I concentrated on the pattern and the hardware to give it the design and feel that I wanted to match the T.V. show, Legend of the Seeker.
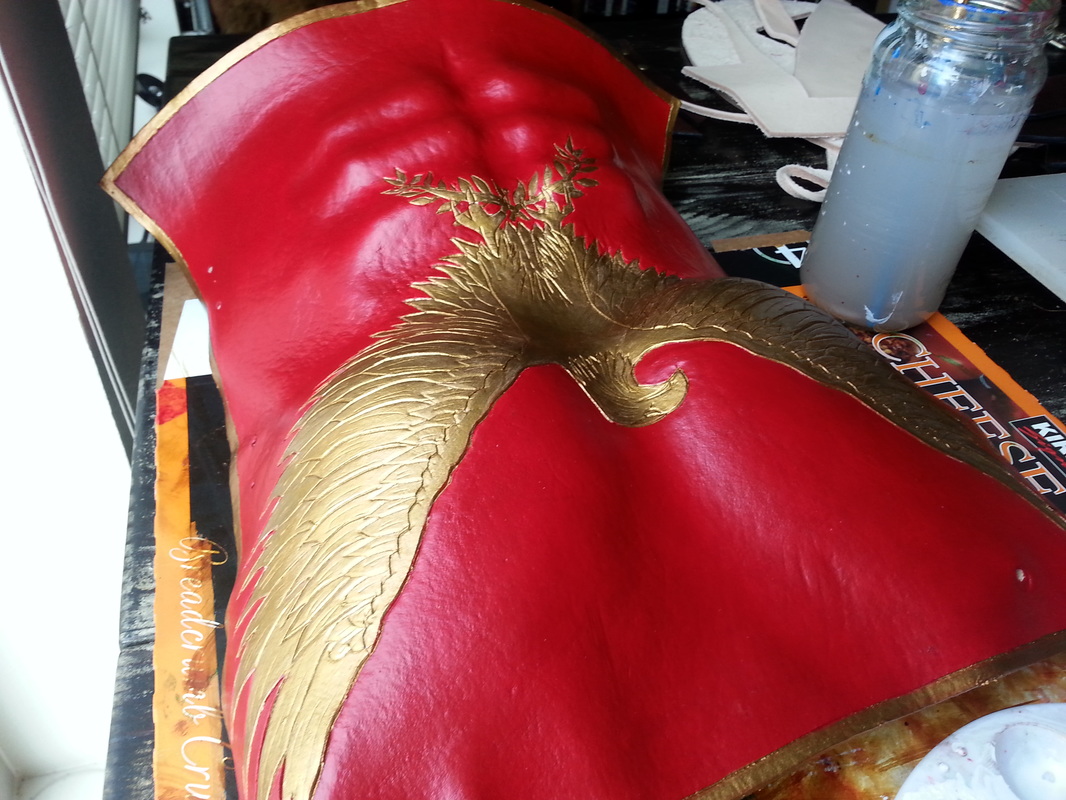
 Denna's Mord-Sith Armor, and buckle hardware. The second set of Mord-Sith armor was done with a 7-9 oz vegetable tanned cowhide leather so that I could really tool the design I wanted in order to show others the character’s story on the leather. Some of the raw detailed shots are above, but the finished shots are below. If you want to see how this costume has transformed over time please check out my blog all about the Mord-Sith.
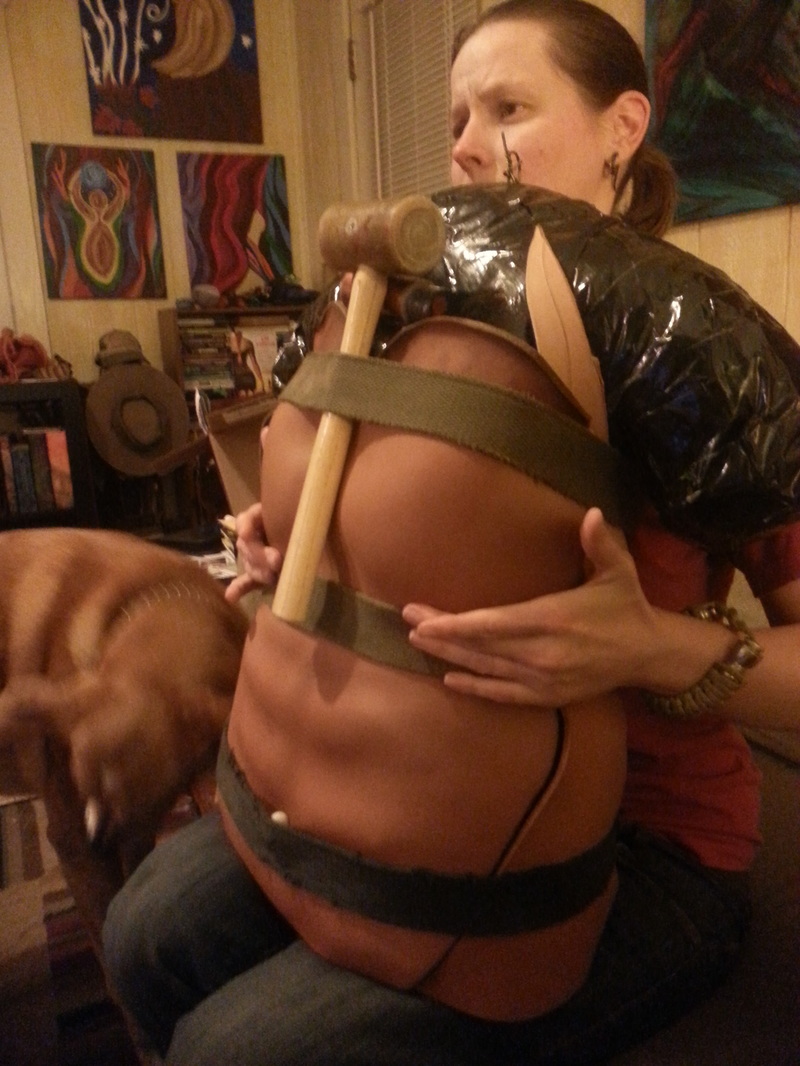
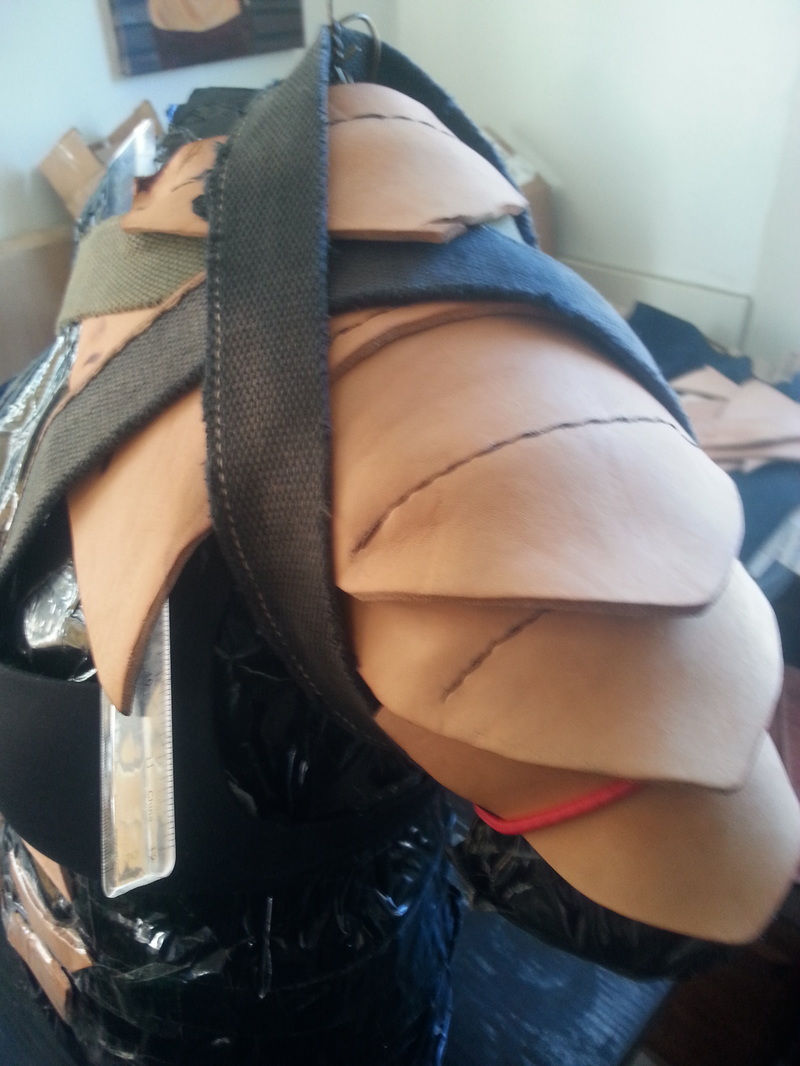
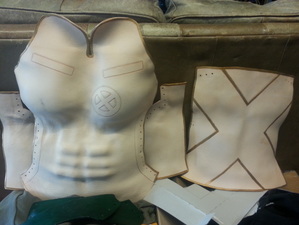
Wet Forming (Shaping)The process of wet forming (shaping) is extremely useful for creating cosplay pieces, especially armor. It isn’t quite as difficult as it seems either. You can check out that process more in depth through my Wet Forming blog. Margery Tyrell Armor Wet Form
Wonder Woman Wet Form
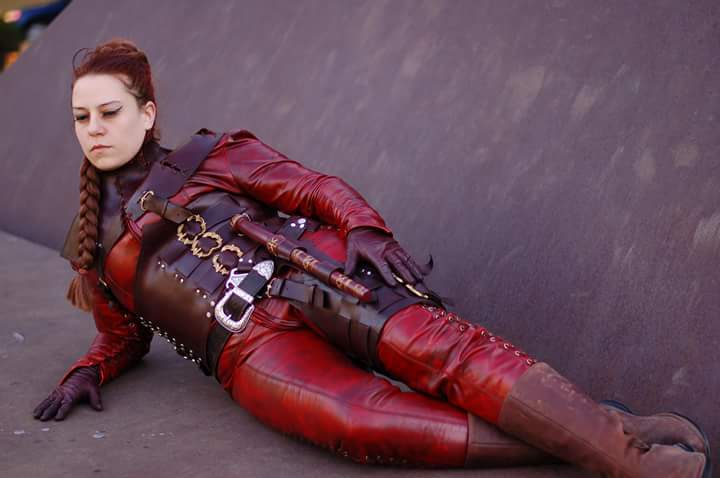
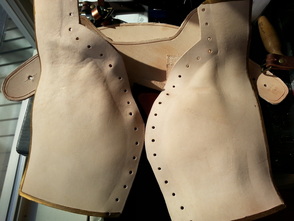
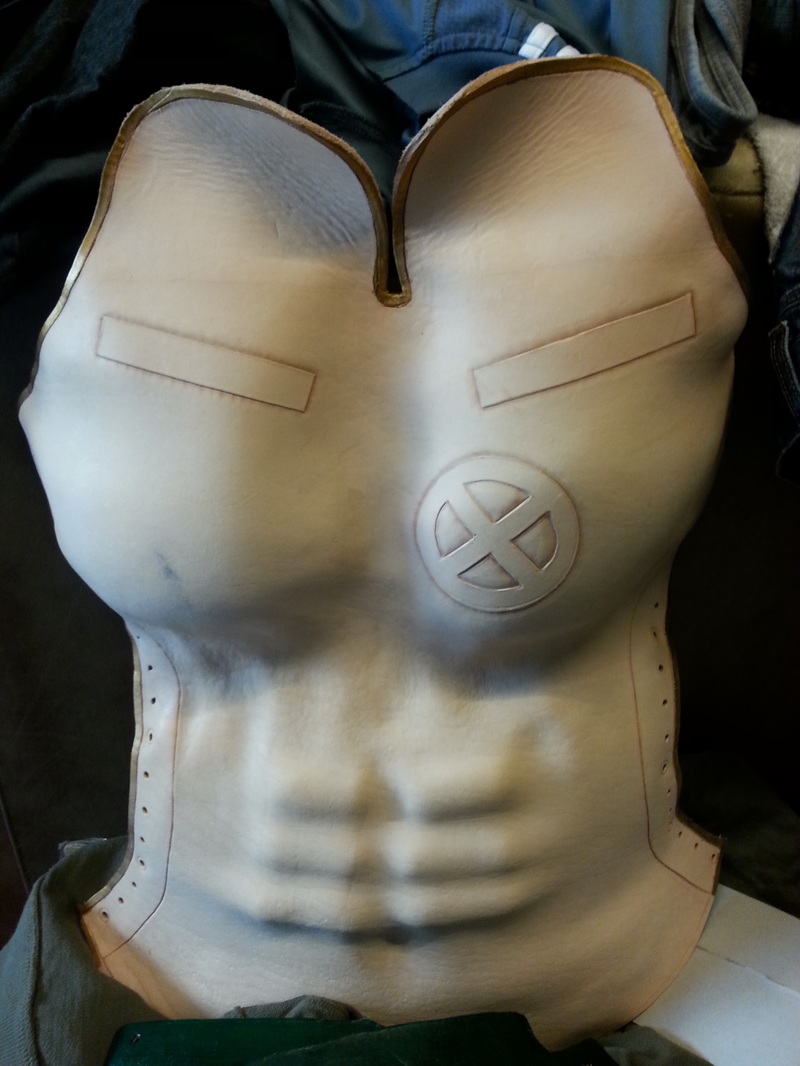
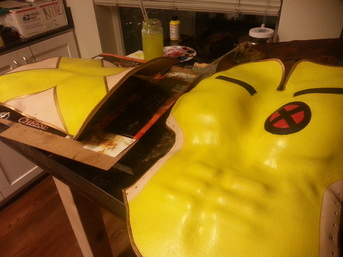
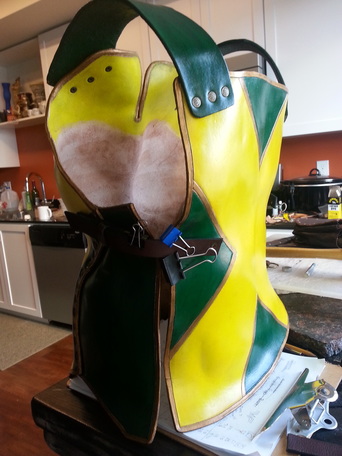
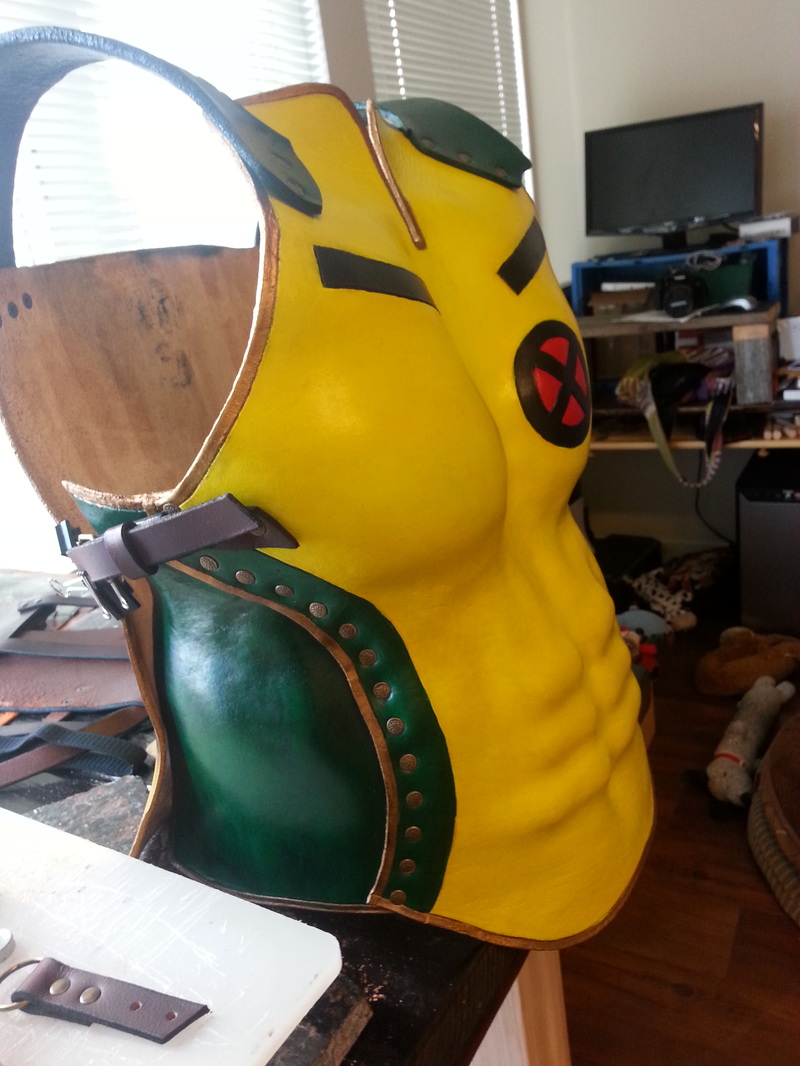
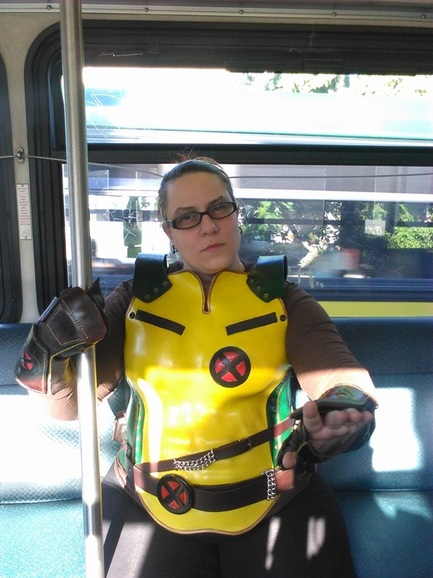
X-Men Rogue Chest Armor Wet Form
There are a ton of amazing things that can be done with leather. Getting yourself some specific tools, and learning the basics of attaching bits and pieces is a huge chunk of it. Trying out some useful techniques such as Wet Forming or Wax Hardening can also take your cosplay to the next level. The tooling can be a challenge, but it’s very rewarding when you get that perfect design onto the leather. However you choose to incorporate leather into your cosplay, have fun with it!
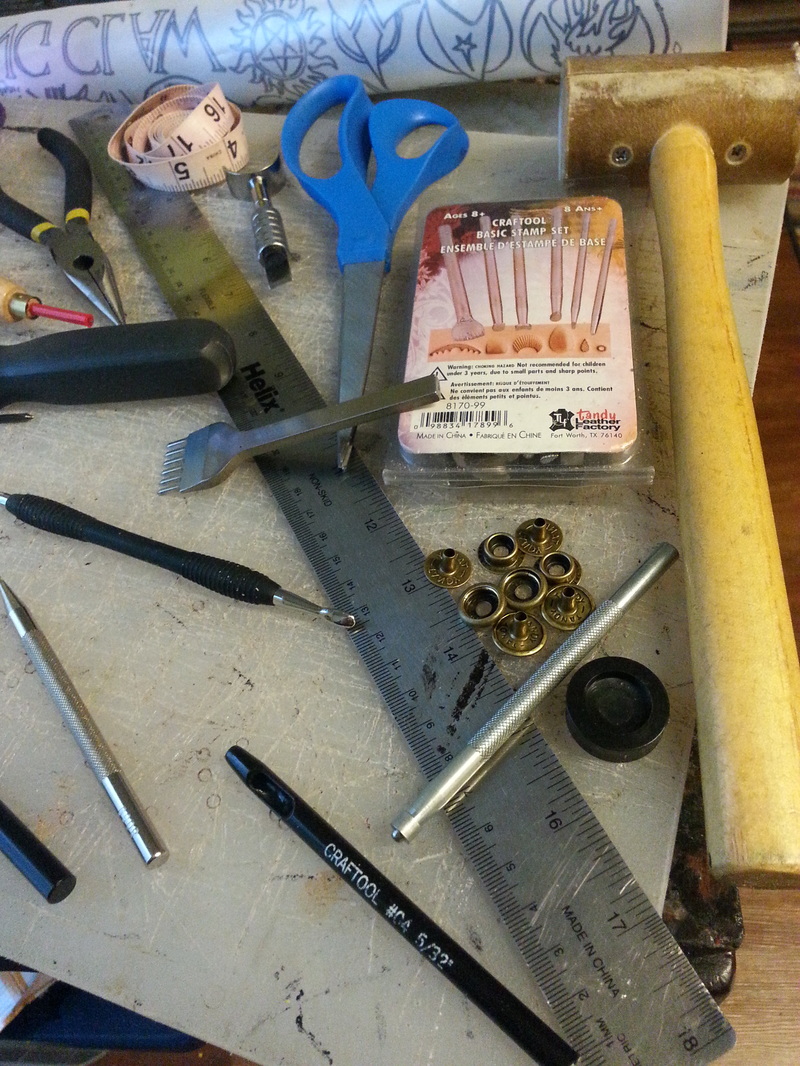
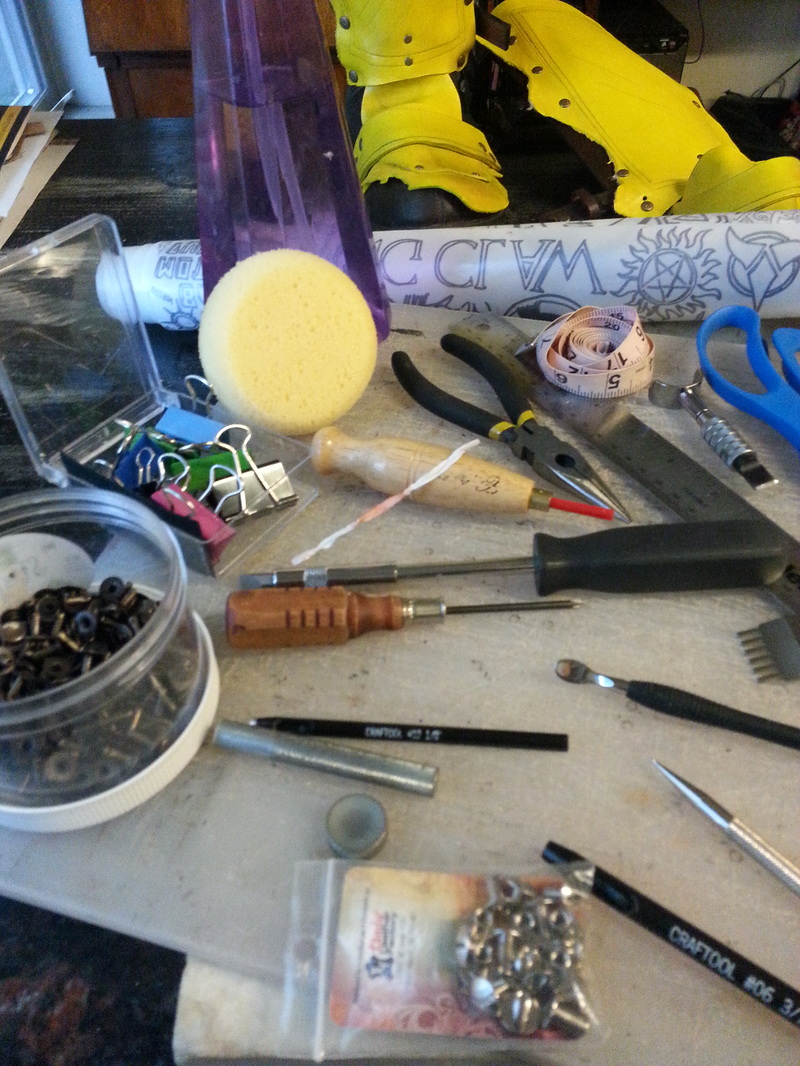
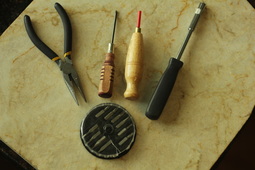
by Willow Enright 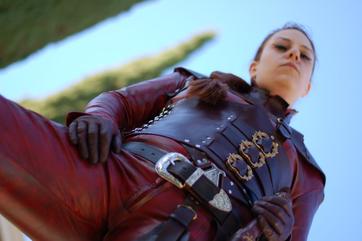 Willow in her first Mord-Sith armor made with 5 oz mahogany leather. When I first started doing leather work I didn’t know anything about leather, leatherworking, or the tools needed to actually work with leather. I simply had a desire to create an amazingly epic cosplay. That desire lead me to many hours of researching screen shots that I could use for referencing the costume I wanted to imitate. Trying to figure out which leather to use or what tools would get the job done was even more hard work, and led to many failed attempts. I would like to help you avoid the same pit-falls that I came across by covering a few of the basics for working with leather.  Leather Cosplay Tool Kit The tools you will need can greatly depend on the cosplay you are creating. My first leatherworking project didn’t involve any fancy tooling design, but focused on the shape of the pattern to match the T.V. screen shots and the hardware needed to really bring the details to the piece. I used a ruler, wooden mallet, double capped rivets with rivet setter, a cutting board, both flat and Philips head screwdrivers and scissors. My rivets looked like junk and wouldn’t stay together that well, my design around the boarder made with the screw driver didn’t really stand out much, and the leather I chose was a bit too thin for armor and wasn’t going to hold up to the strain being put on it for long. However, the cosplay turned out well enough that people were wowed despite my disappointments, and through their reactions I was convinced to try again which led to one of the greatest pieces I’ve made to date. (link to Mord-Sith Blog) Leather Cosplay Tool KitI’ve put together a list of tools that I think would be helpful for the cosplayer or beginner leather worker.
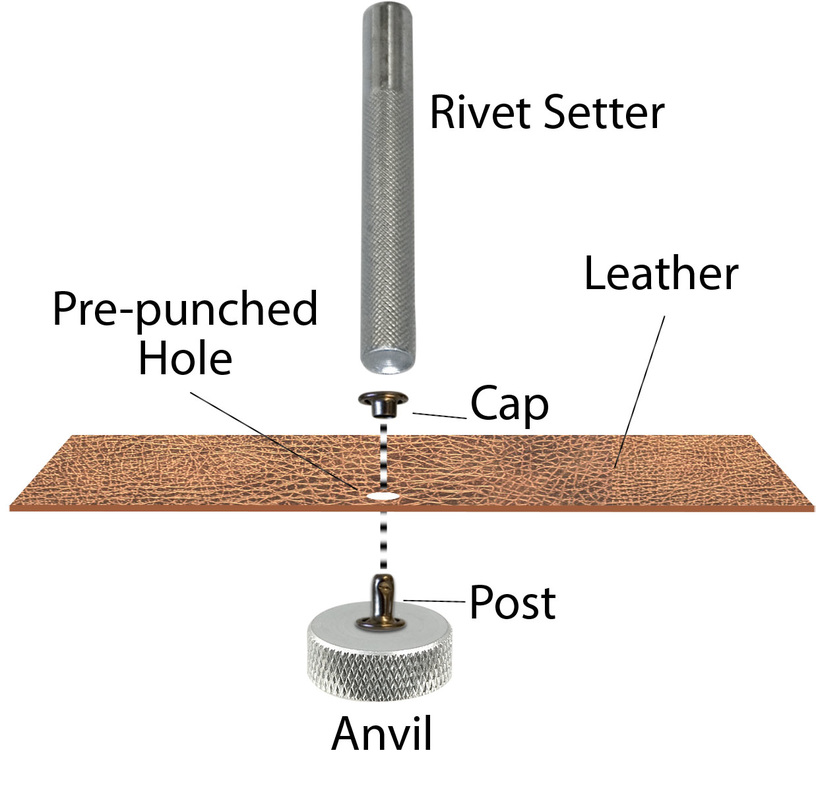
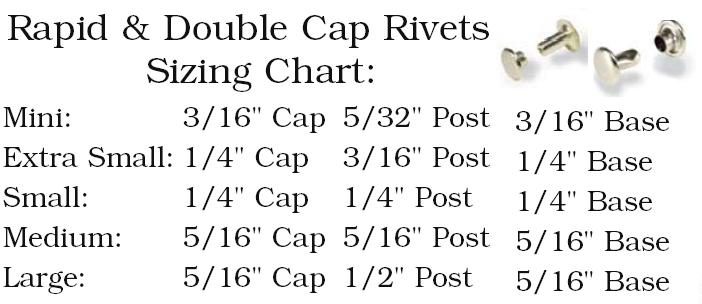
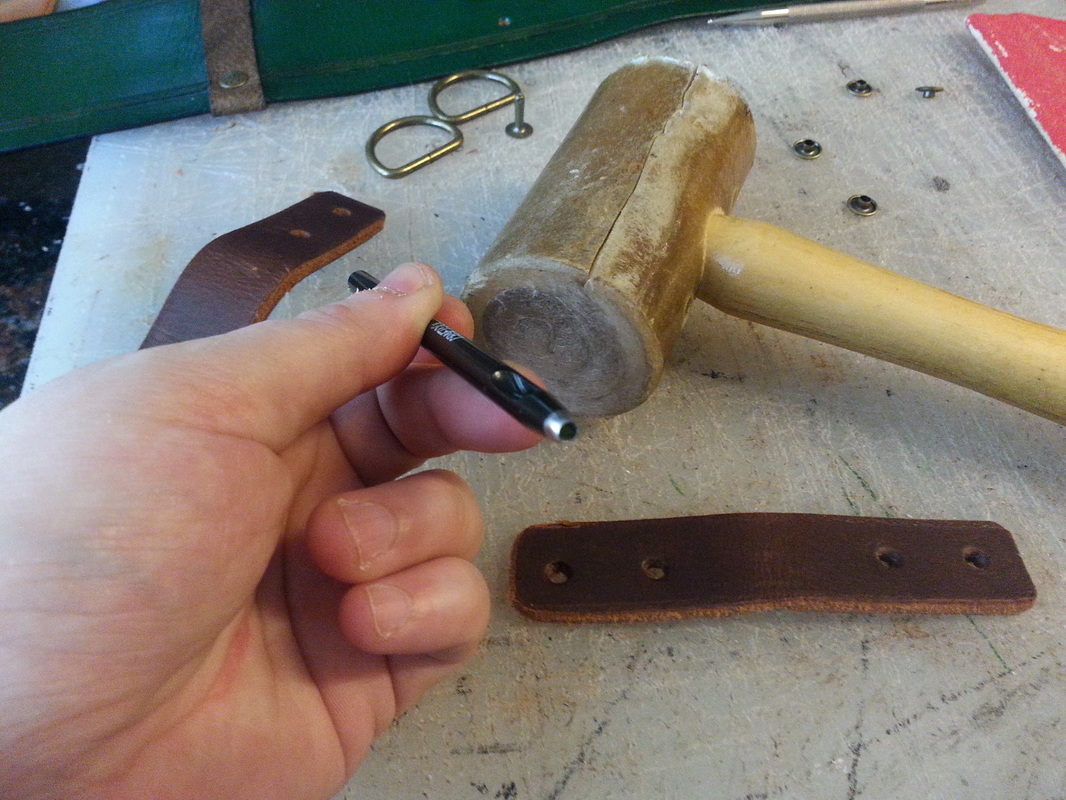
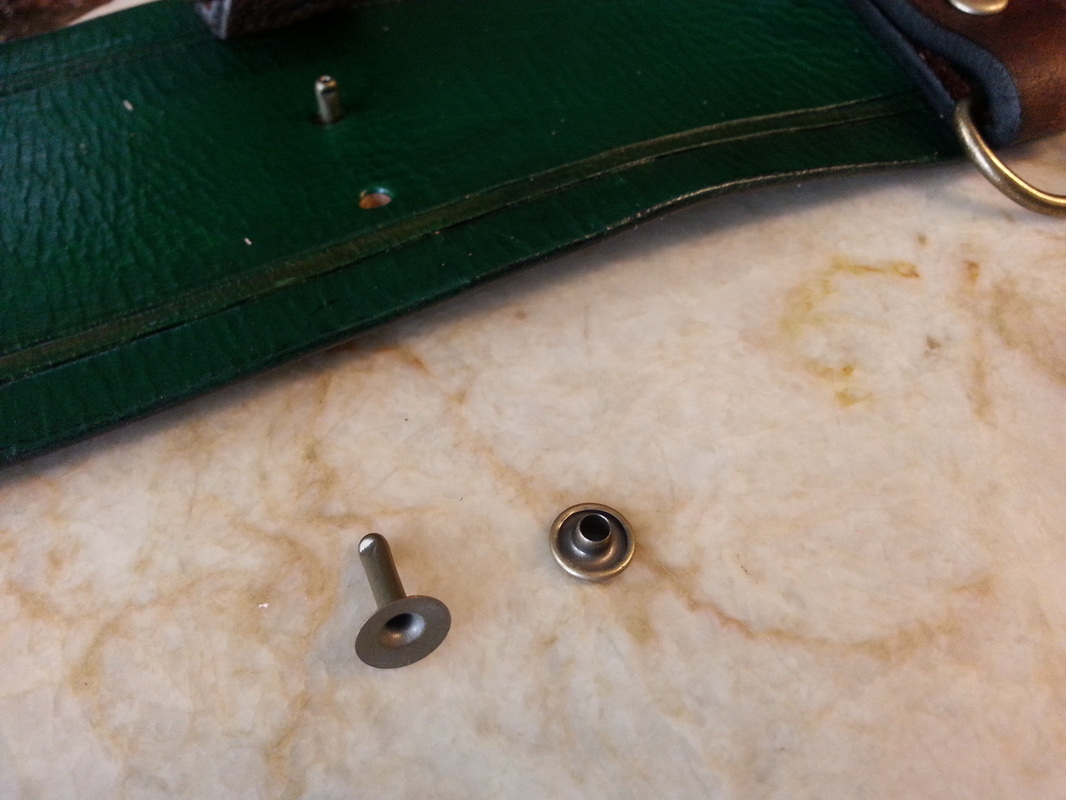
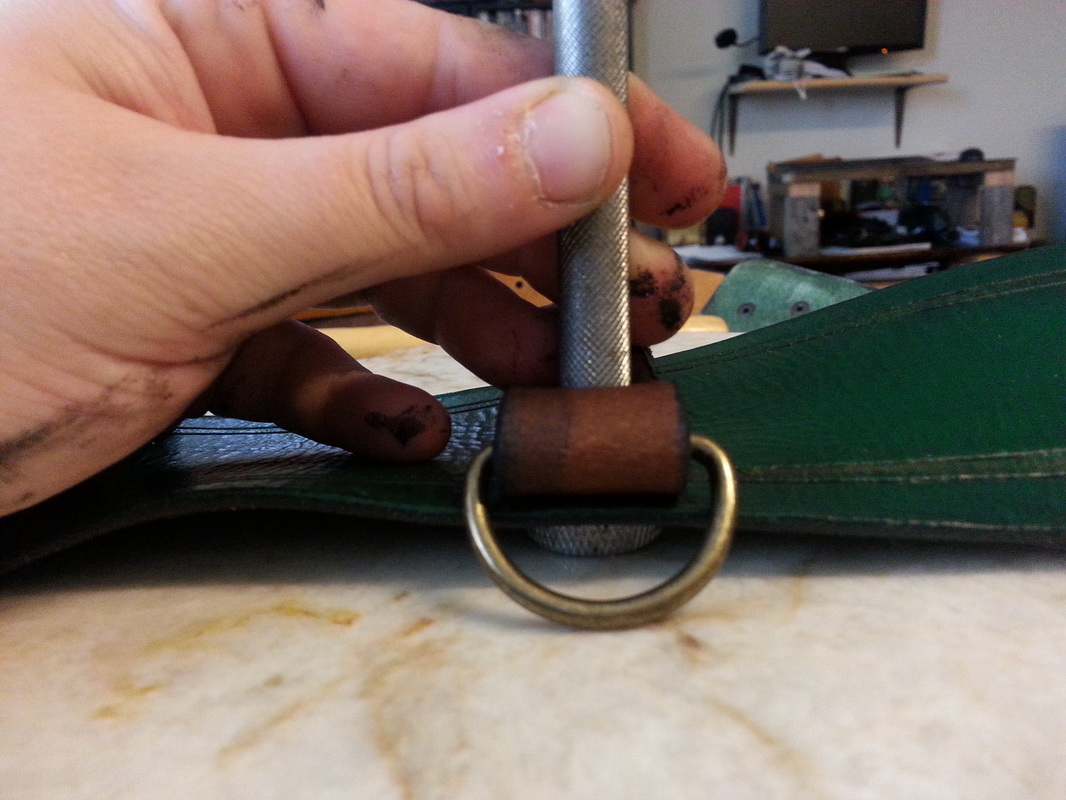
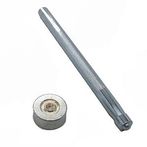
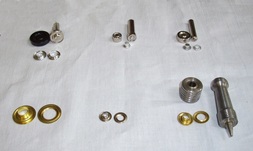
Having many tools for various purposes will be the most helpful for leather working, but you can really do quite a lot with the list of tools I’ve put together. I recommend that you first figure out what costume you want to incorporate leather into. Then you can decide on the tools that will work for that project, and the ones you won’t need can wait until you do need them. This way you can build your tools up slowly and don’t kill your pocketbook. 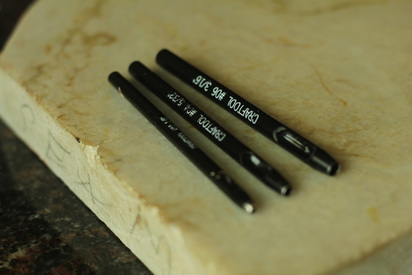 #2, #4, #6 hole punches There are several different sizes of hollow hole punches and you will need at least three for the basic fasteners. Hole Punch #2 (Rivets) #4 (Snaps) #6 (Grommets) You can buy a set of six of these punches at Home Depot for $28, or even less if you shop around online. The Swivel Knife is great for cutting round or curved edges, or for making detailed cuts into the leather, and can be purchased for $18. You can also use it to cut thick leather. Scissors can be used on leathers 6oz and less, or for trimming edges on thicker leather. 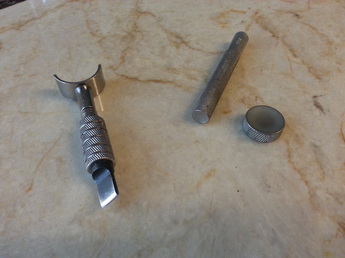 Swivel Knife and rivet setter and anvil I recommend the Rawhide Mallet over the wood because it will give you cleaner rivets, but some people prefer the poly head mallets. You basically want something heavier like a hammer, but not a hammer because that will damage your tools, this will run you around $15.  Rawhide Mallet When you want to fasten something permanently then riveting is the way to go. Having a rivet setter will make sure you don’t squish down the dome cap of your rivet. You need an anvil for the base of the rivet and the setter for the cap on top. Using them together helps to shape the rivet so that the two pieces will meld together to hold fast. You’ll want to choose your rivet sizes based on the thickness of the leathers you will be working with. You can choose to use multiple different thicknesses which will require a variety of sizes, or you can stick to one thickness and one rivet or two rivet sizes. Again, this will depend greatly on your project. A rivet setter can cost $10.
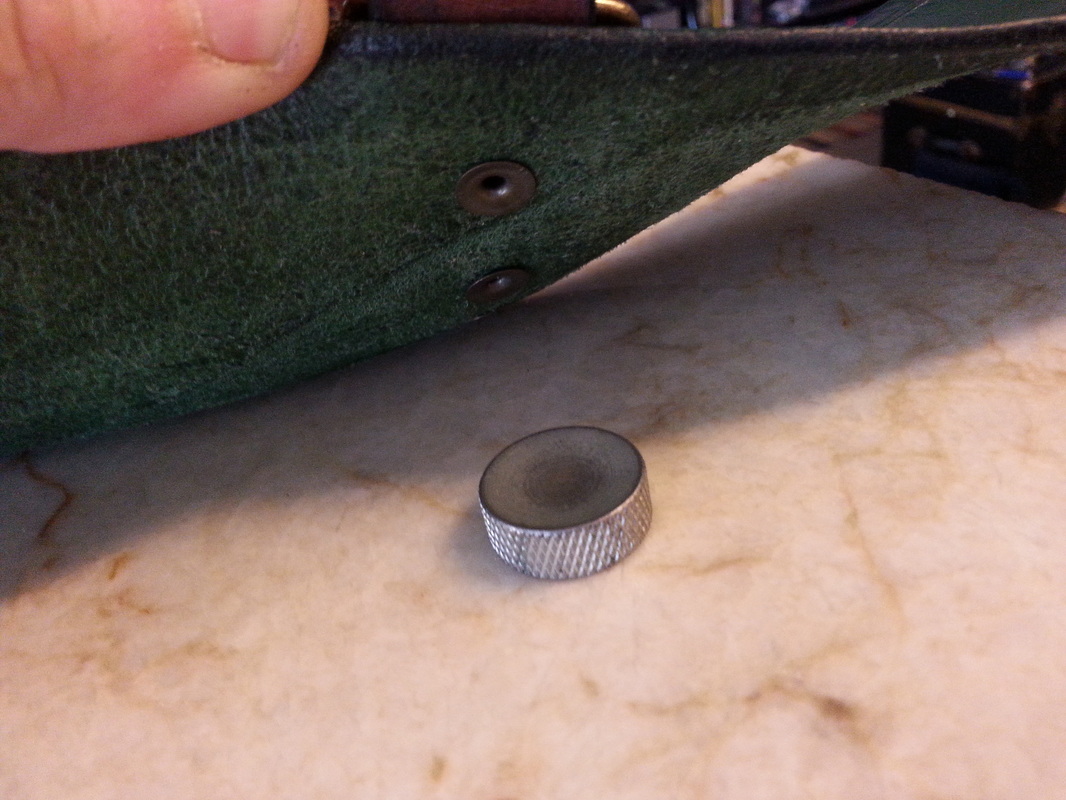
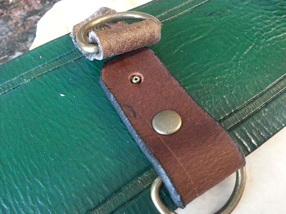
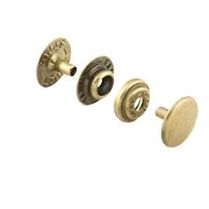
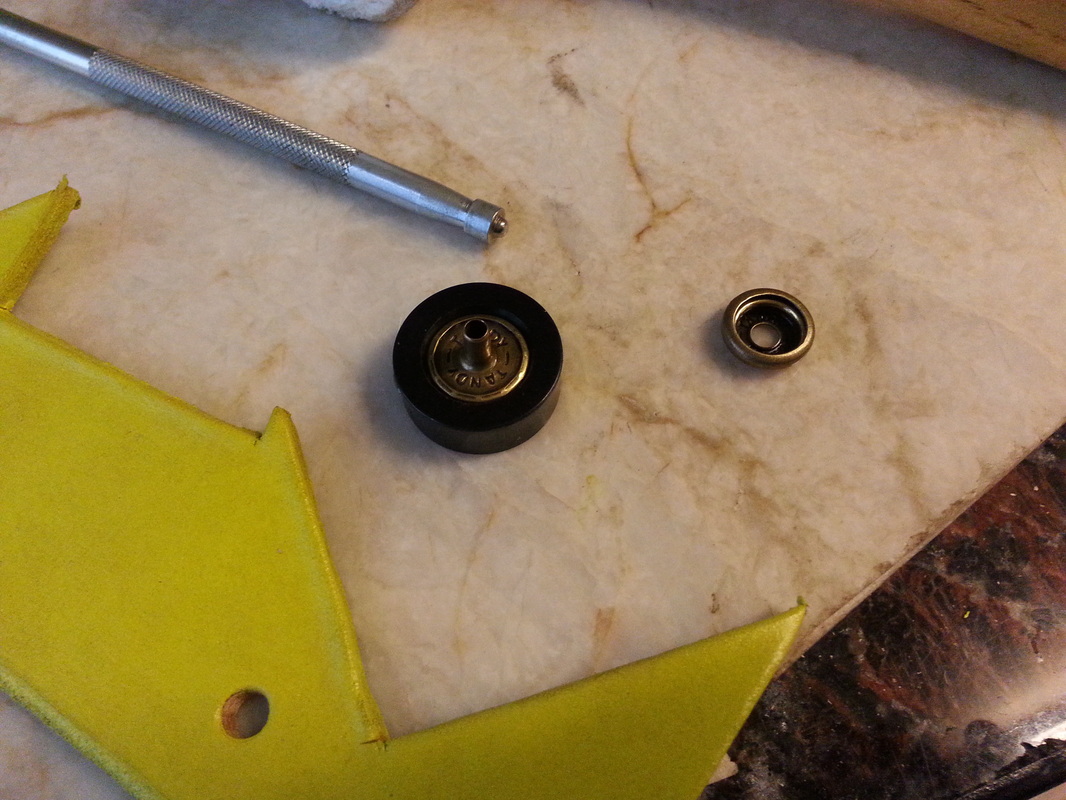
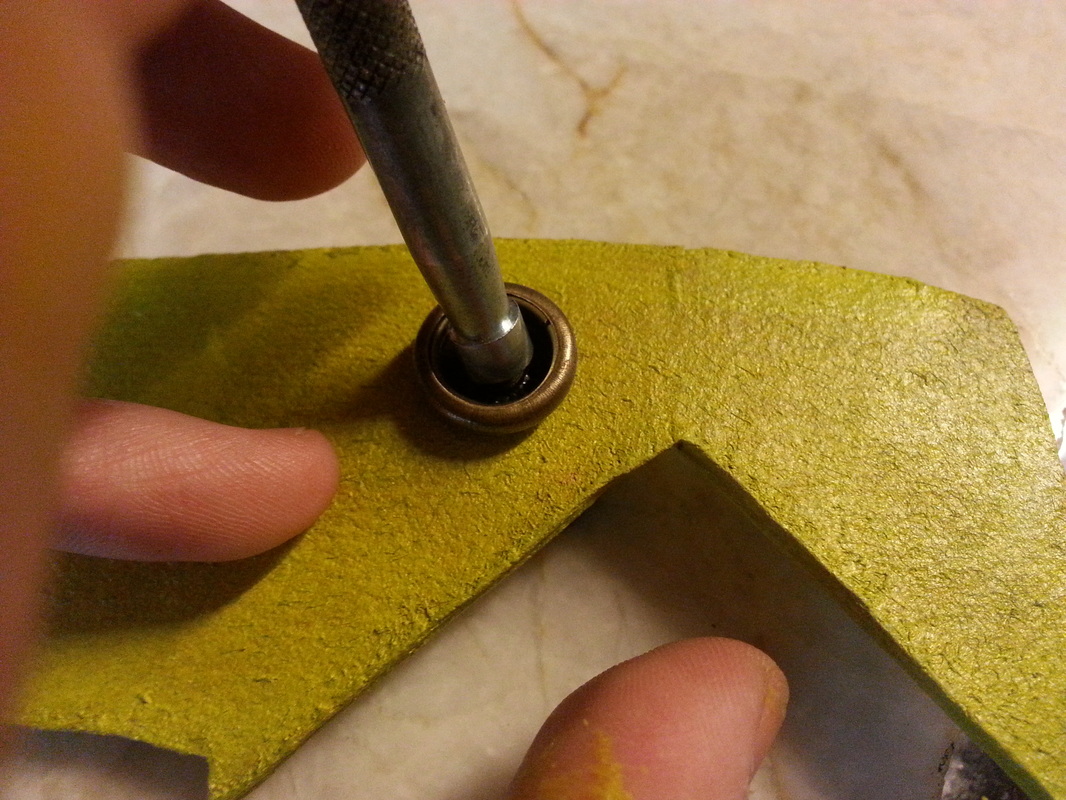
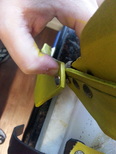
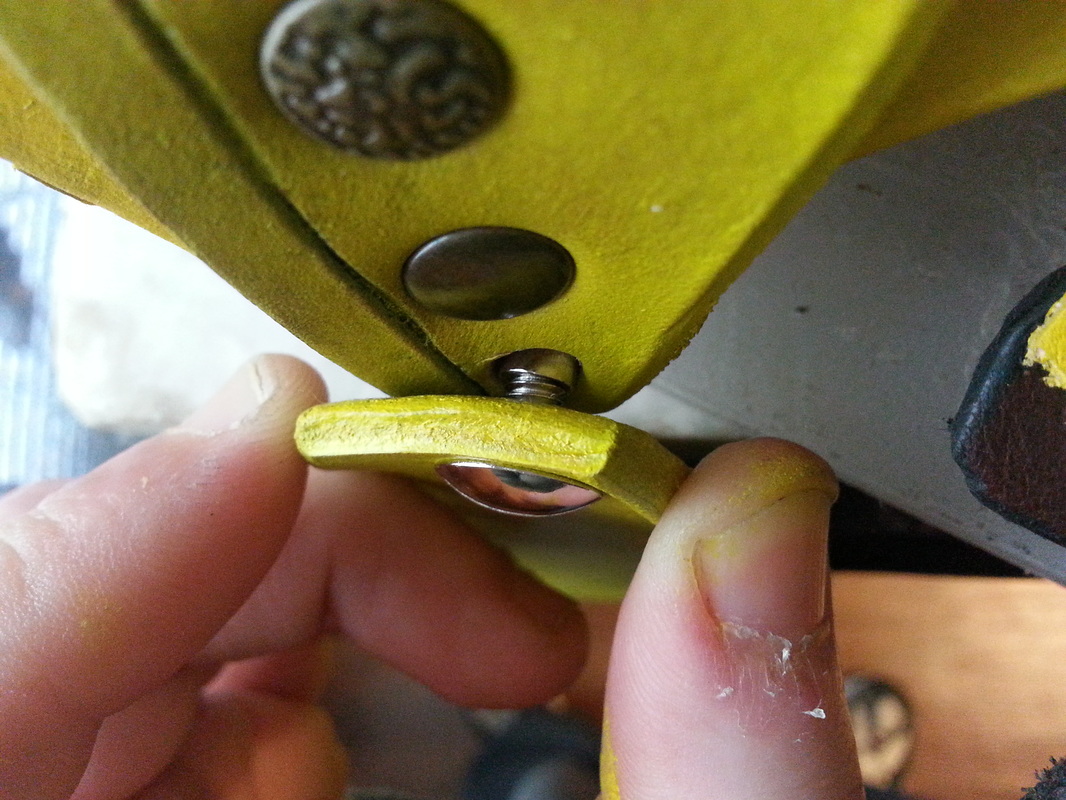
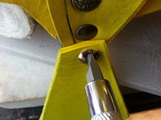
If you want to be able to interchange an aspect or fasten or remove something quickly then snaps are super helpful. Setting them requires a snap setter and the same anvil for the rivets. Plus, you want to use a circular pounding technique when you are putting snaps together. That creates the lip on the stem which will be curled over the bed of the snap, and locking the two pieces together. Similar to the rivet and grommet setters, snaps have their own setters and anvil for holding the cap based on the size. There are grommet setter sets if you prefer to have multiple sizes available, but choosing one to start with is workable. Remember to implore the circular pounding technique for setting snaps. Snap setters cost anywhere from $12-15.
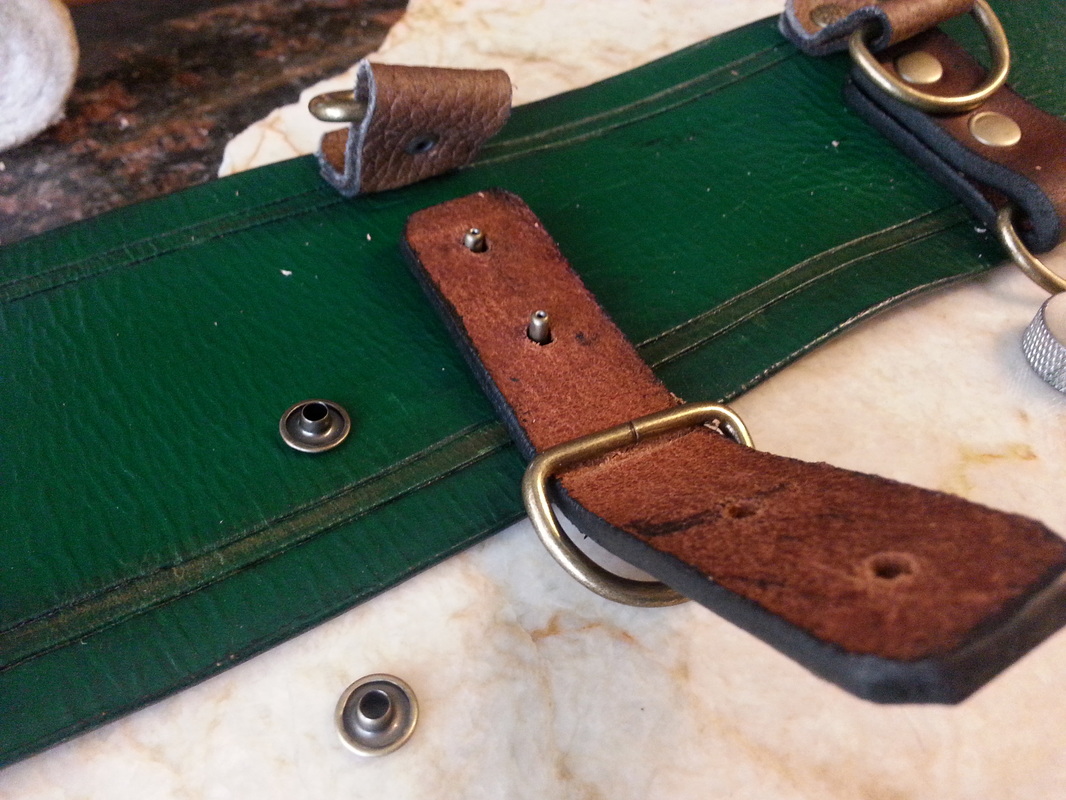
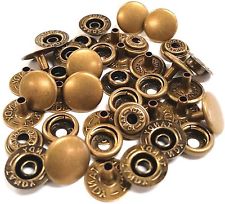
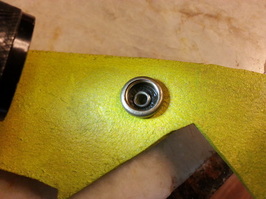 Snap set showing the lip of the stem curled over the bed of the snap. Grommets are very similar to rivets and come in different sizes and metals. Setting these requires the proper sized grommet setter to the grommet you are using, and the grommet anvil which is shaped different that the rivet anvil. It sort of resembles a donut. Variety can be the spice of life, and snaps can definitely add spice as well as practicality. There are different sizes but I prefer the line 24 or line 20 snaps.
Having a metal straight edge ruler is helpful for all straight edges you might need to make, and an absolute must have. Also, being able to utilize a soft sewing measuring tape will make fitting patterns to yourself easier, and allows you to take measurements of yourself or round surfaces. 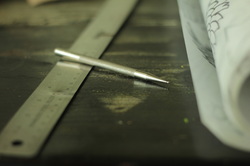 If you want to do any designs on your leather you will want a stylus and tracing film to make transferring your designs in detail to your leather easier as well. Plus, it allows you to keep that same design for quick future use. When googling stylus, make sure you type in "leather crafting stylus," otherwise you'll end up with a new stylus pen for your tablet. Leather stylus will cost somewhere near $10. 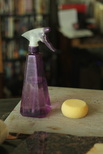 A sponge is useful for casing your leather or applying stains and paints. Having a spray bottle will let you soak your leather rather easily while you are working without having to move your leather around a lot. Rivets, buckles, and Chicago Screws are the staples of leather hardware. If you need leather pieces to come together these are the classic ways to make that magic happen.
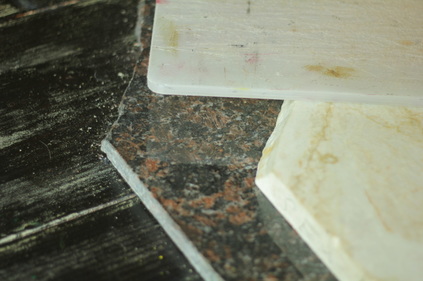 Granite Marble slabs found for free, and cutting board Having a cutting board or poundo board for whatever surface you work on will not only keep you from putting holes into it, but it will also give you a better work surface and likely make the noise of your pounding less annoying to everyone else. If you can find a place that has chunks of left over granite marble from cutting counter tops you can find a piece for a good discount, or even for free. I have three of different sizes that I got for free. Having granite is best for setting rivets, snaps and grommets, but don’t do any of your hole punching on it or you will dull your tools fast. You can set your cutting board on it to punch the holes and then just remove the cutting board when setting things. 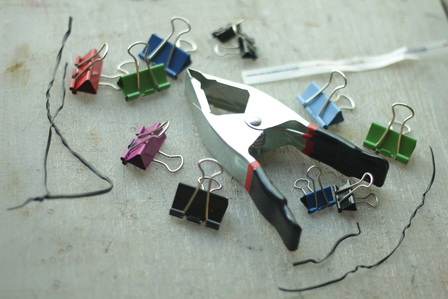 Office clips, twist ties, and heavy clamp. I find having some decent office clips or twist ties can really help me bring together my patterns to make sure that they come together right. You can also use paper brads if you have them and your leather isn’t too thick. Having heavier duty clamps is good for heavier armor making or anything super thick. The Tandy 6 Piece Craftsman Tool Set were the only tools I had for doing detailed tooling for three years, and I put it to good use. You can do all sorts of basic designs with these, and if you have a swivel knife too, then you can do just about anything design wise. The one I use most is the square beveller. 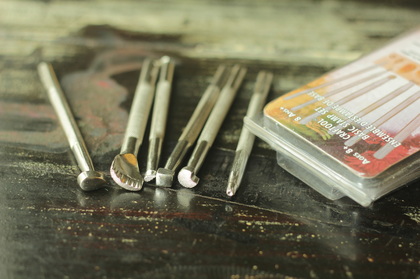 Stay tuned for part 2 of Building an Epic Leather Cosplay coming next week. I'll be covering the different kinds of leather, and the various uses for the different thicknesses of leather, plus a few useful techniques. Please feel free to contact me with any questions you may have.
|
Willow EnrightI started crafting out of leather in 2011, and now I am making it my life's work. I am writing this blog to help myself remember some of the small steps in past projects, sharing my triumphs and failures, as well as my love of leather. Archives
November 2017
Categories
All
|

|
Cosplay DIY (Blog) |


 RSS Feed
