|
by Willow Enright 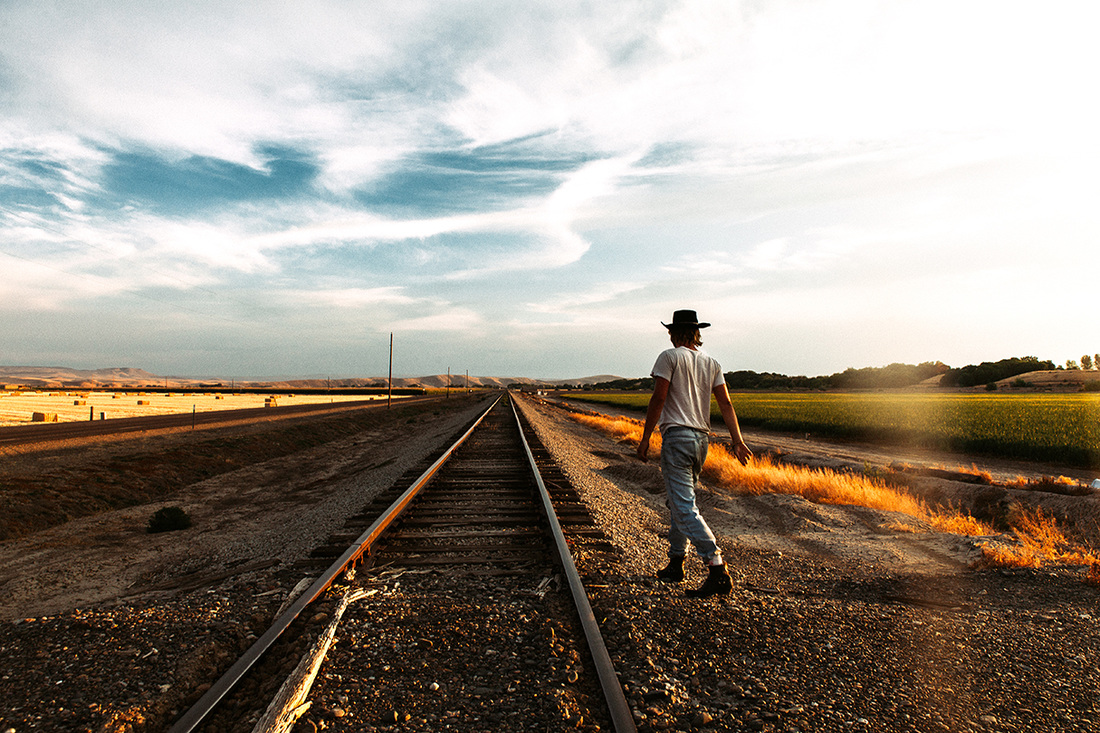 https://static.pexels.com/photos/7743/pexels-photo.jpg I admit it. I’m addicted to leather. Who hasn’t lusted after a pair of good fitting leather boots? The problem is that they never fit well when you first get them. So how do you get leather boots to fit like a glove? You insure proper support, shape them the way that cowboys did, and condition them for longest life possible. First you’ll need to assess whether or not you need arch support. This can be done quite simply with a piece of cardboard larger than your feet and some water. Dip just the bottom of your feet into the water and then stand up for a few seconds onto the piece of cardboard. After your wet foot prints are made, study them to see which of the general three categories you fit, high, neutral, or low arches. You can view the picture below for a reference. Once you know if you require support you can acquire the correct insert at most sporting stores. There are even different variations based on what you plan to do while wearing them, ie… hiking, walking, running. You don’t want to attempt the Cowboy Method to fit your boots without your arch support insert, or you won’t be wearing them. 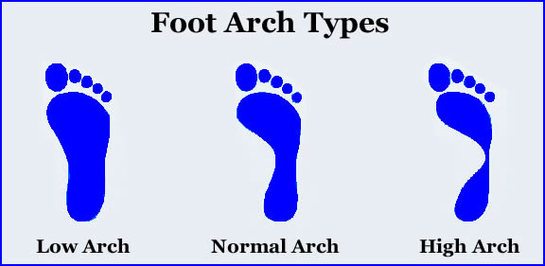 http://underpronation.org/wp-content/uploads/2011/08/foot-arch-types.jpg What is the The Cowboy Method? The Cowboy Method is where you put your boots on, and stand in water until your feet are wet, then continue to wear them until dry. This tradition goes back many generations. Leather can be stiff and unyielding at first, and you have to work it in to get that worn, comfortable fit. I know that this method will sound outlandish to some, but many can attest to its tried and true traditional method, one that will not hurt properly tanned leather. After all, a steer did wear it out in the rain long before it became your boots. 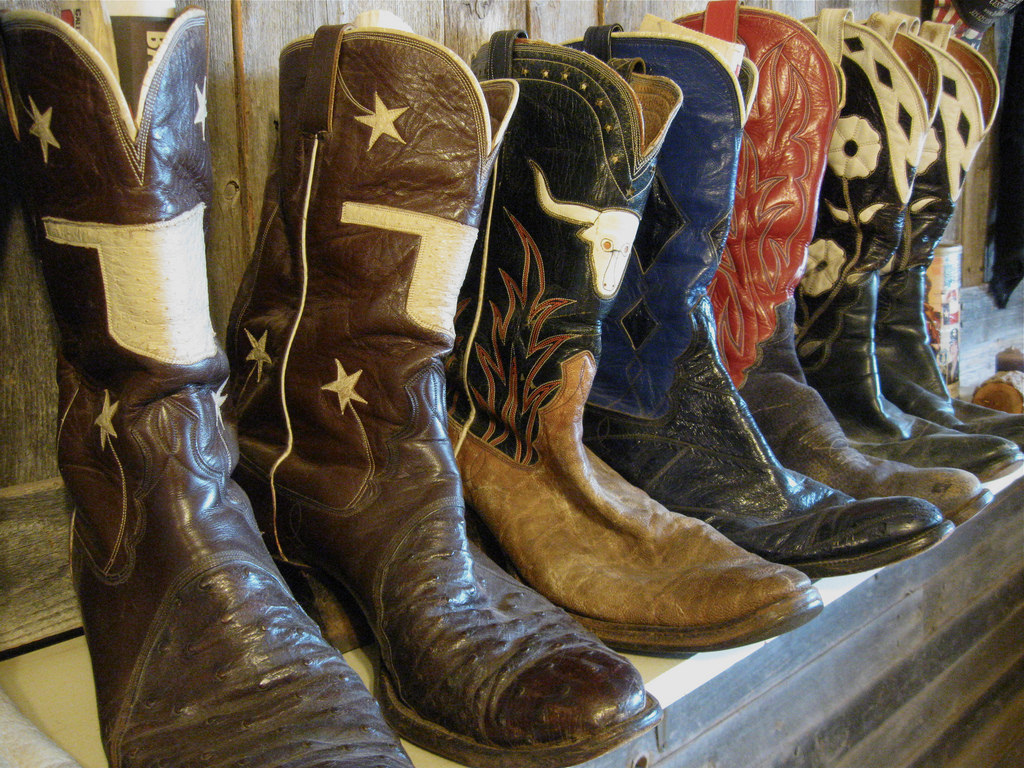 https://farm4.staticflickr.com/3027/2938498826_71d1b8c2a4_b.jpg Let’s break this down into detail: 1. Put on the thickest socks you own with your boots and get them wet, as in saturated. If you don’t have thick socks, you’ll want to wear two to three pairs. Stand in the bath tub with warm (not hot, warm) water up over your ankles until you feel your feet are good and wet. 2. Leave them on for as long as possible, all day is best. As they begin to dry they will conform to your foot shape and ease tension points out by stretching the leather. 3. At the end of the day remove them and if they are still wet stuff them with newspaper to retain the shape you spent all day making. Be sure to keep them out of direct sunlight and away from any heat sources. You want them to dry naturally. 4. Allow them to completely dry while you are wearing them, likely over several days. Repeat the process if necessary, but only after they have completely dried out (a week later at the earliest.) 5. Once they have dried out keep in mind that leather does shrink up as it dries, so don't panic if they are a bit snug when you put them back on. Just wear them for an hour or so before you decide if you need to repeat the method. 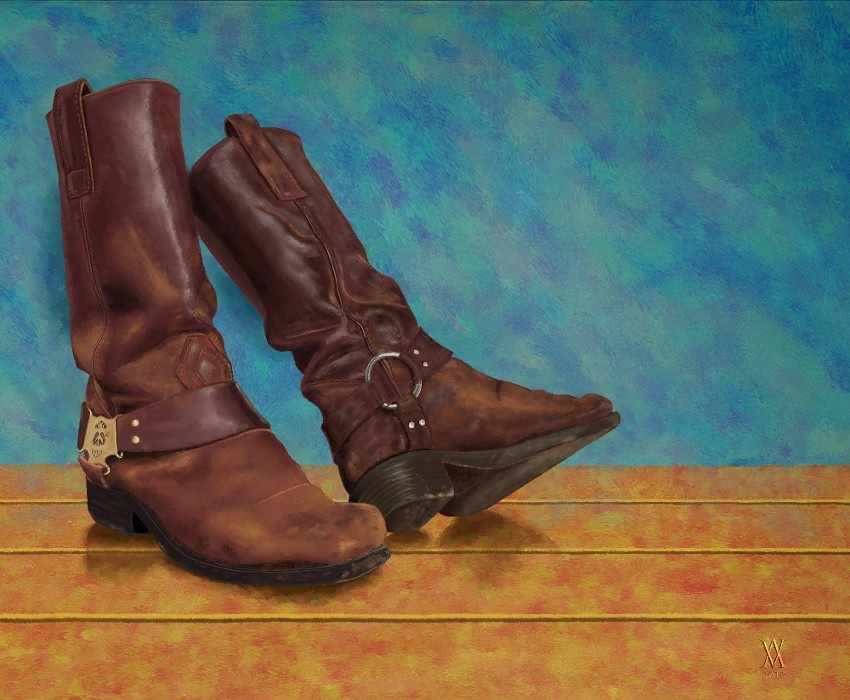 http://orig00.deviantart.net/250d/f/2010/349/c/5/leather_boots_by_agapetos-d34x01a.jpg Remember to condition the leather after the boots are dry, and continue to condition them on a regular basis. Just like any skin, when it dries out it can crack, so you want to moisturize. If you live in the desert you’ll want to do this more often, and if you wear your boots daily you’ll want to do this monthly or bi-weekly.
Take a clean dry cloth to your boots to remove any dirt or debris before you apply the leather conditioner. You can use a variety of products, but most importantly you want something that will work into the leather and not just sit on top. Use Leather Honey or Leather Milk followed by Aussie Leather Conditioner. Water treating your leather isn’t necessary if you are properly conditioning your boots. Keep in mind that conditioners can slightly darken your leather, but conditioning your boots properly will extend the lifespan of them and keep them worn to perfection.
1 Comment
by Willow Enright 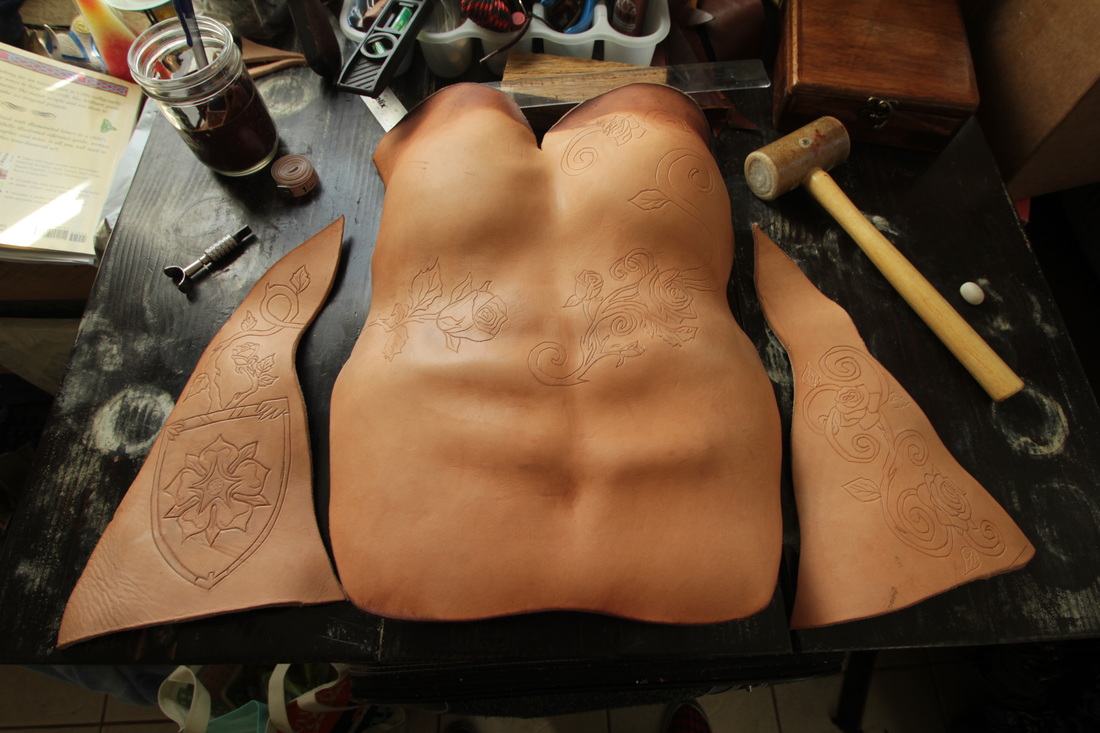 Tyrell Armor all dry after Water Hardening. The process of water hardening leather is a time old tale which the French commonly came to refer to as Cuir Bouilli, or boiled leather. It’s not a particularly difficult process, but it does require some knowledgeable finesse. I’ve narrowed it down to five steps. Mostly, you need some water, leather, a large enough pot to soak the item you are working with, something to protect your hands, and nowadays a thermometer is recommended for consistency. 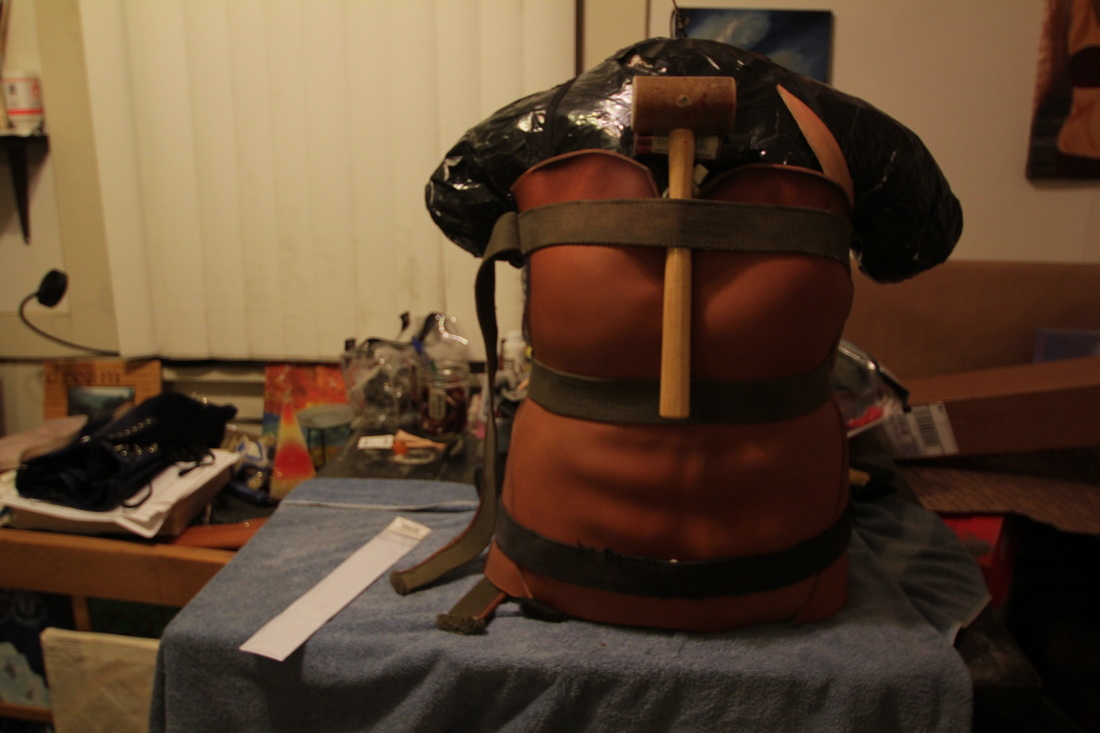 This is the Tyrell Armor after being Cuir Bouillied and is being held and shaped into place. How to Water Harden Leather
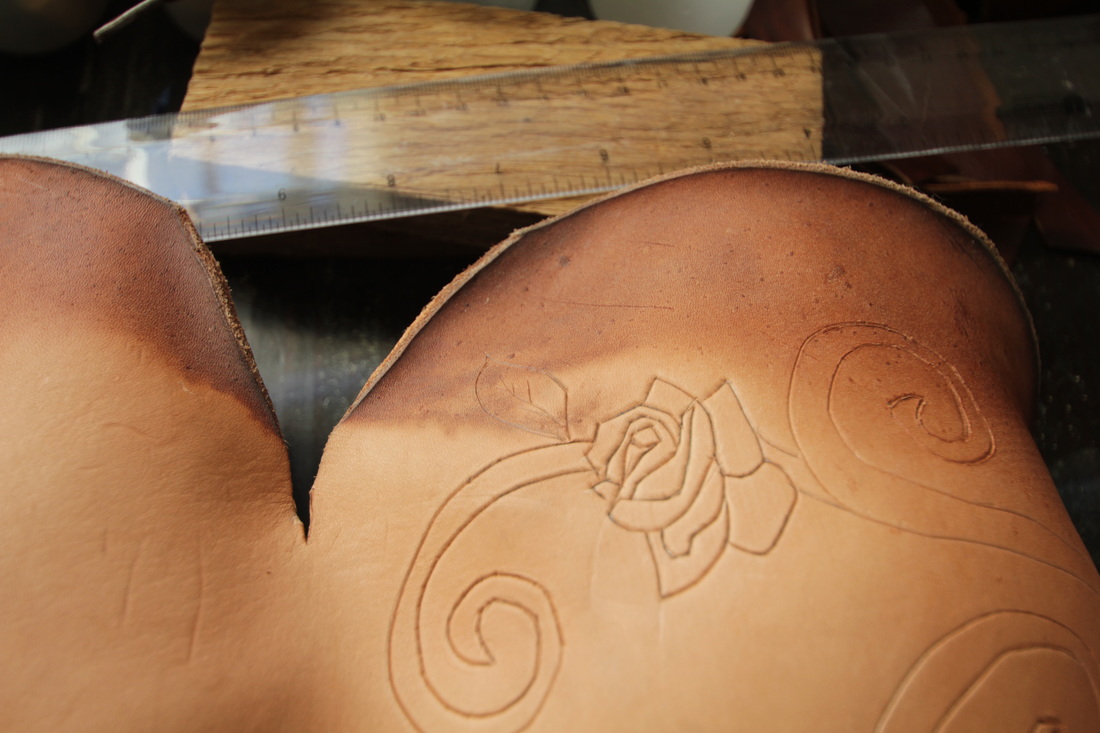 This is the Tyrell Armor with a little burnt edge. BE CAREFUL! This was amazingly difficult to shape and cut. So whether you call it boiled leather, Cuir Bouilli, or water hardening we are all talking about the same thing. There’s also the use of wax to harden, but I haven’t yet experimented with this way, if you have I would love to hear about it. There is also, the basic wet forming which I covered in a previous blog. Click the words Wet Forming for the link. For further questions you can leave a comment or send me a message on Facebook.
|
Willow EnrightI started crafting out of leather in 2011, and now I am making it my life's work. I am writing this blog to help myself remember some of the small steps in past projects, sharing my triumphs and failures, as well as my love of leather. Archives
November 2017
Categories
All
|

|
Cosplay DIY (Blog) |
 RSS Feed
