|
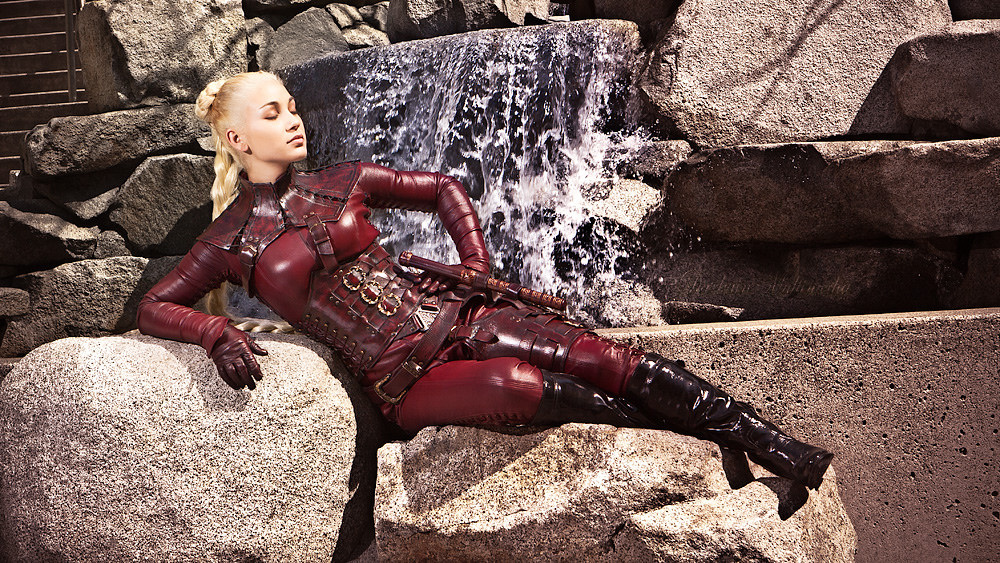
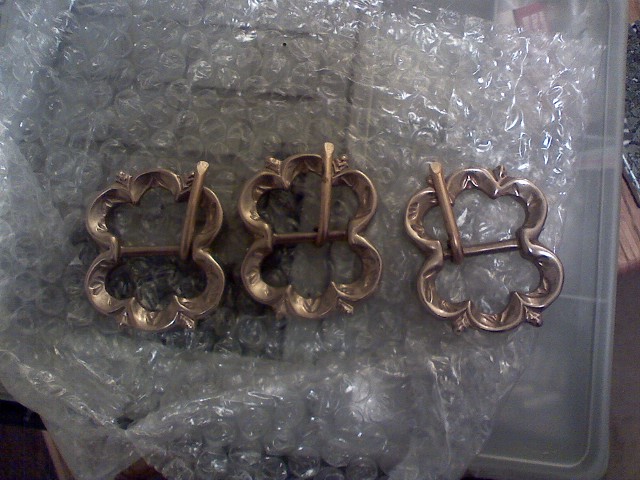
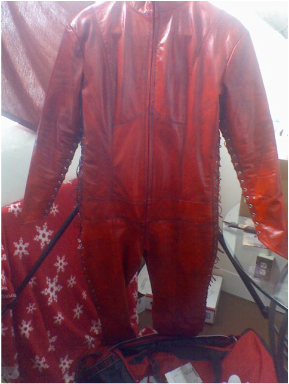
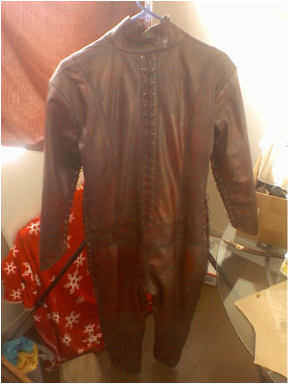
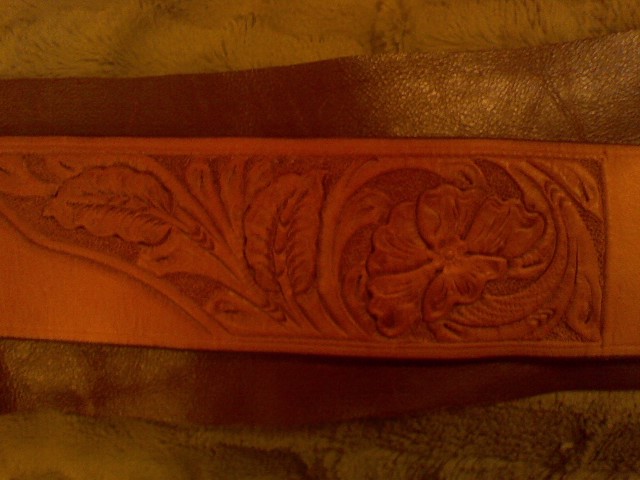
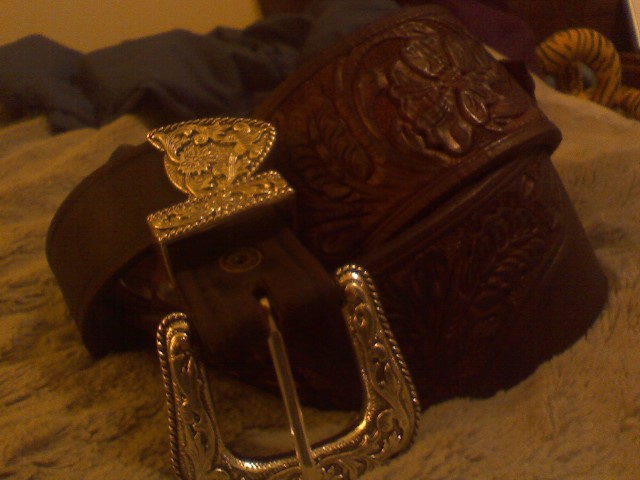
by Willow Enright Part I: Leaving D'HaraI fell in love with the blood-red, leather armored Mord-Sith characters the first time I saw them on Legend of the Seeker. Cara Mason, Sister of the Agiel, was the reason I decided to read Terry Goodkind’s novels from the Sword of Truth series. The characters are the personal guard of the Lord Rahl. They serve and protect their Lord, clad in a blood-red battle armor wielding their magical, pain-inflicting Agiel while brandishing the power of “the breath of life.” I loved both Sisters Raina and Cara so much in the books that I just had to try and create my own version of the Mord-Sith armor. I started with Raina’s armor first since I’m a natural brunette and figured that would be an easier cosplay for me. I had never worked with leather before, except the occasional bracelet at summer camp. So, I set out to do some research. Trying to find information on how to re-create the TV version of the Mord-Sith armor proved to be quite a challenge. In fact, it involved close study of a lot of printed still photos from actors wearing the leather armor while filming the show. I didn’t think that I would be able to do any of the design tooling since I had never touched leather working before, and I pretty much had no idea where to start in acquiring leather for the project. So, I began by watching various kinds of leather hides on Ebay. This gave me an idea of how much hides sold for, and a feel for the amount of material that went along with that. My first purchase was a nicely colored rustic brown, which was 3-4 oz upholstery leather that was about 6-7 sqf. It was too brown, too thin, and not enough material to complete the project. Next, I bought a lovely shade of maroon which was a closer match in color to the costume, but an even smaller piece of leather that turned out to be even thinner, a 2-3oz upholstery. Eventually I figured out the “oz” thicknesses, and then found a decent sized 12-14 sqf piece of 4-5 oz mahogany leather pre-dyed within my price range. I choose this leather for my first set of Mord-Sith armor because of the leather thickness. Since I wasn’t planning on doing any tooling this thickness of leather gave the impression of armor without being too thick for me as a newbie to work with. This way I could focus on getting the shape of the armor pattern right and use the beautifully detailed historical replica buckles that took forever to track down and cost me an arm and a leg. While I worked on my research for the armor design I found an amazing costume designer, Tracy Black from Legend Costumes who happened to be just as passionate about Legend of the Seeker. She’d already been creating the amazing replica costumes from the show, having sewing skills far beyond mine, and using an industrial sewing machine. She created the leather cat suit for me as a commissioned piece. I had to save up big bucks for that part of the cosplay, but it was worth every penny. She was also extremely helpful in providing me tips and tricks along the way. When my catsuit arrived it was more Mario Andretti red than blood-red (see picture on the left). Due to time limits, Tracy had sent it to me before finishing her darkening process and I had to complete that once it was in my possession. I chose to use a Mahogany colored dye to offset the bright red before I had learned that the antique stain would do the same thing without drying the leather out (see picture on right). As it was, I used the dye and then a leather sheen conditioner to condition the leather and protect it. I replaced the red nylon cording with the mahogany dyed elastic cording. I had to hand sew some of the maroon leather, that I had acquired in my original hunt for leather, to add in some inches to increase the modesty panels on the sides of the catsuit. I have an ample bottom which stretched the sides too far leaving a revealing gap at my hips and upper thighs. Once I had found the leather to work with, hunted down the replica buckles, and studied the heck out of the photos of the leather armor I was almost ready to begin. Obviously, I wasn’t going to start hacking up the leather I painstakingly rooted out without a working pattern first. I chose to make my first pattern out of paper grocery bags mostly because they can be recycled if I had a lot of screw ups. And there were quite a few of those. Then I discovered how hard it is to test whether a pattern will fit or not by attempting to hold it up to yourself, and decided that a duct-tape body double was in order. For that you need an old t-shirt, shorts, and several rolls of duct-tape. After I had a working paper bag pattern I traced them onto cardboard so that I could lay them out on the leather, fitting them all before cutting any of the pieces. I also had to find a thicker piece of leather to use for the belt since 4-5oz just isn’t hearty enough. I found a nice 8 oz piece on eBay that someone had left over, and since it was only enough for about half of the belt I chose to use an existing black belt that I already had to finish off the length. I had to cut the black belt into two sections that I then riveted to the thicker section I found online. The black belt had the ability to remove the buckle already, so I was able to add the Mord-Sith western style buckle that was used in the T.V. show.
To be continued...
2 Comments
Leave a Reply. |
Willow EnrightI started crafting out of leather in 2011, and now I am making it my life's work. I am writing this blog to help myself remember some of the small steps in past projects, sharing my triumphs and failures, as well as my love of leather. Archives
November 2017
Categories
All
|
 RSS Feed
