|
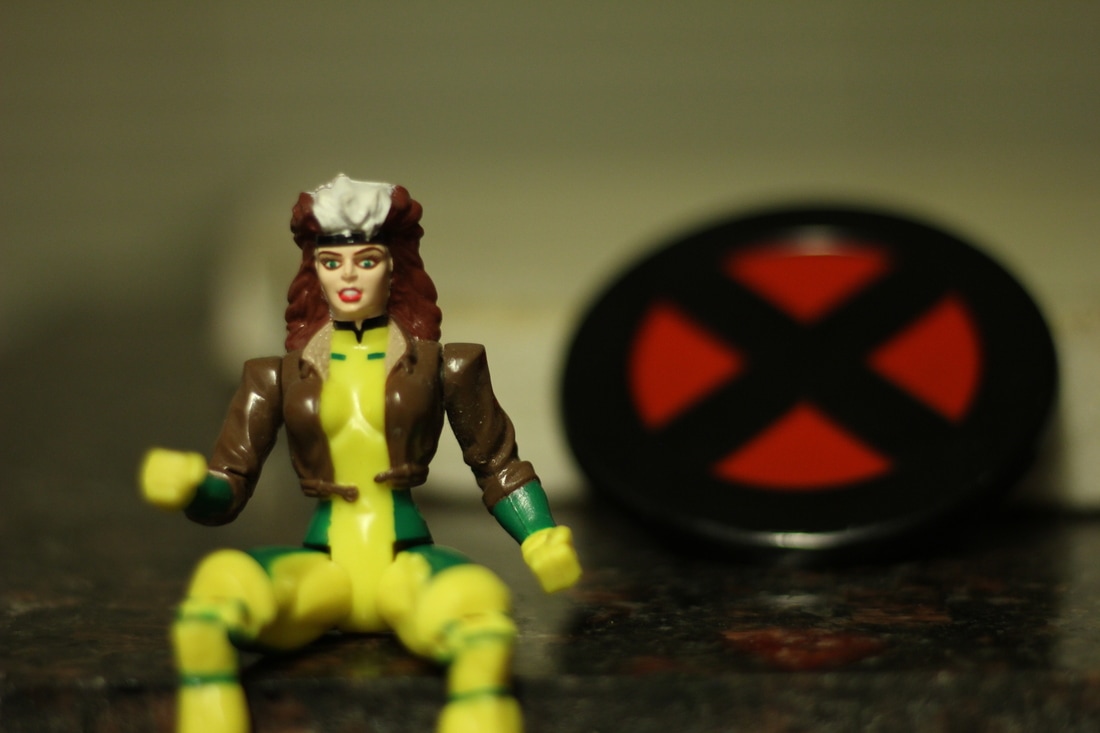
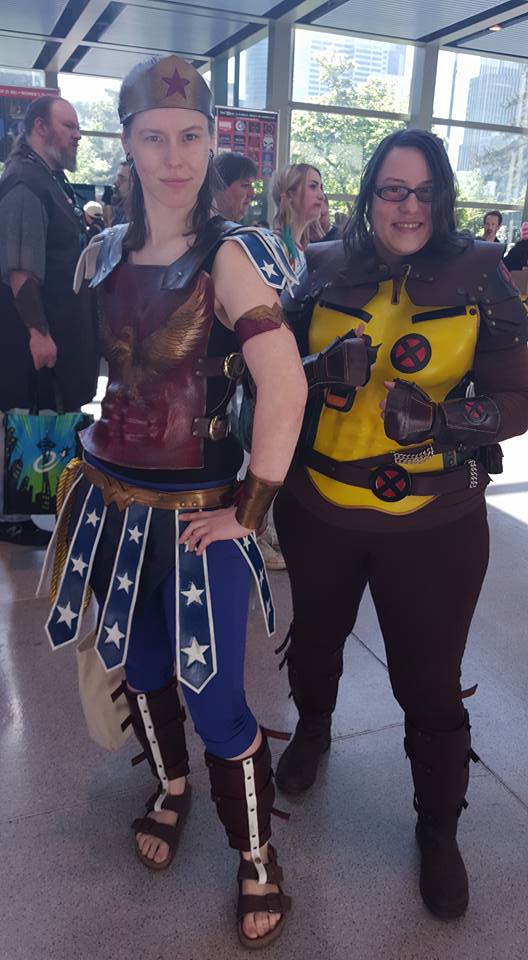
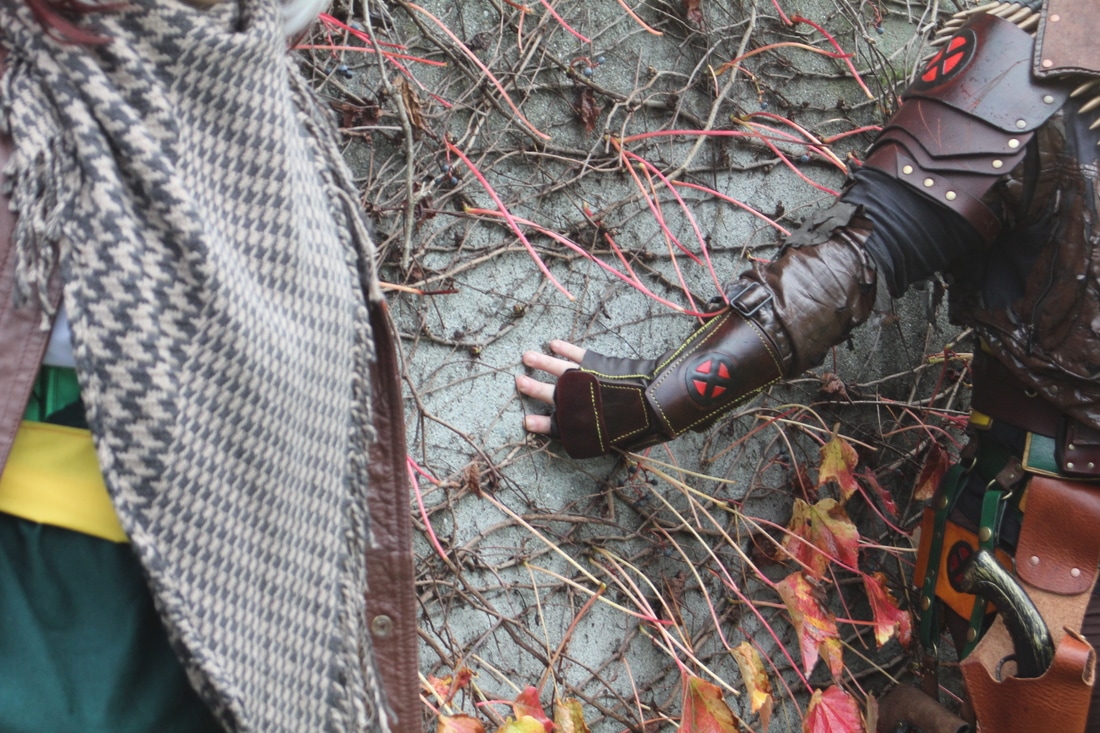
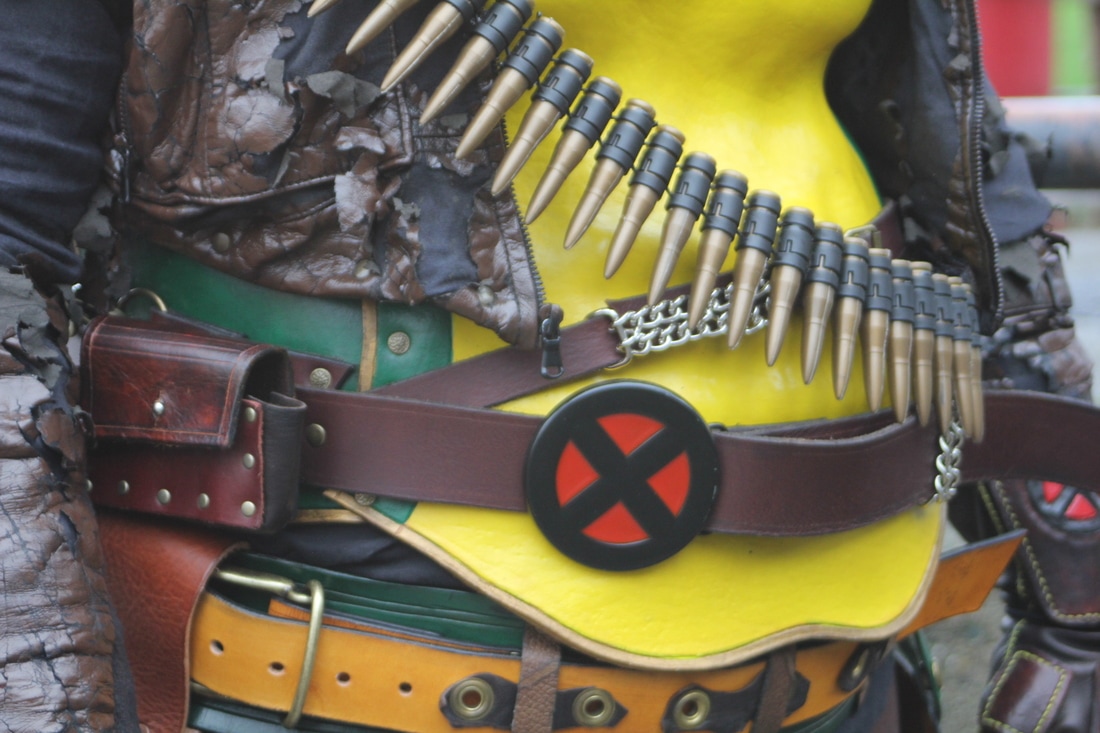
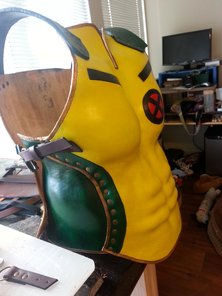
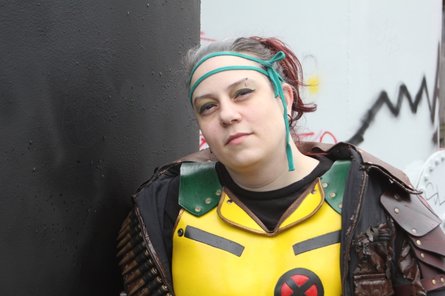
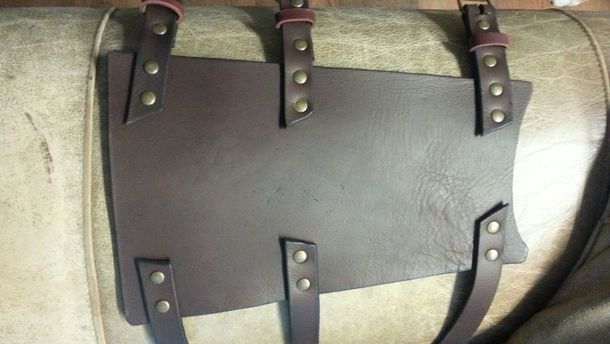
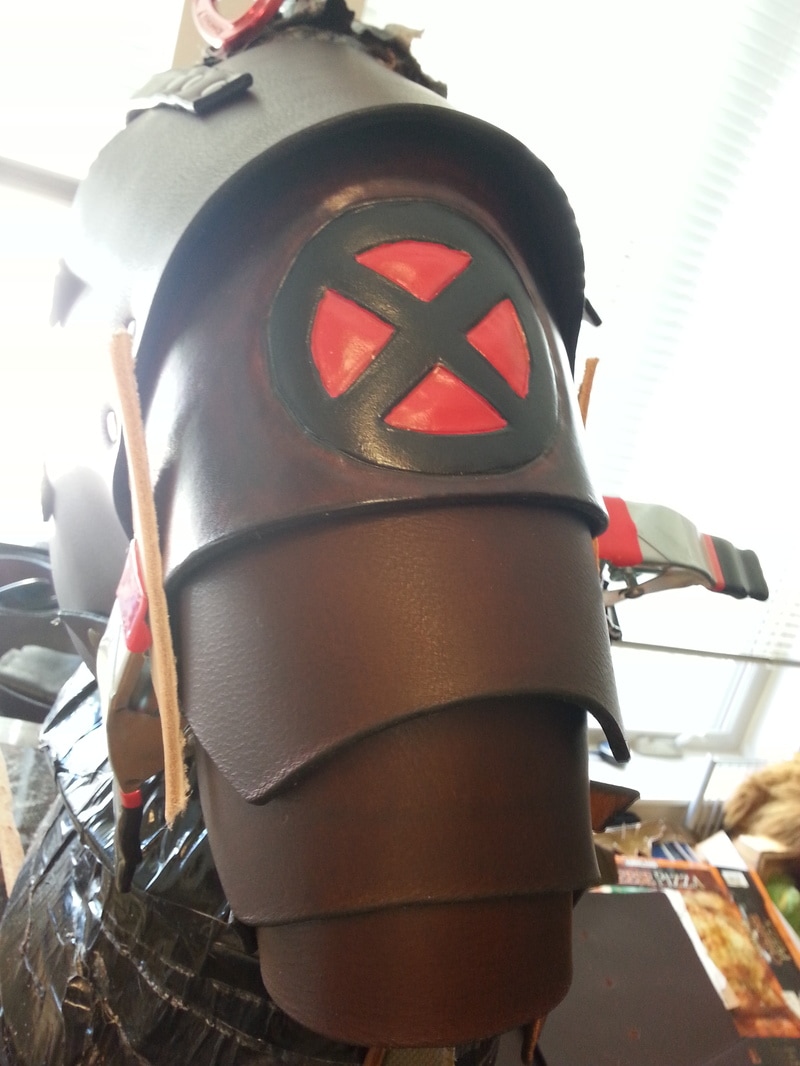
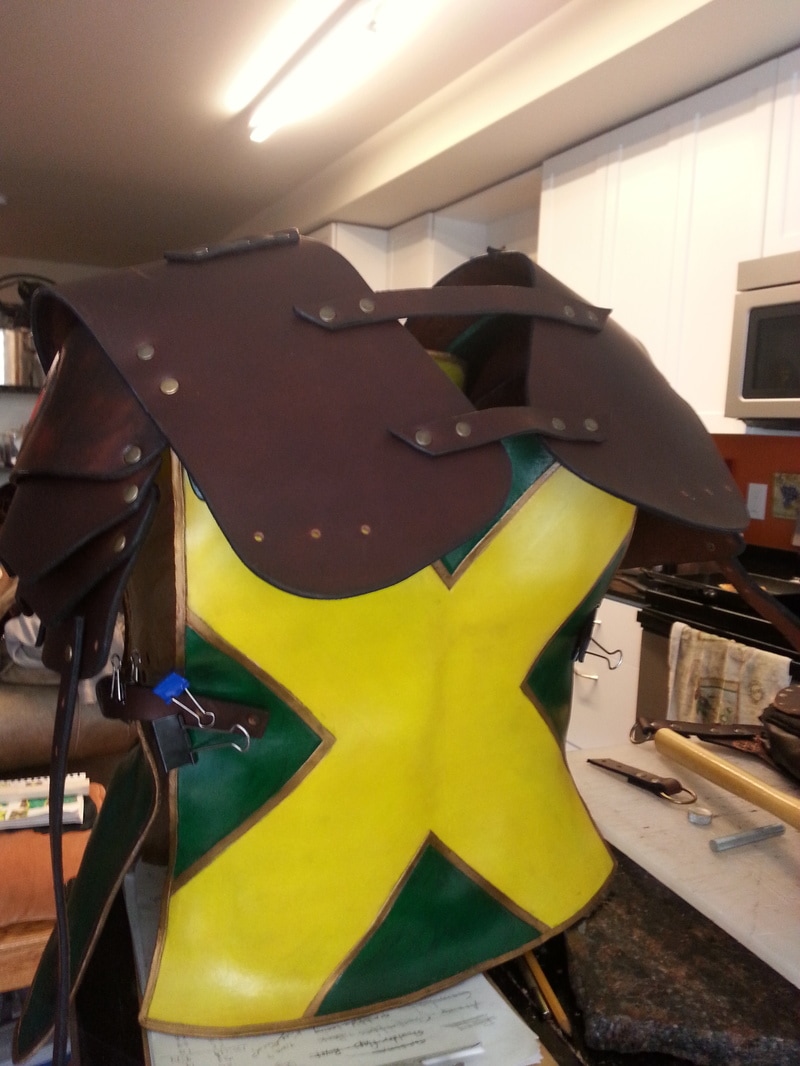
by Willow Enright We all grow up with an assortment of childhood memorbilia surrounding us. Comic books and graphic novels were among mine, one in particular was X-Men. One of my favorite comic book characters is Rogue, or Anna Marie from Caldecott County, Mississippi. There was just something about a sweet Southern Belle kicking some major ass that spoke to my sensibilities. As a grown up, I decided that I wanted to create a unique take on the Rogue Cosplay, and came up with an armored Post Savage Land Rogue. It's an apocolyptic take on the mutant after her stent in the Savage Land. The creation of my armored X-Men mutant Rogue has gone through two stages previously with a third stage in developement. When developing a cosplay character it is common to have to adapt or add to your costume to enhance the end result for the optimal cosplay experience. This particular cosplay allows for maximum fun because my additions are purely my own creations, except for the double belt, and the traditional yellow and green body suit which I plan for the third stage. First StageIn the first stage of my armored cosplay I found that the following three items really worked out pretty well for me. The two piece Chest Armor, Armored Gauntlets, and my double Belt w/Pouches. Both the Gauntlets and double Belt with pouches turned out the first time without needing any adjustments. The Chest Armor required a bit of trimming in the neck line, I reformed my collar so that I could have full range of motion for my neck, and a bit of trimming at the bottom of the front plate since I wanted to be able to sit down. What I kept...The Guantlets were created from a traced pattern made from an outline of my hand. I created the template with both a front and a back, I also included an additional inch for the depth of my hand. The 3-4 oz Chocolate Brown Deerskin was chosen for ease of hand sewing and for comfort and flexibility. The added armored pieces were 7-9oz Veg Tanned Leather so that I could use the Wet Form process to mold them into armored sections that would fit my knuckles, hand, and wrist. Each piece was dyed and or tooled before being hand sewn onto the fingerless gloves. The double Belt with Pouches were made from 8-9 Oz Rustic Brown Water Buffalo, 3-4 oz Chocolate Brown Deerskin, and 7-9oz Veg Tan Leather. The belts are rugged and sturdy, and designed after the classic double belt that Rogue wore with her traditional costume. I acquired an X-Men buckle, along with some silver chains to use as belt keepers to add some extra Rogue flair. The pouches are made with a thiner leather for the sides and then dyed veg tanned leather for the front and back, and each closes with a small button stud. The front and back plate for the Chest Armor were both created with the 7-9oz Veg Tanned Leather so that I could use the Wet Form process (Click the link to see more). I am going to cover both my first attempt as well as my later adjustments, just for ease of storytelling. Each piece was cut and designed prior to being wet formed using a duct tape body double. After the wet form process was dry the leather was painted with Angelus Leather Paints. The sides are held together with straps made of 8-9 Oz Rustic Brown Water Buffalo, and squeeze clasps and 3/4" buckles. Orignially the neckline was too tall, and made moving my neck and head difficult so I trimmed and constructed a new collar from the pieces removed. They were riveted and then sewn with a section of Utility Side. The bottom of the front plate was trimmed to allow me to sit down in the armor. What Didn't Work...The Shin Guards simply blended in too much with my brown pants and black pants and ox blood boots. They were constructed as a simple, single piece shin gaurd with three sets of straps and buckles for each to hold them to my shin. They were made entirely from 8-9 Oz Rustic Brown Water Buffalo, and each strap and buckle were riveted, with the base of each shin piece curved for comfort. The Shoulder Pauldron was made from 7-9oz Veg Tan Leather, and 8-9 Oz Rustic Brown Water Buffalo. The Veg Tanned section was for the shoulder pieces where the X-Men symbol was carved and tooled and then wet formed around my arm. Each piece was riveted to the next, including the shoulder joint which should have been made with a moveable connector such as a chicago screw. Originally I planned for the Shoulder Pauldron to look like a half leather jacket, but instead it turned out more like football padding making me into a Teenage Mutant X-Men Turtle, Rogue in a half shell.
Because I wasn't as pleased with my first attempt at a Post Savage Land Rogue, I didn't take as many photos of me in the finished costume. Instead I went back to the drawing board to create something worth writing home about. You can see my second attempt at Rogue in my next blog due out on Feb 4th.
1 Comment
9/18/2023 10:22:24 am
I wanted to express my gratitude for your insightful and engaging article. Your writing is clear and easy to follow, and I appreciated the way you presented your ideas in a thoughtful and organized manner. Your analysis was both thought-provoking and well-researched, and I enjoyed the real-life examples you used to illustrate your points. Your article has provided me with a fresh perspective on the subject matter and has inspired me to think more deeply about this topic.
Reply
Leave a Reply. |
Willow EnrightI started crafting out of leather in 2011, and now I am making it my life's work. I am writing this blog to help myself remember some of the small steps in past projects, sharing my triumphs and failures, as well as my love of leather. Archives
November 2017
Categories
All
|
 RSS Feed
