|
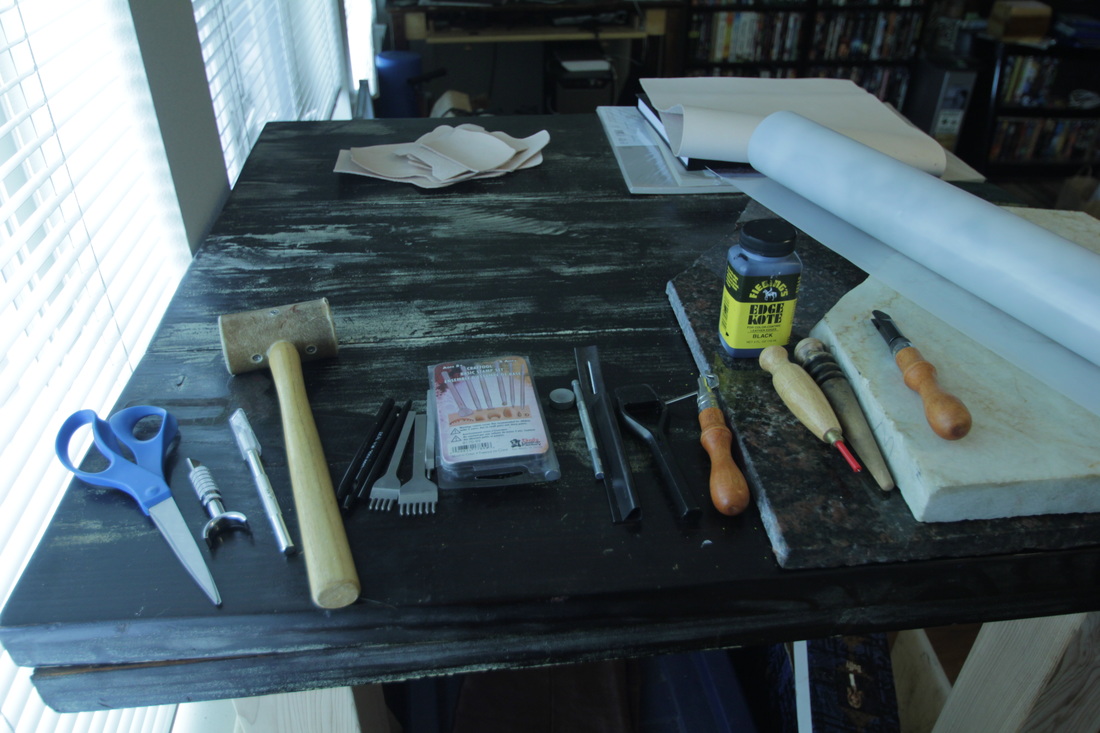
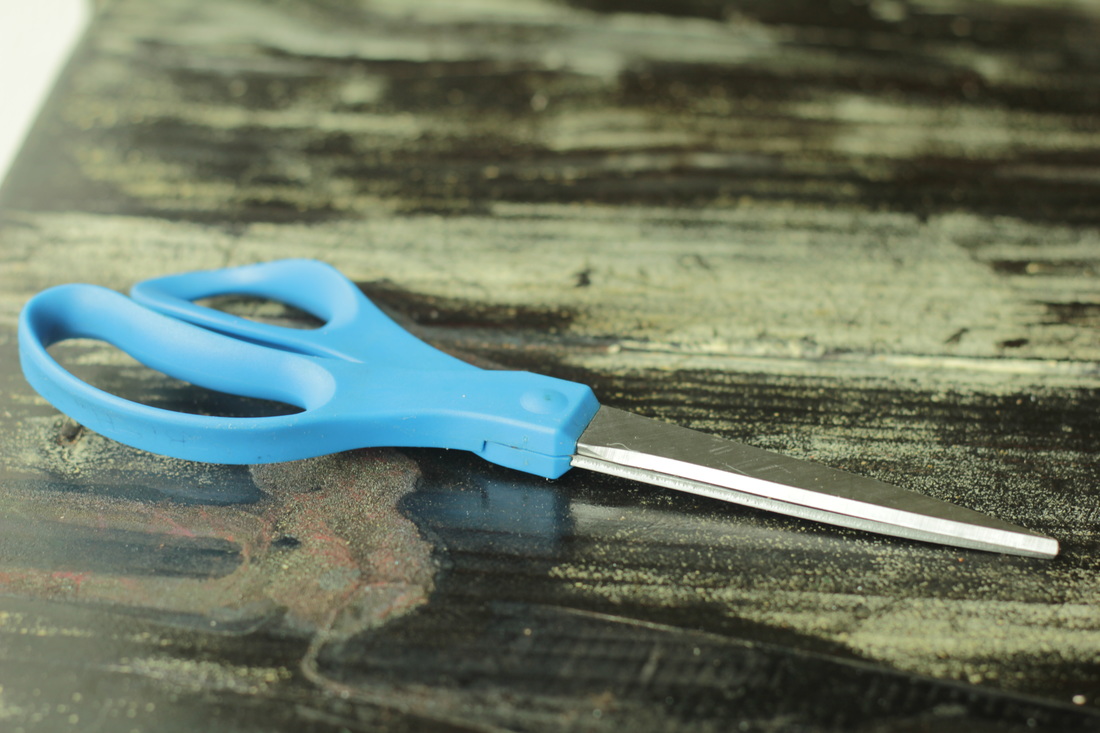
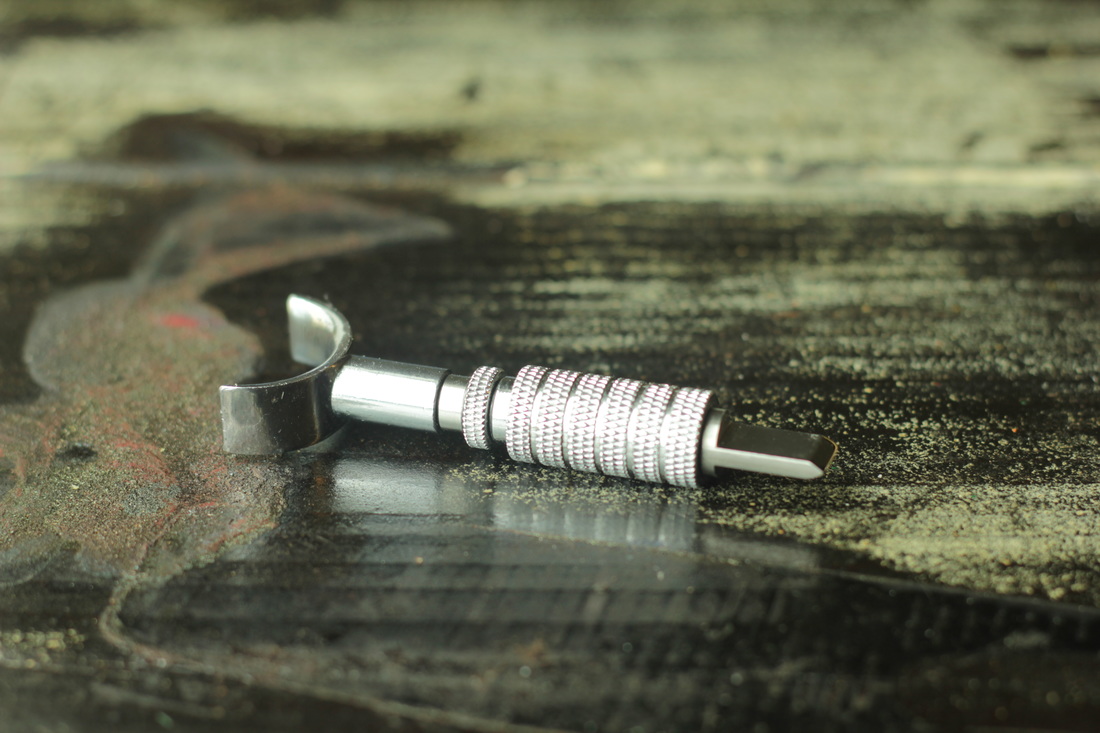
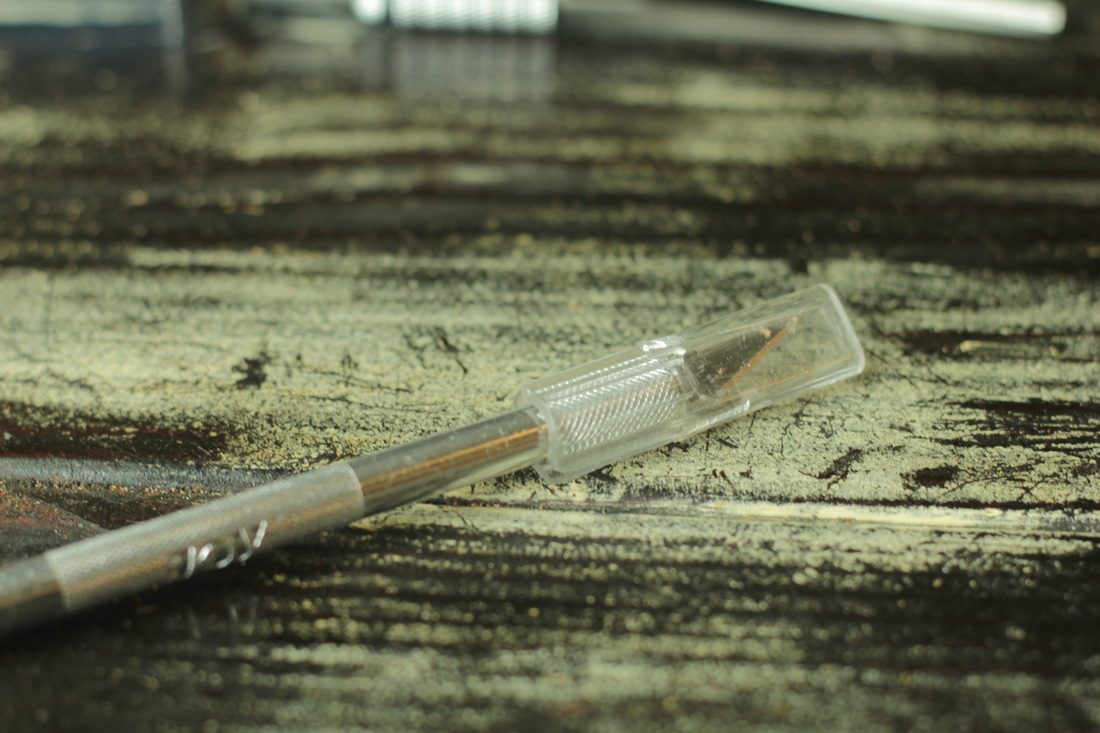
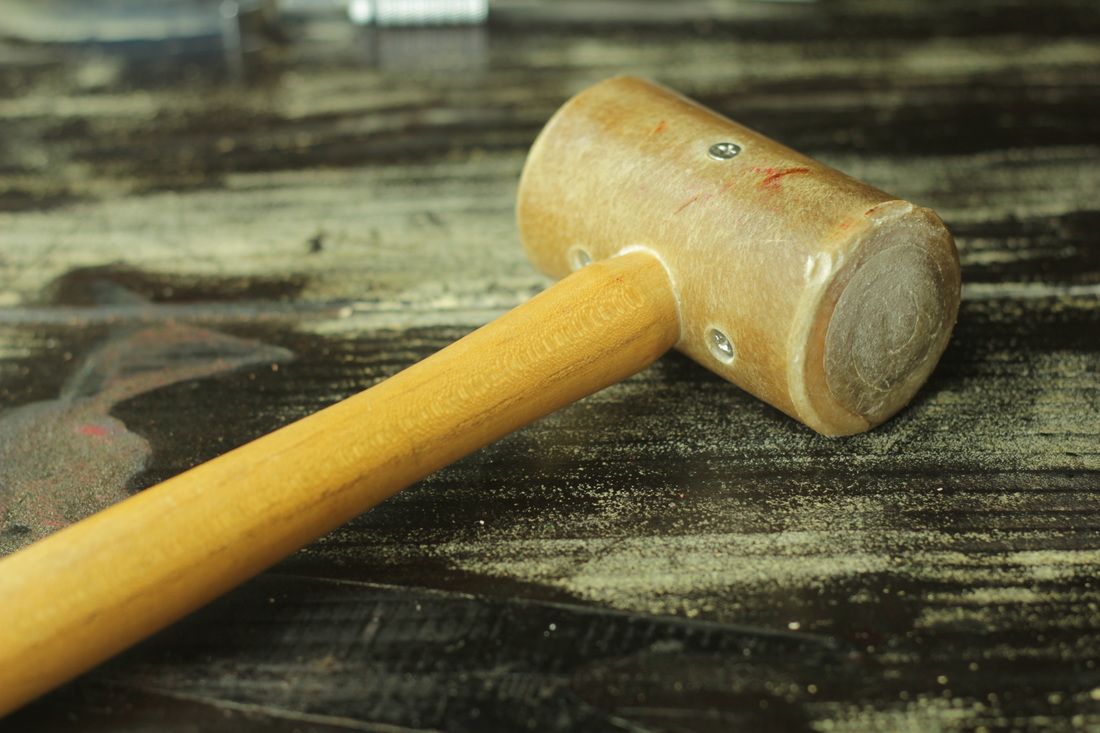
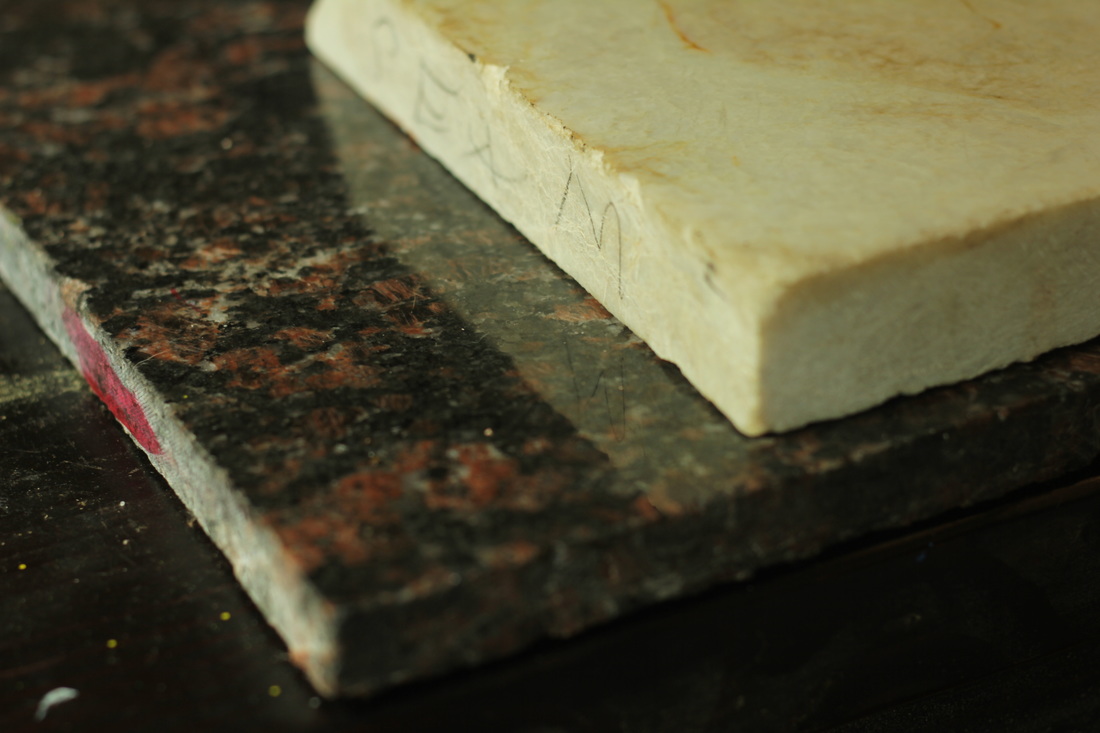
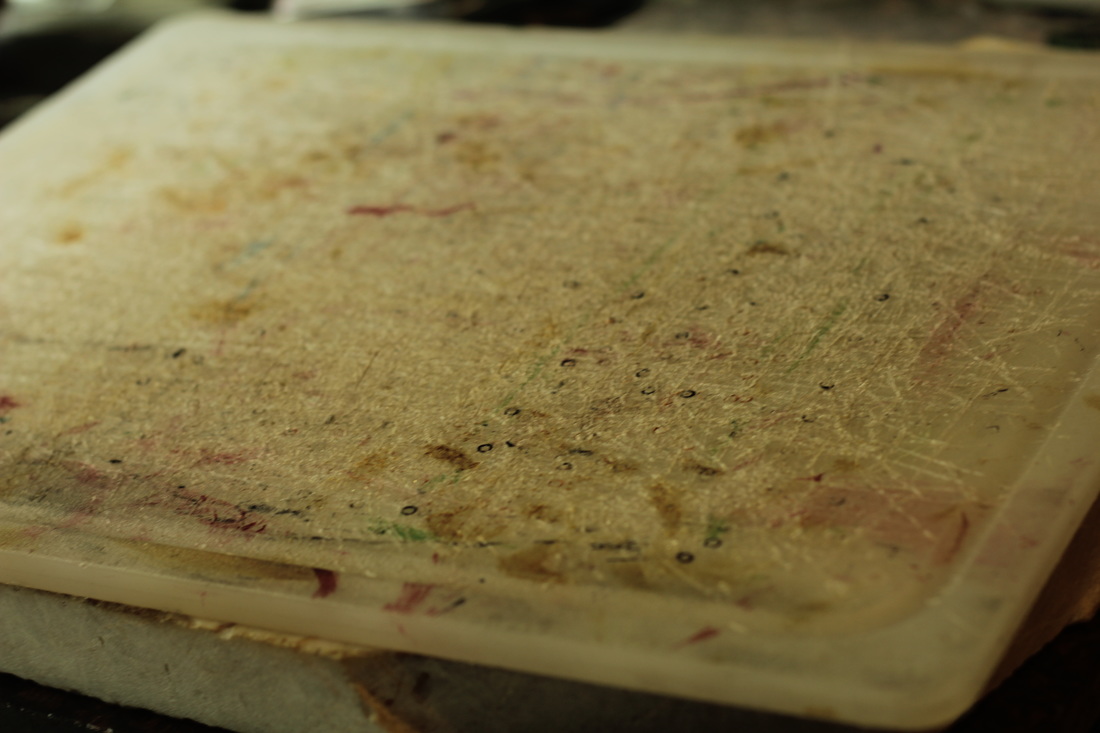
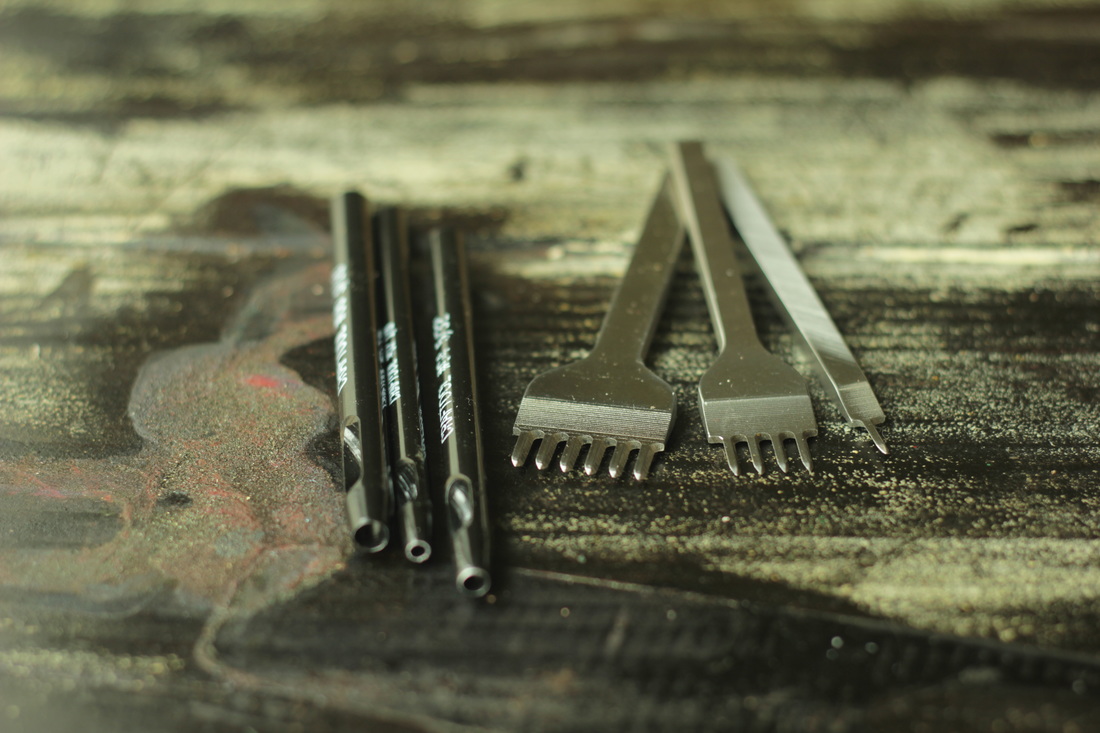
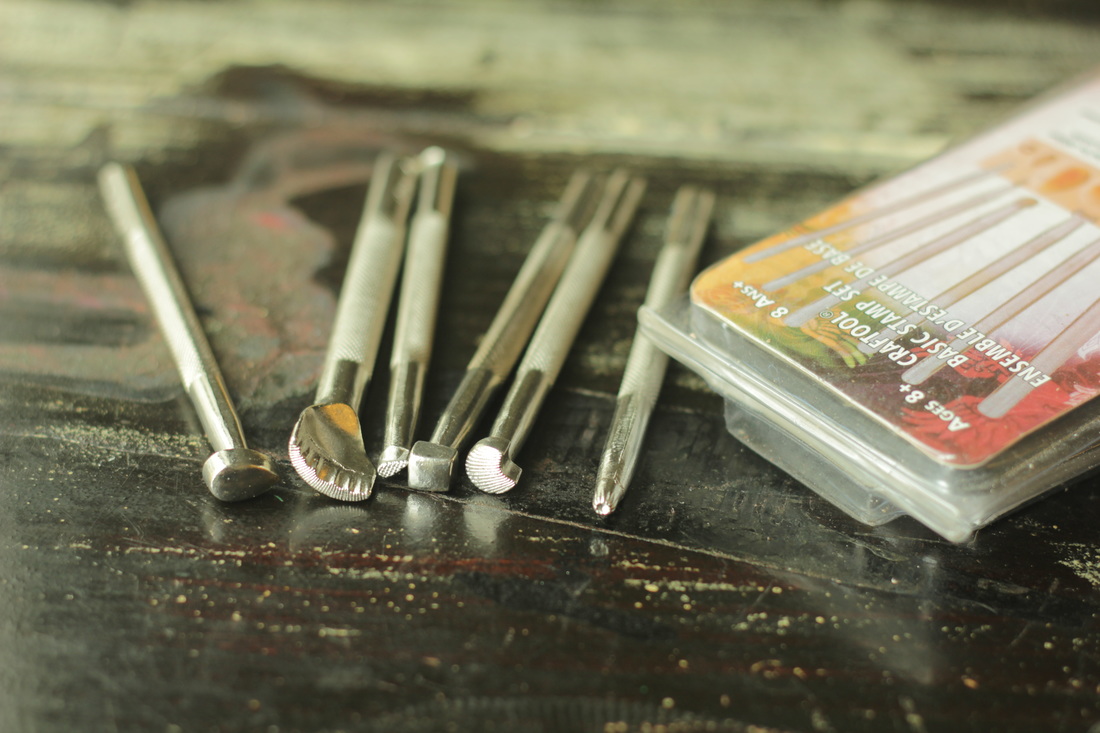
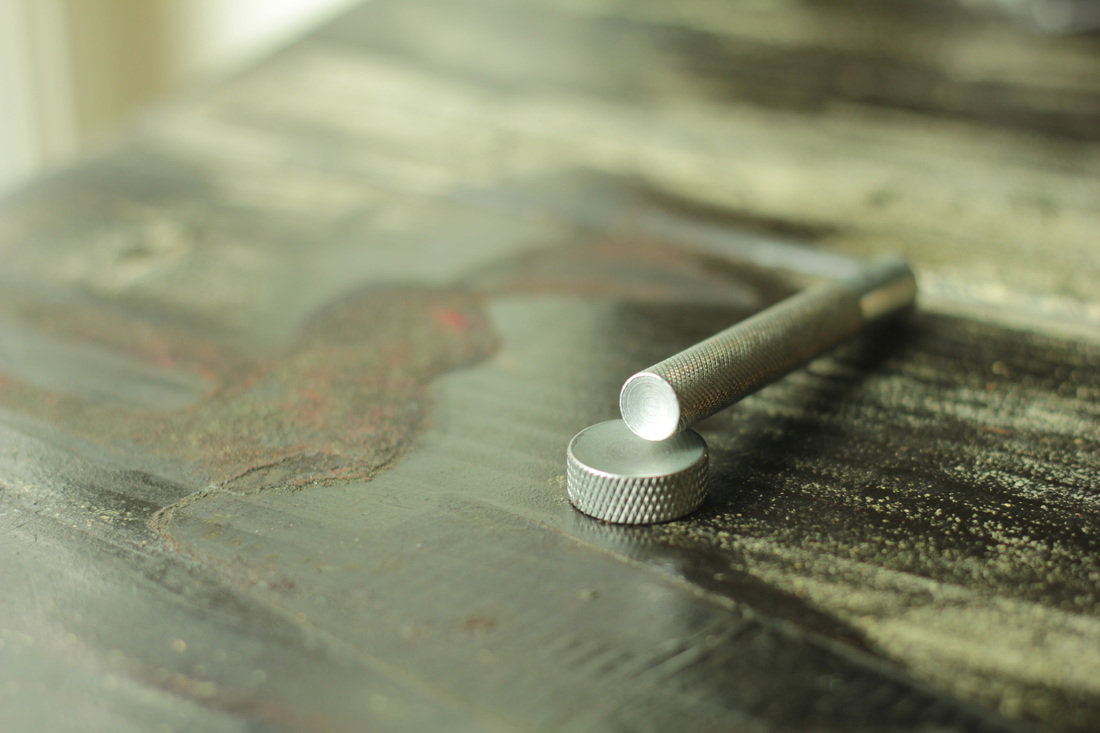
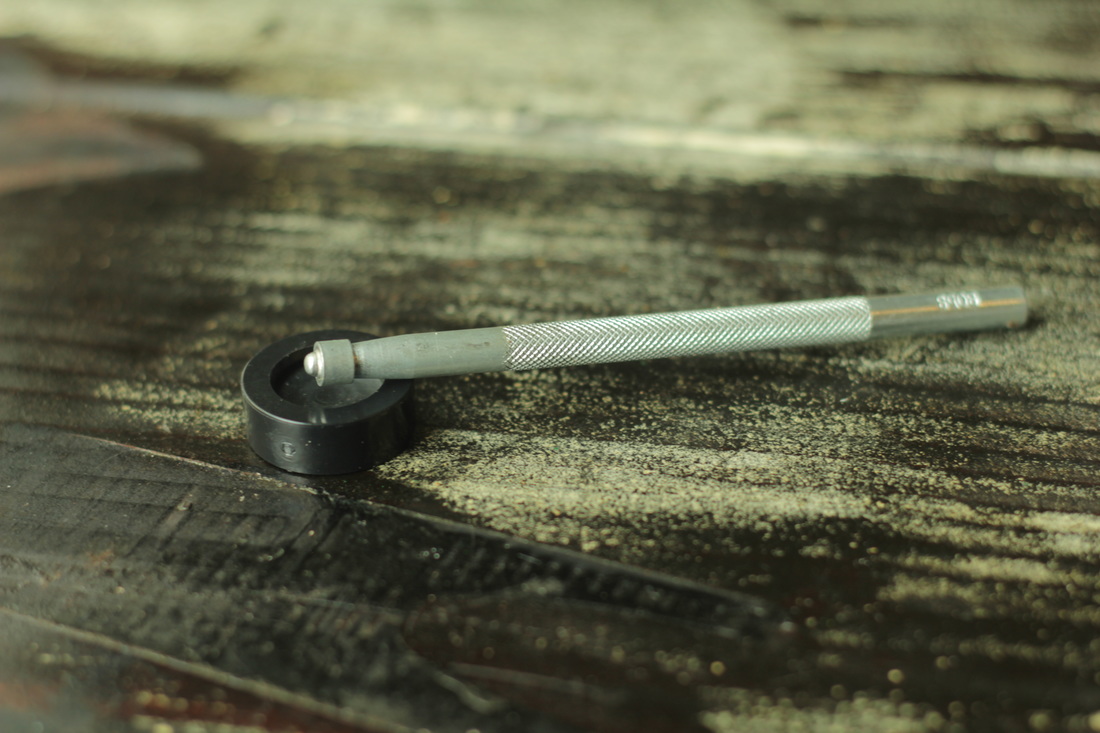
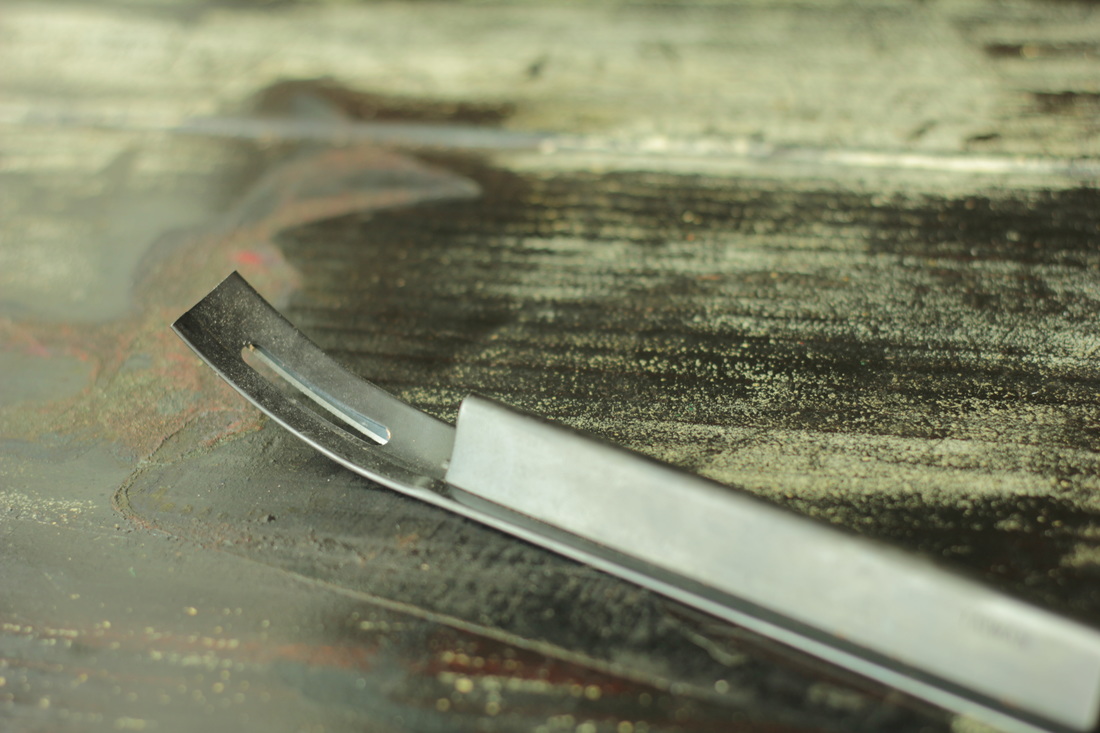
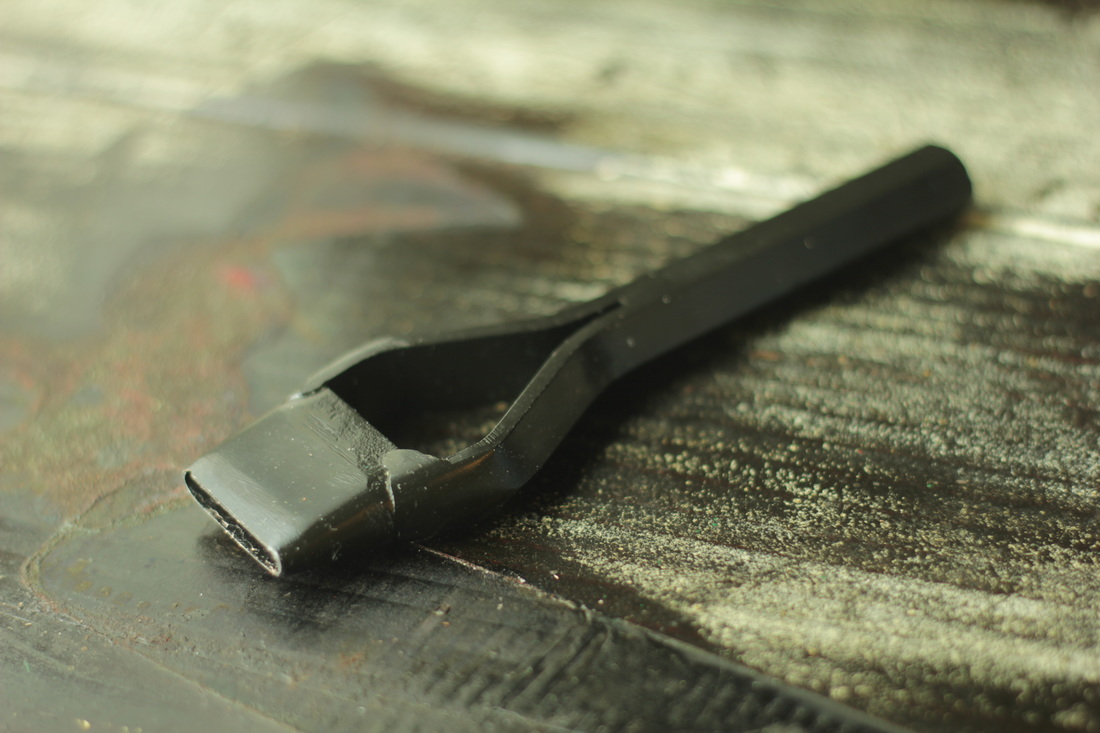
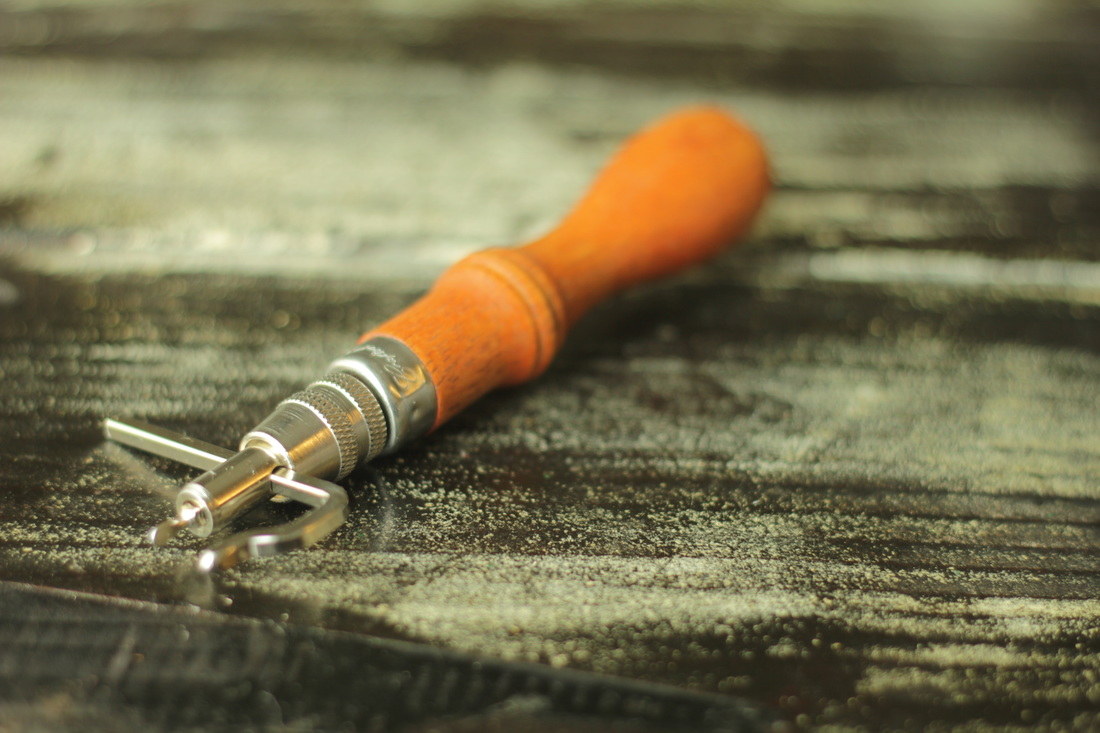
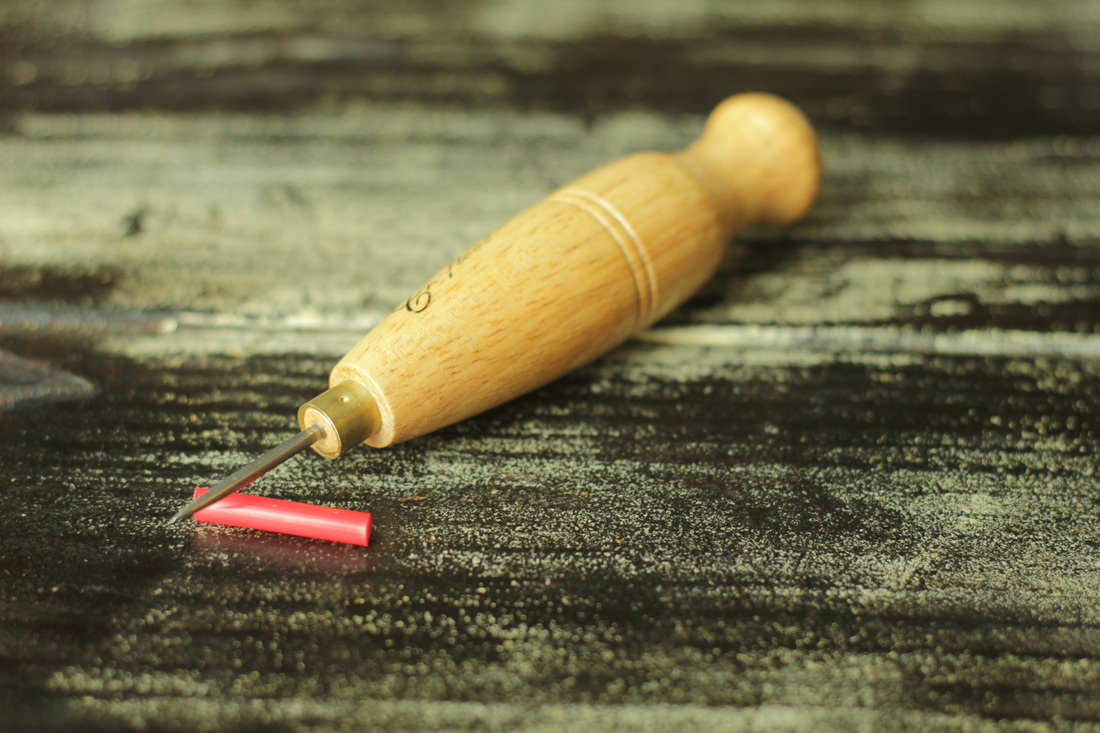
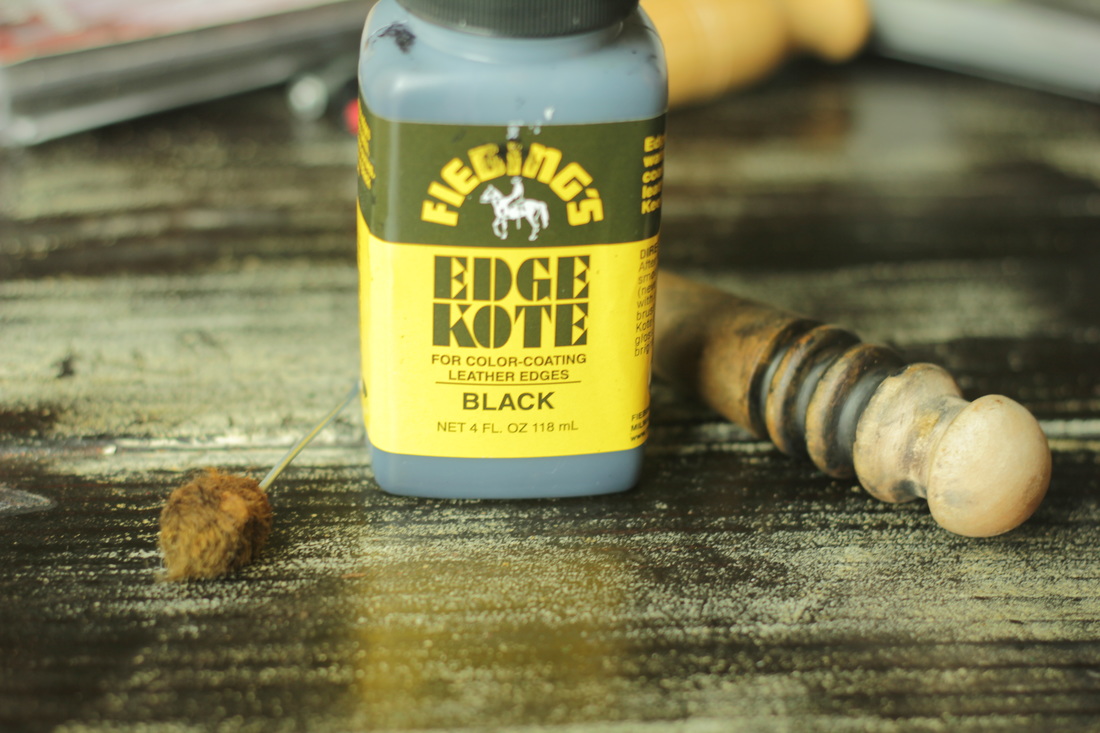
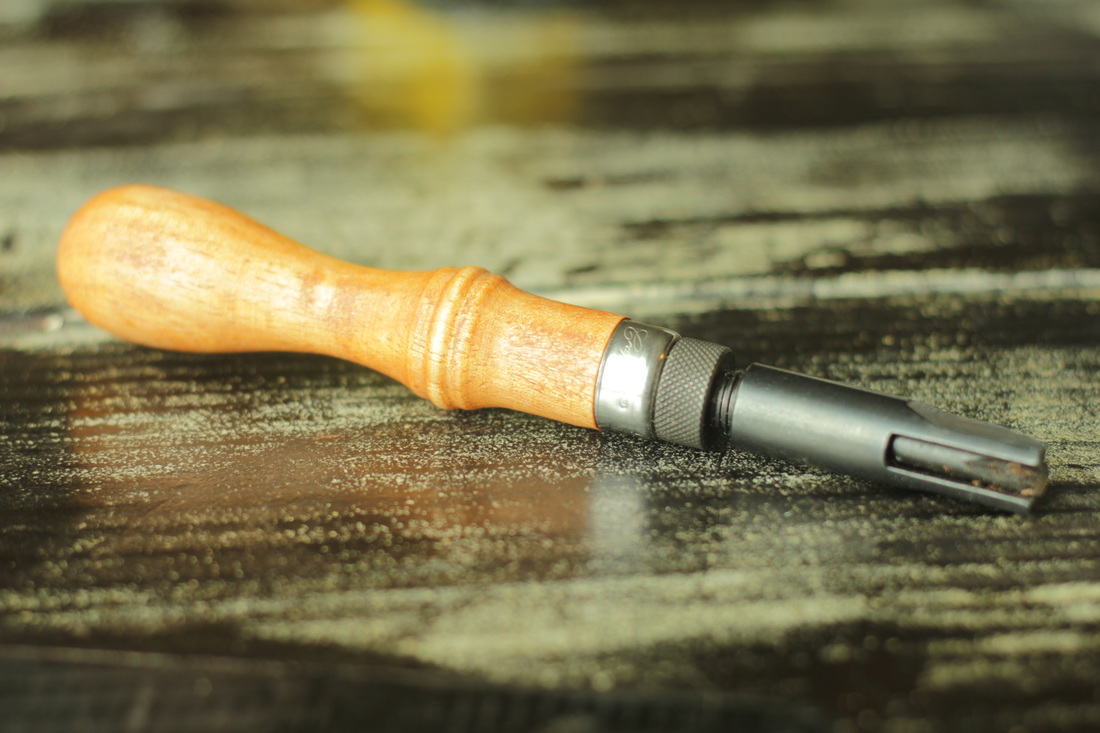
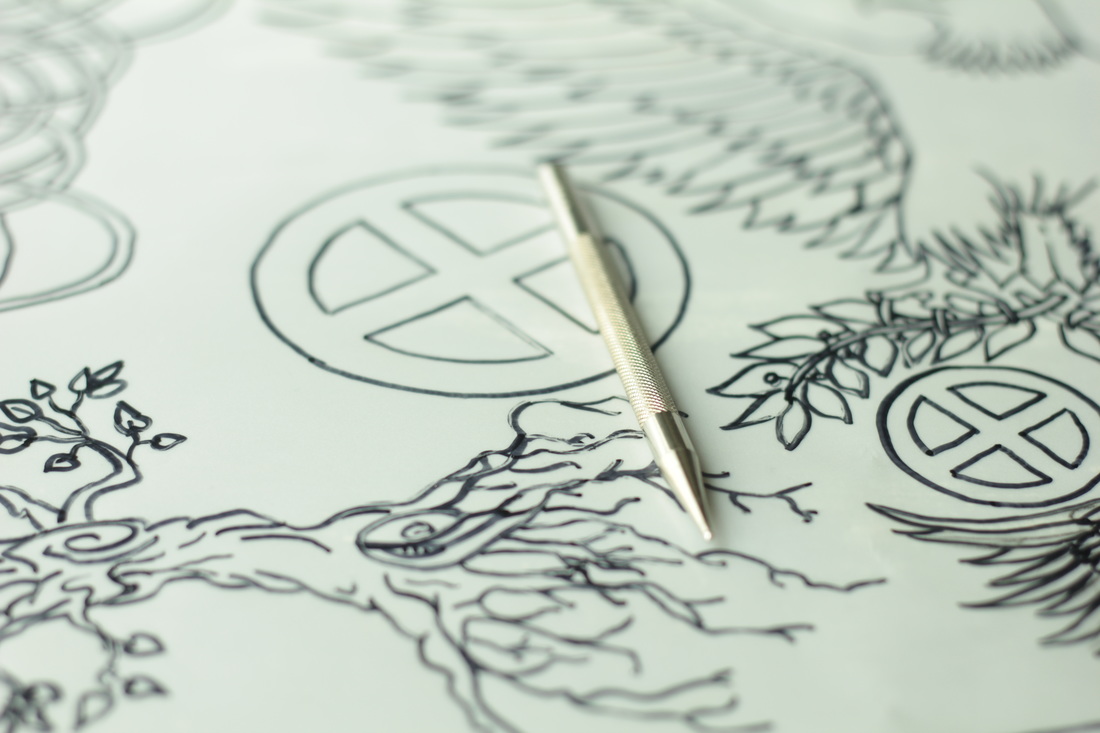
by Willow Enright One of the hardest things to figure out when I first started working with leather was which tools to invest in. I wasn’t able to afford all of the things on this list all at once. I had to build my tool arsenal up slowly, in fact, I’m still building it. Knowing some of the basic tools that you’ll need and why, will help you feel more confident about investing your time into doing the leather work. I’m going to discuss ten basic tools and seven bonus tools that I find useful in my projects. 1) ScissorsI started with my everyday household scissors since I was cutting 2-4 oz leather. I find that as long as they are sharp they will work for the 1-5 oz leathers. I have Cutco scissors that will cut through a penny, but the blue handled office scissors work the best. Scissors are great for thinner leathers or trimming difficult edges. 2) Swivel KnifeWhen you are using hides that are 6 oz or more you want something that will cut through thick layers. Some leather workers use a head knife, but I prefer the swivel knife. It is more versatile in that you can use it to cut large sections of leather such as a belt, or use it with detailed tooling designs. You can also keep it sharp by getting some jewelers rouge and using some cardboard or a scrap piece of leather to strop it each time you use it. 3) Exacto KnifeThis thin sharp blade can be very useful for small carving details. I find it extremely helpful in extracting corner cuts from a hide, leftover belt punches, or pretty much any time I have a limited amount of space but have to cut. 4) Raw Hide MalletSome people prefer poly headed mallets to the raw hide one, but as long as you don’t use a wood mallet or your household hammer you are good. The hammer is loud and will damage the ends of your stamps and other tools, and the wood mallet doesn’t provide enough weight to make nice rivets. I love the raw hide mallet because it isn’t too heavy but it gives a good solid pounding, and it doesn’t overly burden my elbow or wrist. 5) Stone SurfaceYou can purchase a granite slab, but I would recommend finding a place near you that cuts counter tops. They usually have scrap pieces for free or a reduced fee. Having a stone surface will give your rivets a more solid pounding. Using a wood or plastic surface by itself absorbs too much of the impact. 6) Cutting Mat6) Cutting Mat Having a surface to cut on that won’t dull your blade additionally is always good. You can use a self healing mat, poundo board, or a plastic cutting board. This can also come in handy when you are trying to decrease the amount of noise you are making while pounding. I place my cutting board between two pieces of granite to help absorb some of the sound without losing the solid surface that the stone provides. Note: don’t punch holes, cut, or have any sharp implements make contact with your stone surface, because it will dull your blade so fast it will make your head spin. 7) Hole Punch/Stitch Hole SetsIf you plan on using rivets or doing any stitching then both of these items are a good investment. I prefer the individual hollow punches for pounding a solid clean hole instead of the rotary ones. You can get more force behind the mallet swinging at the hollow hole punch than you can generate with just your one hand squeezing. The stitch hole punches usually come in sets of one, two, four and six punches and are very helpful for stitching through thick leathers. 8) Six Piece Craftool Basic Stamp SetIf you plan to do any tooling you will definitely want to invest in a set. This one comes with a small sunburst circle, a background stamp shaped liked a tear, pear bevel, sea shell background, square bevel, and flower vein. You can actually use these six tools to create many beautiful designs. 9) Rivet Setter & AnvilIf you plan to set any rivets you’ll need this set. The domed anvil helps you to keep the dome shape that some rivets have and the setter also has a domed side to give your rivet a nice tight fit. Using rivets can add shiny to your leather, as well as serve the function of holding pieces of leather together. 10) Snap SetterThere are several sizes of snaps and if you want the variety of different sizes then you should purchase a multi-size set. Otherwise, choose which size you like and be sure your tool and snaps match. Setting snaps can be tricky since you have to first pound down once or twice, then around in a circle to create a lip with the stem, then down again over the bed of the snap. However, they are extremely helpful for closing things such as bags, bracelets, and belts where you want to be able to showcase your buckle collection. Bonus ToolsBevelerGetting the safety beveler was one of the best bonus tools to acquire. It’s shaped to prevent cutting leather too deeply and skives leather easily. You can also splice leather lace safely and with precision. I find it helps give belts, straps, bags and journals an extra nice edge. Oblong Hole PunchThis is used for making belts. I haven’t found another use for it yet, but it’s a time saver when creating belts. You can get various sizes, but I use the 1” one for various sized belts, preferring to just use the same punch more than once on the same belt when they are larger than 1” in width. Stitch GrooverI love the stitch groover for two reasons. One, you can create straight stitch lines which really improves the end look of your stitch. Two, you can use it to create different width borders up to one and a half inches. This is great, especially around rounded edges where using a ruler isn’t possible. Stitch AwlBeing able to free hand poke holes into thinner leathers can save you time, broken needles, and finger soreness. Sometimes trying to get your dull thick leather needle through the layers of leather can be very difficult. Especially if you are using an oil tanned leather where the oiled hide will make your punch holes disappear. The stitching awl makes sewing easier and is worth the investment. Wood BurnisherThis simple piece of rounded wood has various thicknesses for smoothing out the edges of leather. It takes some elbow grease to get the job done but it really makes your edges look rather smart. You’ll also want to get the Black or Brown Edge Coat with this tool. You will paint the edge with the edge coat and once it’s dry you’ll re-wet the edge with water, and then run the wood burnisher over the edge until you create a nice smooth finish. V-GougeThis tool makes the creating of belts easier. Usually a good belt is made with a 7-9 oz leather, and when you fold it over for the belt buckle the fold can be cumbersome, or create additional pressure on the rivets. The V-Gouge allows you to create a v-shaped channel where the belt buckle will fold so that the leather will set more flush together. Stylus & Tracing PaperI put these two items together because they go hand and hand. While the stylus can be used without tracing paper. For example freelance drawing, marking holes to punch, and temporary marking where to use the V-Gouge, I mainly think of this tool as my tracing pen. Since neither of these two tools leave a lasting impact, it allows me to design with less mistakes.
1 Comment
Very well thought out. One item I would add is an overstitcher, and using gum tragacanth with your edge slicker/burnisher allows you to do clear or light colored edges.
Reply
Leave a Reply. |
Willow EnrightI started crafting out of leather in 2011, and now I am making it my life's work. I am writing this blog to help myself remember some of the small steps in past projects, sharing my triumphs and failures, as well as my love of leather. Archives
November 2017
Categories
All
|
 RSS Feed
