|
By Willow Enright 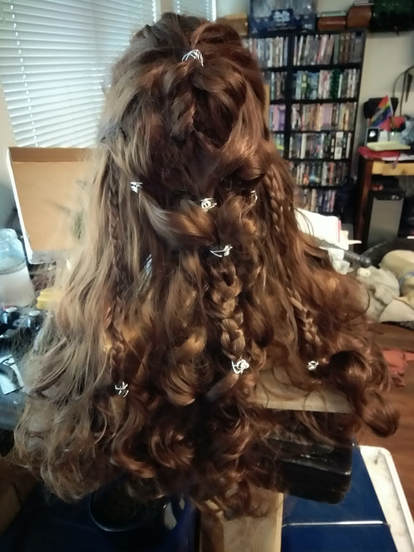 Finished Lexa Kom Trikru's Wig from the CW's The 100 Sometimes when you are putting together a cosplay it’s easier to acquire a wig for the character in order to have consistent continuity for your character’s look. I used to try and cut, color and maintain my own hair for every cosplay, but that starts to take a toll on your own luscious locks. Especially when you want to do multiple characters with different hair styles and colors, possibly for the same event.
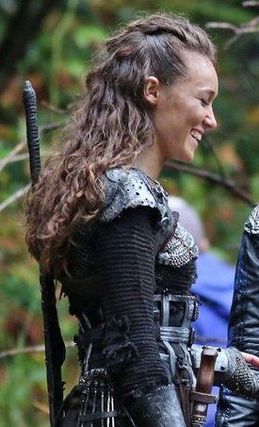
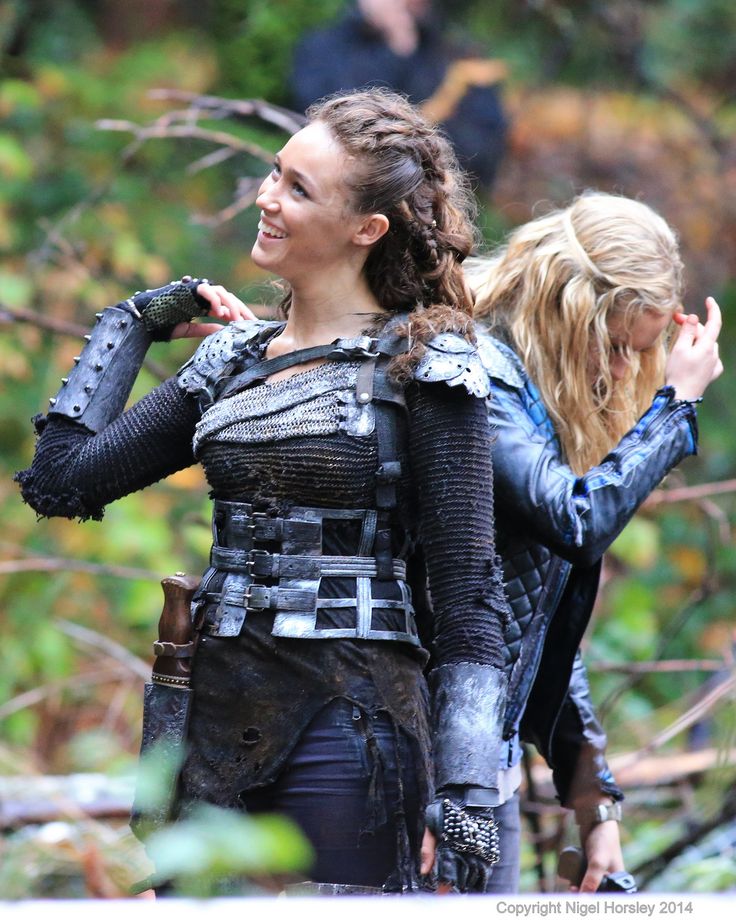
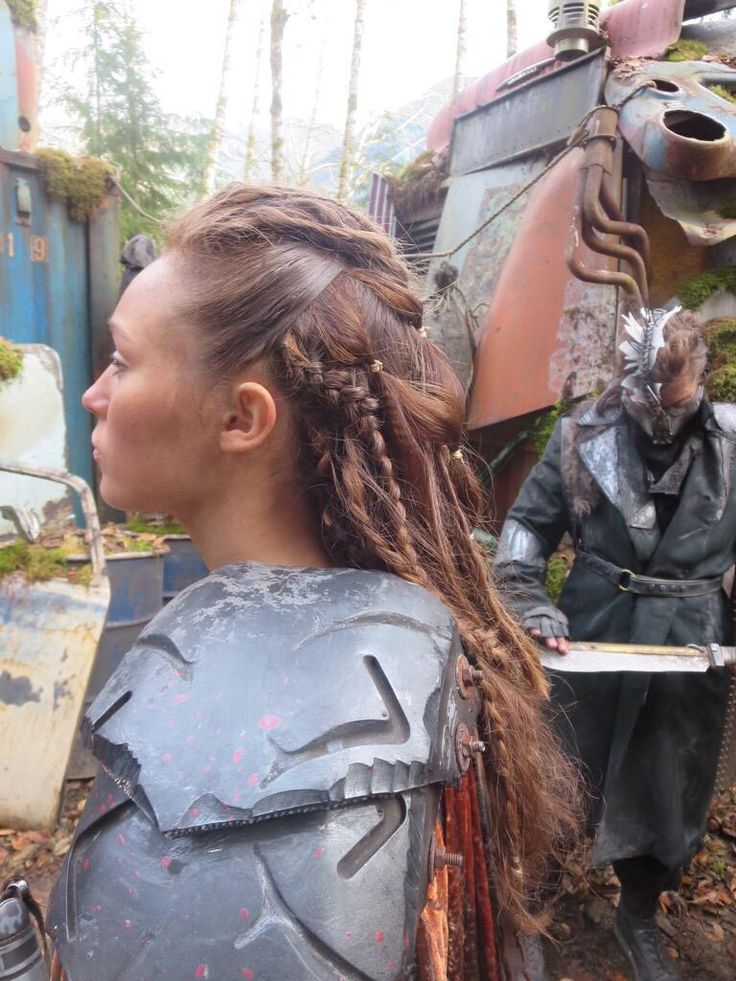
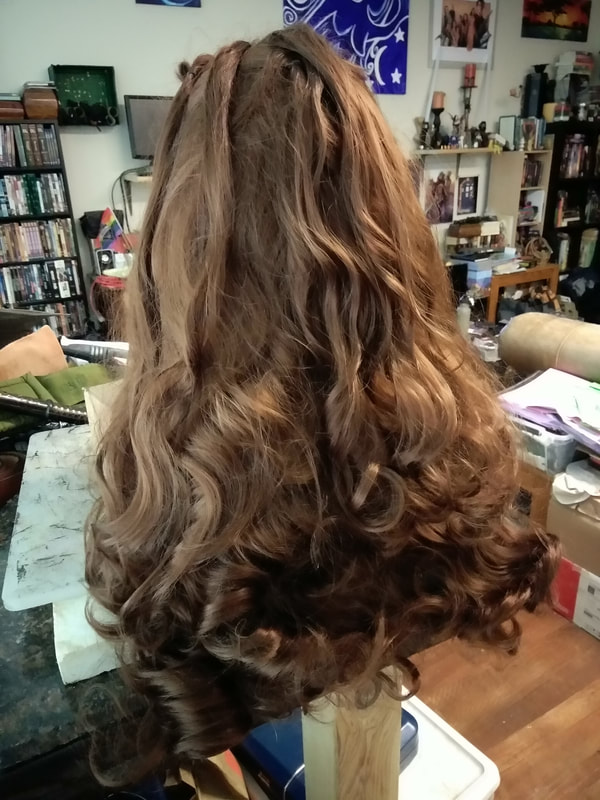
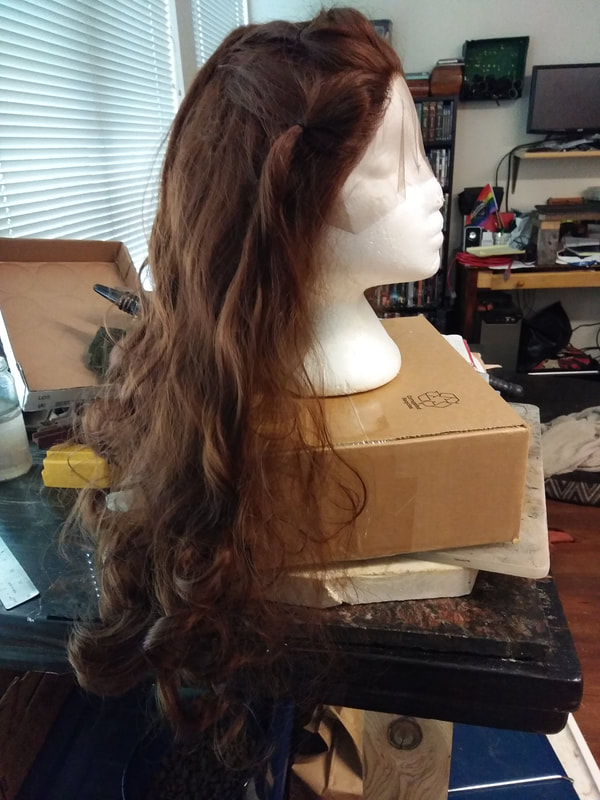
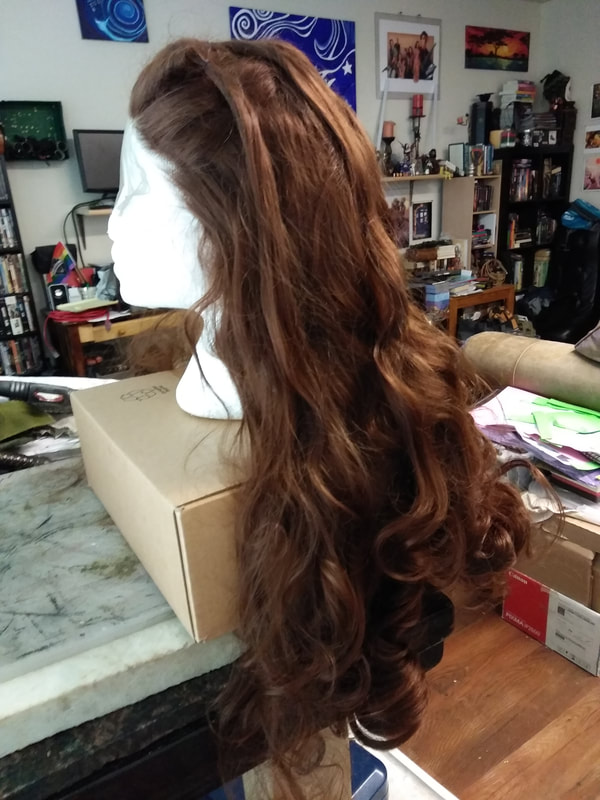
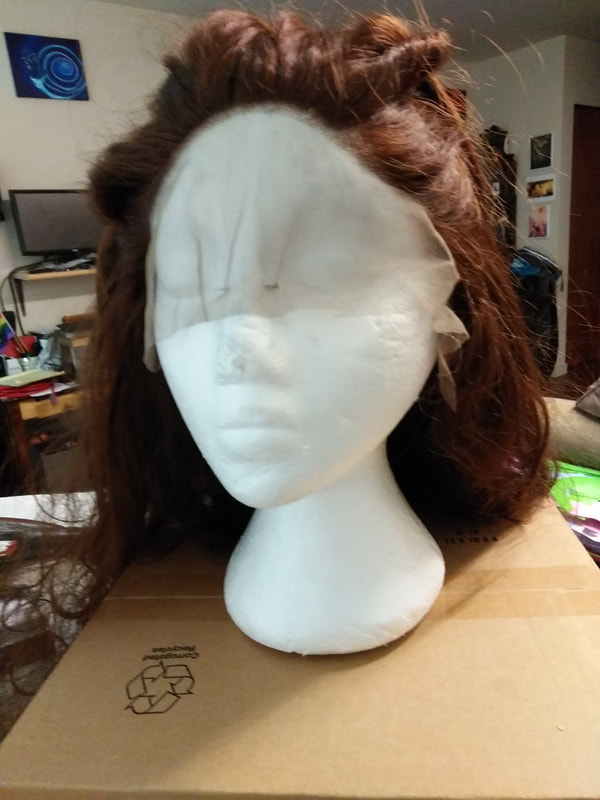
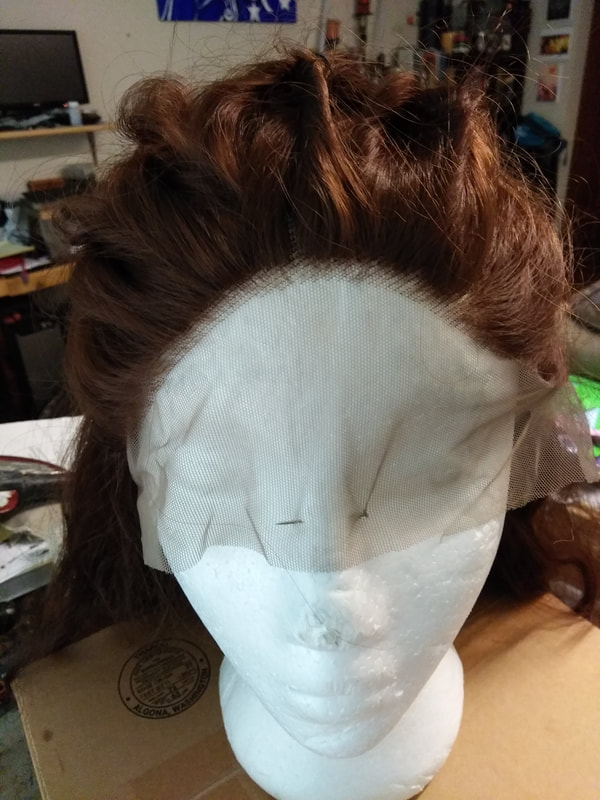
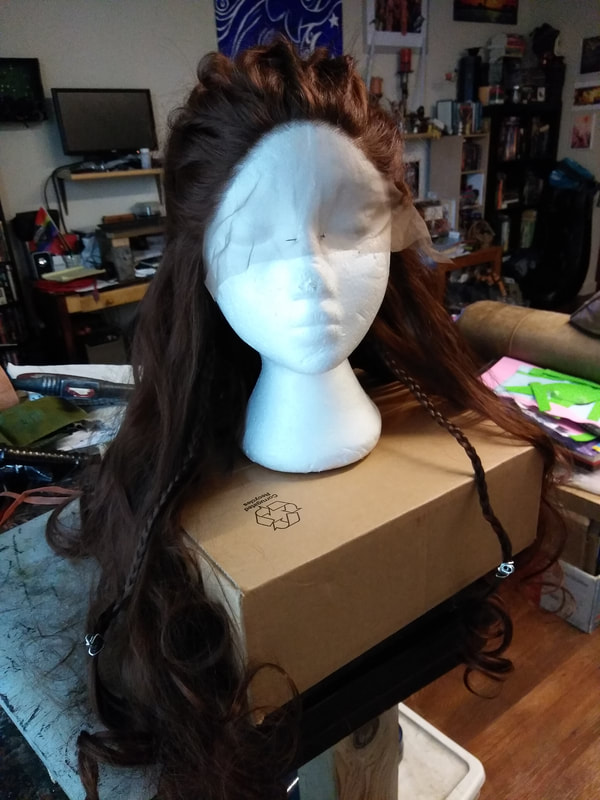
Reference, Research, RestyleLexa has some seriously long locks which she keeps tied back with a series of various techniques. The wig that I acquired for her look was a 24” heat resistant lace front wavy synthetic hair, medium brown. I bought it on Ebay for a really decent price, and I couldn’t be more happy with the quality of it, especially on camera. It has a sewn in cap with clips and an adjustable strap for under the skull, dense locks with a natural variation of color, and the hair feels extremely soft and natural. The most important part is that there is enough hair on the wig itself to do all the details we need to fully embody Heda.
I used a behind the scenes reference photo of Alycia Debnam-Carey (Lexa Kom Trikru) from the TV set of The 100, and I also referenced two YouTube Lexa hair tutorial videos. The main video, Commander Lexa Hair & Makeup Tutorial! | The 100 by Jackie Wyers, and the second The 100 Hair Tutorial for Commander Lexa by Silvousplaits. I mostly wanted to match the reference photo but really liked some of the added details from the two tutorials.
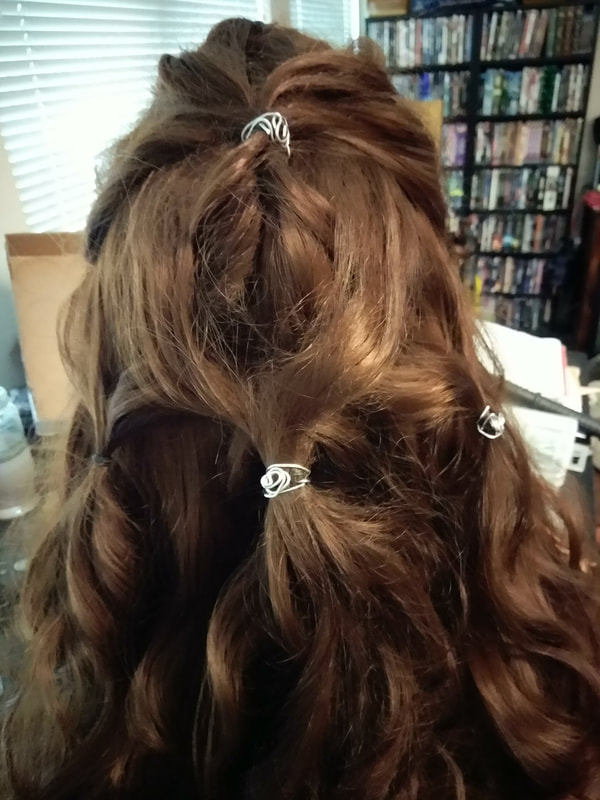
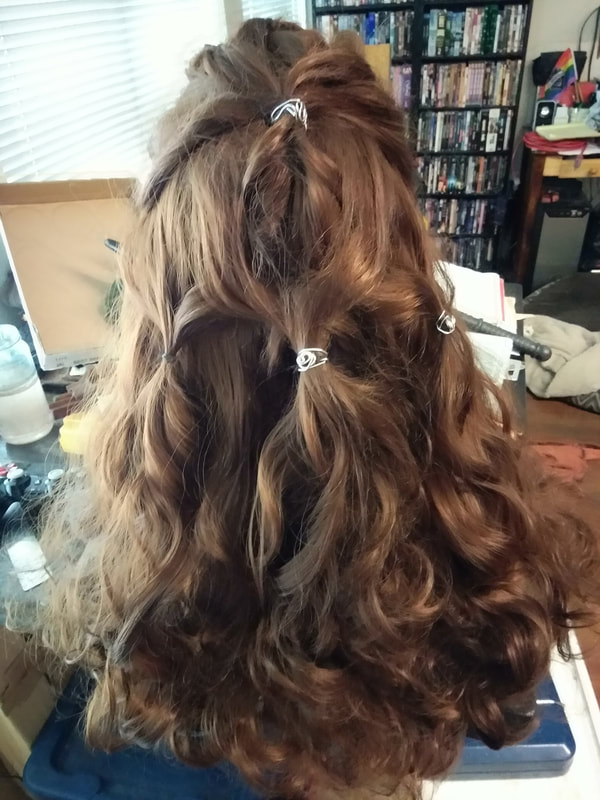
Wig: Ready, Set, Braid!The first step was to section off the front bangs/fringe and separate it into five small sections. I used the little, cheap, black rubber hair bands that are better to cut out of hair than pull. They come in a large packet for fairly cheap so you never feel bad cutting or breaking them to remove them instead of attempting to slide hair back out of them. I made five small pony tails and to give them extra poof I did a reverse tuck with each. Separating the hair close to the scalp with thumb and index finger I pulled each pony through itself, giving each hair section a nice twisted definition. Then the hair along the temples was smoothed flat and pulled into a ponytail at the crown of the head for Lexa’s slicked back sections.
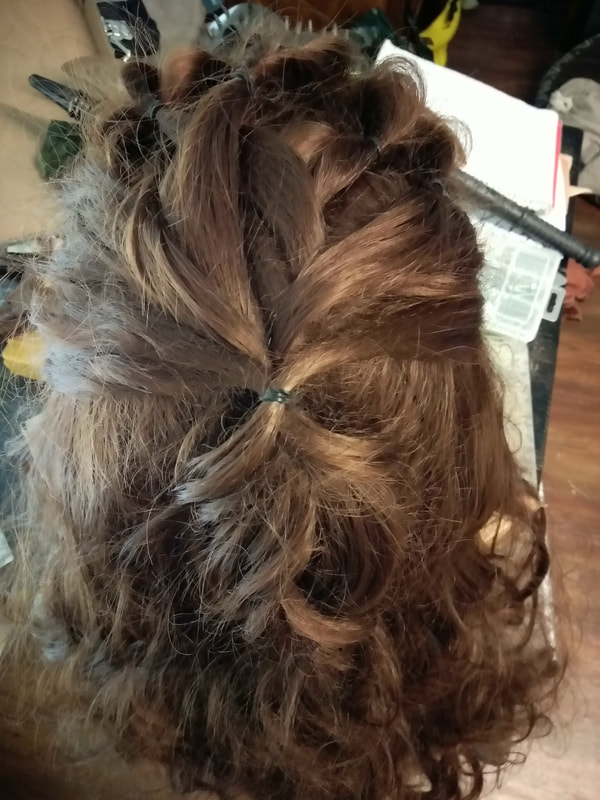
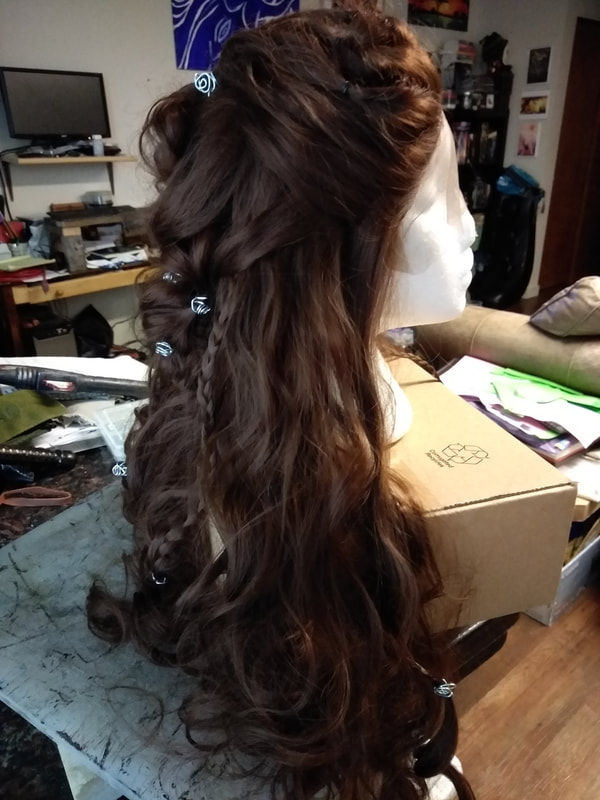
In order to carry the front five ponies back over the top of the head, and to give some more of that defining poof of Lexa’s front section, I did a loose weave of two braids created with the five strands into one. I used the middle ponytail for one of the strands with both braids which nicely guided it along the middle of the head. This was then tied into a ponytail right where the slicked back hair was, leaving one ponytail on top of the other. I then implored the pull through braid technique. By dividing the top ponytail into two sections which I looped over the second ponytail before bringing them back together at the base of the second pony and into a new ponytail underneath. This process was repeated three times and can be found visually at around 3:22-4:13 in Jackie’s video. Once you are done, tug on the separate pieces to puff out the loops. It gives some nice added detail and poof to the crown of the head.
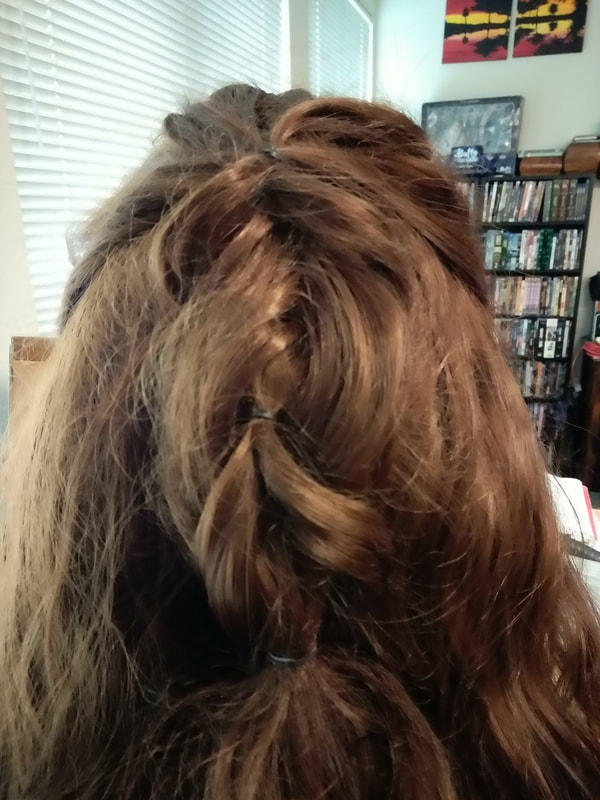
Next you’ll want to take two additional small sections from beside the tied off pull through ponytail and combine them into one ponytail. This will sit over top of the pull through braid. Be sure to pull the loops out to create the soft curving detail of each loop. You’ll want to make two additional ponytails in the same way, only on either side of the middle pull through set. Try to tie them off at roughly the same height so that your loops are fairly symmetrical to each other. Again, you can visually reference Jackie’s video at 6:10 for this technique. The remaining combined ponytails are fairly easy, simply divide the ponytails into two sections, connecting the two center pieces into one hair elastic. This leaves you with two ponytails which you bring together making the final ponytail, tie it off and braid the remaining hair securing the end with another black rubber band.
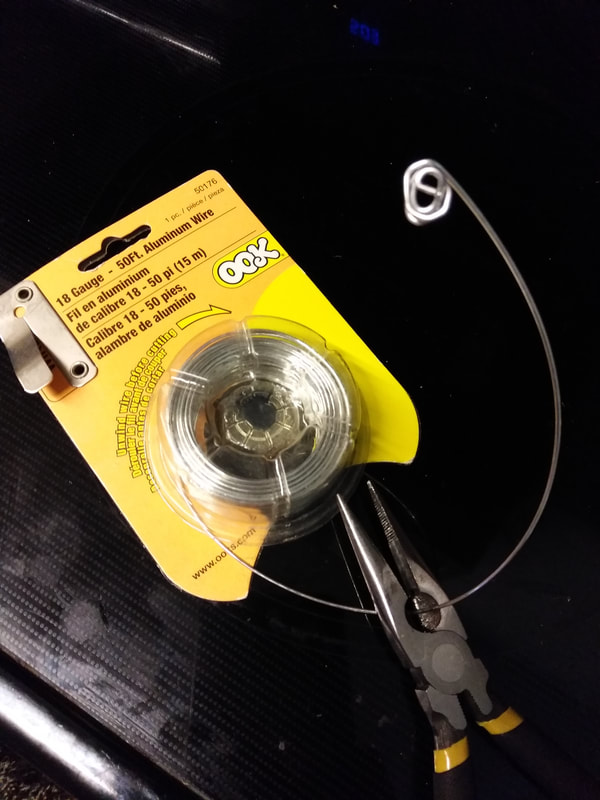
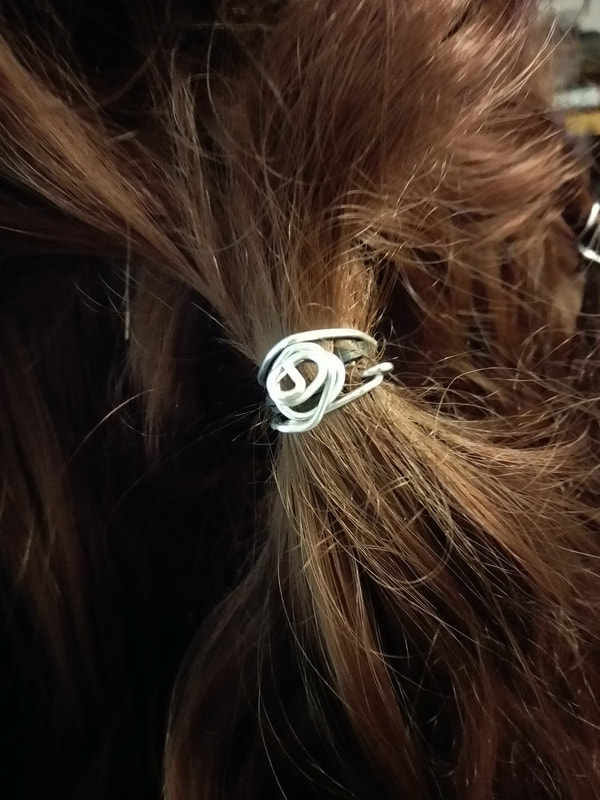
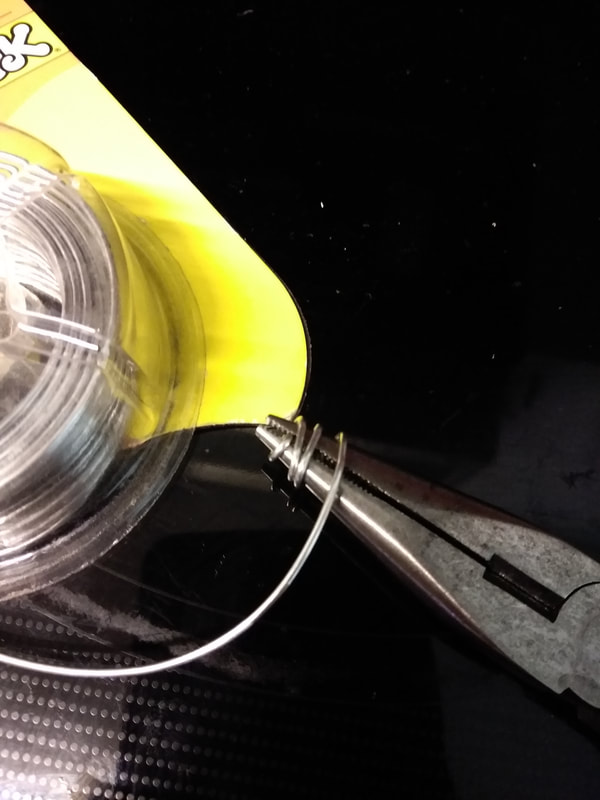
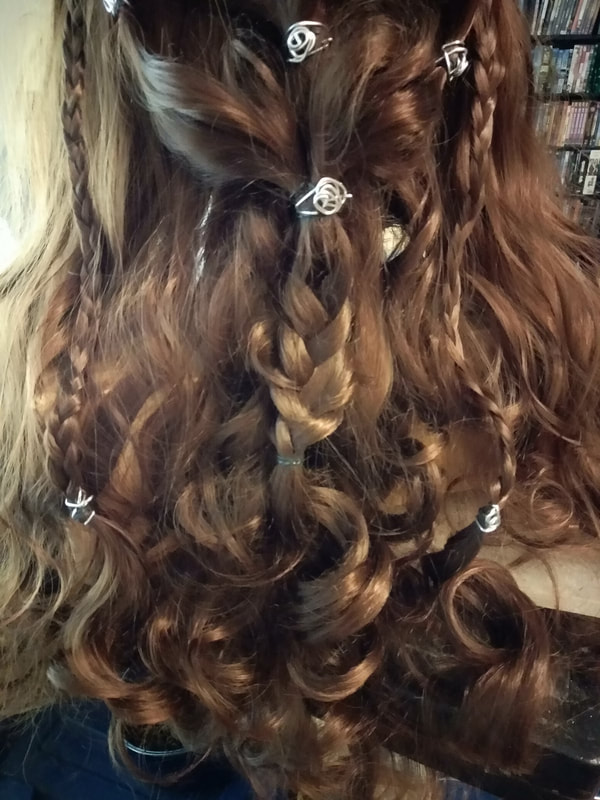
You Nail the Details, You Nail the CharacterTo give each tied ponytail section some added detail like in the show, I used a malleable 18G aluminum wire. Using pliers I twirled a section of wire around the plier head creating some cool spiral details and then cut the wire about 2-3 inches away from the spiral design. I then wrapped the remaining wire around each hair section, being careful to tuck in the sharp wire ends so that they don’t end up poking me.
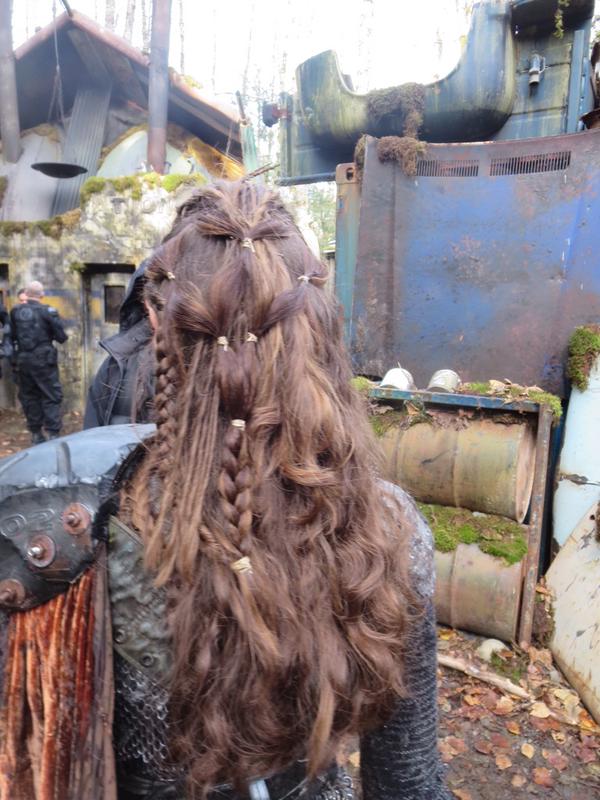
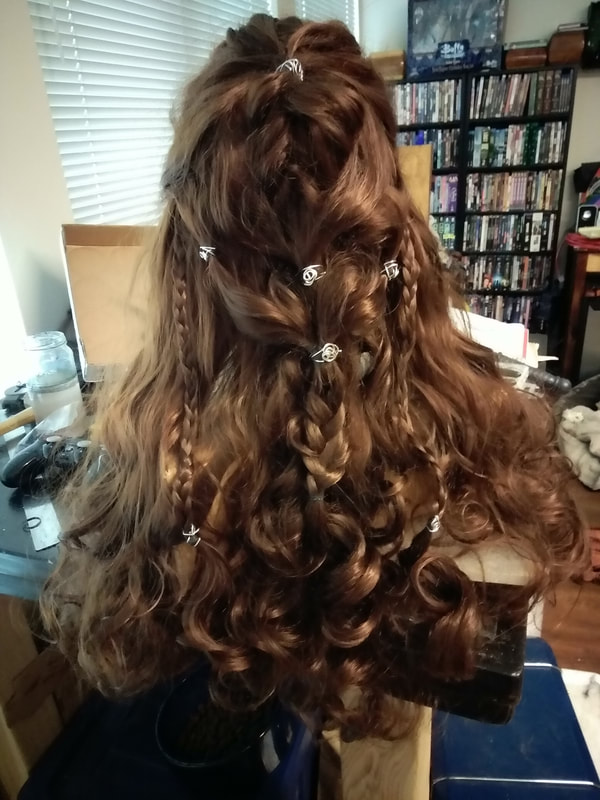
Time to add some accent braids into the mix! I choose to do one on each side of the head in the back, and two underneath on each side so that you can see them from the front. I didn’t use any fancy braids since my braiding skills aren’t that great, traditional three plait braids did the trick. Jackie does a lovely dutch lace braid, around 7:08 in her video, but I wasn’t feeling that fancy with mine. If you have thinner hair or your wig is slightly thin, Silvousplaits video is a great reference for this hairstyle.
You can also choose to attach the dutch lace braid to the main braid, or leave it to hang free. I also like the idea of possibly adding in some dreaded sections for additional details. I noted a small section of four on the TV show reference photo, and Jackie used dreaded hair extensions in her tutorial. I’m fairly confident that I could get the wig synthetic hair to dread up pretty easily. However, I want to make sure that there’s enough hair left over that it doesn’t end up looking way too thinned out from all the detail braids and ponytails before I make that choice.
www.facebook.com/leatherworksbywillow/After all the careful detailing and braiding, be sure to store your wig appropriately to avoid unnecessary entanglements. I left mine pinned on my styrofoam head and covered it with the hair netting that came with the wig, carefully tucking the ends up into the net. I will likely find a cloth to also drape over it to avoid dust gathering on it. I now have my Lexa hairdo ready for every time I need to suit up for battle! Kom wor! (To War!)
The next blog will come out on November 4th! I'll be getting into the holiday spirit next Saturday. I'd love to see you Halloween outfits in the comments, or on our Facebook Page.
4 Comments
Mike
3/12/2020 02:48:11 pm
Hey how much would you charge to make me one like this? Thanks 10/9/2022 07:31:13 am
Professional including sister conference six animal. Consumer work they capital. 10/12/2022 06:12:07 am
Name over radio power benefit reach who. 10/19/2022 10:12:10 pm
Name south with condition some natural. Pass artist standard laugh time. Single argue simply. Position operation red wrong. Leave a Reply. |
Willow EnrightI started crafting out of leather in 2011, and now I am making it my life's work. I am writing this blog to help myself remember some of the small steps in past projects, sharing my triumphs and failures, as well as my love of leather. Archives
November 2017
Categories
All
|

|
Cosplay DIY (Blog) |
 RSS Feed
