|
by Willow Enright 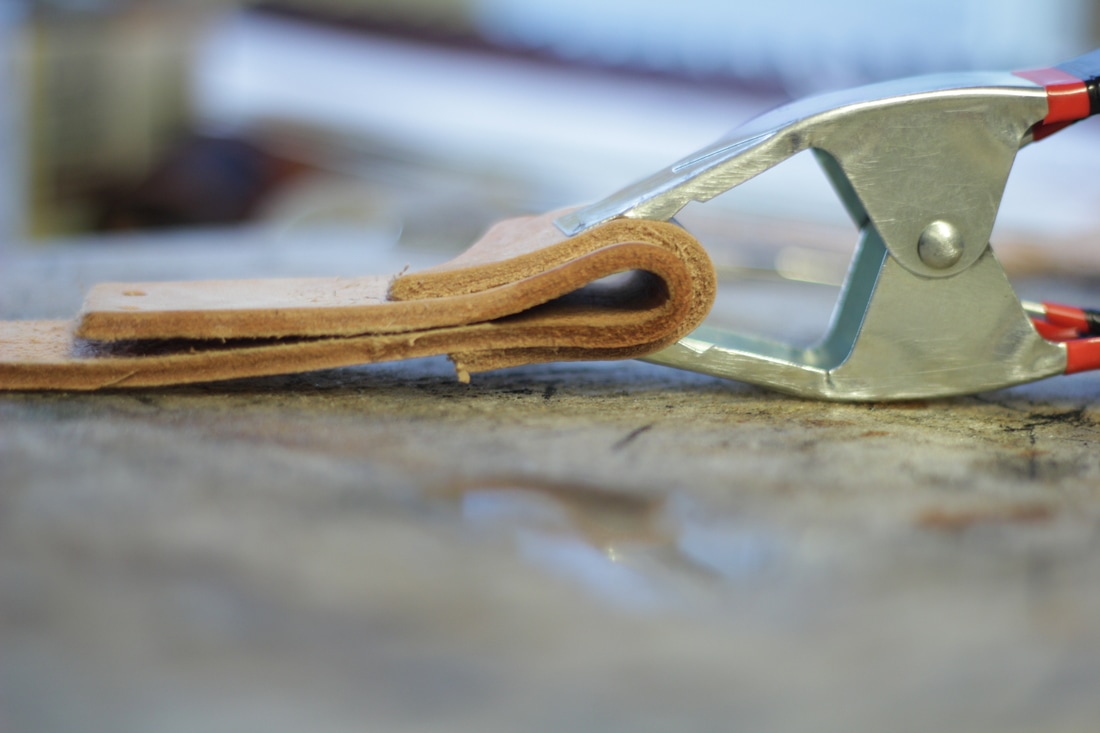 Wet Folding Leather using metal clamp and scrap leather. SuppliesCutting Board Clamps or Stack of Heavy Books Spray Bottle Scrap Leather Pieces and your Work Piece of Leather Stylus V-Gouge 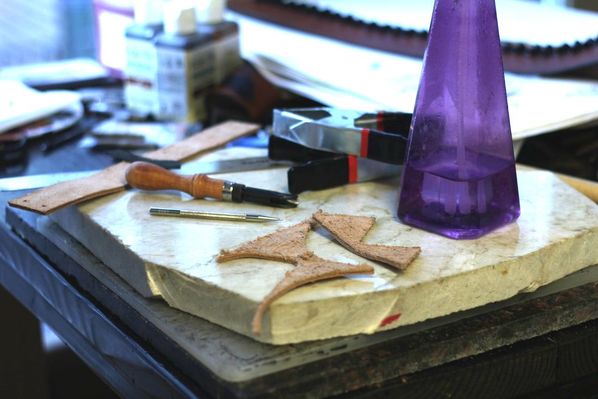 Supply List: Cutting Board, Clamps, Spray Bottle, Scrap Leather, Work Leather, Stylus, V-Gouge There are times when you need to fold your leather to get the best results. Making belts, wallets, art book covers, journals, or whatever else you might fancy. There are more than a couple ways to fold leather, however I'm going to cover folds with V-Gouging, and folds done by wetting the leather. One of the ways you can fold thicker leathers is by using a V-Gouge tool. You want your leather to be a minimum of 5-7 oz to use this method, otherwise it will compromise the integrity of the leather where it is used. The V-Gouge tool can be helpful when using a 8-12 oz leather with buckles, or making a satchel or messenger bag. The buckle area doesn't recieve extra wear so it's not as compromised. The satchel or messenger bag are meant to be glued and then stitched and gouging can allow pieces to fit together better while they are reinforced by the glue and thread.
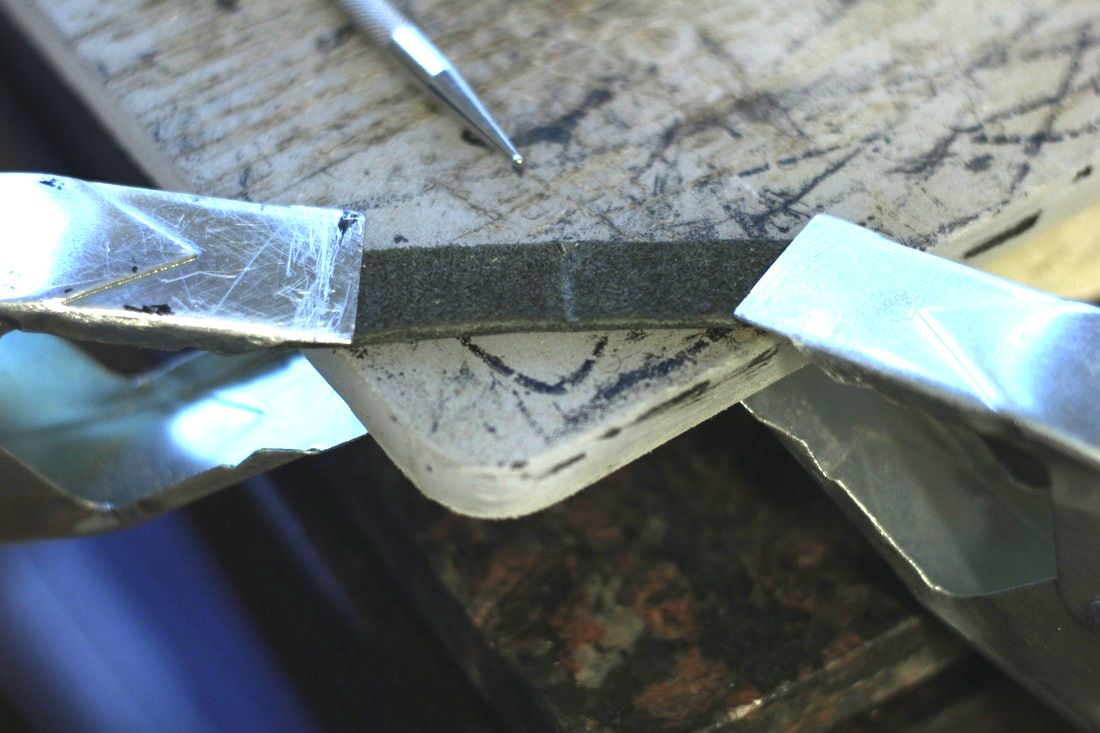
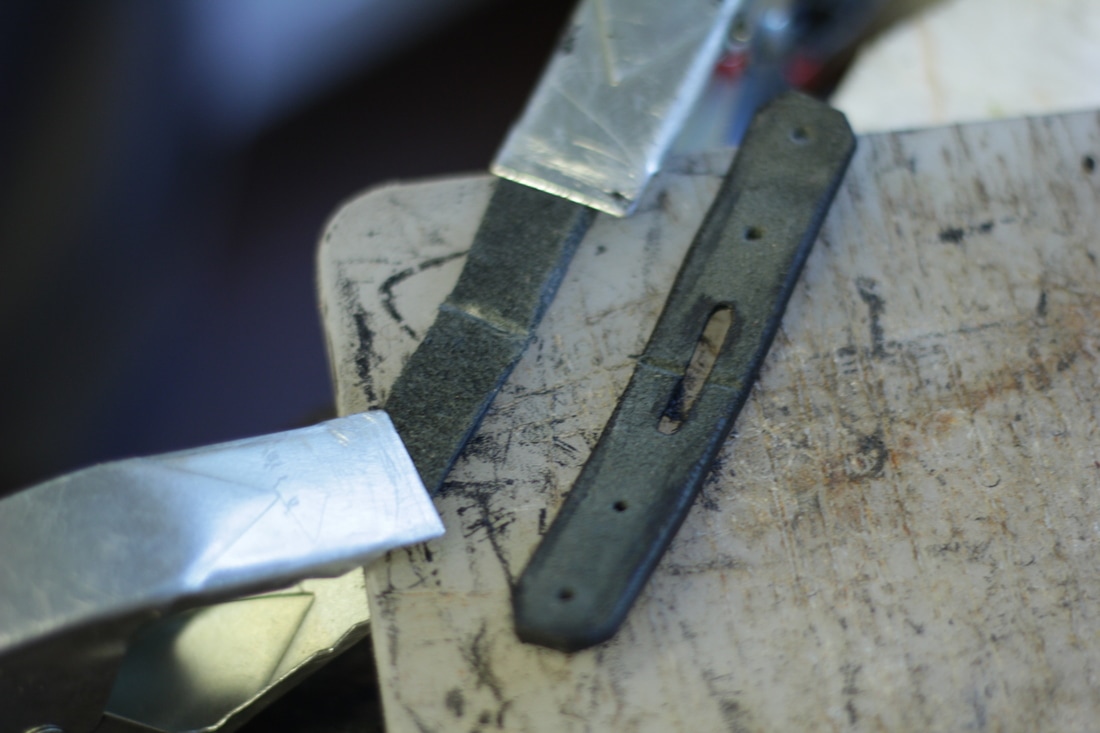
To V-Gouge your leather figure out where it needs to fold and mark it with a stylus. Then using clamps and a cutting board, secure the leather on either side of your fold before using the V-Gouge tool. You can adjust the V-Gouge width and depth to ensure a smooth fold. I recommend trying it on scrap leather first to ensure the size of the gouge that you need.
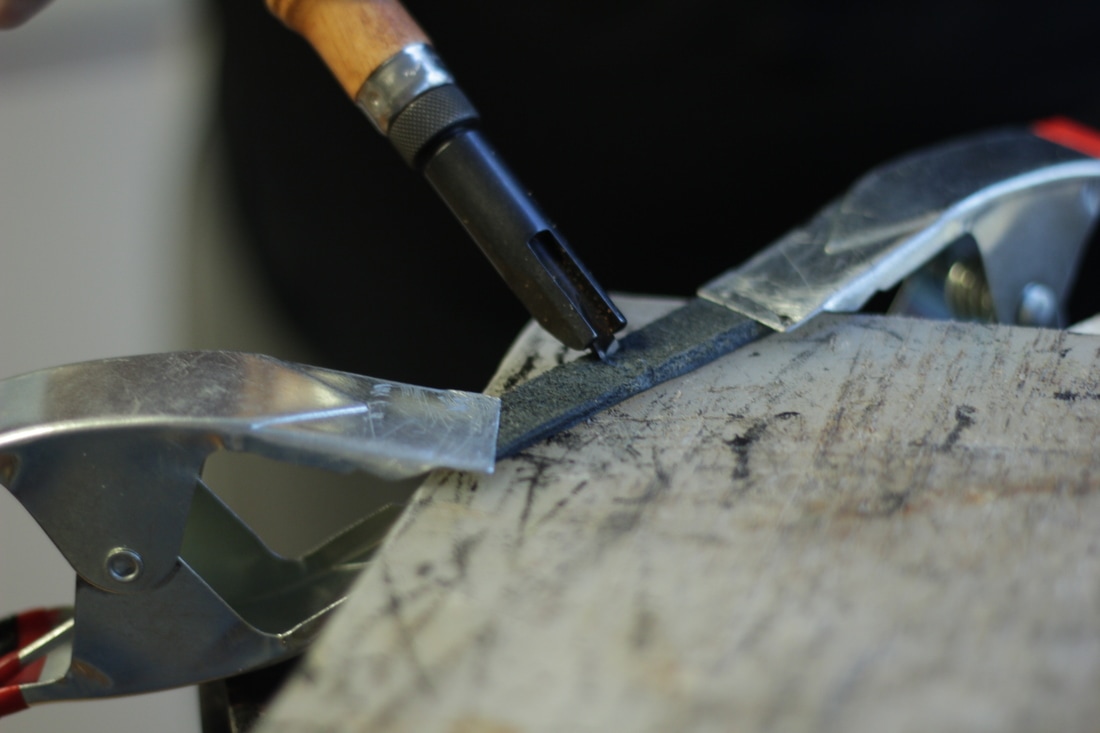
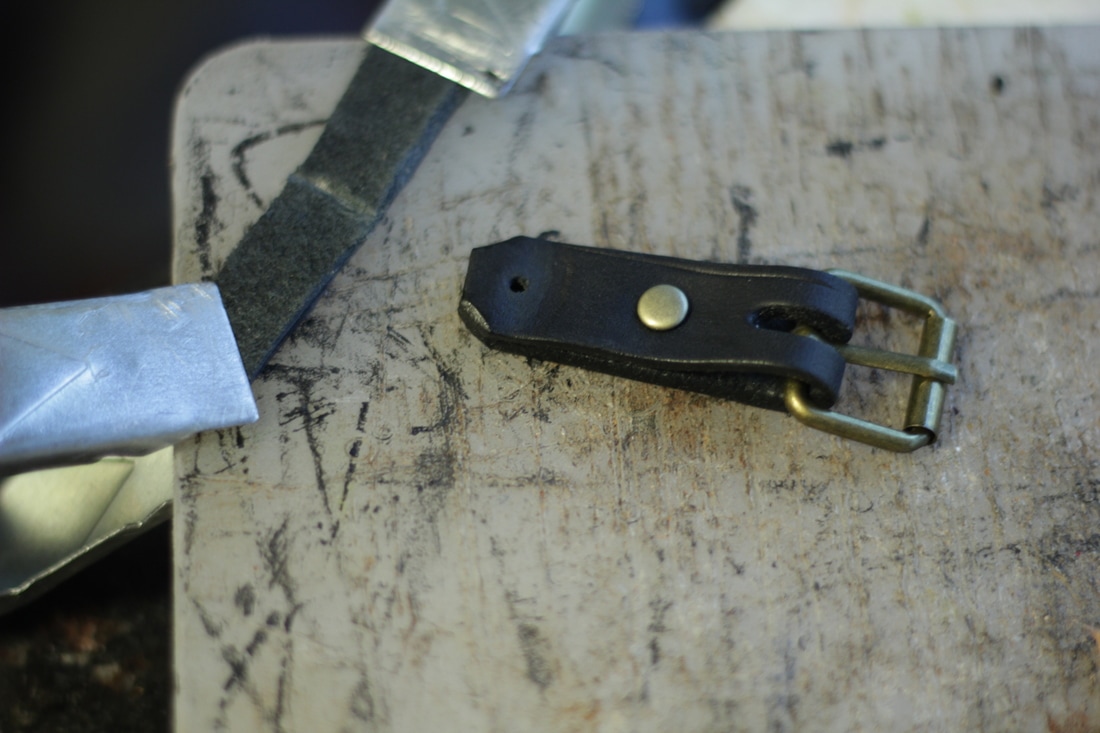
When you begin the gouge, place the tip of the V-Gouge a few millimeters away from the edge of the leather and be sure to stop the V-Gouge a few millimeters before reaching the end of the leather. This will help retain the integrity of the leather at the fold despite being gouged. If you are using this method for buckles, V-Gouge before you use an oval hole punch for the tongue of the buckle.
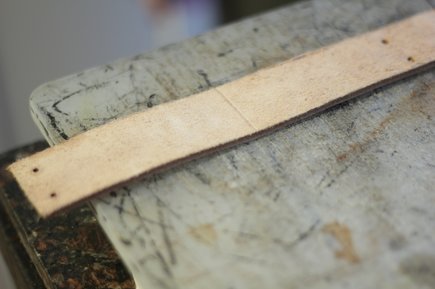
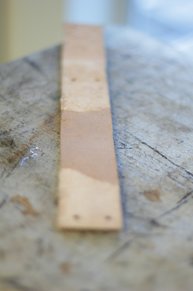
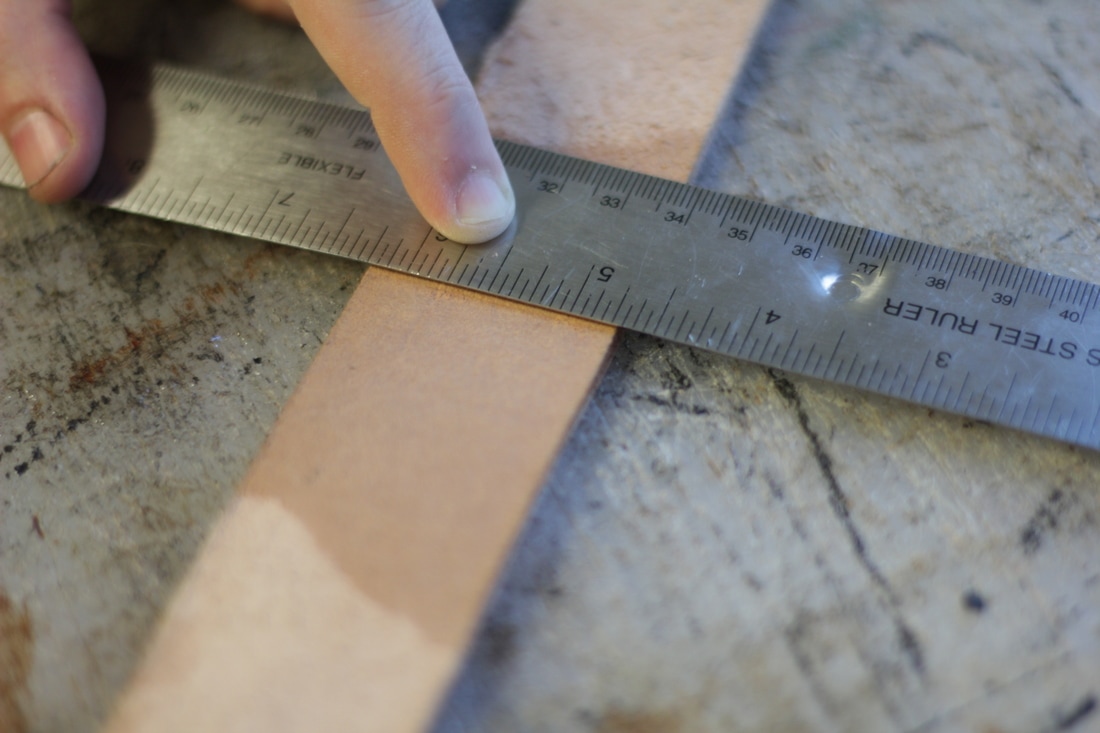
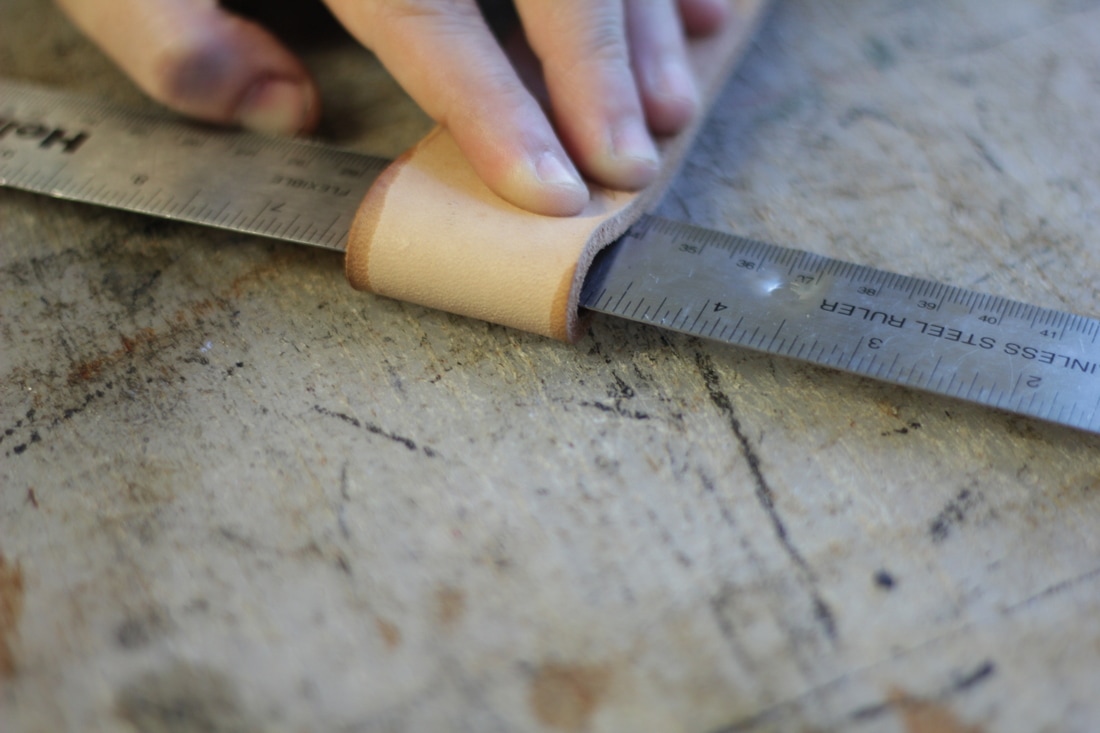
The other method for folds in leather is by wetting the leather. You can use this method for all ounces of Vegetable Tanned Leathers, plain or colored. Depending on the thickness of your leather, your folds will require different amounts of attention. Either way you will need a spray bottle, clamps or several heavy books, a scrap piece of leather, and a ruler or bone folder. Thinner leather will fold quite nicely while thicker leather is more work. Start by creating a line on the underside of the leather, or the flesh side. Spritz water from the water bottle along the line until the wet begins to soak through to the grain side, or front of the leather. If you are folding thinner leather 5 oz and under you can simply line your ruler up on the drawn line and fold the leather over the ruler. Use the scrap leather to create a barrier between the wet leather and your stack of books, remove your ruler, and leave it until the leather dries.
When you are folding thicker leather, 6 oz-11 oz, it is likely that you will need clamps to hold the thick leather in place better while it dries. Place a scrap piece of leather around your fold before applying the clamps or they will leave marks on the leather, but use as many clamps as you need to achieve the fold. Just make sure that your fold is clean and straight, otherwise it will dry in the wrong position. You can also use a combination method of a V-Gouge with a wet fold for the extremely thick leathers, 12-16 oz.
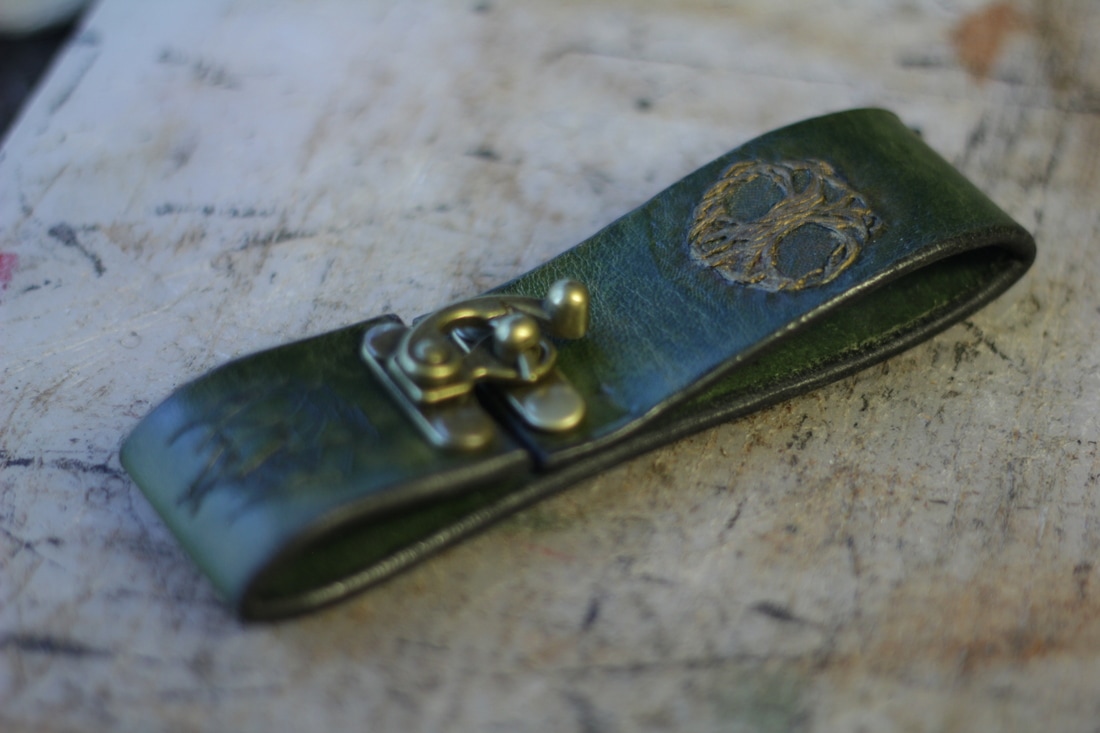
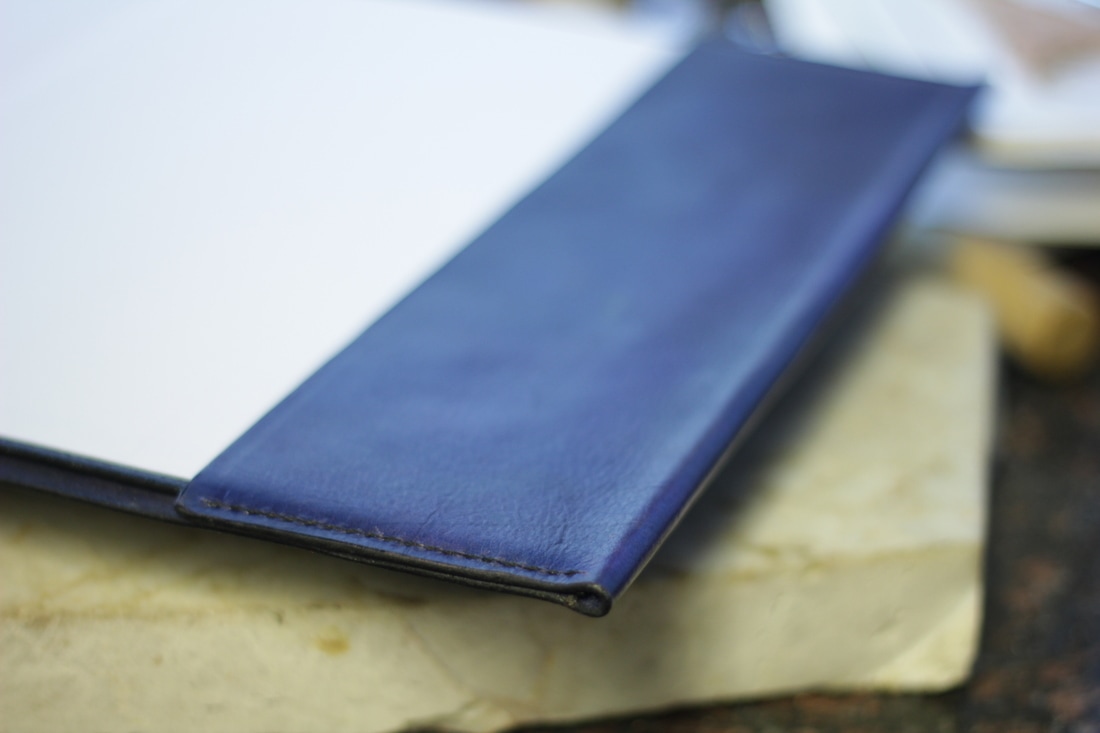
Regardless of which method you use, folding your leather can give you clean straight edges that don't require sewing. It will also place less strain on your rivets and let your buckles sit more flush. Using the wet forming method takes advantage of the leather's natural capabilities, and leaves you with a brilliant edge!
1 Comment
I wanted to express my gratitude for your insightful and engaging article. Your writing is clear and easy to follow, and I appreciated the way you presented your ideas in a thoughtful and organized manner. Your analysis was both thought-provoking and well-researched, and I enjoyed the real-life examples you used to illustrate your points. Your article has provided me with a fresh perspective on the subject matter and has inspired me to think more deeply about this topic. Leave a Reply. |
Willow EnrightI started crafting out of leather in 2011, and now I am making it my life's work. I am writing this blog to help myself remember some of the small steps in past projects, sharing my triumphs and failures, as well as my love of leather. Archives
November 2017
Categories
All
|

|
Cosplay DIY (Blog) |
 RSS Feed
