|
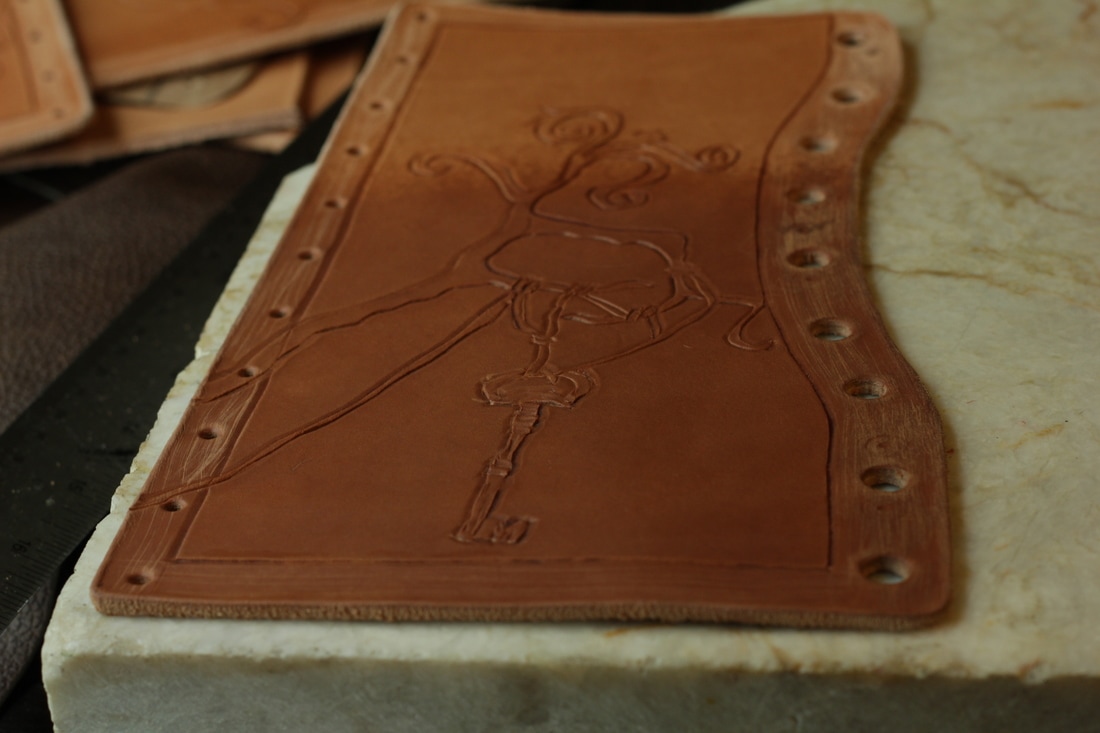
by Willow Enright 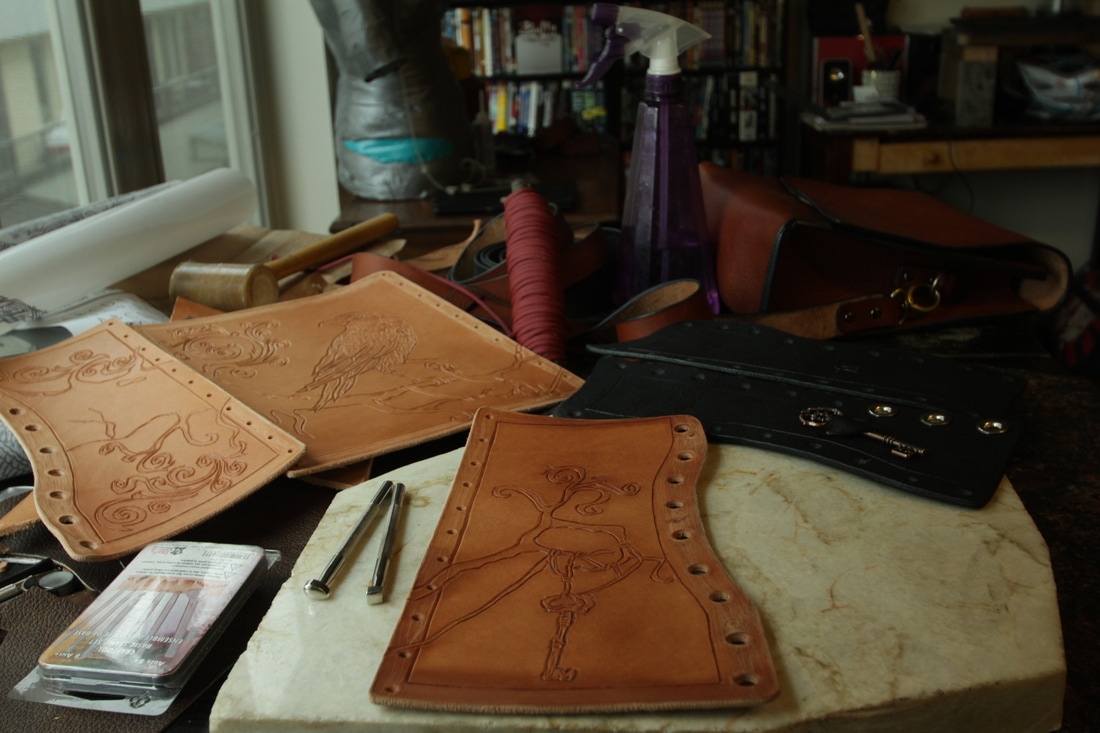 Leather waist cincher out of 7 oz Vegetable Tanned leather, carved and quick cased for tooling. Leather workers have different ways of achieving similar techniques when it comes to working with leather. On the subject of casing your leather prior to tooling designs into it you will find a variety of opinions on which method is preferred. Some say that you can only do it one way, others utilize what suits their style and needs. I'm going to cover what I refer to as the down and dirty method of quick casing.
Leather casing is basically the process by which you prepare the leather hide for stamping, carving, or tooling of designs into the hide. To do that you introduce moisture to the dry leather in order to open up the pores in the hide making it more malleable. The trick is to get the leather the proper amount of wet, and this is where the variation in opinions occurs. Proper casing takes an extreme amount of dedication time-wise, and most people don't want to wait overnight before working on a project, hence the down and dirty method.
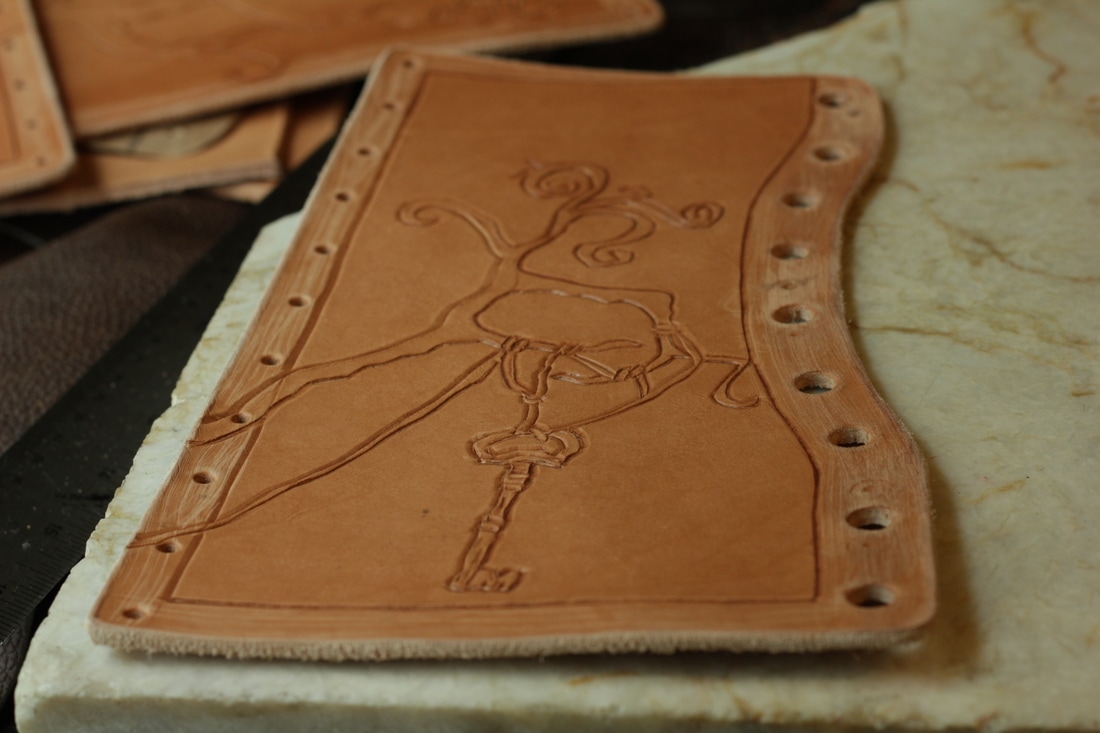
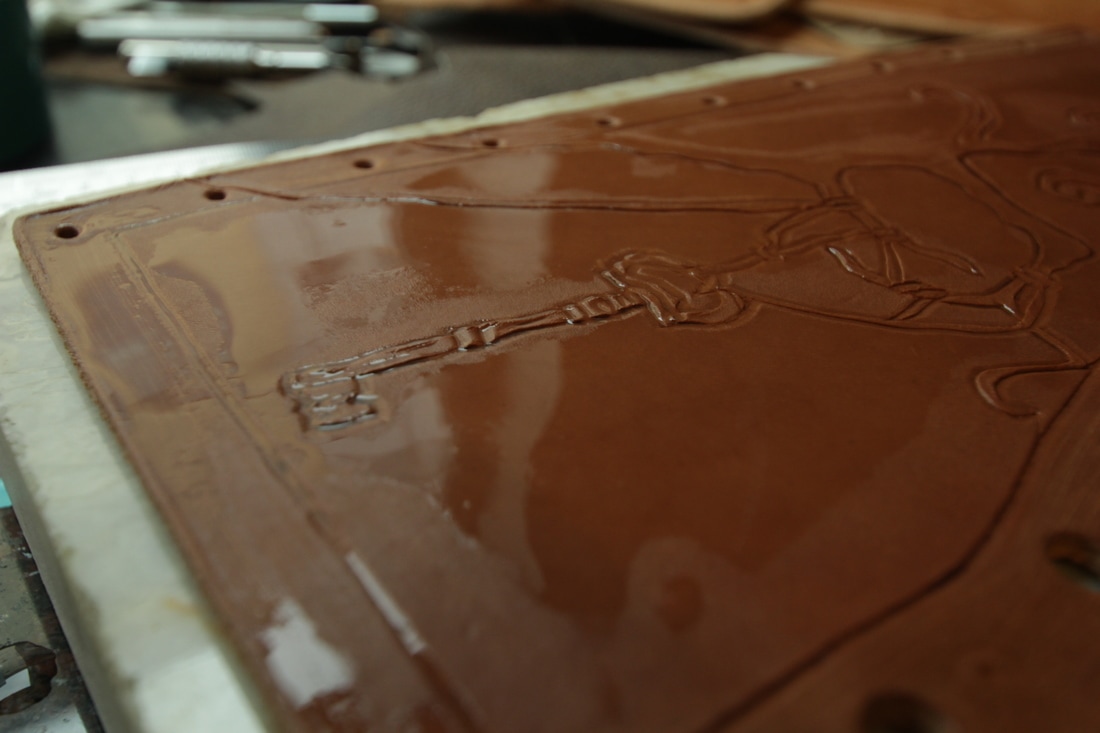
Using a spray bottle spritz your leather evenly until the entire piece has stopped absorbing the water, or little puddles begin to form on the leather's surface. Once that starts to happen flip your leather piece over to see if it has begun to soak through to the other side. As soon as you see that it has, stop spritzing and leave the leather to partially dry again. The amount of time necessary varies on the leather being used or the thickness of the piece. Basically, wait until the leather appears to have lightened in shade again but is still slightly damp to the touch. Once the leather is slightly damp but appears to be dry again either trace your design onto the leather with stylus and tracing paper, or free hand draw with your stylus. Use a swivel knife for better control over curves, and an exacto knife to get fine details, both will carve your design into the hide. I prefer the swivel knife because you can get a nice petina along the cut line if you hold the knife at a 45 degree angle and press hard as you carve. If your design is small or simple you should have time to continue to the next step without rewetting your leather. However, if your project is detail oriented or large you'll likely want to stop at this point in the process to respritz your hide as previously discribed, before waiting the appropriate amount of time again for it to achieve proper moisturization. 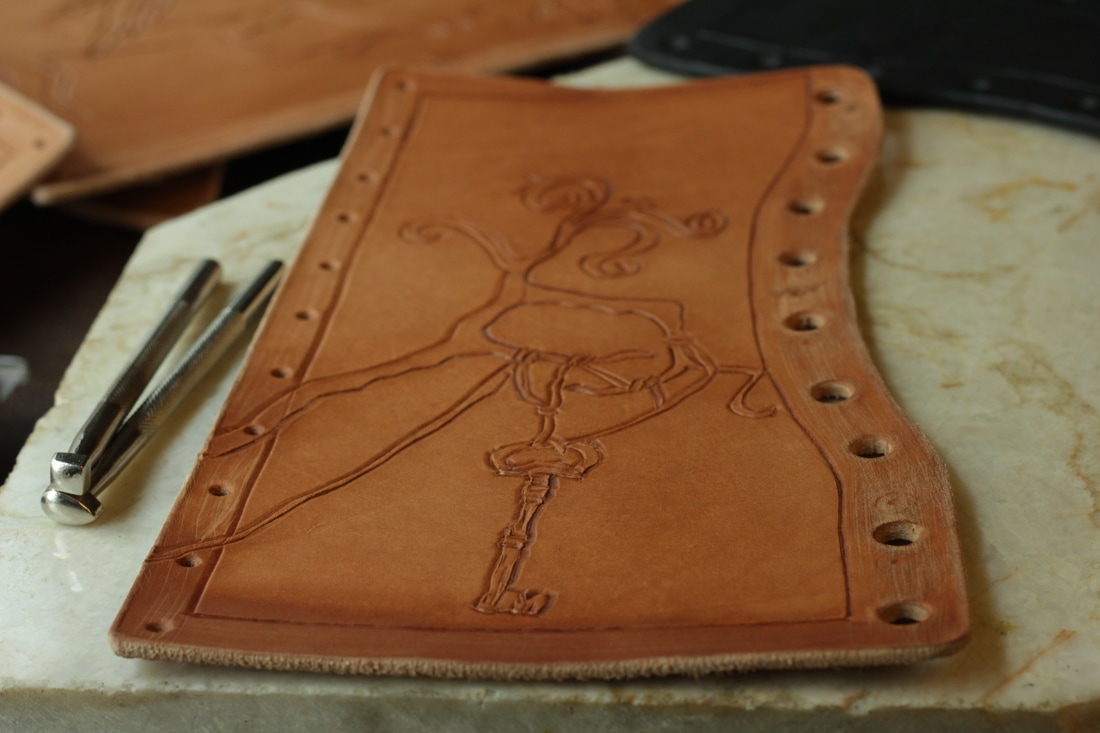 Leather almosts looks dry again, but is slightly damp to the touch. Now, you can tool away! Last but not least, tool or pound out the design, this can be done with a variety of tools depending on the outcome you want to achieve. I mostly use the square beveler and small background stamp from the Tandy 6 piece Craftsman Tool set. There are stamps with designs and letters, embossing rollers, and a whole plethora of inividual tools for flower viens, backgrounds, edges, ect. A lot of awesome tooling work can be done with the 6 piece set. The square beveler is great on any edge where there is enough space to fit the tool, and the small background stamp tends to be good in the places too tight for the square beveler. Again, the tools used depend on what you want to do. 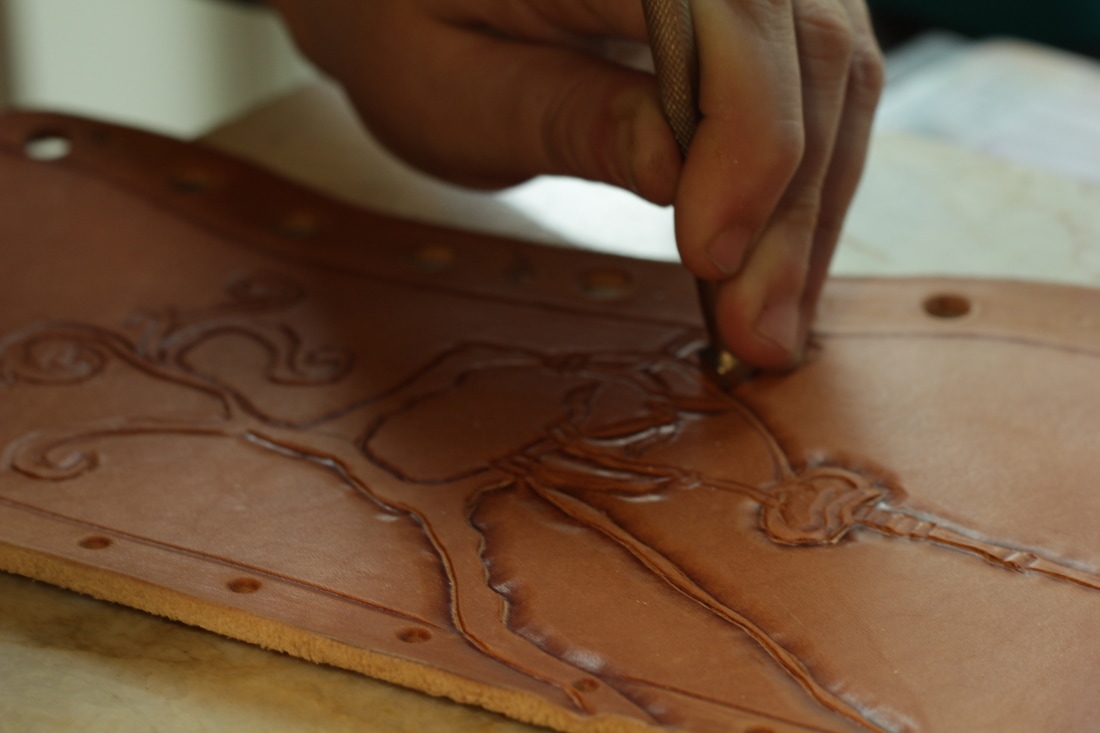 You can see the lovely patina starting to appear around the tooled edges.
0 Comments
Leave a Reply. |
Willow EnrightI started crafting out of leather in 2011, and now I am making it my life's work. I am writing this blog to help myself remember some of the small steps in past projects, sharing my triumphs and failures, as well as my love of leather. Archives
November 2017
Categories
All
|

|
Cosplay DIY (Blog) |
 RSS Feed
