|
by Willow Enright 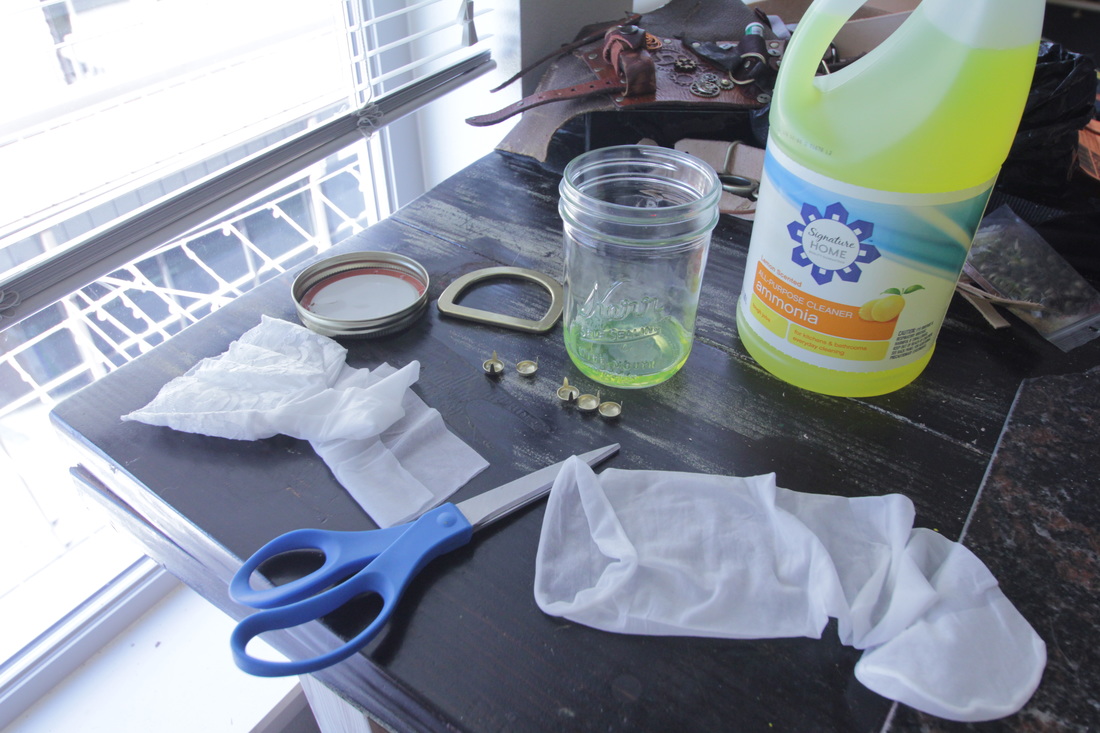 All the items needed to antique brass: ammonia, a mason jar with lid, nylon pantyhose, and of course your brass items. Please read the following article with a posh British accent: Creating Steampunk accessories can be difficult, especially in today’s society where everything is made with machine perfection. While shopping for antiqued brass items I ran into a problem, they only had brass. Steampunk costumes aren’t necessarily supposed to be new and shiny. They are supposed to have a more lived in feel where you believe that this is something that gets worn on the regular, well kept but worn all the same. What is a retro-futuristic fan to do? Buy the brass, and distress the frak out of it. Now the question is...how? I found one out of several ways to distress brass. This particular way didn’t specify time or whether it would work with solid brass or brass plating. The only item that I had to buy was ammonia, which was tricker since no one in the stores had any knowledge about the cleaning agent. You might have to buy a pair of pantyhose, or a mason jar with lid, but those three items are all you need. 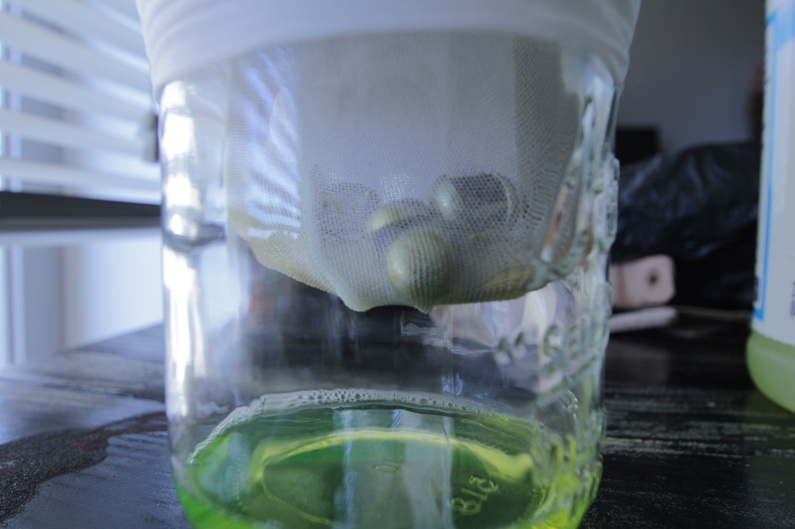 Brass plated spots and solid brass D-ring suspended over the neon green ammonia. Pour a small amount of ammonia (a thumb width) into the bottom of the mason jar, make sure that your pair of pantyhose and brass items aren’t touching the ammonia. Once you have your brass suspended over the liquid, grip the pantyhose to keep from slipping, then place the lid over the odorous substance. You’ll thank me for this step, once you stop reading this article and try it for yourself. 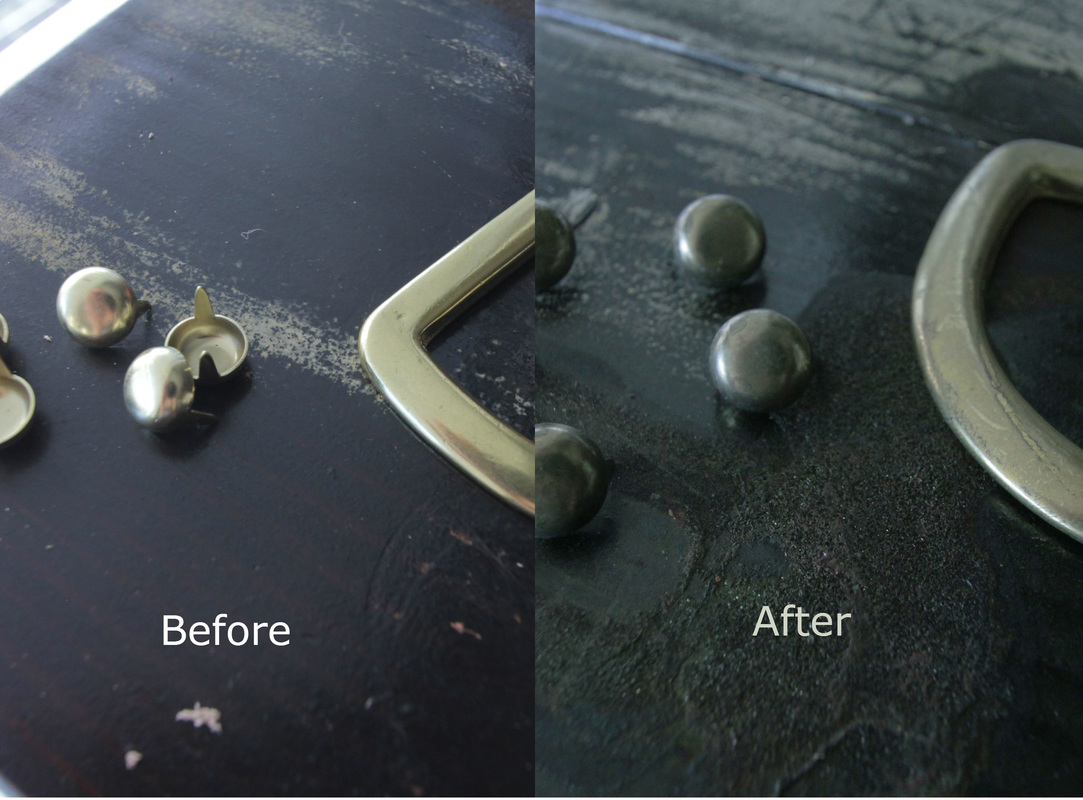 Spots twenty minutes in the ammonia filled environment. The D-ring took an additional two hour and forty minutes. I will now break down the differences between solid brass and brass plating. You’ll notice from the above photo that just after twenty minutes in that ammonia filled jar, that the five brass plated spots were done. I later learned that not all brass plated items are created equal. I wanted to duplicate the results from the spots, with a pair of buckles, unfortunately one of these buckles shed the entire brass plating, creating an antiqued nickel buckle. Another surprise came when I tried to use the same ammonia the next day on fifteen brass spots. Apparently ammonia looses it’s potency after oxidization and fifteen takes longer five, approximately an hour and fifteen minutes. Now as for the solid brass D-ring, you’ll notice from the photo below that the antiquing process on the solid brass D-ring isn’t as pronounced and it spent 3 hours in the jar to achieve the final result. 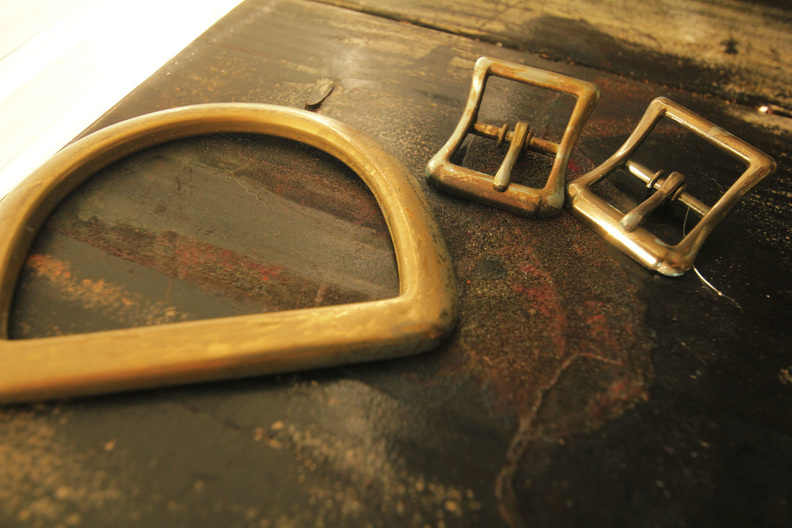 The final look of the D-ring and brass plated buckles. What can we conclude from this? Well, you’ll need fresh ammonia for the more dramatic results, solid brass needs to spend more time in the ammonia filled environment, and the antiquing process is not an exact science. My advice is use five to ten minute increments depending on the amount of control you want to use over the variation desired for brass plating. For solid brass check on it every hour. You’ll also need to take into consideration how large your item is, larger items will take longer and smaller items will be done quicker. And if you have read this whole article in a British accent congratulate yourself, you’re ready to live in a world that Jules Verne would have been proud to create! 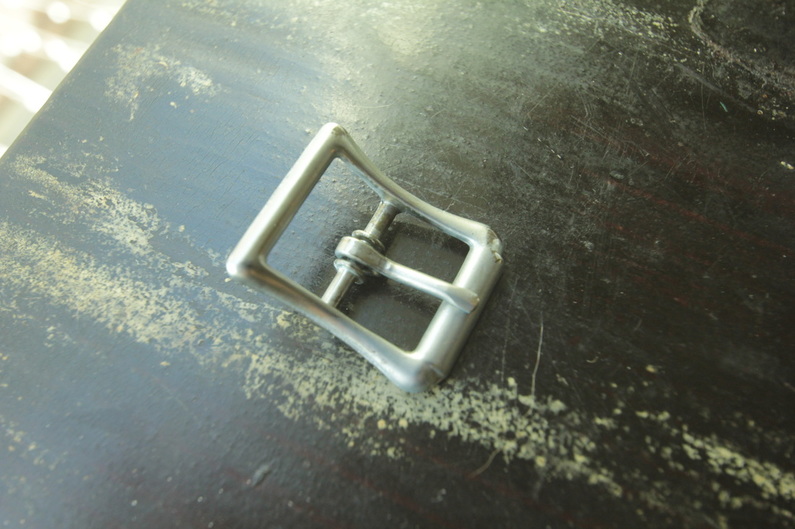 The antiqued nickel buckle formally sold as a brass plated buckle. 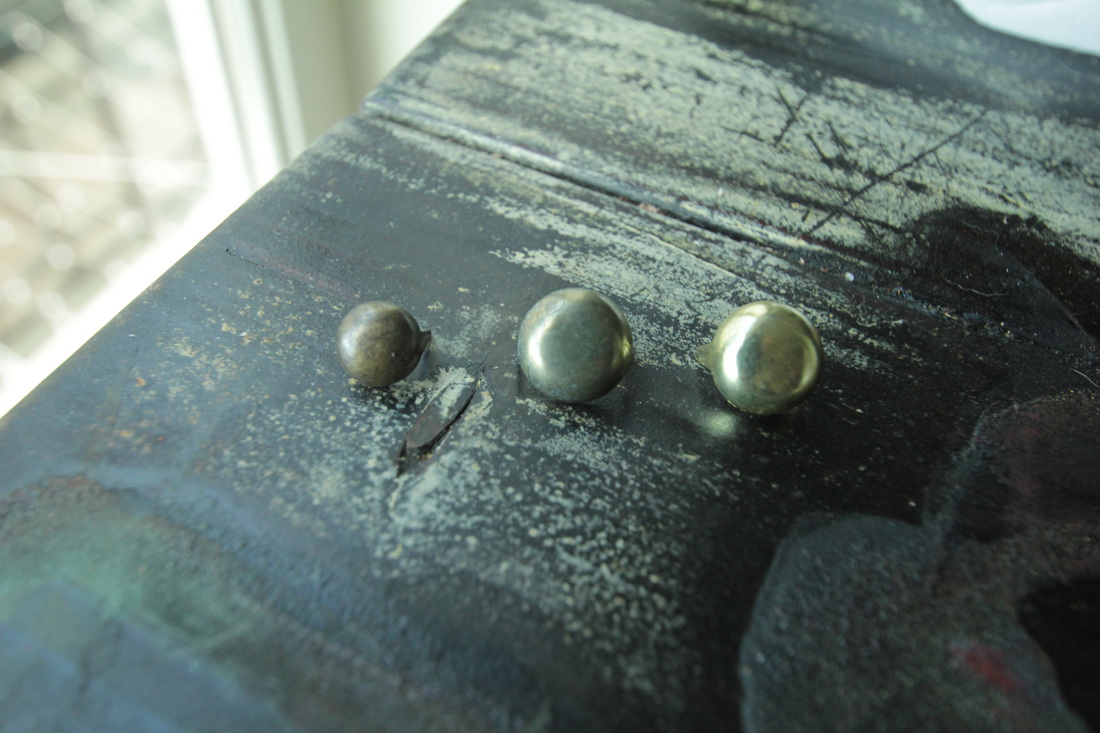 From left to right: store bought antique brass spot, our antiqued brass spot, and the original brass plated spot.
2 Comments
Benjamin Delano
6/11/2016 09:08:15 am
I wonder if a plexiglass circle instead of the normal metal one in the Mason jar lid would hold up for repeated use, that way you can check on them without opening.
craig
6/17/2016 11:28:03 pm
Or you could just take the coating of of the shinny brass and let it oxidize. Shined enough brass in the military to know that Shiny brass sooner or later will oxidize and become antique brass. Leave a Reply. |
Willow EnrightI started crafting out of leather in 2011, and now I am making it my life's work. I am writing this blog to help myself remember some of the small steps in past projects, sharing my triumphs and failures, as well as my love of leather. Archives
November 2017
Categories
All
|

|
Cosplay DIY (Blog) |
 RSS Feed
