|
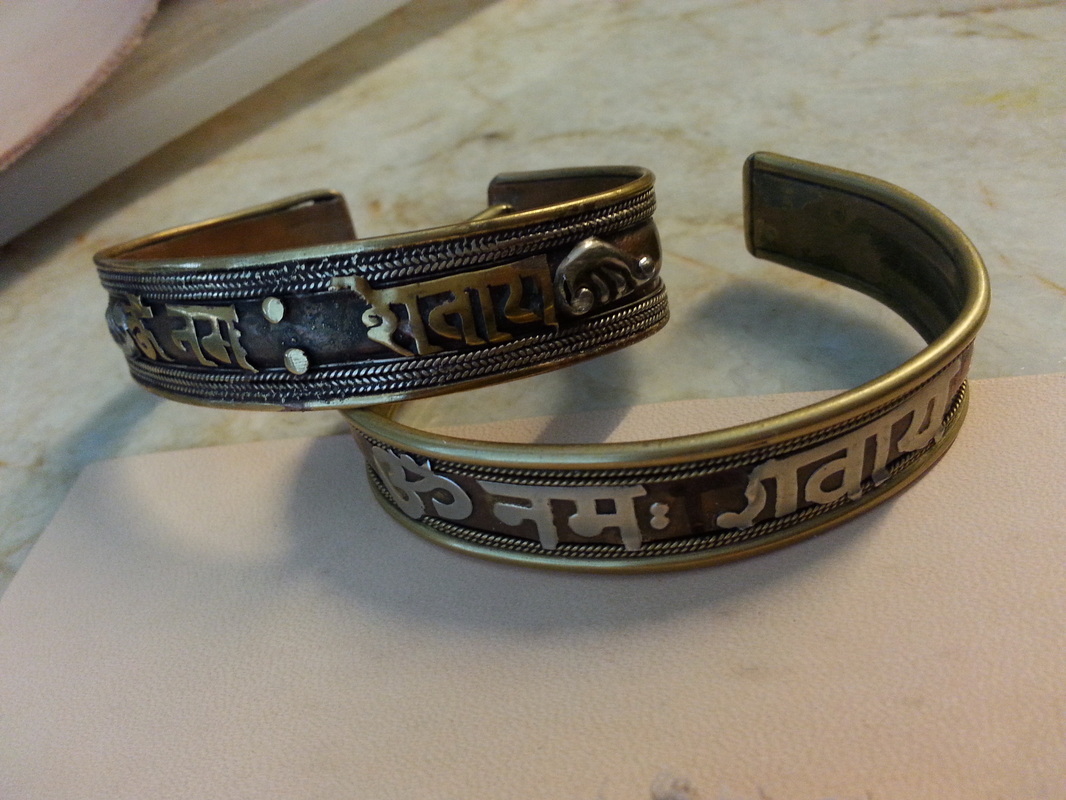
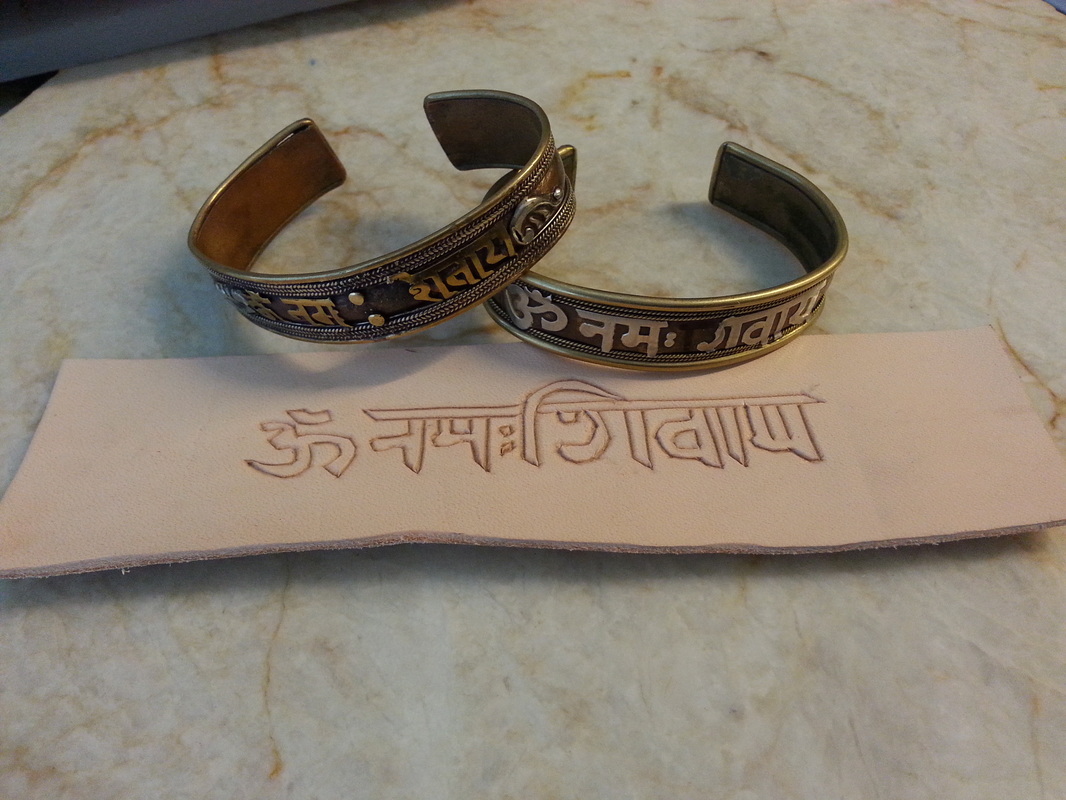
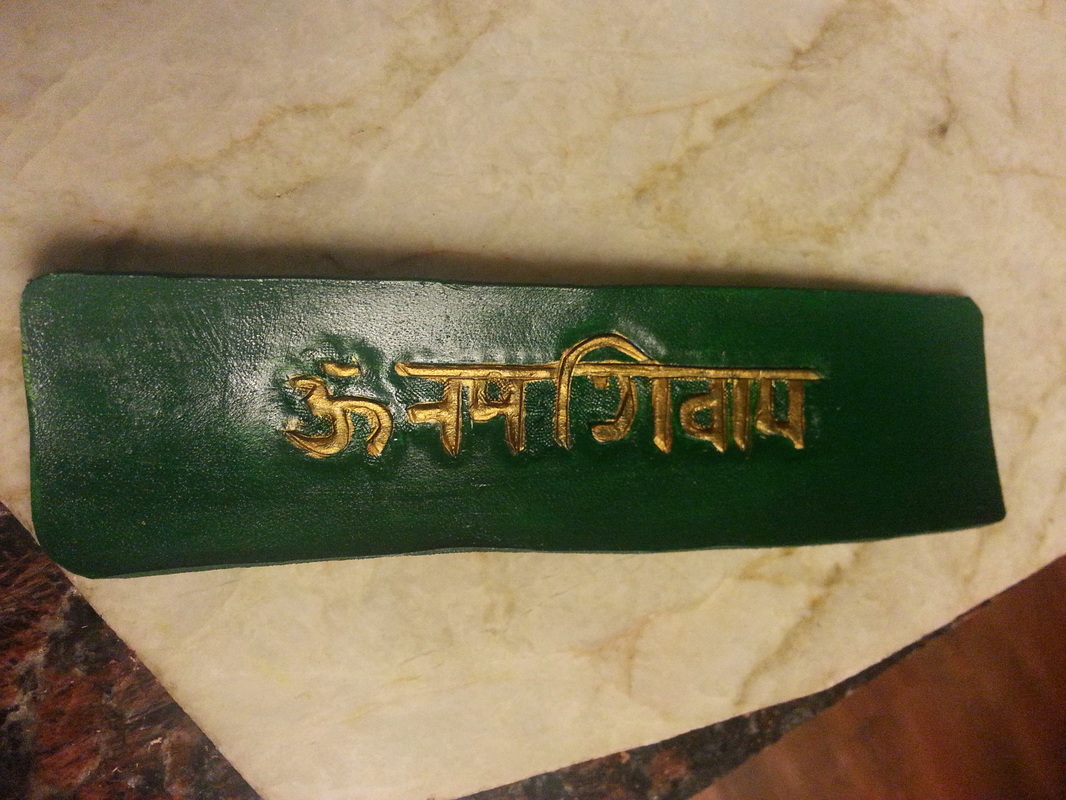
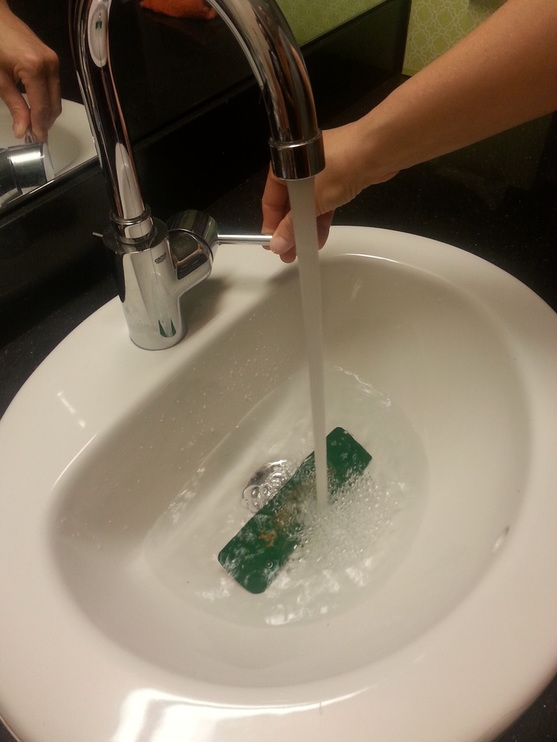
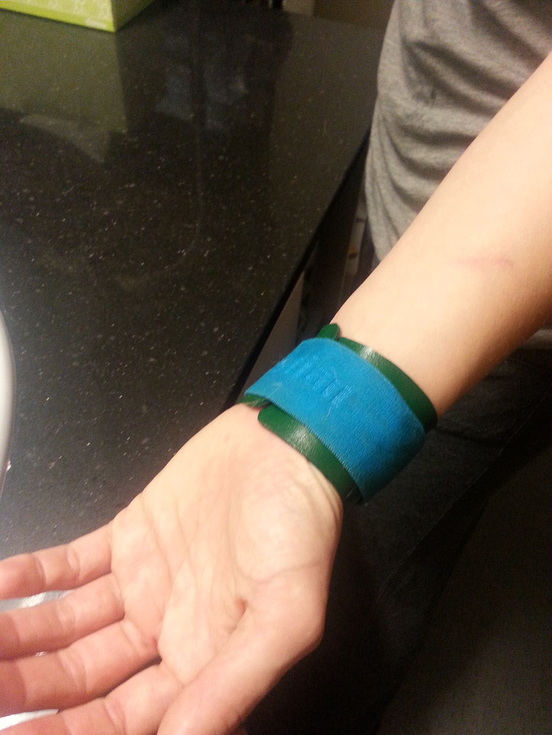
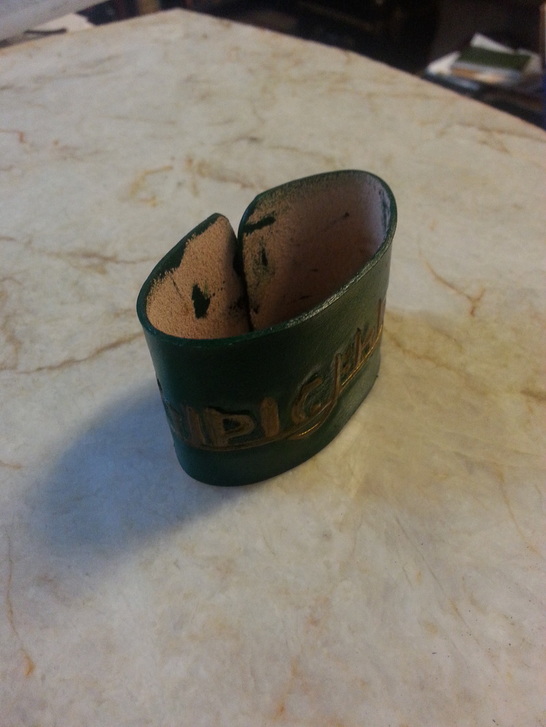
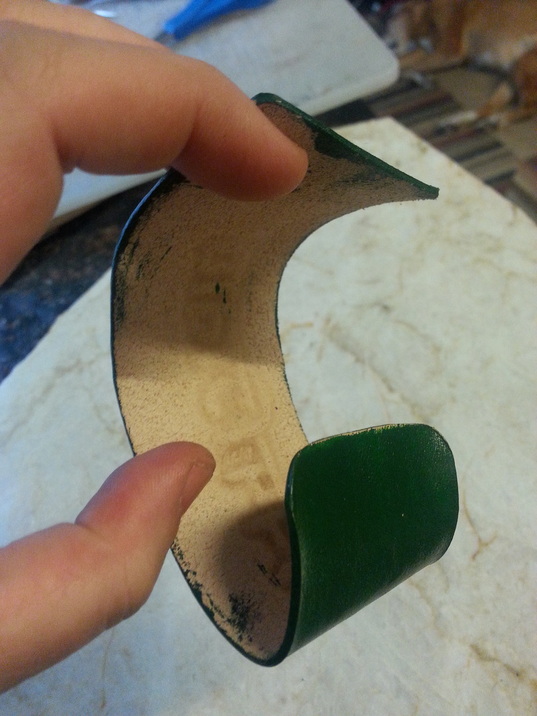
by Willow Enright Sometimes trying to get your bracelets to fit just right is tough. Not every wrist is made the same, even your right is different from the left, and what feels comfortable for one just isn’t for the other. In an effort to find an easy solution I decided to run an experiment to take a pre-tooled and painted vegetable tanned leather bracelet and see if I could wet mold it to fit the wrist without any clasp. This is a documentation of my experimentation and my findings. Read the whole article before deciding to follow along, because I have several findings that will help you with own experimentation. I started with a scrap piece of 2-3 oz vegetable tanned leather. I wet the leather with my spray bottle and waited for it to appear dry again. I used my stylus and tracing paper to transfer the Om design to the leather. My swivel knife is what I cut the pattern with, followed by pounding with my rawhide mallet to tool the design. Again, case the leather using the spray bottle, then waiting for it to appear dry again before actually tooling. I used two of the six piece Tandy crafttool set, the background stamp and the square beveler. Angelus green acrylic leather paint is what the bracelet was painted with, and the lettering highlighted with Waterstain gold. The top of the bracelet was then coated in Resolene to help keep it from running. The underside of the bracelet was left the natural raw leather to help absorb the water. I filled the sink with water and set the bracelet on top with the raw leather exposed to the water. I left it in the water for 5-10 minutes. Once it was good and soaked I took it out of the water and molded it around the desired wrist. You can use a sweat band or scarf to secure the leather in place, if you want to follow along. Let the leather dry partially before you remove it. This is the time when you would need to leave the unsealed side of the leather open to air to allow it to dry thoroughly. This can take anywhere from 12-72 hours depending on how thick the leather happens to be. The trick is to figure out how to keep it in the shape you’ve molded until it is done drying. This is the difficult part given the different variations found between individuals. I used the sweat band, once the leather had the general shape. You could use the lid of a jar, the top of a wine bottle, or whatever suits your needs. The 2-3 oz leather I used turned out too flimsy to truly hold shape even after it was completely dry. I have wet formed partially painted 7-9 oz thicker leather and it worked rather well. Perhaps, next time I will attempt to use a 5-6 oz and see if that thickness will hold out. If you try this at home please let me know how it works out for you.
1 Comment
|
Willow EnrightI started crafting out of leather in 2011, and now I am making it my life's work. I am writing this blog to help myself remember some of the small steps in past projects, sharing my triumphs and failures, as well as my love of leather. Archives
November 2017
Categories
All
|
 RSS Feed
