|
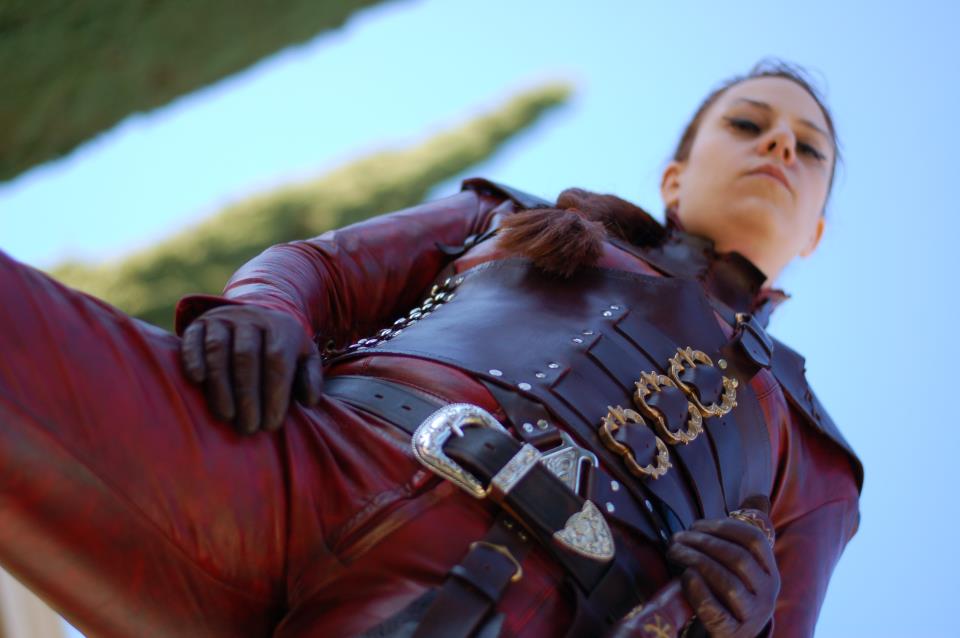
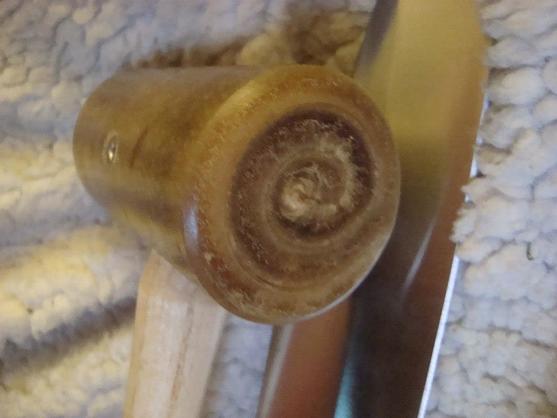
by Willow Enright Part III: Becoming a Sister of the AgielIn classic cosplay fashion, I didn’t love my first attempt at the intimidating, yet alluring Mord-Sith. Others were highly impressed with the overall look, but I wasn’t satisfied as an artist. There were things that I loved, Loved, LOVED about the first attempt, but I really couldn’t get over the lack of a personalized tooling design. I really felt this would be something that the character, Cara Mason would articulate and show off as a source of pride. You can check out the earlier parts of this grandiose project with these two links: Part I, Part II. The leather I had chosen to use ended up being too stretchy to hold up well to the strain being put on it through moving. So, by the end of the convention I’d had to do multiple rivet repairs and I could tell that it probably wouldn’t hold up too well through multiple conventions. The wooden mallet and lack of sturdy enough work surface made a mess of the dome shaped rivets, plus they just weren’t riveted solidly enough to continue to hold well. Take a look at the photo below and see if you can spot what I'm talking about. I started working on my second Mord-Sith armor about 6 months before Emerald City Comic Con 2013. I had to find the right piece of leather which involved watching several hides from several sellers on eBay until I finally found a nice 8-10 oz vegetable tanned cow half-side. I also had to find the right dye or paint to color the armor. I chose the acrylic leather paint from Angelus Scarlet Red, Fiebings Black Antique Stain, and Fiebings Acrylic Resolene. This allowed me to make the red as dark as I wanted by applying various layers of the antiquing stain. Plus, it adds an aged look to the leather. I tested out my color technique on several practice pieces before dying my cherry brown boots. Next, I had to get some antiqued brass rivets to better match the buckles. Here, I needed medium and large sized rivets due to the thickness of the leather. I also acquired some antiqued brass snaps for removing the neck gorget in the back, a swivel knife, and shoe lace hooks. I also needed to find tooling designs, and a new mallet for pounding.
I recall that my friend, Jon, actually bought me a rawhide mallet for my birthday that January. I can’t remember doing any of the tooling before I was given that mallet. So, I’m estimating that three months were spent gathering my new materials, cutting the leather using my armor pattern, and watching YouTube tutorials on tooling techniques. I should also mention that the 6 months prior to that were spent saving up funds for this second project. To be continued...
2 Comments
9/2/2023 07:40:07 am
I wanted to express my gratitude for your insightful and engaging article. Your writing is clear and easy to follow, and I appreciated the way you presented your ideas in a thoughtful and organized manner. Your analysis was both thought-provoking and well-researched, and I enjoyed the real-life examples you used to illustrate your points. Your article has provided me with a fresh perspective on the subject matter and has inspired me to think more deeply about this topic.
Reply
9/2/2023 07:58:50 am
I wanted to express my gratitude for your insightful and engaging article. Your writing is clear and easy to follow, and I appreciated the way you presented your ideas in a thoughtful and organized manner. Your analysis was both thought-provoking and well-researched, and I enjoyed the real-life examples you used to illustrate your points. Your article has provided me with a fresh perspective on the subject matter and has inspired me to think more deeply about this topic.
Reply
Leave a Reply. |
Willow EnrightI started crafting out of leather in 2011, and now I am making it my life's work. I am writing this blog to help myself remember some of the small steps in past projects, sharing my triumphs and failures, as well as my love of leather. Archives
November 2017
Categories
All
|


 RSS Feed
