|
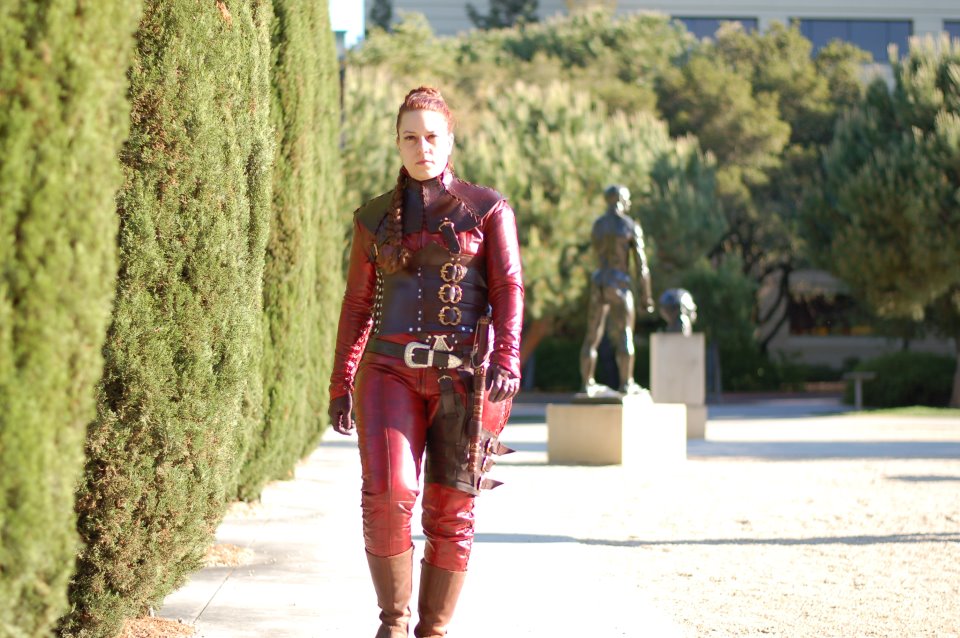
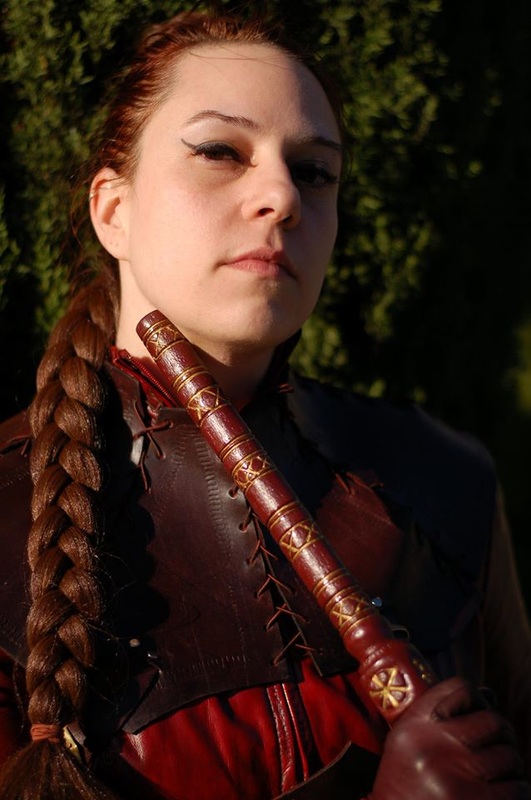
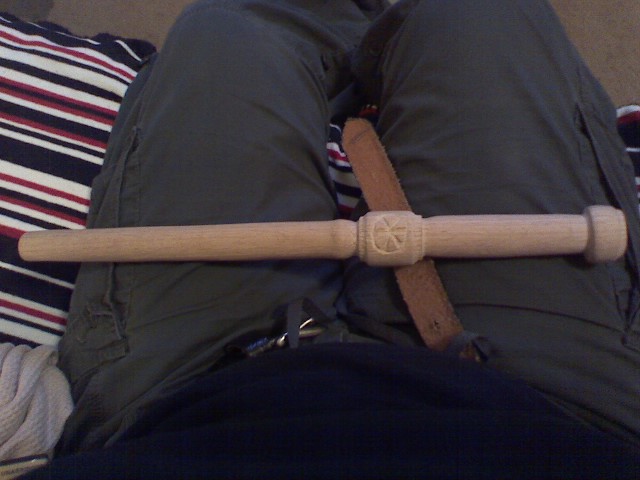
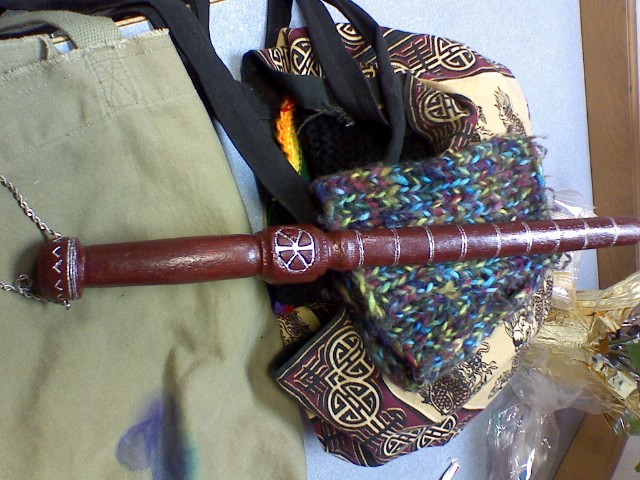
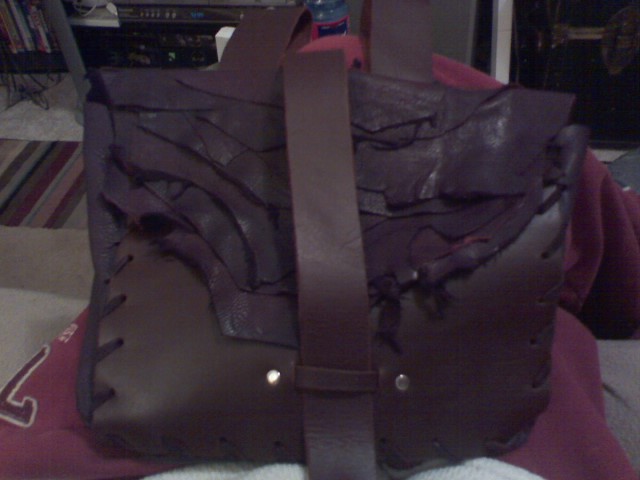
by Willow Enright Part II: Journey through the MidlandsMy journey as a Mord-Sith continued, to read more click here. I had my patterns designed, cut, and organized. My catsuit was ready for battle. I had my Goldilocks “just right” leather pieces cut and ready. Now it was time for embellishments and assembly. I chose to add a simple border design using a flat head screwdriver, I also used a textured stamp to add a bit of pattern to the edging design. I did all of this with the wooden mallet I had been advised to get. Don’t use the wood mallets. They are crap, and I recommend you invest in a better one. I love my Rawhide mallet, there are other types out there poly, or polymer and rubber are the first that spring to mind. The sturdier the better. Since the mahogany leather wasn’t a vegetable tanned leather meant for tooling, the stamping took great effort and didn’t really stand out. I think you could only see it if you were standing right next to me peering closely at the armor. However, it added something to the overall look of the armor in the end. You can take a look at the photo above to see what I mean. After doing the detailing design on the pieces it was time to put them all together. I used small and medium nickel rivets depending on the thickness of what I was riveting together. And that crappy wooden mallet… *cringe* My rivets didn’t look great. Most of the caps were too mushed down and no longer had the dome shape they were supposed to have. I didn’t have a good working surface, only a counter-top with a cutting board which weren’t hearty enough for riveting purposes. For connecting the pieces of the neck gorget I used a red elastic cording that I dyed with a mahogany colored leather dye beforehand. The elastic cording made it possible to stretch the gorget over your head while still giving the piece a firm tension to hold everything together. For my Agiel weapon I had a friend of mine, who does woodworking, start me with the basic shape. You can see in the pic above what it mainly looked like when I got it. I then carved the details into it myself with a pocket knife before using a latex paint on it, followed by a blood-red acrylic paint to match it in color to the armor. I then used a silver paint to accent the carved designs and wrapped some of the thinner maroon leather (I had purchased but didn’t use for the armor) around the handle. I drilled a hole through the end of the handle and added a silver bracelet for the wrist chain. Later the silver would be replaced with gold. The night before Comic Con I realized that I had nowhere to carry anything. I made the hip bag from leather scraps that I had left over. I used fabric glue to hold the various pieces for the cover flap together and later stitched them together. I tied the bag pieces together with leather lacing and added loop straps so I could wear it on my wide Mord-Sith belt.
For my gloves, I simply bought a pair of Italian leather maroon colored gloves and cherry brown boots online on eBay. I didn’t even try to color the boots to match my armor the first time I wore the cosplay outfit. I did however, dye them blood-red to match when I did my second Mord-Sith armor re-creation for the character Cara Mason. To be continued...
1 Comment
|
Willow EnrightI started crafting out of leather in 2011, and now I am making it my life's work. I am writing this blog to help myself remember some of the small steps in past projects, sharing my triumphs and failures, as well as my love of leather. Archives
November 2017
Categories
All
|
 RSS Feed
