|
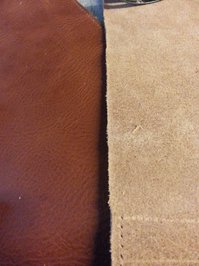
by Willow Enright 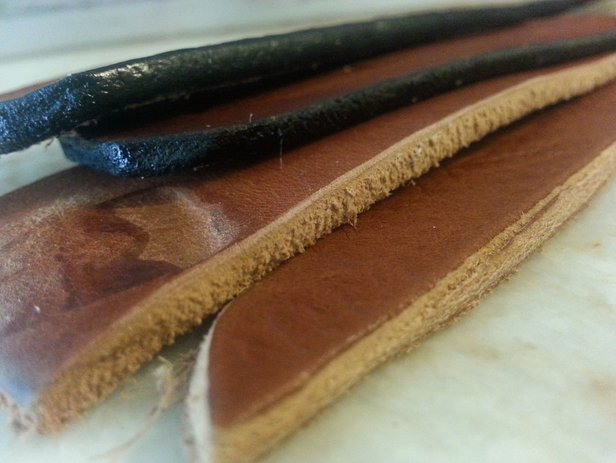 Four different edges: Raw cut, Beveled and Sanded, Edge Coated, Gum Tragacanth and Burnished Edge. Working with leather edges can be a challenge, and when you first start off it may not be as important to you that they look great. However, as you continue to leather work you will eventually want your edges to look as smart as the rest of your leather creations. There are multiple steps to getting just one edge looking fabulous. We'll cover the basics of beveling, sanding, edge coating, and burnishing to take your leather edge work to the next level of amazing. 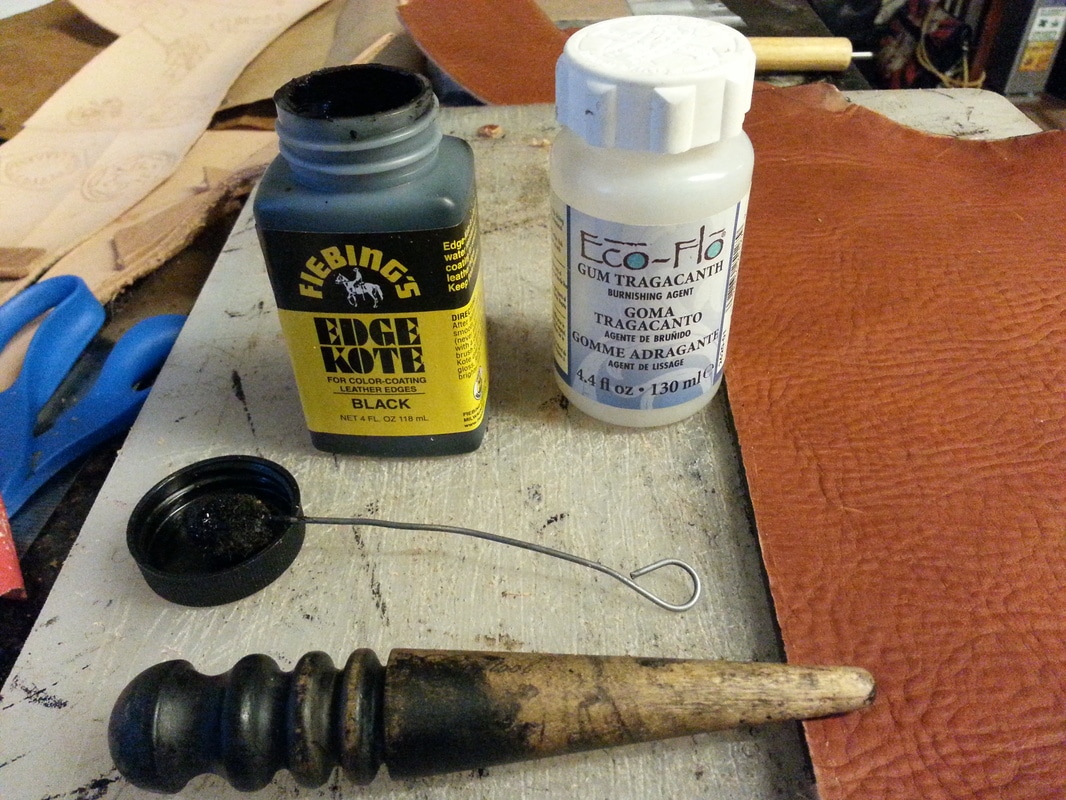 Black Edge Coat, Gum Tragacanth, Wool Dauber, Wood Burnisher and 8-9 oz Double Austin Shoulder Supplies5-10 oz Leather Swivel Knife/Head Knife/Scissors Safety Beveler Sand Paper 100 grit Wood Burnisher Edge Coat Gum Tragacanto Wool Dauber or Paint Brush Wash Cloth/Paper Towel Clamps Cutting Board
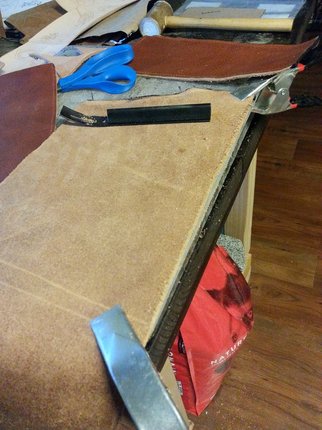
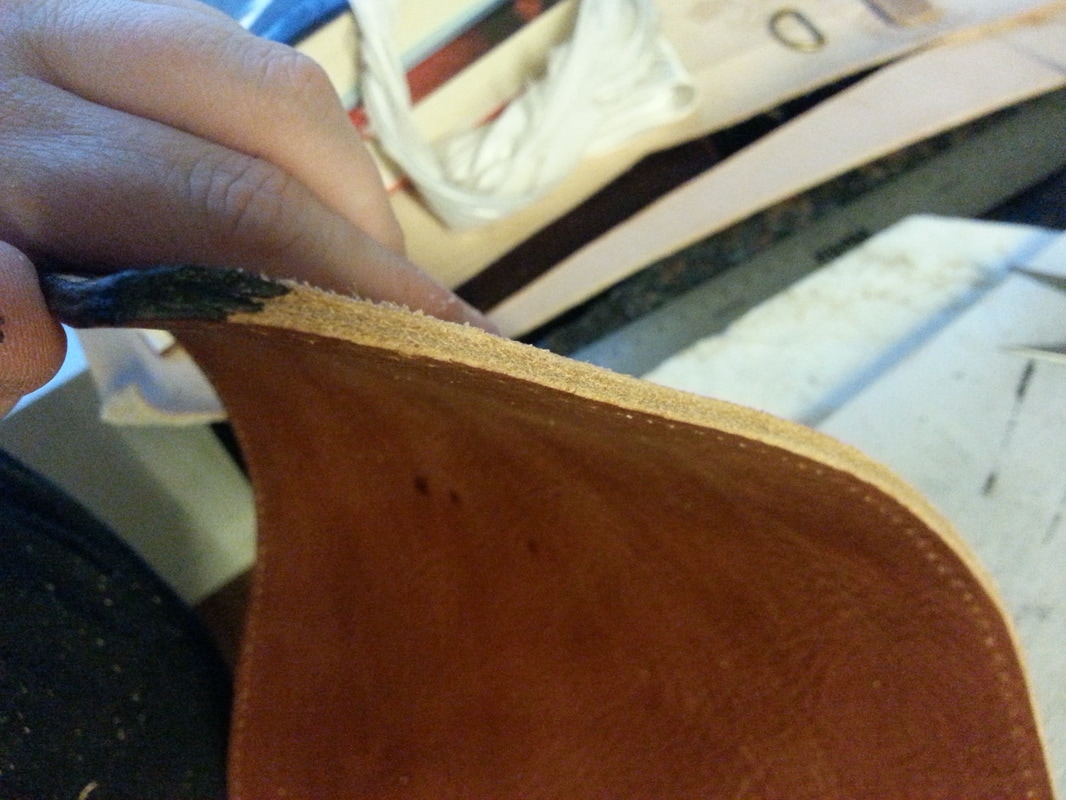
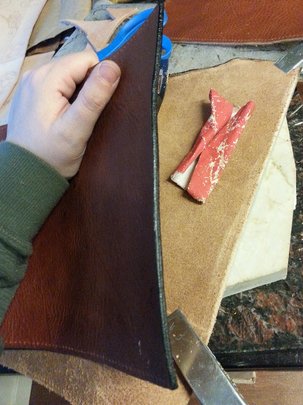
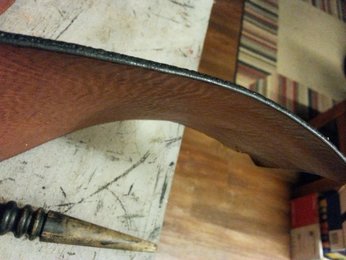
Cut your leather with your swivel knife/head knife/scissors, and then clamp it at either end to your cutting board. Leave the edge just barely hanging over the side of the cutting board, about 3-4mm. This is to give you just enough room to bevel without compromising your supporting surface, or damaging your safety beveler.
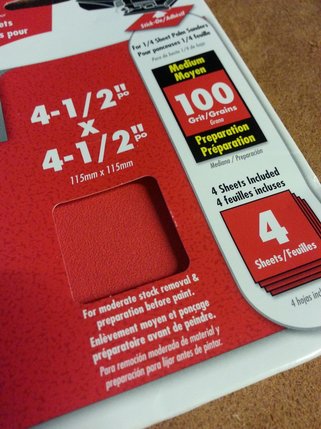
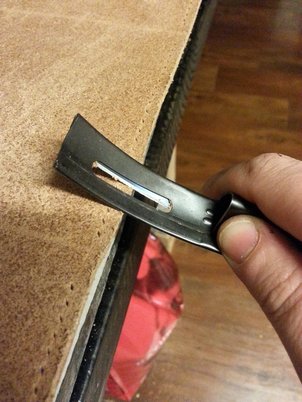
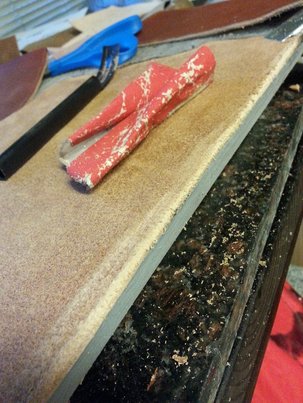
Use your Safety Beveler at about a 45 degree angle to trim the leather in order to round out your straight cut edge. Do this to all under sides of your exposed edges, but don't use the beveler on the front of the leather or you may remove too much by accident. This process takes some time, and you need to be extremely careful so as to avoid cutting yourself with the beveler. Follow up the beveling with 100 grit sand paper to the edges for a smoother finish.
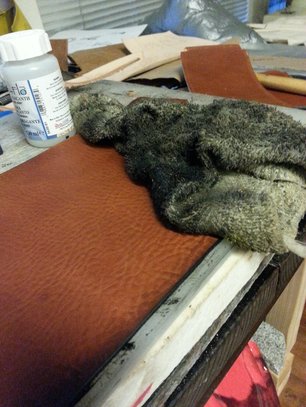
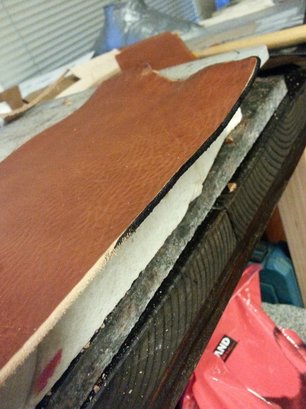
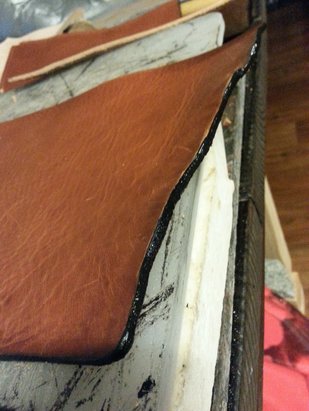
Sometimes you will need to repeat the beveling and sanding if your edges don't end up being smooth enough. If they are smooth enough you can begin with the edge coating. This comes in clear, black and brown. Apply the edge coat with a wool dauber or medium paint brush. Use a damp work cloth or some paper towel to wipe away any excess edge coat that you may get on the front of the leather as you work. Let the edge coat dry before continuing.
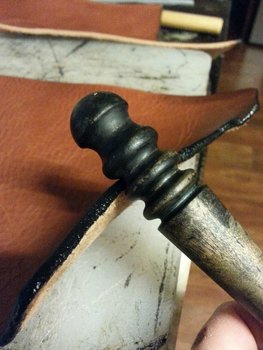
Use the Gum Tragacanth, applying it with either a wool dauber or paint brush. Leave it for a few moments to get tacky before using the wood burnisher, moving it along the edge between the appropriate sized groves. Do this until your leather edge appears nice and smooth. Repeat the Gum Tragacanth until you are satisfied with the smoothness of your edges. Finishing your raw edges with this lengthy process will be well worth the effort. Your edges will look amazing, and wear better over time!
Comments are closed.
|
Willow EnrightI started crafting out of leather in 2011, and now I am making it my life's work. I am writing this blog to help myself remember some of the small steps in past projects, sharing my triumphs and failures, as well as my love of leather. Archives
November 2017
Categories
All
|

|
Cosplay DIY (Blog) |
 RSS Feed
